This shop has been compensated by Collective Bias, Inc. and its advertiser. All opinions are mine alone.
#EarthDayDriveAway #CollectiveBias
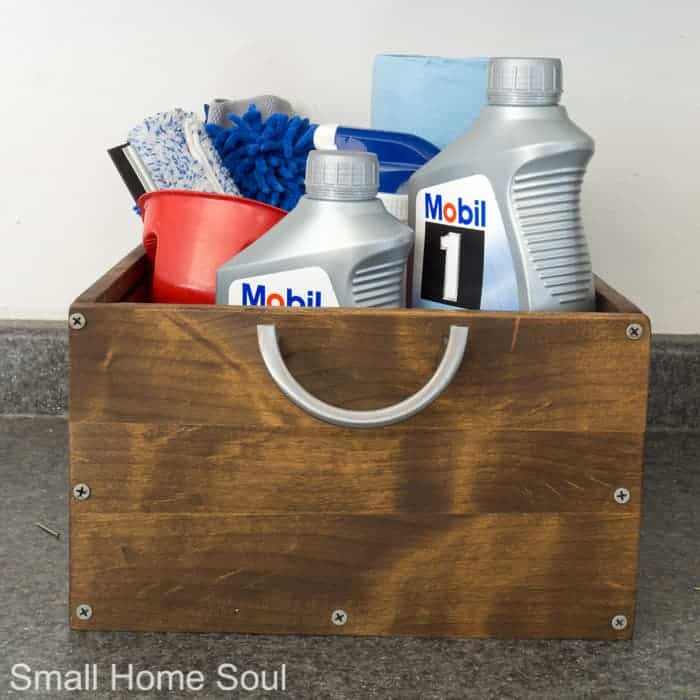
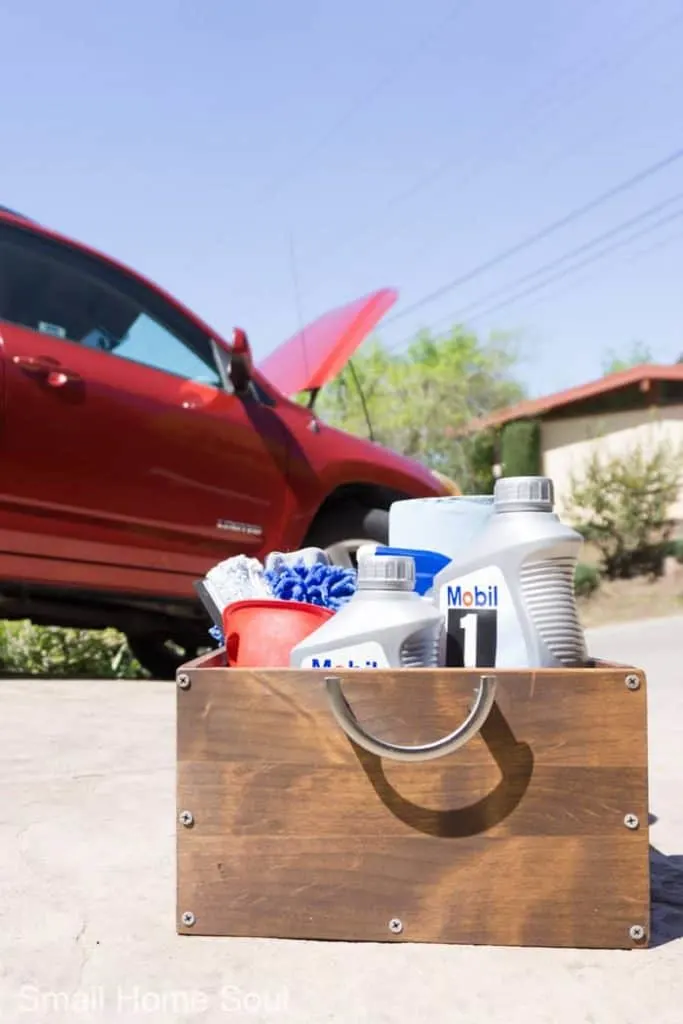
Plus I get to show you how I built a DIY Oil Change Kit for our garage. It’s easy to make and with Earth Day coming up this upcycle project from some scrap wood is perfect. Now all our oil changing supplies are in one easy to find spot.

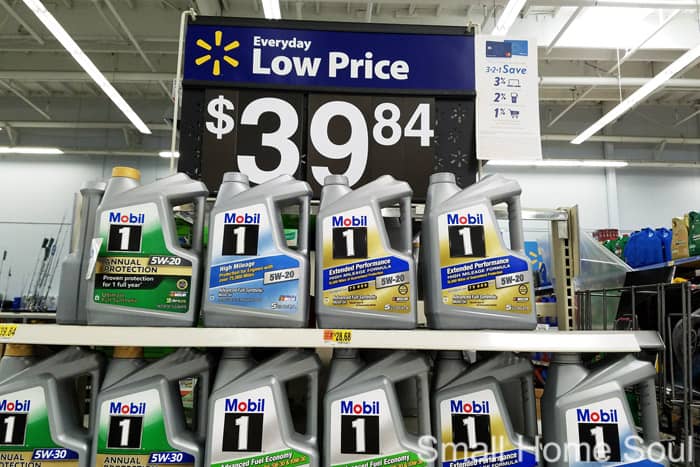
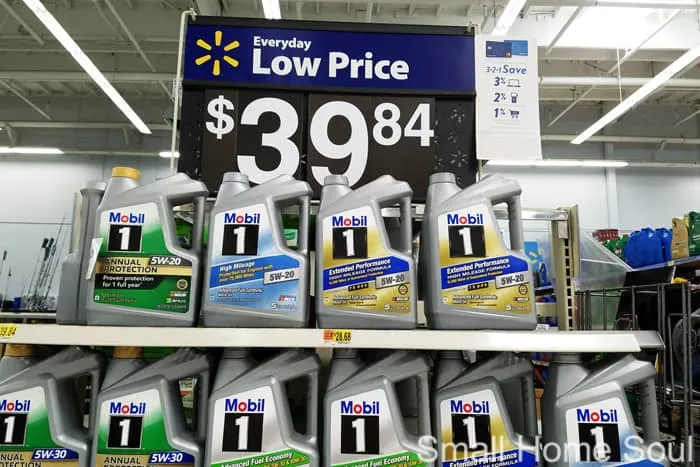
When I was approached to collaborate with Mobil Oil I jumped at the opportunity. My dad used to own a Mobil station so I’ve always had a soft spot for Mobil, and I love all the values you can find at Walmart, win/win.
I also love this line of Mobile 1 synthetic oil, which we’ve used in our cars for several years. Not only is it good for your car, you also use less oil, which means fewer oil changes and less waste. Another win/win and for your wallet too.
More great news for you
Do you want to hear about another win/win? I thought you would… It’s called the Earth Day Drive Away offer. Mobile 1 is giving Walmart customers a chance to win a new car!! Yes a NEW car 🙂 [UPDATE – Giveaway has ended]
Between now and 4/30/18 you have two ways to enter to win a Chevy Equinox and get $10 off Mobil 1 purchases at Walmart. [UPDATE – Giveaway has ended]
- Get your oil changed at the Walmart Auto Care Center. Or, if you’re the DIY oil changing kind, buy 5 Qts of Mobil 1 oil at Walmart.*
- Recycle your oil at the Walmart Auto Care Center.*
*After satisfying either or both of these options head to earthdaydriveaway.com to enter to win the Chevy Equinox and to receive a $10 Select Certificate good on a future 5 Qt purchase at Walmart of Mobil 1 oil. (Limit two entries per person – One entry for recycling oil and one entry for Oil Purchase/Oil Change).
If you’re a DIY Oil changer be sure to use the handy oil selector tool on Walmart.com so you know you’re buying the best oil for your engine. You can read all the contest rules, see FAQs and read terms and conditions at earthdaydriveaway.com
Now, let me show you how I made the cool box to store all our Mobil 1 oil changing supplies in our new oil change kit.
This page contains links to products, if you purchase something after clicking on my link I may earn a small commission (at no extra cost to you). You can read about affiliate links here.
DIY Oil Change Kit Supplies
- Wood (see cut list below)
- 3″ Chip Brush
- Cordless Drill
- Miter Saw
- Table Saw or Skill saw
- Sandpaper
- Wood Glue
- Speed Square
- 1-1/4″ Wood Screws
- wood stain
- 3″ Chip Brush, 3″ Foam Brush, or Old Rags
- Two drawer pulls (old or new)
Cut List for DIY Oil Change Kit
I used scrap wood for my box so the sides aren’t as thick as the bottom. Using some thinner wood kept the overall weight of the box down a bit. But it’s still plenty strong for all the oil storage.
- One 3/4″ thick board cut to 10″ x 15″ (for bottom)
- Two 3/4″ thick boards cut to 8″ x 15″ (box sides)
- Two 3/4″ thick boards cut to 8″ x 10-3/4″ (box ends)
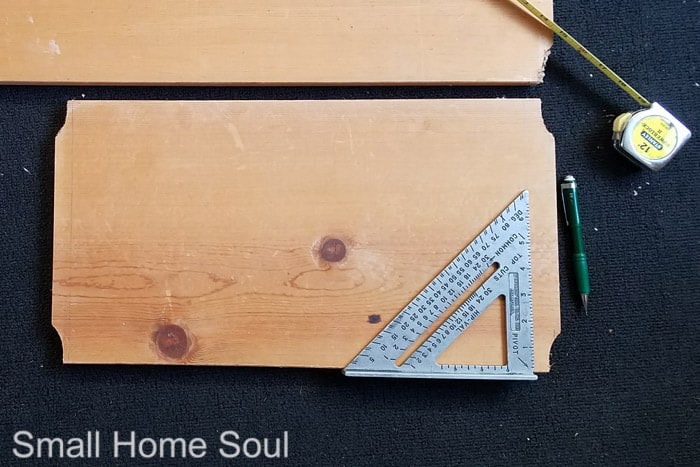
Step 1: Cut your wood to size
Use a table saw or skill saw to cut the boards for your project. Measure your boards and use the speed square to transfer your line along the full width of the board.

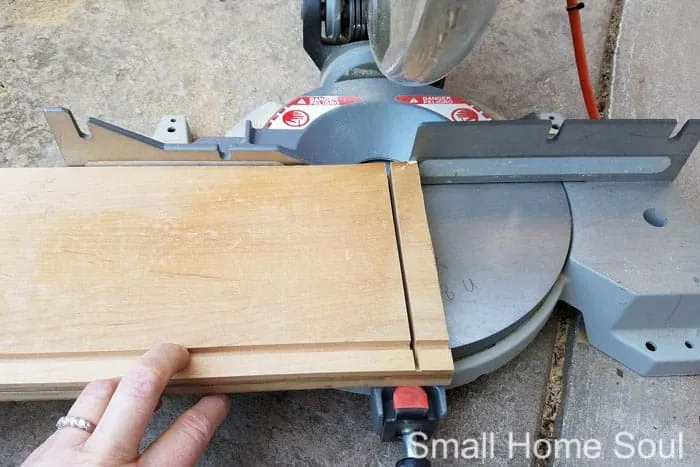
- Use your miter saw to cut the smaller boards. Two for the sides, and two for the ends.
- If your miter saw doesn’t make a big enough cut (like mine doesn’t) make your first cut and then carefully flip them over, align the ends then align the blade in the cut you just made and cut the remaining section. (you can see how I did this same cut when I made our Phone Charging Stand)

Assemble the Box for Your Oil Change Kit
After all your pieces are cut it’s time to assemble.
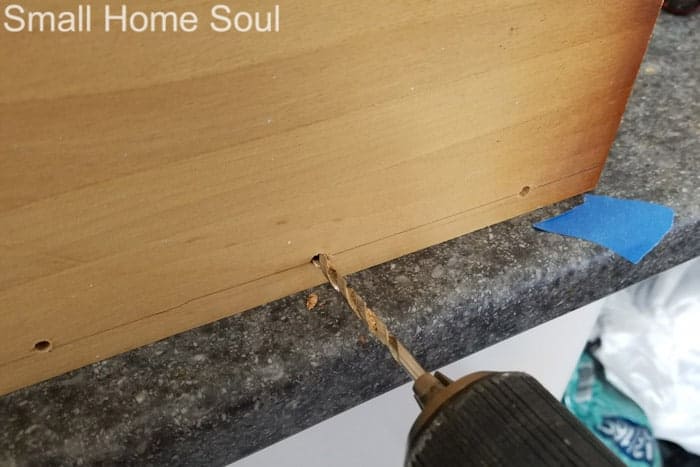
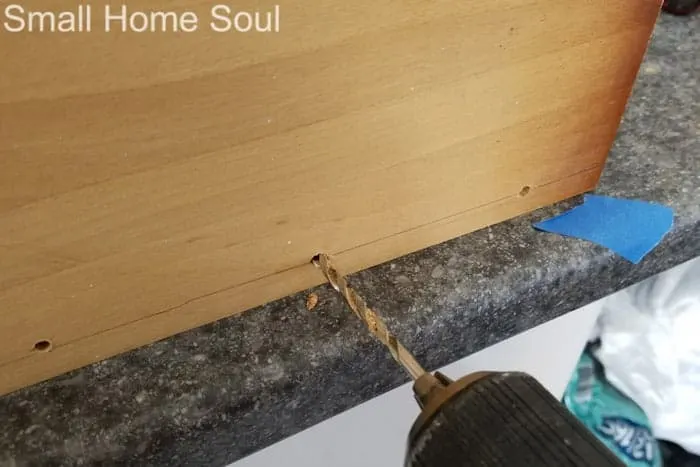
Step 2: Pre-drill the holes.
- Make lines along the bottom of all four sides 1/2″ from the edge.
- Place your 10″ x 15″ bottom board on your worktable. Push it against a solid surface. We’ll work on the long sides first.
- Stand an 8″ x 15″ side board next to the bottom board and align the ends. Hold or clamp the boards together and use your cordless drill to pre-drill five equally spaced holes along the marked line.
Step 3: Attach with wood screws.
- Insert wood screws. If you don’t have a fancy work area with clamps and such you can start with just one pre-drilled hole in the center and insert the screw to hold it in place while you drill the other holes. This isn’t fine furniture, it’s a box for the garage so I wasn’t worried about the exposed screws in my finished product.
- Turn the bottom board around and do the same for the other long side.
- The two end boards will overlap the side boards.
- Pre-drill three holes on the bottom and insert wood screws.
- Align and hold the corners of the box while you pre-drill and insert two more screws in each corner.
Step 4: Attach carry handles.
Mark the holes for your handles and drill and attach them. You may have to use some washers on the inside if your side boards are 3/8″ like mine are.
Step 5: Sand and finish.
Sand the box to smooth out the rough edges and apply the wood stain to give it a finished look.
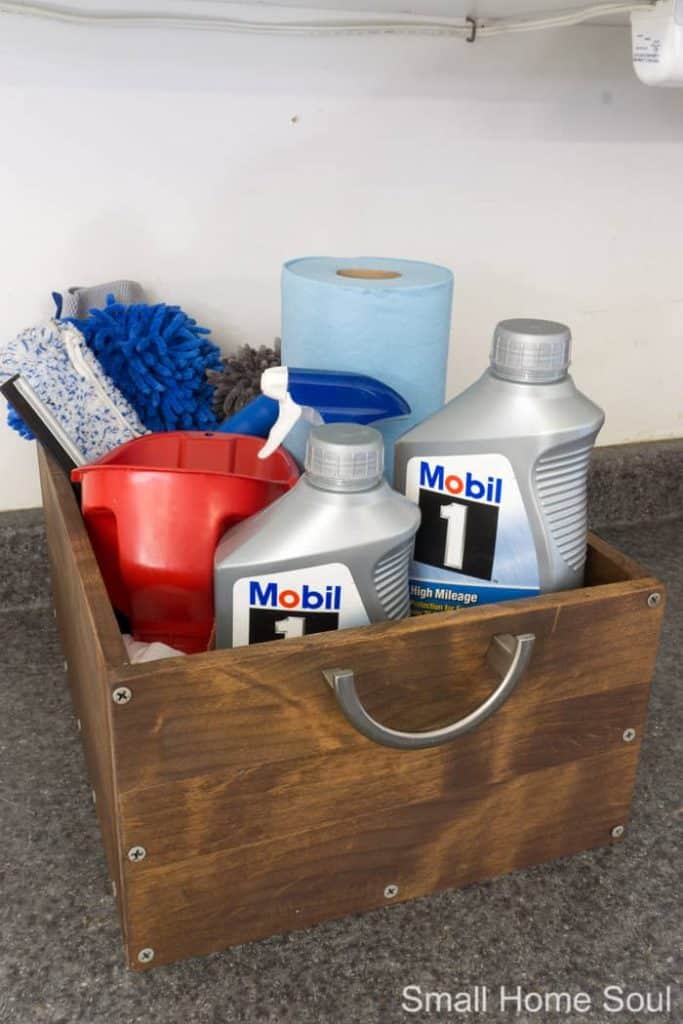
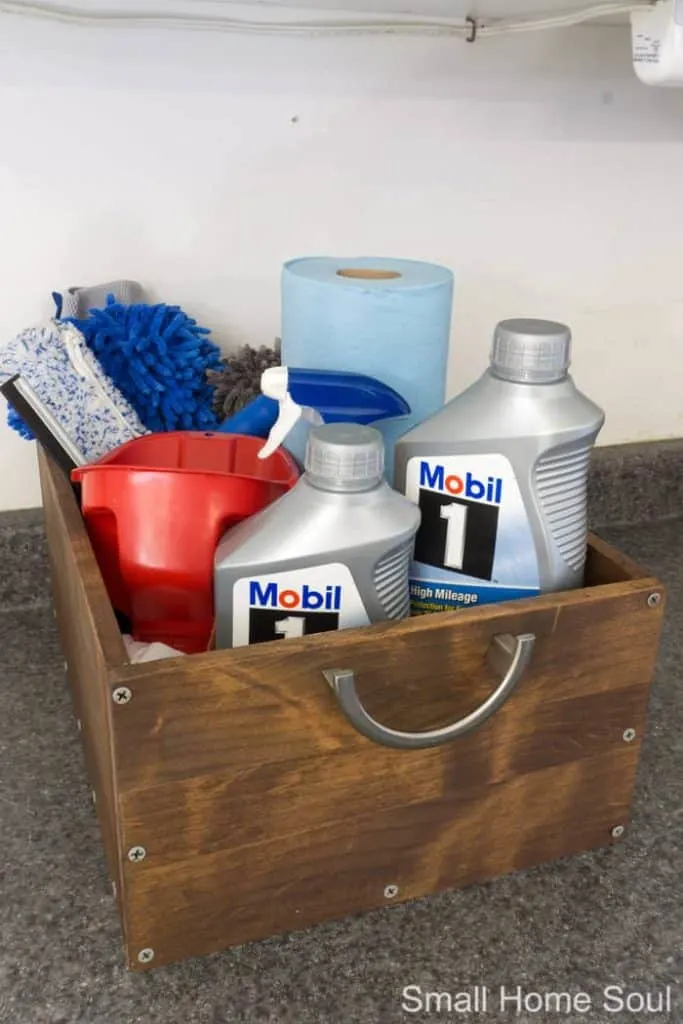
Step 6: Stock with car care essentials.
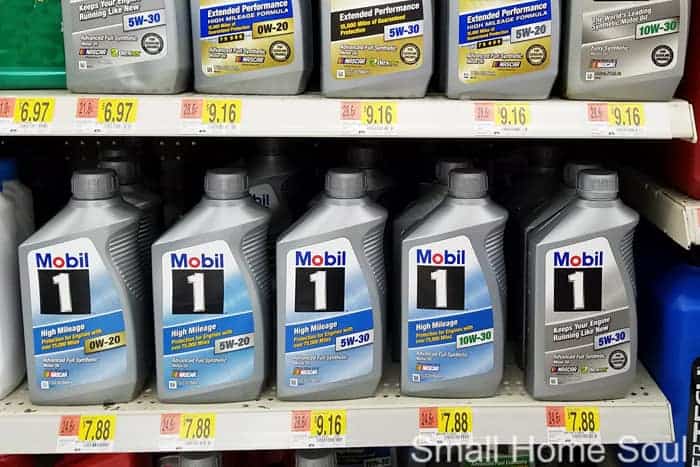
To stock my new oil change kit I ran to Walmart to pick up some Mobile 1 High Mileage Synthetic Oil. My car is over 10 years old so using the right oil for my engine is important.
I also bought some thick Shop paper towels and a new oil funnel to make changing the oil that much easier and cleaner. And maybe even throw in a car wash mitt and a good squeegee.
You can find single quarts or 5 quart containers of Mobil 1 in isle or on the end cap.

If you’re not a DIY oil changing kind of person, no worries. Because remember you can get your oil changed at Walmart’s Auto Care Center.
LOVE THIS BOX!! PIN IT!!

I’m so glad you joined me today, I hope you were inspired to make your own DIY Oil Change Kit to organize your garage supplies.
Michelle James
Tuesday 24th of April 2018
What a great idea! I love the handles on the box. Too fun! You are always so creative!
Claire
Thursday 19th of April 2018
Cute box for your kit.
Susie
Wednesday 18th of April 2018
What a great box! MObile oil couldn't have a better spokesperson. Super job with this post. ~~ Susie from The Chelsea Project
Janice | sawdustsisters
Tuesday 17th of April 2018
My dad owned a gas station too! Your wooden box is super cute. And the added organization is sure a win win.
Kim
Tuesday 17th of April 2018
We are DIYers and that includes oil changes. And your dad owned a Mobil station? How neat!