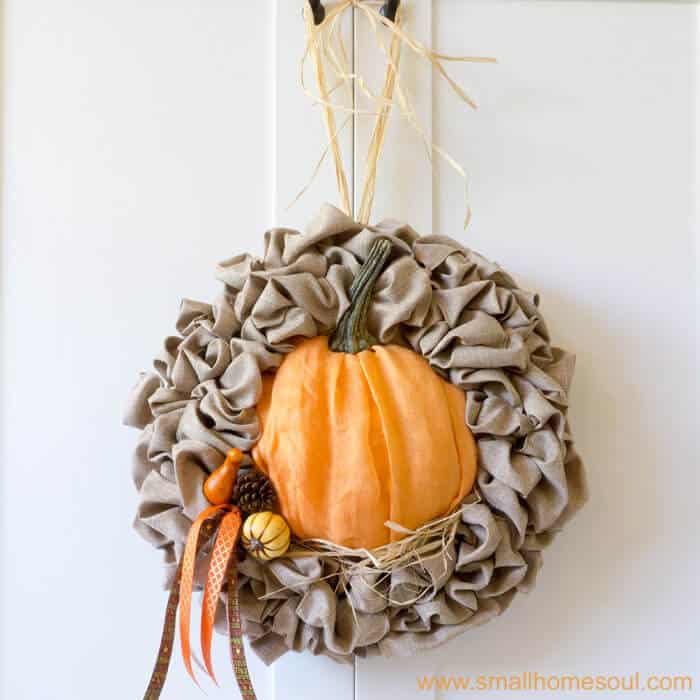
Having a seasonal wreath makes it so easy to do a quick fall decor update to a basic bubble wreath. A nice bonus is everything is attached temporarily for easy removal and updating. What could be better than easy? 😉
We’re nearly into Fall already so this is a perfect time to join in with some blogging friends for a Fall Decor Blog Hop. Check out all their Fall Decor ideas at the bottom of this post. You will surely find inspiration in this talented group of ladies. Just click on an image and you’ll be taken right to their project.
For my project I just love the idea of taking this basic wreath and easily change it up for the seasons. Before today’s easy Fall decor update I’ve done a few others so let’s review. First I did my basic wreath and gave it a simple update for winter. Next it got updated as an Easter Bunny Wreath with a cute picket fence. And most recently I gave it a patriotic update for July 4th.
I’m so happy I was inspired by my friend Anika from Anika’s DIY Life to make my own interchangeable. She made lots of variations to her wreath last year.
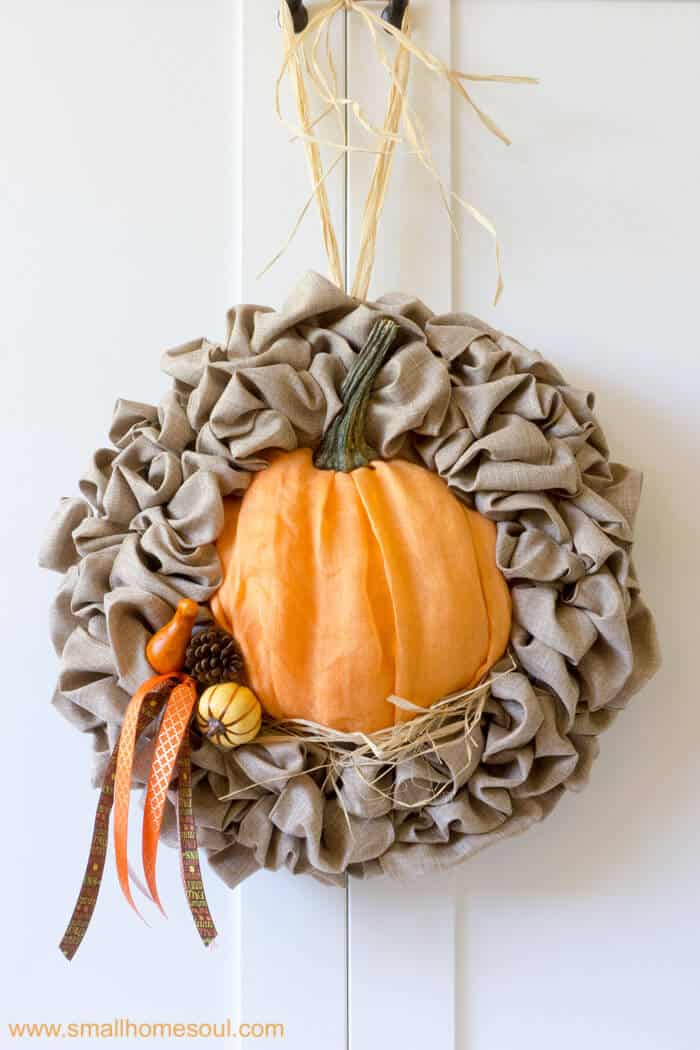
Today I’ll show you how to make an easy fall decor update by transforming it to a pumpkin wreath, perfect to take you right through to Thanksgiving.
This page contains links to products, if you purchase something after clicking on my link I may earn a small commission (at no extra cost to you). You can read about affiliate links here.
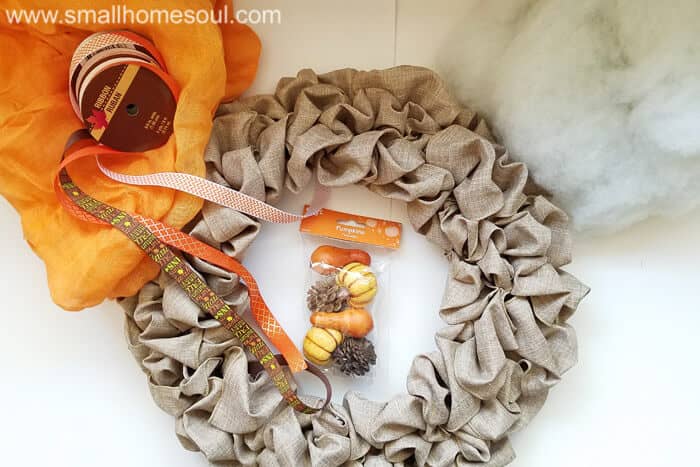
Fall Decor Update Supply List
- Bubble Wreath or Burlap Wreath
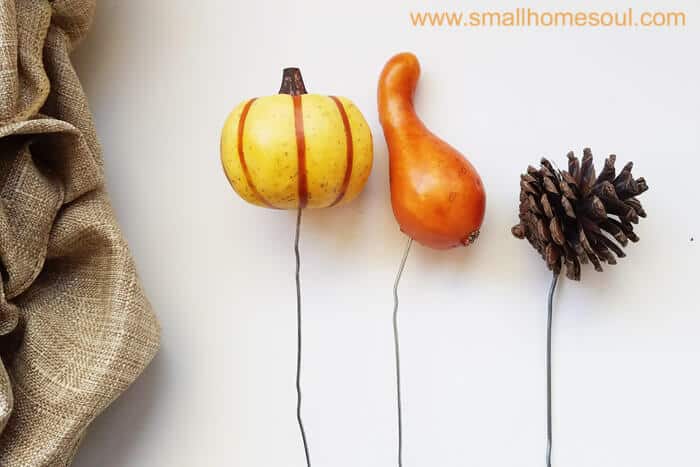
- Tiny Foam Pumpkins
- Polyester Batting
- Orange Scarf or Fabric
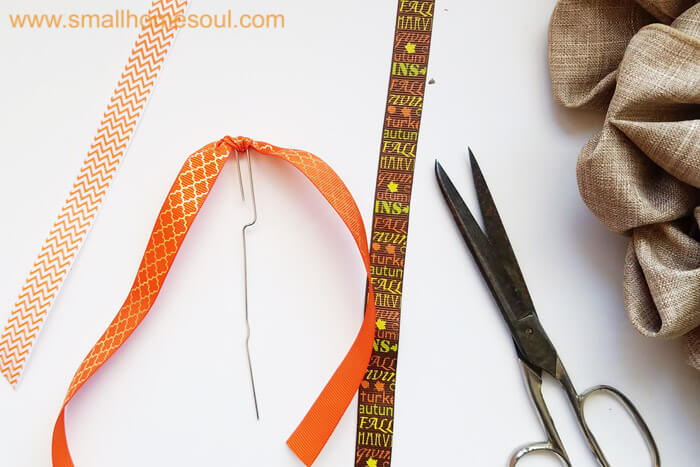
- Fall Craft Ribbon 5/8″ wide
- Safety Pins
- Paper Clips
- Raffia
- Glue Gun
- Pumpkin Stem or sticks wrapped with jute rope
Here’s how to do Fall decor updates on your wreath:
- Remove all the decor items you used on the wreath the last time.
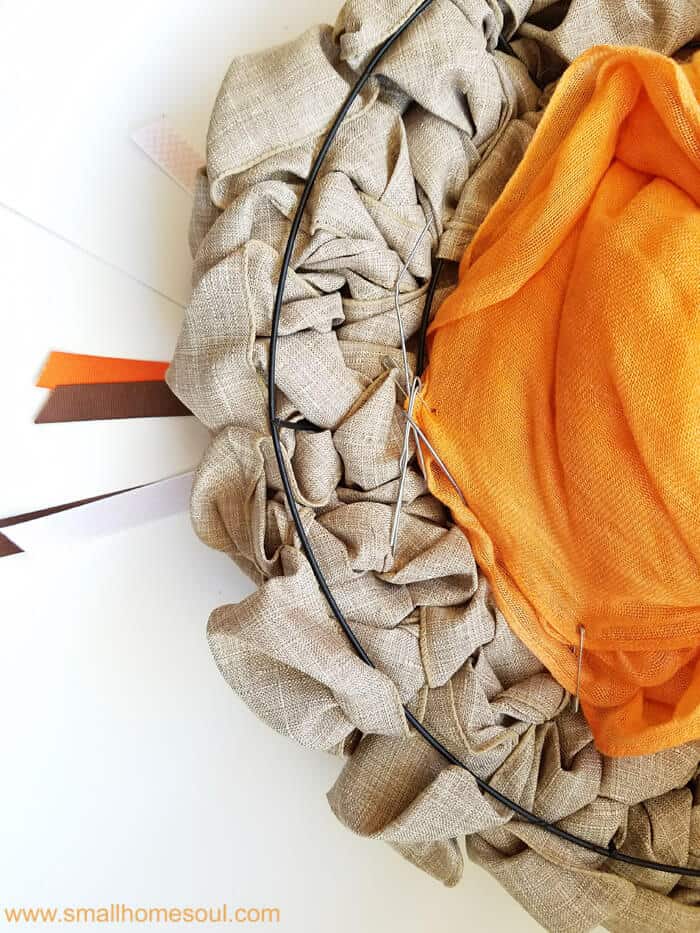
- Fold the scarf lengthwise so that it’s about 12″ wide.
- Near one end use a safety pin to gather the scarf in about 1/3 of the center.

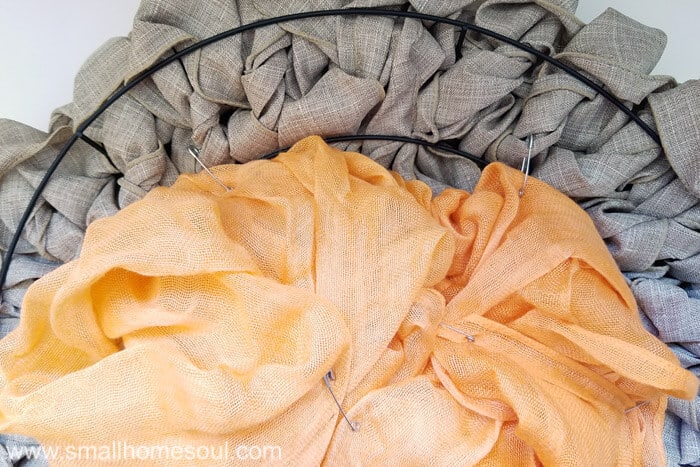
- Gather a section of polyester batting (I pulled some from an old pillow) about 4-6″ think and as big around as the center opening of the wreath. It doesn’t have to be too dense. Lay it near the pin-gathered section from above so that the pin will wrap over the edge just onto the back.
- Fold the rest of the scarf up and around and pin closed. It doesn’t have to be pretty, it’ll be hidden in the back.
- Lay the bubble wreath face down over the back of the scarf.
- Using more safety pins pin the scarf to the backside of the wreath. Attach them to the twisted portions if possible for a better hold.
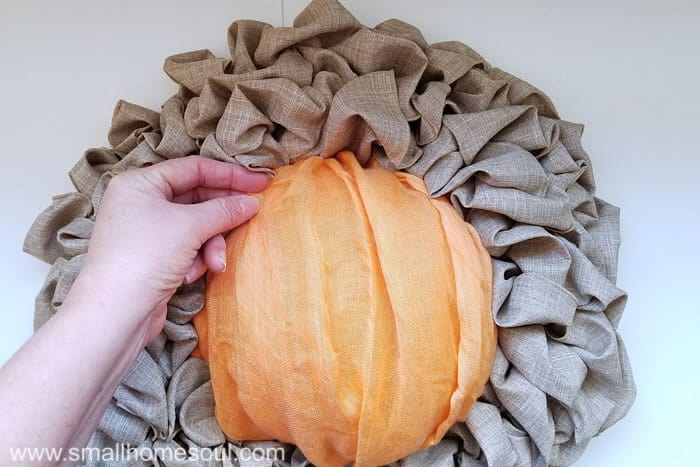
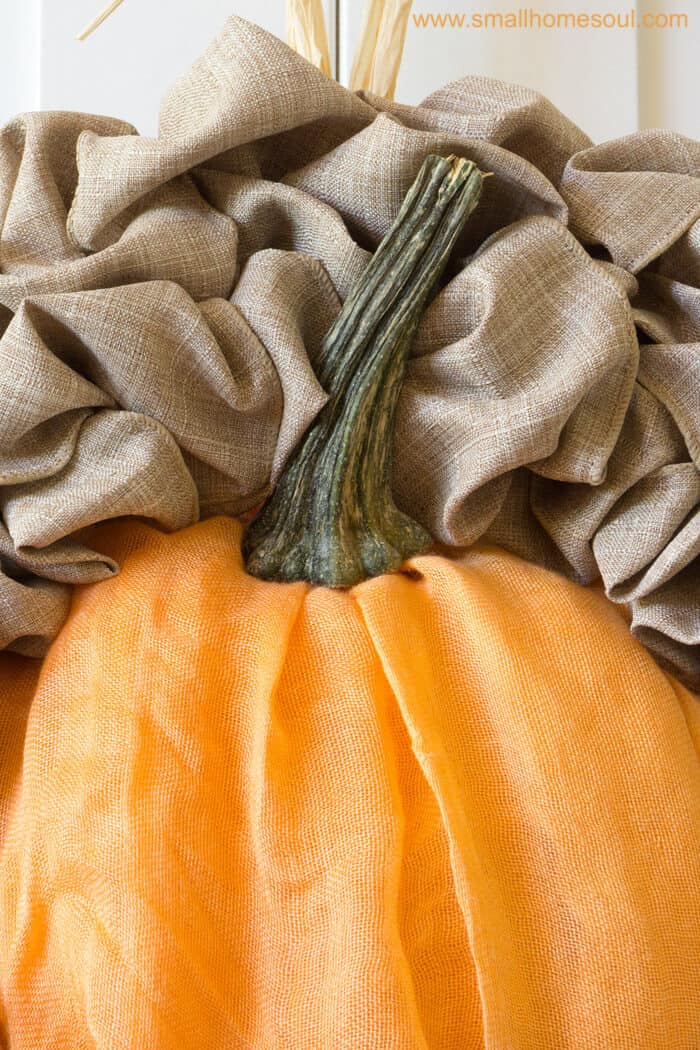
- Turn the wreath over and adjust the folds on the scarf to make the appearance of a pumpkin.
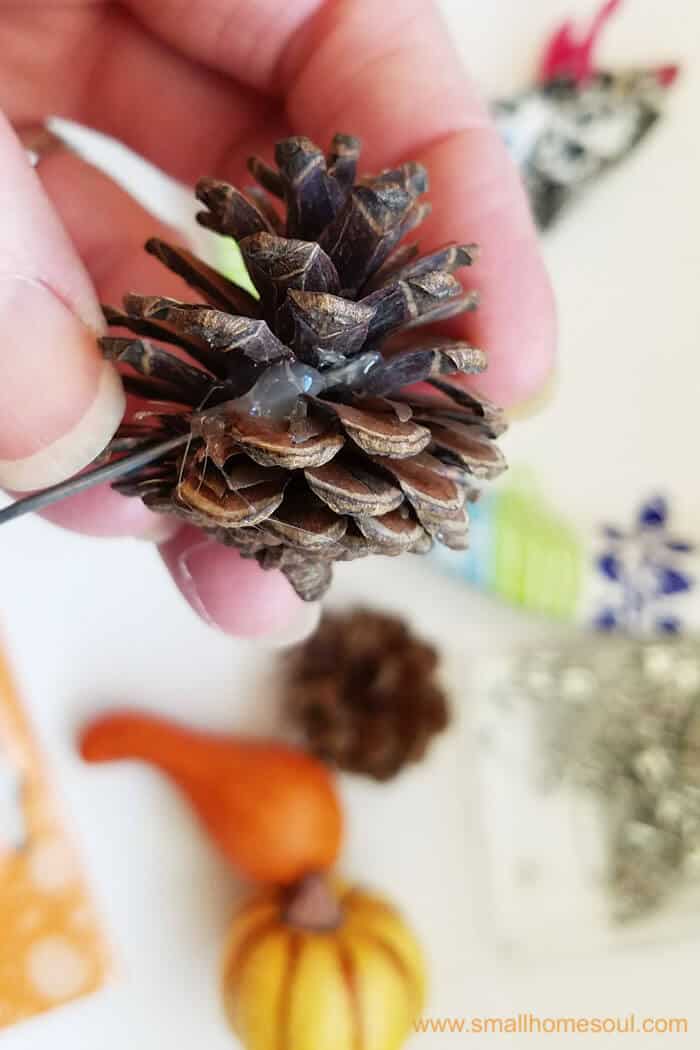
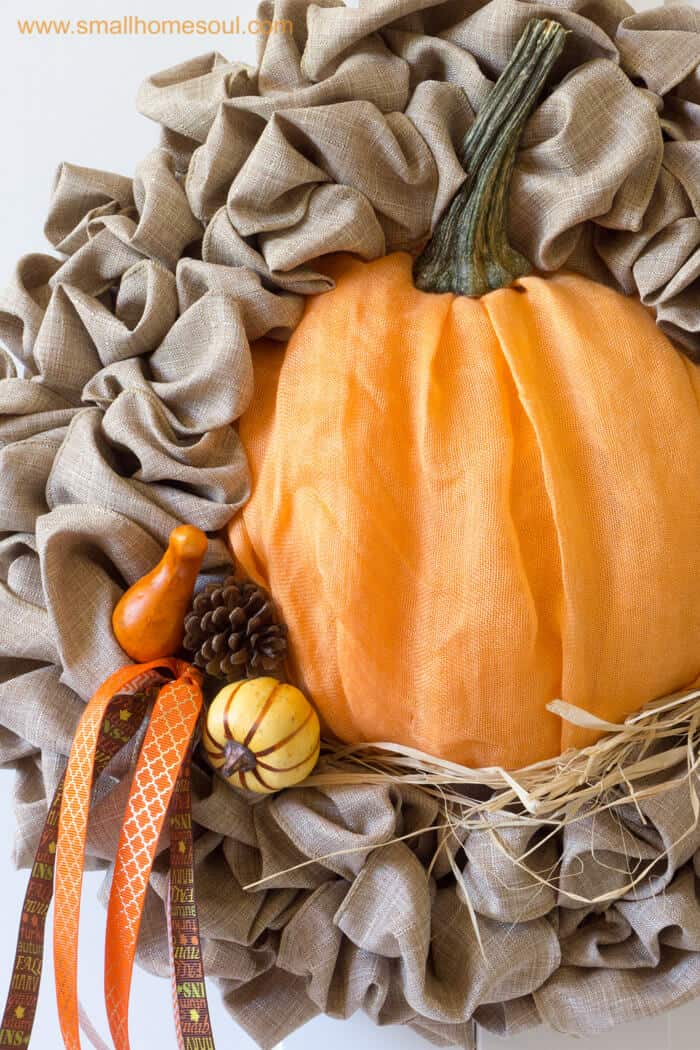
- Take the tiny foam pumpkins and poke a straightened paperclip into the pumpkin or gourd. Pull it out, apply some hot glue and then push the paperclip in again. Set aside to cool.
- For the tiny pinecone you may need to break out a few sections to slide it in for gluing.
- Use another paperclip and tie some ribbons to the small hook and trim the edges.
- Find a nice placement for your picks and carefully insert, bend and twist them at the back.
- Turn the wreath over and fluff the wreath. Adjust the folds on the scarf pumpkin if necessary.
- If you have one tuck in a pumpkin stem on the top. You shouldn’t need to affix it since the end is rough. But you could use double-sided tape if you’re hanging it on a door. You can also use a few sticks wrapped with jute string to make a stem.
- Tuck some Raffia under the bottom edge of your pumpkin to give the appearance it’s sitting in the hay.
- Use several strands of Raffia to hang your pumpkin wreath from a hook, wreath hanger on your front door, or tie it to a cabinet like I’ve done.

I bought these tiny pumpkins at Walmart for $0.98, six to a pack and they were perfect.

Last year I was shopping for a pumpkin and was lucky enough to see this stem that had broken off another pumpkin just laying in the bin. It really adds a lot to my little scarf pumpkin wreath.
More Fall Projects: Light Up Pumpkins – DIY Grateful Wall Hanging
There you have my easy Fall decor update to a seasonal wreath. I really like that I can quickly update it with just a few items and don’t have to make a whole new one. I hope I’ve convinced you to try making your own seasonal wreath, and inspired you today with a fall decor change up that’s fast, easy, and pretty fantastic if I do say so myself 🙂
Love it Pin it!

Welcome to our monthly Creative Blog Hop!
This month it’s all about Fall DIY Projects where you’ll find lots of inspiration to keep you DIYing for months!
Meet your hosts
Tammy @ Hey Fitzy | Janine @ Happy Happy Nester
Sarah @ Twelve On Main | Carolann @ Sassy Townhouse Living
Lynn @ Nourish And Nestle | Leanna @ Faeries and Fauna
Tara @ Lehman Lane | Michelle @ Our Crafty Mom
Sam @ Raggedy Bits | Amanda @ Life on the Bay Bush
Toni @ Girl, Just DIY! | Julie & Jodie @ The Design Twins
Susie
Friday 6th of October 2017
Super clever and cute. I can always count on you to be super original. Congrats on another great one! XO Susie from The Chelsea Project
Sherry Cole
Thursday 5th of October 2017
This wreath is awesome! This is such a clever and unique idea.
Anika
Wednesday 27th of September 2017
Love the wreath Toni! The pumpkin in the middle is just awesome!! It gives it a whole new dimension!
Janice at sawdustsisters
Saturday 23rd of September 2017
So cute Toni! I love that you can change it up for the seasons! That's my kind of decor :)
Toni Harvey
Wednesday 27th of September 2017
Thanks Janice, it sure saves me storage space in my small house.
yuni
Thursday 21st of September 2017
Toni, your wreath is so very festive!! Great job and thanks for sharing!
Toni Harvey
Thursday 21st of September 2017
I'm so glad you like it Yuni, it turned out so much better than what I was shooting for originally :)