Reduce, reuse, recycle is a great motto that everyone should strive to live by. We try to do our part and like a lot of people we reuse jars and containers to store stuff.
If you’ve just started following me each week I co-host a Link Party and recently my co-hosts and I started doing little challenges for making creative items. This week I threw down the challenge to make something out of tin cans and today I’ll show you how I made a Recycled Tin Can Lantern & Planter.
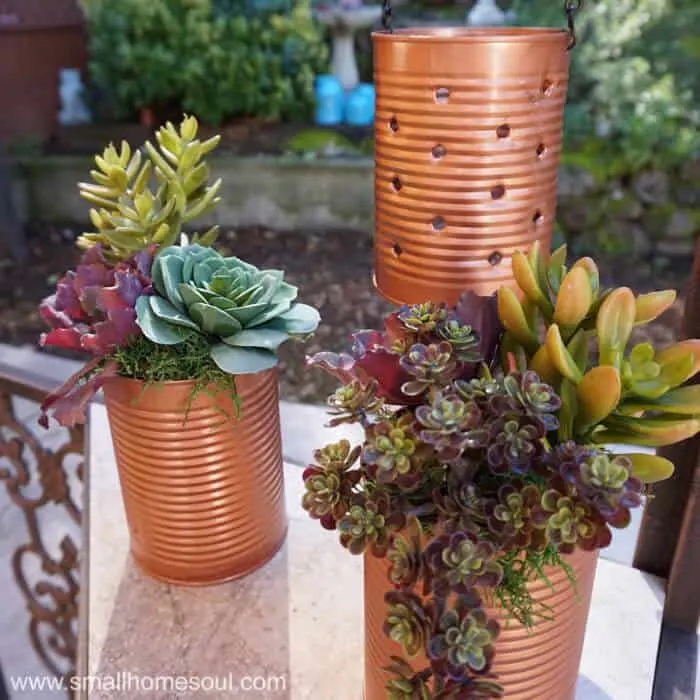
It’s an easy project that anyone can do.
Some weeks our trash and recycling bins seem to have barely anything in them and other weeks it seems impossible that two people could produce so much trash/recyclables. We don’t buy or use a ton of disposable products or canned foods but still lots of stuff comes in packaging so we recycle what we can.
We’d been buying water-processed decaf coffee for that late night cup of coffee and the cans were a great size. I collected them knowing that they’d make something great.
This page contains links to products, if you purchase something after clicking on my link I may earn a small commission (at no extra cost to you). You can read about affiliate links here.
Supplies for Recycled Tin Can Lantern & Planter
- 5 Tin Cans
- 5‘ Black Jack Chain
- Scratch Awl (one you can hit with a hammer)
- Hammer
- Drill & 3/16″ metal drill bit
- Needle-nose pliers
- Metal Ring (for hanging)
- Rustoleum Copper Spray Paint
Start by determining a nice pattern you want to use on your lanterns. I used a simple staggered 3-hole pattern. I made them about 1 inch apart but I wasn’t too concerned with perfect spacing since you can only see 3 columns at a time.
You can mark it out with a sharpie first if you’d like but I threw caution to the wind and eyeballed everything on the first can.
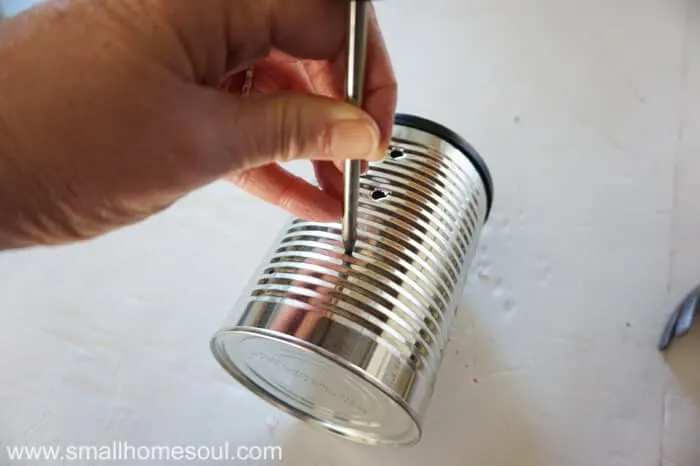
Using the scratch awl and hammer make your holes as small or as large as you want. I left the lids on to keep the rim of the can from flexing under the pressure.
You can see below that I started marking my second can with a sharpie to make sure at least the top and bottom holes were the same on each can.
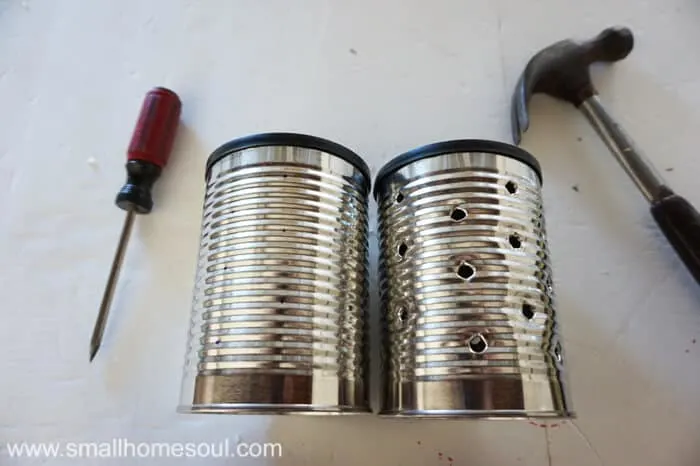
The best part about DIY projects is that you can mix things up. Originally I was going to make all five cans into recycled tin can lanterns but decided I wanted to use two of them as planters.
I knew I wanted to hang them all from chain so I used the drill to make 2 small holes at the top edge of each can. Then I got busy spray painting them, I even painted a few inches into the inside edge.
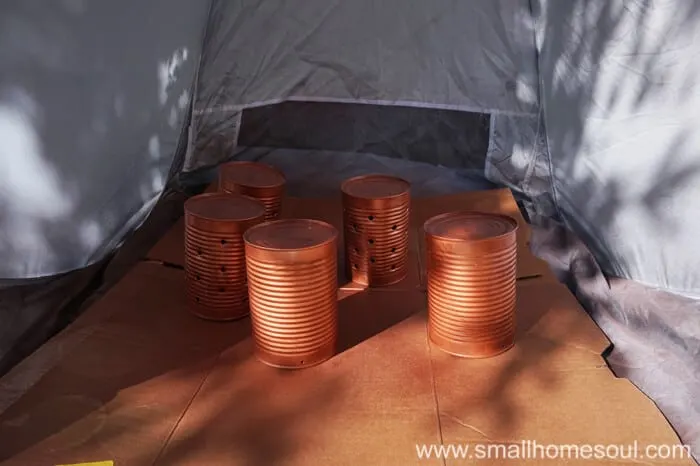
I almost had some serious paint slumping. Every painters worst nightmare. I managed to save them by carefully turning the cans upside down to stop it mid- slump; and it worked.
That would have been the worst and really ruined the entire project. Actually it would have been a bummer because I don’t think painted cans can be recycled.
It was totally my fault as I wasn’t sweeping across the can with the spray paint stream and the paint was too heavy. Of course I was trying to rush and didn’t have time for a second coat.
While the cans dried I headed to the hardware store and bought some jack chain to hang my lanterns and planters. I needed hooks or something to hang the can from the chain.
I couldn’t find anything at the store small enough so I used the needle-nose pliers to fashion hooks from a few links in the chain.
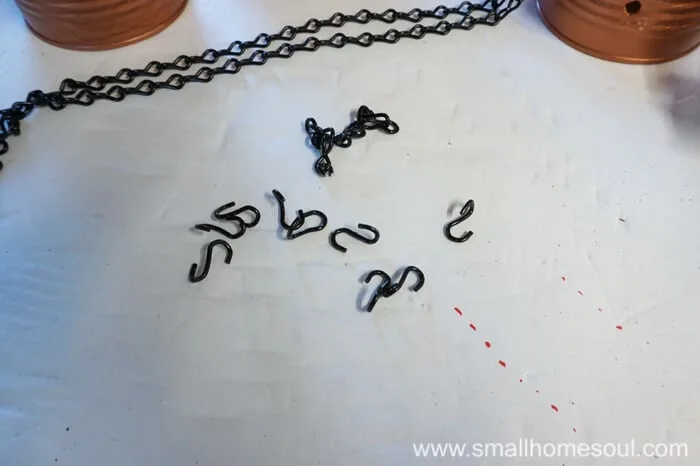
After I figured out my spacing to allow room for the plants and getting candles in and out it was going to be way too long. So I switched it up again and decided to only hang the three lanterns from the chain.
Assembling the Recycled Tin Can Lantern
I’m sorry I forgot to get any closeups of this part of my project.
- Affix a 28″ length of chain to either side of the bottom recycled tin can lantern by opening up the bottom link loop and threading it through the hole.
- Close the link with needle-nose pliers.
- Now grab two of the opened chain links. Count up 15 links from the first can thread one end through the side of the second lantern and hang the other end from the bottom of the 15th link. Do that for both sides of lantern #2
- Repeat for the 3rd lantern.
- Hold the two ends of the chain together to make sure you cans hang properly. If not remove the necessary links to make it level.
- Lastly, open the top loops on both chains and tighten them around a metal ring with your pliers. I used an old key ring.
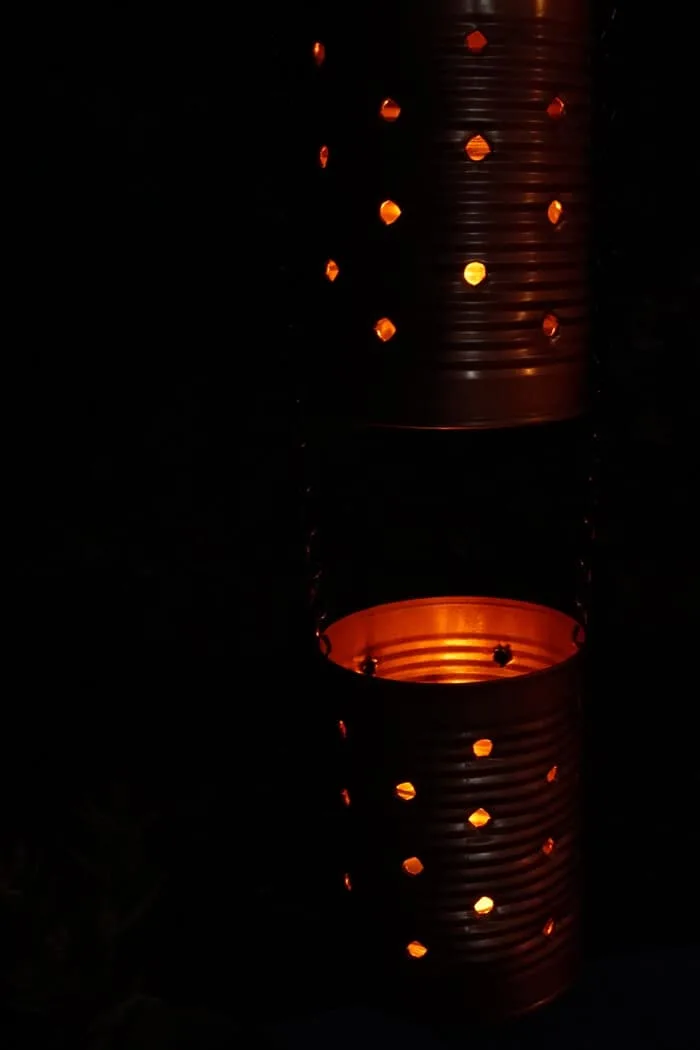
Hang it in your favorite spot, put in some candles, and you’re ready for some pretty evening lighting with your recycled tin can lantern.
They look great in daylight too! I hung mine above a corner shelf on our arbor near the tin can planters.
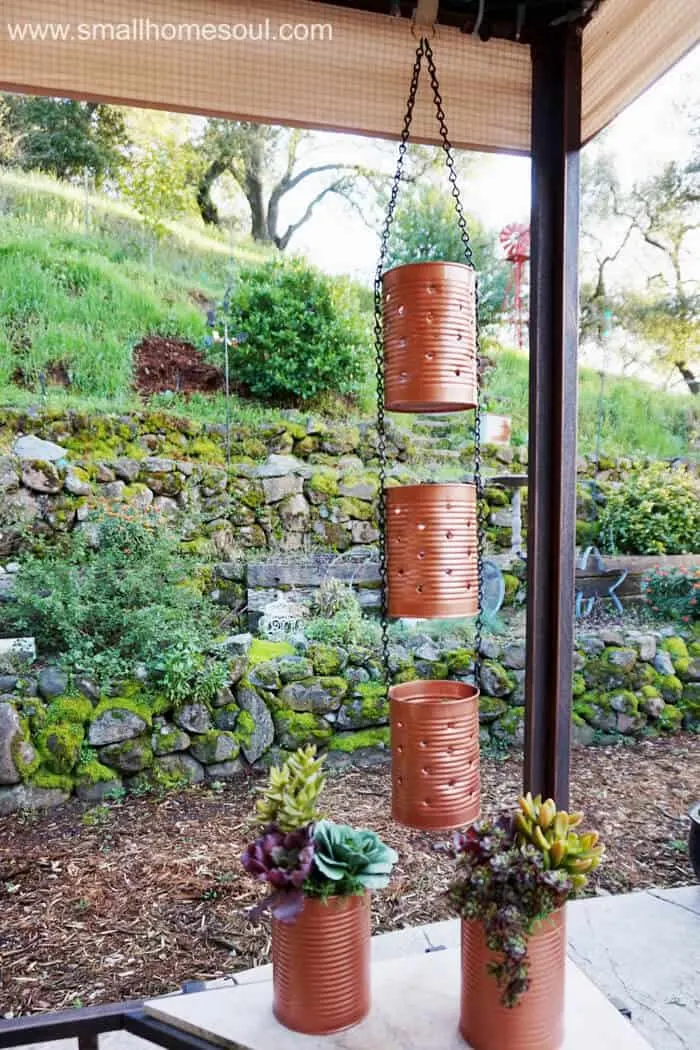
I love the greenery against the copper of the planters; pretty awesome 🙂
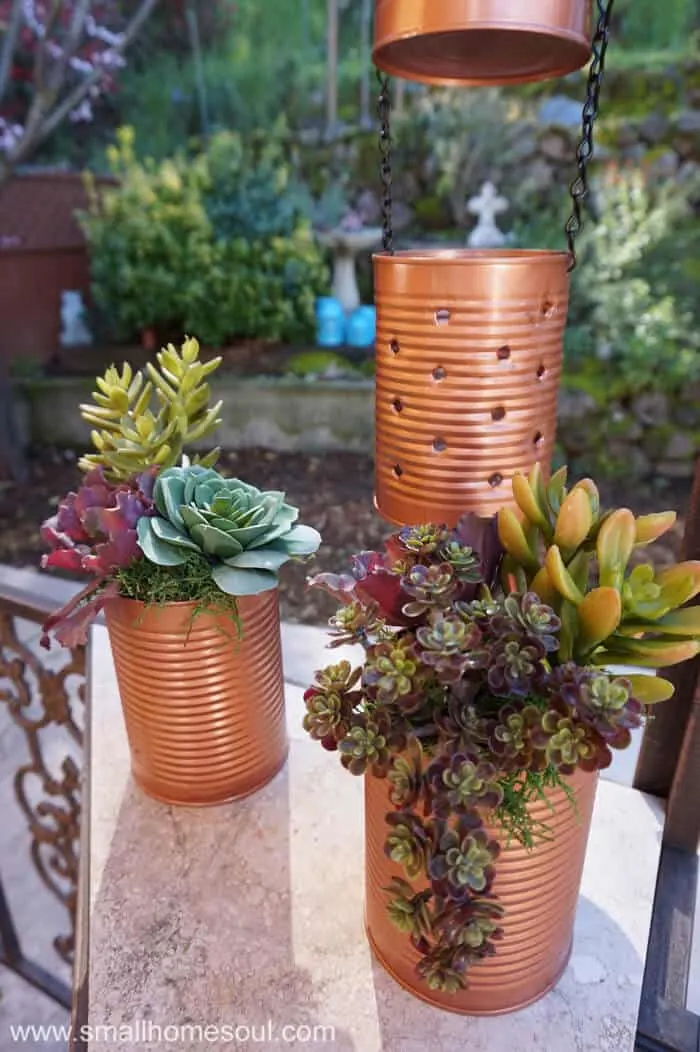
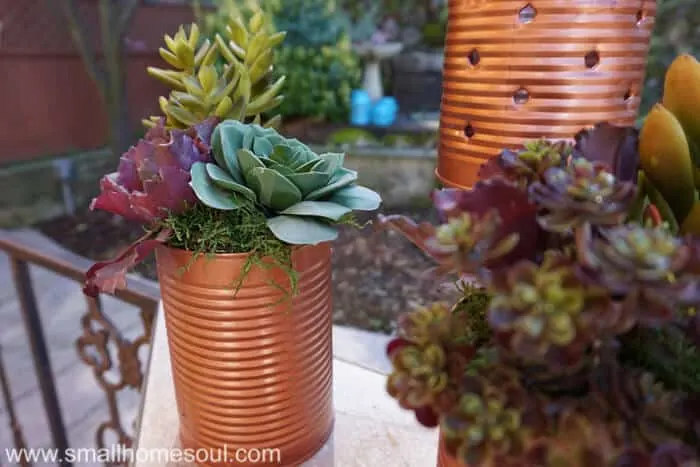
You all know I love succulents so I used some more of the lovely faux variety that I used in the Faux Succulent Planter I made recently.
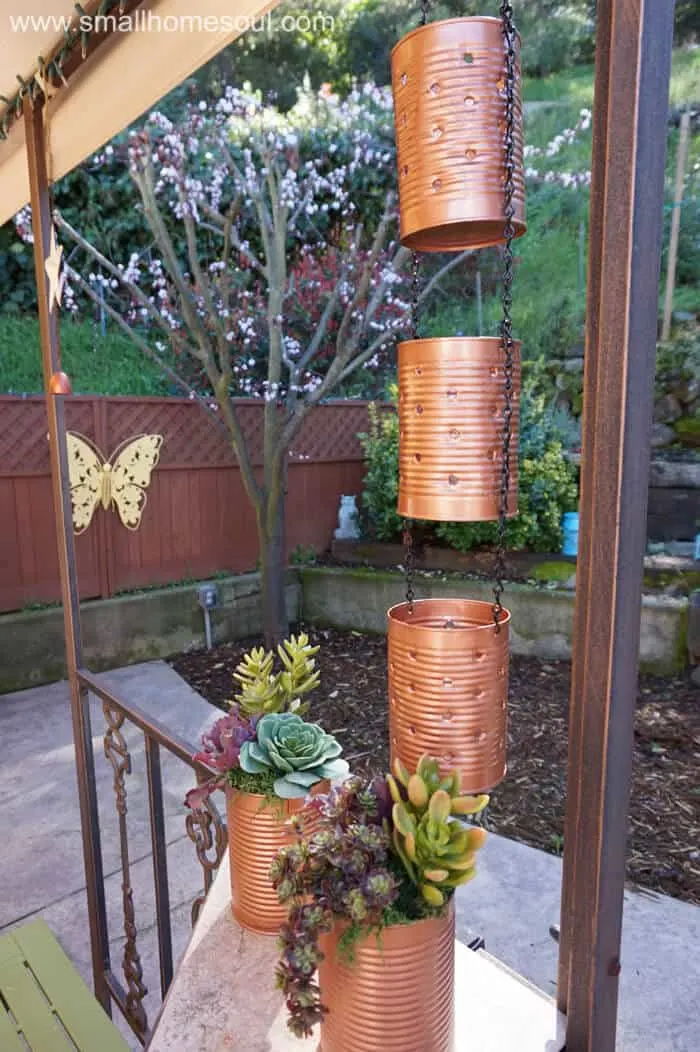
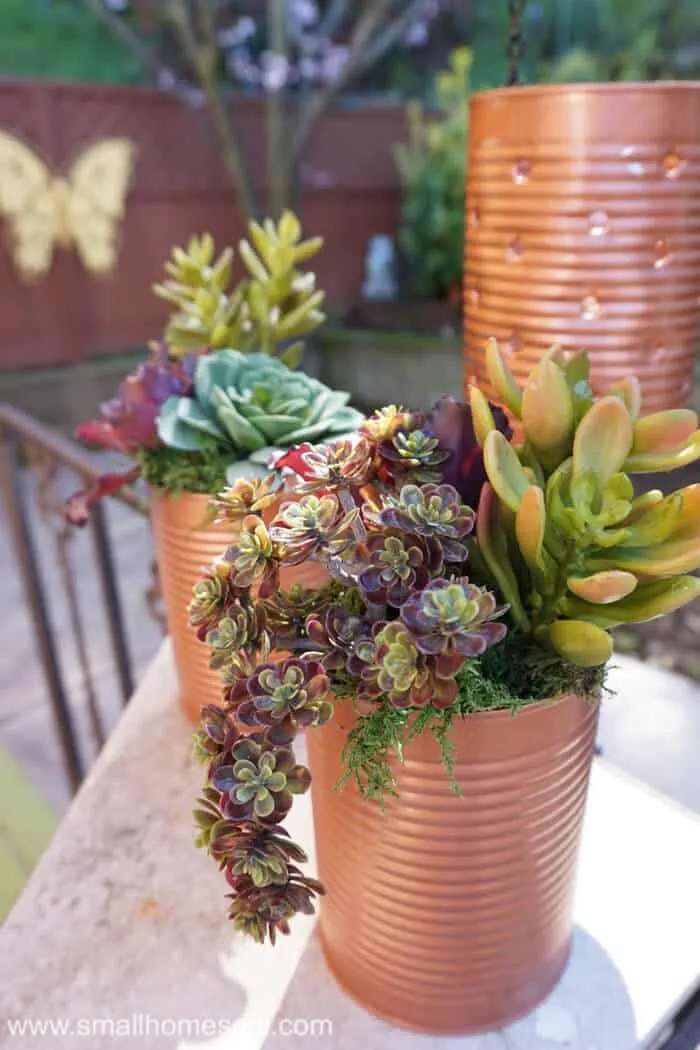
I love the new recycled tin can lantern, and the hubby does too. And I feel better knowing I did a little something extra to reduce, reuse, recycle.
Rebecca Payne
Sunday 17th of January 2021
I love the recycling and creative idea. I love the copper color. Great job!
Hanging Succulent Terrarium - Faux and Carefree - Girl, Just DIY!
Wednesday 27th of February 2019
[…] Projects with SucculentsTin Can Planters – Milk Glass Planter – Faux Succulent […]
Ann Tatum
Wednesday 11th of April 2018
oh my goodness... those are gorgeous! I planted some succulents in tin cans last summer but we didn't spray paint them first. I love the copper... I'm gonna have to copy you on my patio this summer!
Jennifer Hensley
Monday 10th of April 2017
Hi Tony! I love this idea with the cans but for a different type project. Do you feel the Rustoleum paint is enough to keep the cans from rusting? My project will be a very large one and do not want to waste the time and money if it will eventually rust.
Toni Harvey
Monday 10th of April 2017
Hi Jennifer, I really do love Rustoleum paints! I have an iron table on my patio that has been sitting in the weather for many years and it has very little rusting. It will be getting a new paint job this Spring but only because I want a different color.
I think the best plan to ensure you have no rusting is to prep your item(s) well. Wash off all dirt and let it dry completely. If it already has a little rusting you can use fine grit sand paper or steel wool to clean it. For more rust or prior paint flaking I'd suggest a wire brush to really get it cleaned up well. Then more washing and drying as the last step.
Once you feel confident in the prep I would paint a few coats in the areas you feel might be prone to rust. Such as flat areas that might be exposed to water pooling, or seams and crevices. I've painted a lot of things that are outdoors and I really trust this paint. They have a few different lines so read the labels to ensure you're buying the best product for where your project exposure.
Good luck, I'd love to see your project so when you're done. If you want to email me a picture when you're done that would be great [email protected] :) Also let me know if I can share it on my Facebook page.
Lisa
Friday 10th of March 2017
This copper spray paint is to die for! I need to find something to use it on right away.
Great job girl!
Toni Harvey
Monday 10th of April 2017
Thanks Lisa, yes I love the copper so go and paint all the things copper :)