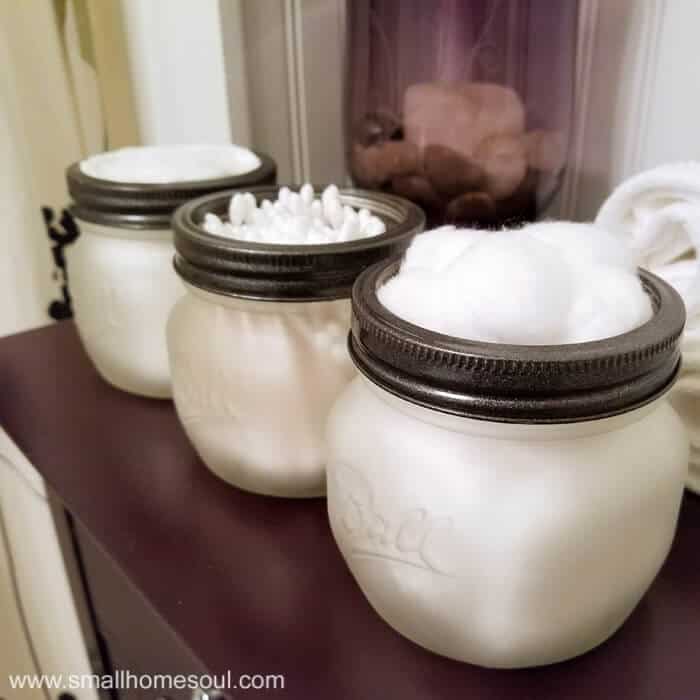
How many different ways can you use a mason jar? Tons, apparently. You know I am a lover of mason jars, and I’ve been finding different ways to use them. Recently my friend Kellie from Gratefully Vintage posed the challenge for us to create something with Mason Jars in our Link Party. I was in need of some better organization in our guest bath so I decided to make a mason jar bathroom organizer. Topped with some frosting.
This post contains some affiliate links. If you click on a link and make a purchase I may earn
a small commission, at no extra cost to you.
All sizes of mason jars are great but I especially love how the squatty pint jars look. I was lucky that I had three because that’s what I needed. And I wanted them frosted. I could have painted them with the frost paint but I wanted it to be permanently etched, the old fashioned way.
Mason Jar Bathroom Organizer – Supplies
- 3 Pint Size “Elite” Mason Jars
- Armour Etch Cream
- Paint Brush
- Window Cleaner
- Rustoleum Gloss Black Spray Paint
- Rustoleum Antique Nickle Spray Paint
- Small Spray Shelter
The first step is to etch your mason jars. Follow these steps for successful etching, I’ve done the trial and error for you. You can also visit the Armour Etch website but they only illustrate using the etch cream on a stencil.
- Clean the outside of your jars fully with window cleaner
- This is important for uniform etching
- Don’t touch them after cleaning
- Determine what area you want to etch
- Tape off any areas you don’t want to etch and press the edges down well
- Protect your work area with cardboard or poster board. This product won’t etch plastic but I wasn’t taking any chances since I was working in my kitchen.

I etched the entire jar except for the rim so I just got started. I wore a glove on my left hand and I applied the etching cream with my right hand.
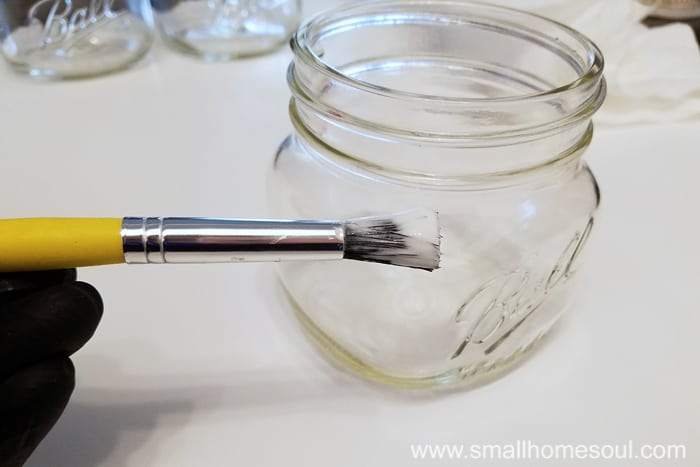
It’s important to cover every area being etched with a heavy coat of the cream to ensure it activates fully. The video on the website says let it sit for no more than 1 minute but that’s using an adhesive stencil (so it doesn’t undercut the edge of the stencil). After covering the entire jar I set the timer for 2 minutes. Then washed it off. The longer you leave the etch cream on the heavier the frost. I suggest practicing on an old jar first before you get started on your project jars.
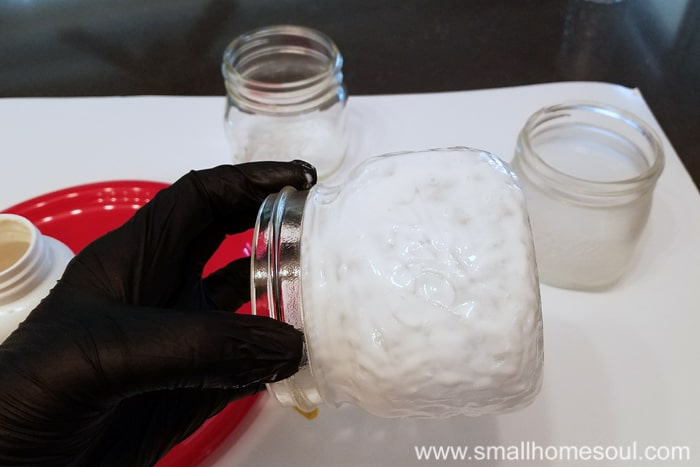
When time is up rinse off the cream under running water, rubbing away the cream with your fingers. Set the jar aside to dry and move on to the next jar. If yours doesn’t turn out evenly or you want them more etched just repeat the process over the entire jar.
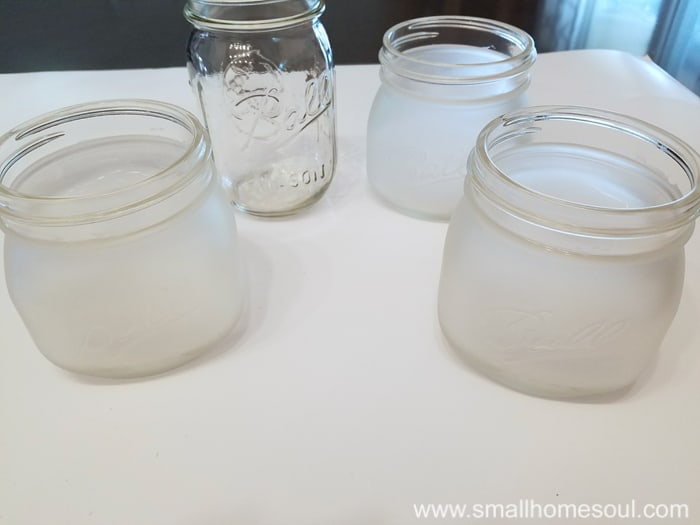
Here you can see how frosted they are next to an unetched jar. They’re almost ready to become mason jar bathroom organizers.
I forgot to take pictures when I painted the lid rings. I used the same two-tone painting process that I used for the Bathroom Light Makeover, and you can read about it when I shared the Soap Dispenser Makeover I painted the same way. It really creates a sparkly finish that I want to use on all the things.
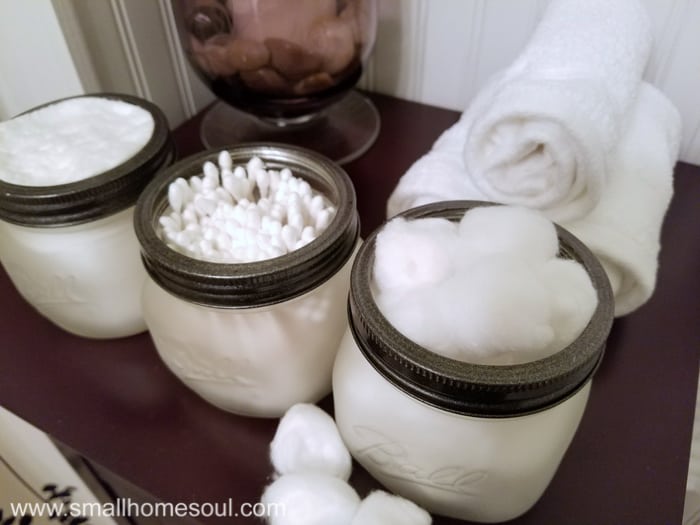
These are perfect for all the things you’d find in a mason jar bathroom organizer. Fill them with your favorite thing. Using the wide mouth jars turned out to be perfect for the extra large Cotton Rounds I found at Walmart. The Q-tips and cotton balls are easy to access.
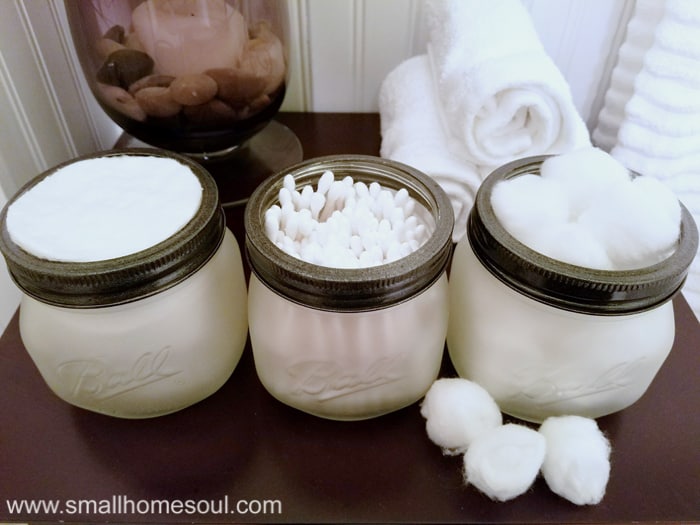
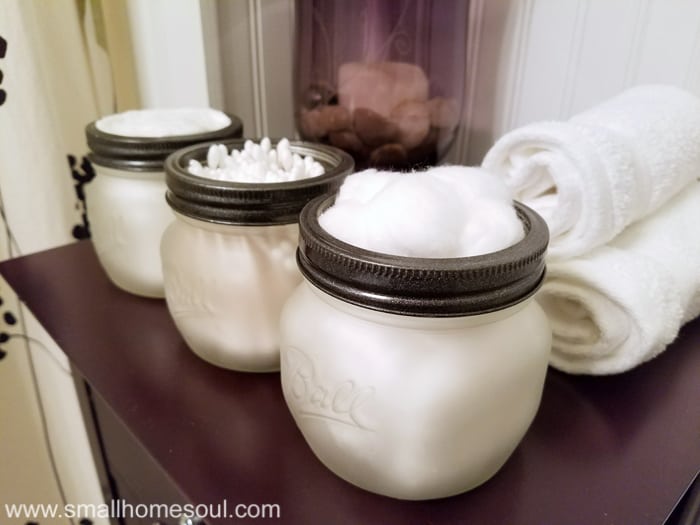
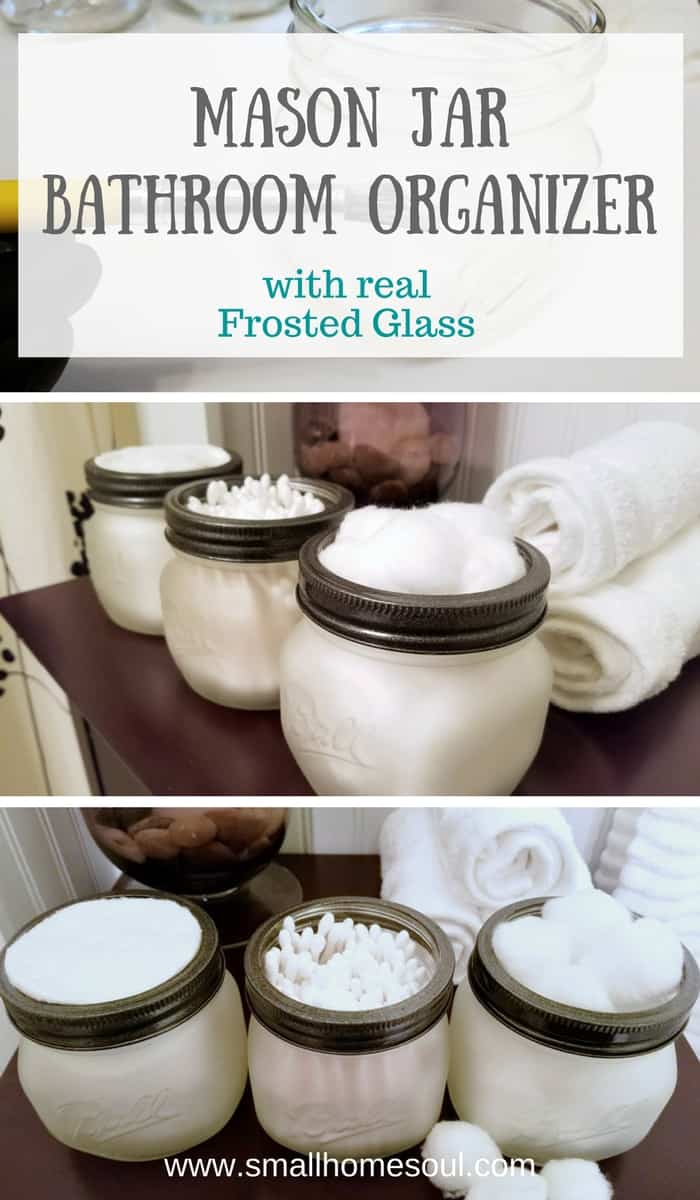
What a beautiful addition to any bathroom, frosted to perfection. You could also use the mason jar bathroom organizer as beautiful candle holders by popping in a few faux flickering candles. Don’t forget to Pin this and follow my Mason Jar Crafts board for more mason jar inspiration.
Lisa
Thursday 16th of March 2017
Toni, I absolutely love how these jars turned out. I may have to copy your idea for our $100 room makeover.
Great job girl!
PrettyPotato
Wednesday 8th of March 2017
Cute! I'm currently collecting yankee candle jars that I so far have no use for so this is lovely inspiration <3
Toni Harvey
Wednesday 8th of March 2017
Thank you so much! Aren't there so many cute jars out there? I have an awesome round one that sliced mango came in. I have a plan for that :)
KELLie
Wednesday 8th of March 2017
Toni you are the MASON JAR MASTER!!!!! I have never tried this before and now I can't wait to! It looks awesome!
Toni Harvey
Wednesday 8th of March 2017
Thank you Kellie, you can use a coupon at Hobby Lobby to save 40% on the price of the etching cream.
Sam @ Raggedy Bits
Tuesday 7th of March 2017
I haven't tried this before and am keen to try it after seeing your clever project! They turned out amazing! Perfect for the bathroom.
Toni Harvey
Wednesday 8th of March 2017
Thanks Sam, it's so cool how this stuff works. You can do so many things with it!