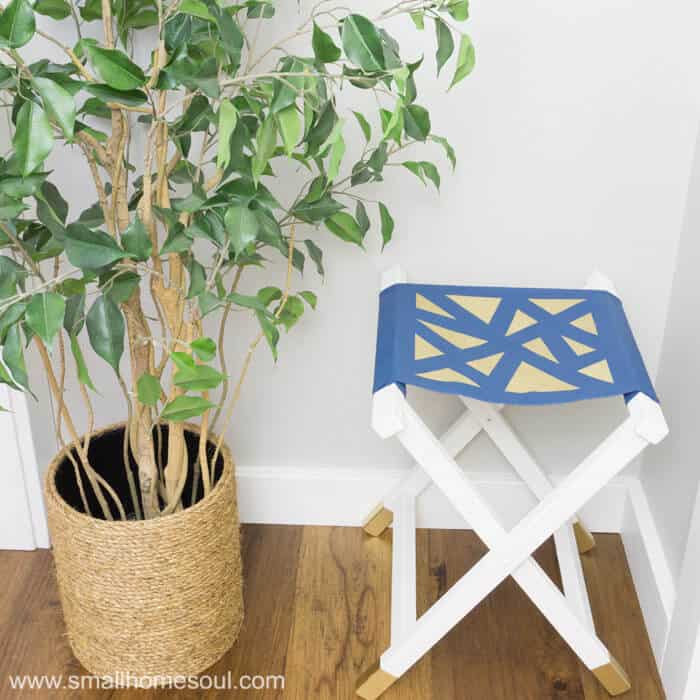
Don’t pass up the $5 canvas folding stool at yard sale or thrift store. They’re easy to update and useful as an extra seat in a pinch or as a quick footrest. They’re also a great size for kids.
A few weeks ago as I was coming home from church I saw the sign. You know the one, right? You have to know, if you’re a reader of most DIY blogs you just have to know. The sign haphazardly attached to the telephone pole. In chartreuse or neon pink. Dark lettering and some numbers. It grabs your attention so fast you nearly get whip lash. If you’re lucky you can read it without having to make an illegal u-turn to find the garage sale. Yep, that sign 😀
Is there really any other? 😉
There wasn’t much that interested me that day but I spotted this little folding stool. I’m pretty sure it’s a vintage folding camping stool. I say vintage because I’m pretty sure the only kinds of chairs that make it camping these days are the folding chairs with arms. Yep, the ones you can now even get with built in foot rests.
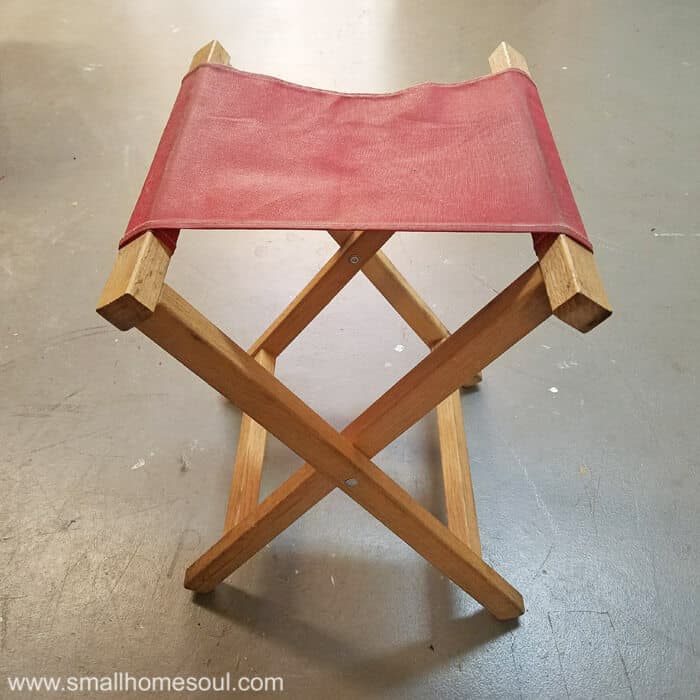
This little folding stool rode around in the back seat of my car until the other day when I finally got busy making it beautiful. I wasn’t in horrible shape. It was sturdy and just needed some love to make it look good again.
~I may receive a small commission for purchases made through links in this post~
Folding Stool Makeover Supplies
- Plaster of Paris (Powdered)
- Water
- Paint in your colors of choice
- Paint Brush – One of my favorites
- Sanding sponge
- 1″ Painters Tape
- Gold Spray Paint
I’ve never painted fabric before and I know a lot of people do it, so I’m excited to give this a try. After investigating how the canvas seat is attached I figured I’d start with paint first. I figure if I didn’t like how the canvas turned out painted I can always find a way to attach a new seat later.
Mixing up some chalky type paint I got busy painting the body of the folding stool in white. I’ve painted a few things with chalky type paint but I’ve never purchased pre-mixed chalky paint. For the DIY chalky paint I made an Outdoor Plant Stand, and when I updated a Vintage Side Table, I used mix from Diva of DIY.
Chalky paint is really great when you want to get a project finished quickly. The paint dries quickly, has a durable finish, and most people don’t sand before they paint. But I sand, always. I do it to ensure the paint sticks, and to smooth out any nicks or imperfections in the surface. Paint has a way of highlighting imperfections. Since I don’t distress my furniture like most chalk paint users, I prefer not to see the imperfections.
Mixing Chalky Paint
There are a few basic methods for making your own chalky paint. I used the Plaster of Paris and water method. Here’s the ratio and you can adjust up and down for your need. Mix 2 cups paint, 4 Tbsp Plaster of Paris, 2 Tbsp Water. For this table I mixed 1/2 c paint, 1 Tbsp PoP and 1.5 tsp water.
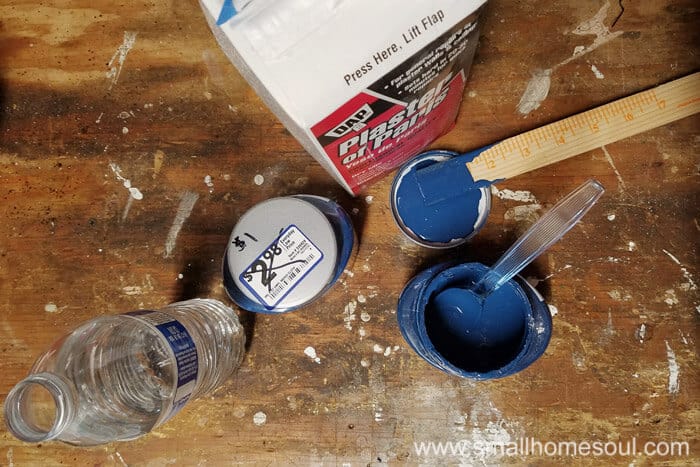
It was really hot in my garage when I was painting the body so I had to keep adding a little water when the paint thickened up. At the end it was kind of like painting with pudding. But it still worked perfectly. When the temp is cooler the paint doesn’t tend to thicken.
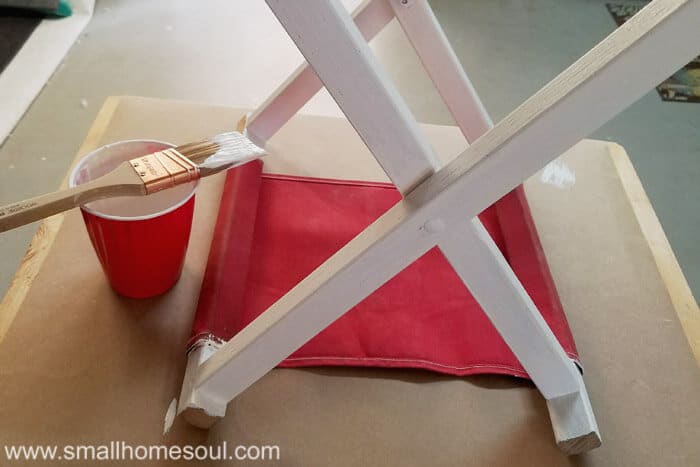
Depending on the wood type, you’ll need to apply a few coats of paint to get good coverage. Let it dry completely before moving to the next step.
The next morning when it was dry and the garage cooler I used painter’s tape and taped off the frame areas around the seat. I had some samples of paint in Indigo Cloth I’d picked up at Lowe’s (for $1 clearance, score) and I had just enough left to paint the seat of the folding stool.
Since I only had about 1/3 c. paint I adjusted the ratio of PoP and Water way down. Then I added a tiny bit more water; thankfully, it’s very forgiving.
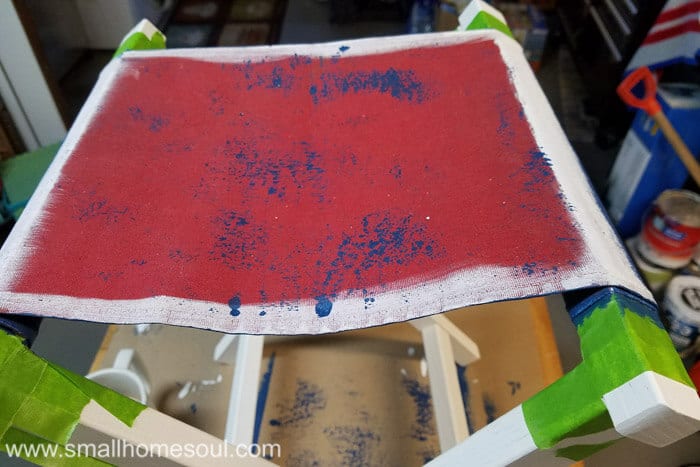
First I painted the underside of the seat and worked the brush into the area where the canvas was rolled around the cross pieces and all across the underside of the seat. The bottom will be visible when the folding stool is closed and I wanted a finished look.
Here you can see where I really worked the paint into the fabric. You can always use a spray bottle and wet the paint a bit to really soak it in if needed.
Adding Some Glam
When the seat was completely dry it was time to glam things up a bit. I decided to do gold-dipped legs.
- Determine the amount of leg you want to be “dipped” in paint.
- Use painters tape to protect the area above the line.
- Tape the exact same area on the other 3 legs
If you are using spray paint, as I did, you’ll need to protect the rest of the stool.
- Use a kitchen garbage bag.
- Make a whole for each leg and stretch the whole over the leg.
- Tape the bag just below the “dipped” tape line.
- Take it outside and spray paint your legs
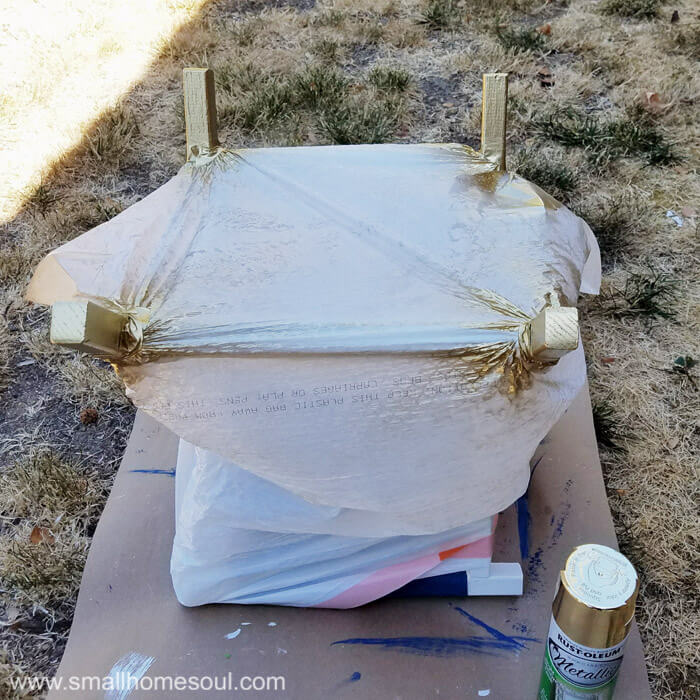
Our poor lawn, it didn’t recover from all the years of drought. We hope to tackle that project in the near future. But I digress
After the legs were painted and dried my little folding stool needed a little something else to really finish it off.
I knew bringing some gold onto the seat would really balance it out, and make the little stool look cute when there was no rump taking a rest on it. Here’s how to do it:
- Tape off the edges and make random triangles with more tape.
- Use another kitchen garbage bag to wrap and protect the rest of the stool.
- Spray from above several light coats of gold paint.
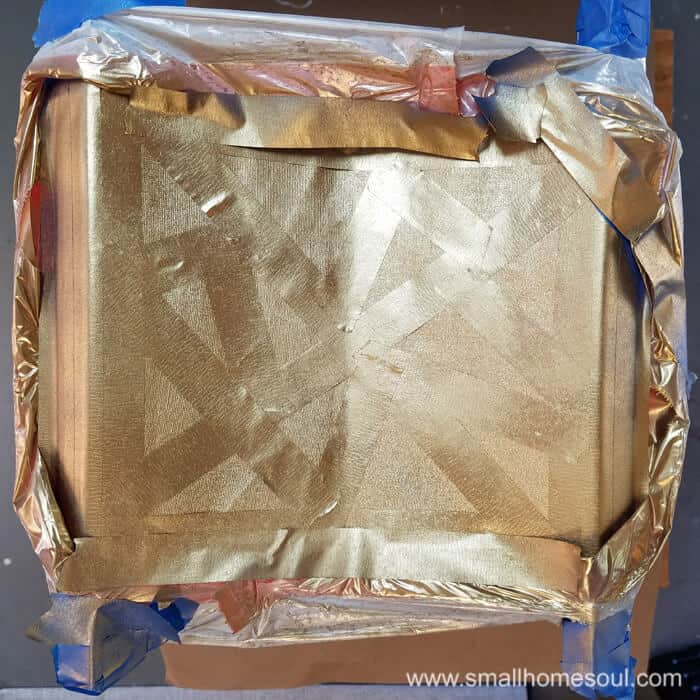
I couldn’t believe how great the little gold triangles turned this from a Camping Folding Stool into a Glamping Folding Stool. There were a few areas where the gold paint made it under the tape. I fixed those areas with a little blue paint and it looked perfect.
You be the judge.
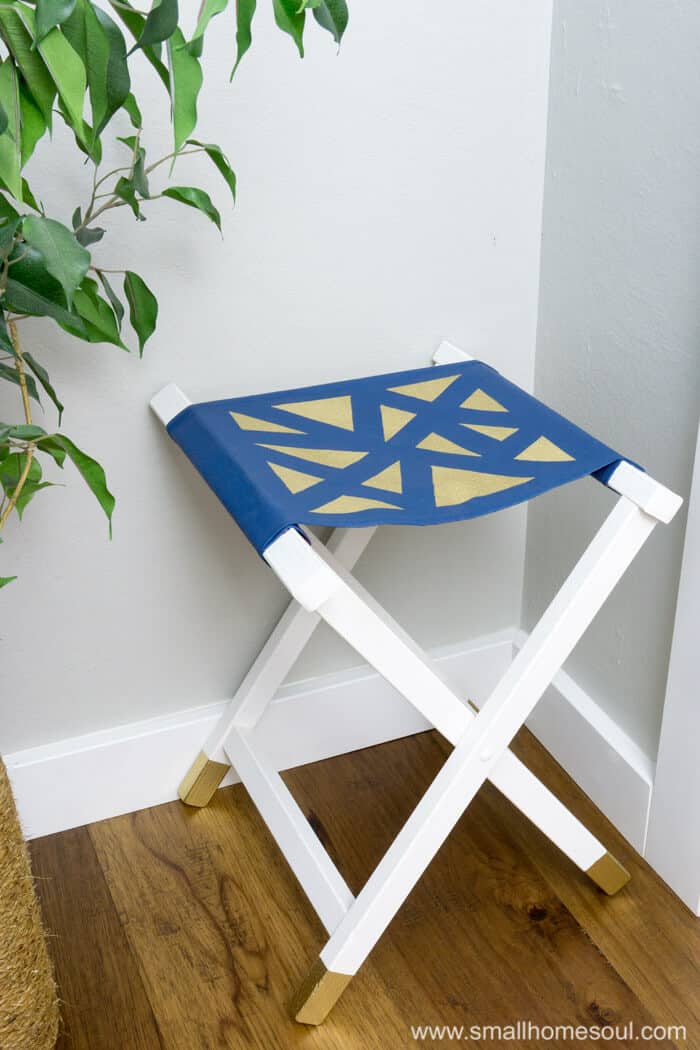
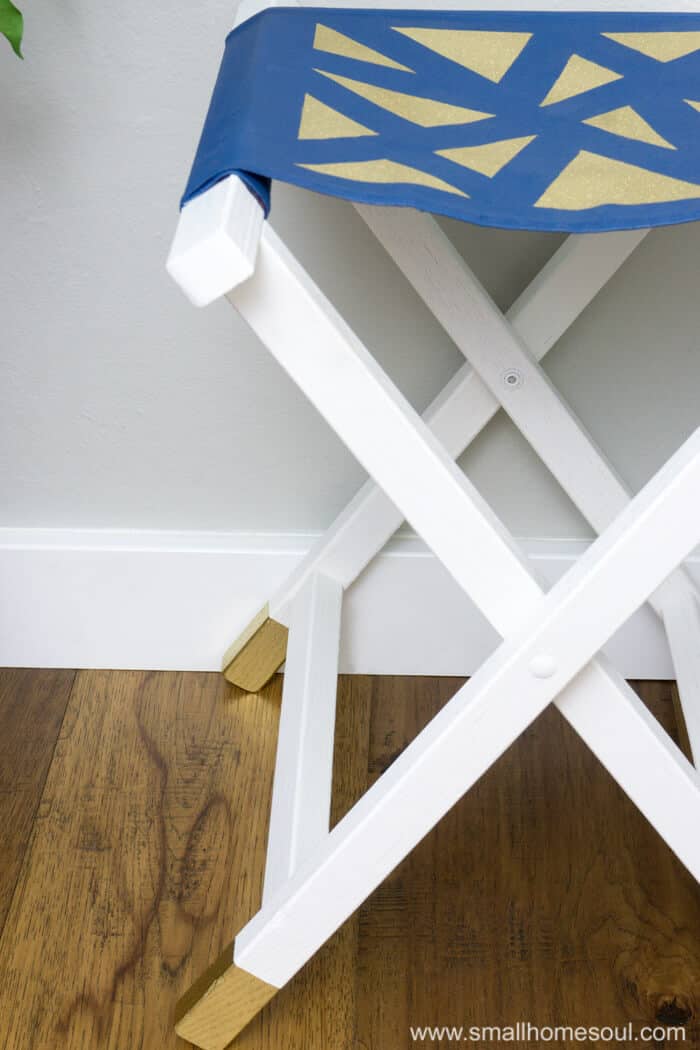
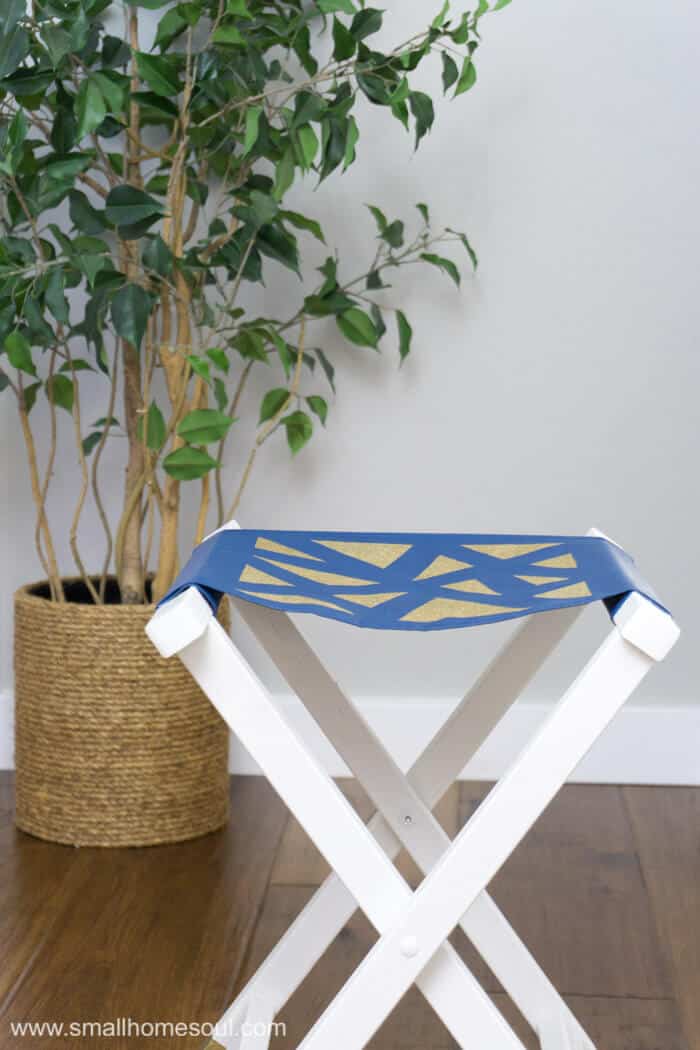

Isn’t it perfect? Now, I just need a Glamper 🙂
Love it, Pin it
If you haven’t already please sign up for my newsletter so you can stay up to date on all my projects.
Join us the last day of each month for a different Inspired Makers Challenge. Follow with #InspiredMakers and #InspiredMakersChallenge to see more amazing projects each month!
August Challenge: Paint Changes Everything
Lisa @ The Purple Hydrangea | Sarah @ 1915 House | Kim @ Farmhouse Made
Ann @ Duct Tape and Denim | Janice @ Sawdust Sisters
Denise @ My Thrifty House | Suzanne @ Shop at Blu| Susanne @ Pearl Street Designs
Susie @ The Chelsea Project | Toni @ Small Home Soul | Anika @ Anika’s DIY Life
Be sure to check out their projects below:
Janine
Wednesday 6th of September 2017
Super cute idea! I love the gold touches on the feet! You are super clever, Toni!
Toni Harvey
Thursday 14th of September 2017
Thanks Janine, I'm not normally a gold accent person but it just fit with the blue so well. I'm glad you like it :)
Sam - Raggedy Bits
Tuesday 5th of September 2017
How cute is this!! Love the colours you chose and those sweet little gold dipped legs!! You will be the envy of all campers!!
Toni Harvey
Thursday 14th of September 2017
Now I just need a Glamper to take camping. Or I can send it to Denise for hers :)
Natasha
Tuesday 5th of September 2017
Your new version looks so nice and I love how you used a trash bag and spray paint to make the gold feet!
Toni Harvey
Thursday 14th of September 2017
Thank you Natasha, I couldn't imagine trying to rap that stool with paper and keep the paint out. I'm glad I thought of the garbage bag because it worked perfectly.
Medina Grillo
Tuesday 5th of September 2017
Loving the geometric pattern, great job Toni!
Toni Harvey
Thursday 14th of September 2017
Thanks girl, it was my first geometric project and I might just have to do more of them :)
Susanne
Sunday 3rd of September 2017
I love it Toni!! Especially the gold dipped legs and pattern. I have wanted to do dipped legs on SOMETHING, I love the look it gives. Great update for that little stool :)
Toni Harvey
Thursday 14th of September 2017
Oh, you need to try it, it's so fun and you can use any colors you like. I'm happy you like it, now go gold dip something :)