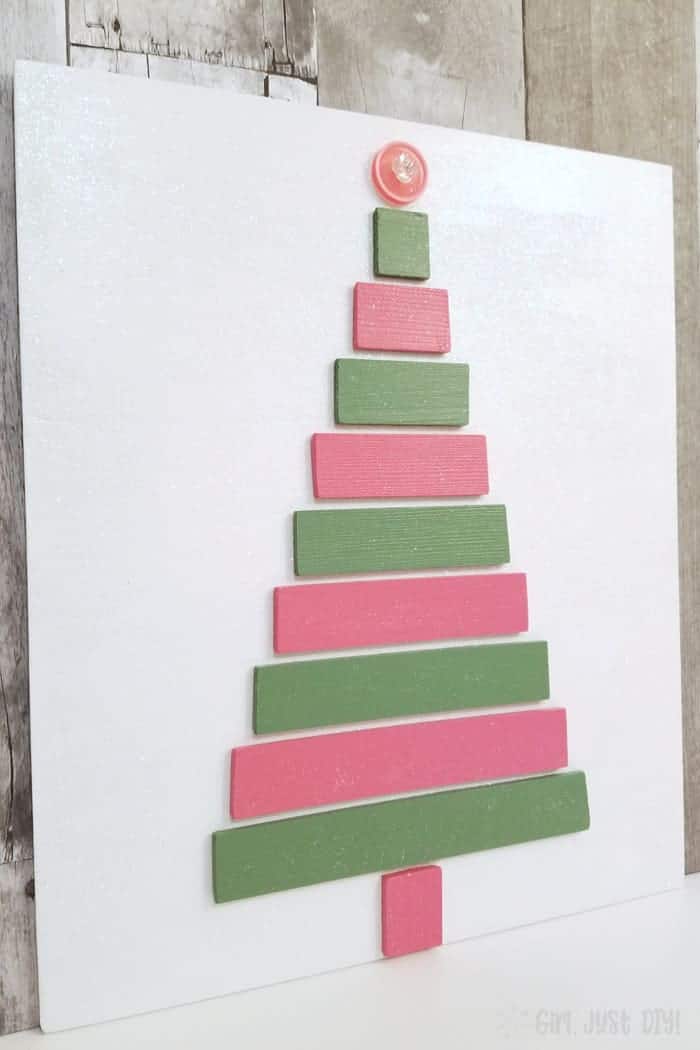
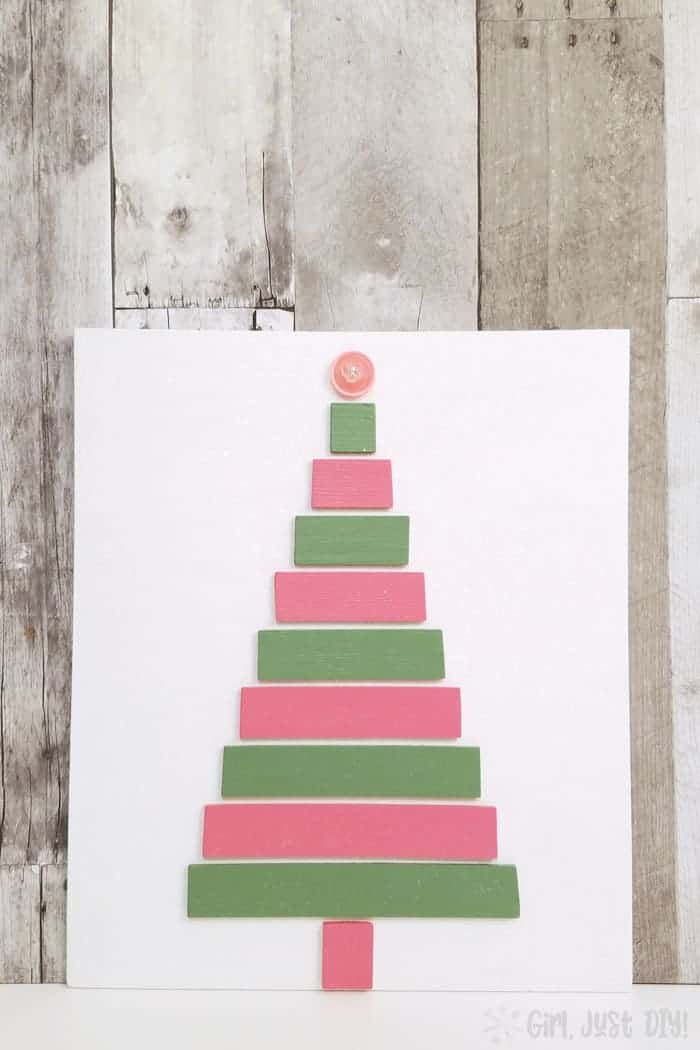
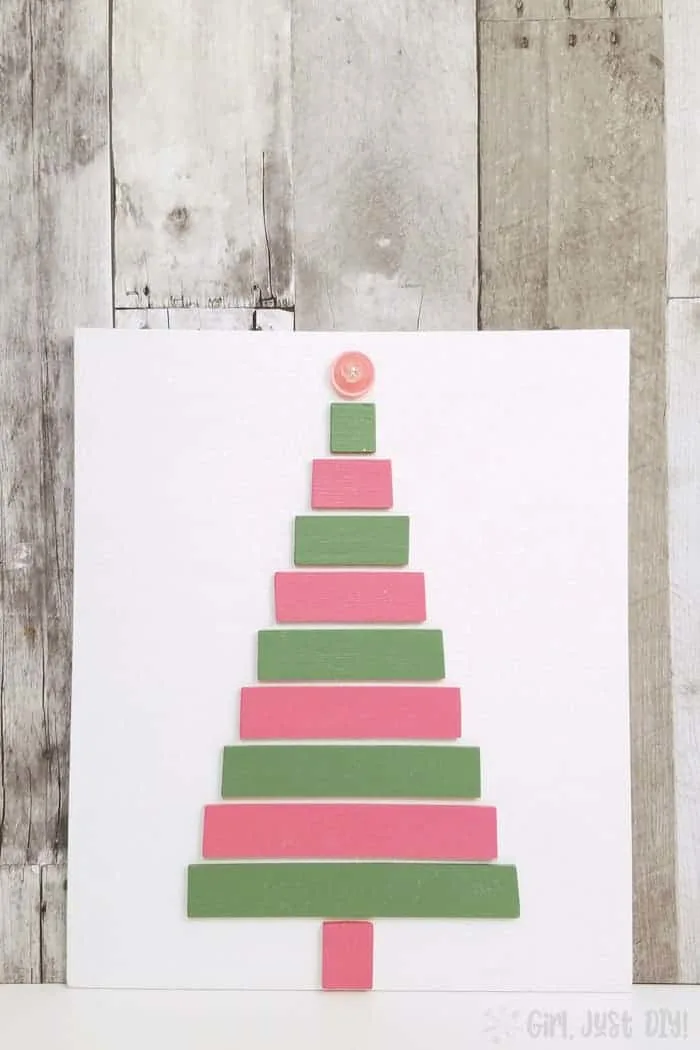
It’s week two of our Deck the Home Blog Hop and this week we were challenged to make something with wood. I thought long and hard about what to make and settled on a Christmas Tree Craft using paint stir sticks. You’re going to want to make your own when you see that you don’t need a power saw to make your own.
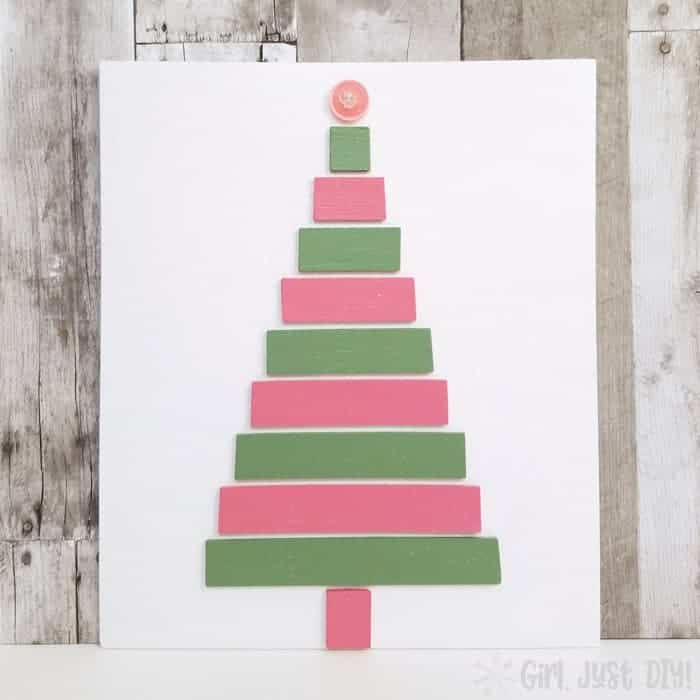
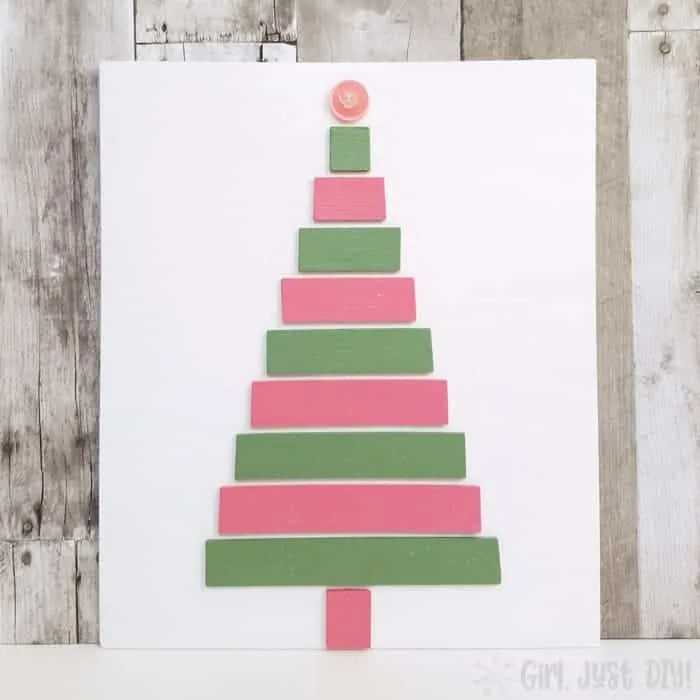
The steps are pretty easy, the hardest part was deciding on a color scheme. You could make yours all green but I wanted to follow a theme I started with the Button Ornaments I made the other day. It’s fun to mix up your holiday decor colors every now and then and this combination is so pretty.
This post contains links to products, if you purchase something after clicking on my link I may
earn a small commission (at no extra cost to you).
Christmas Tree Craft Supplies
- Paint Stir Sticks (approximately 8)
- 12″x 14″
- Japanese Pull Saw
- Pink (I mixed white with red) and Green (I used this shade) Craft Paint
- White Craft Paint
- Extra Fine White Glitter
- Aileen’s Tacky Glue
- Mod Podge (any variety)
- Craft Paintbrush
- Sanding sponge
- Glue Gun
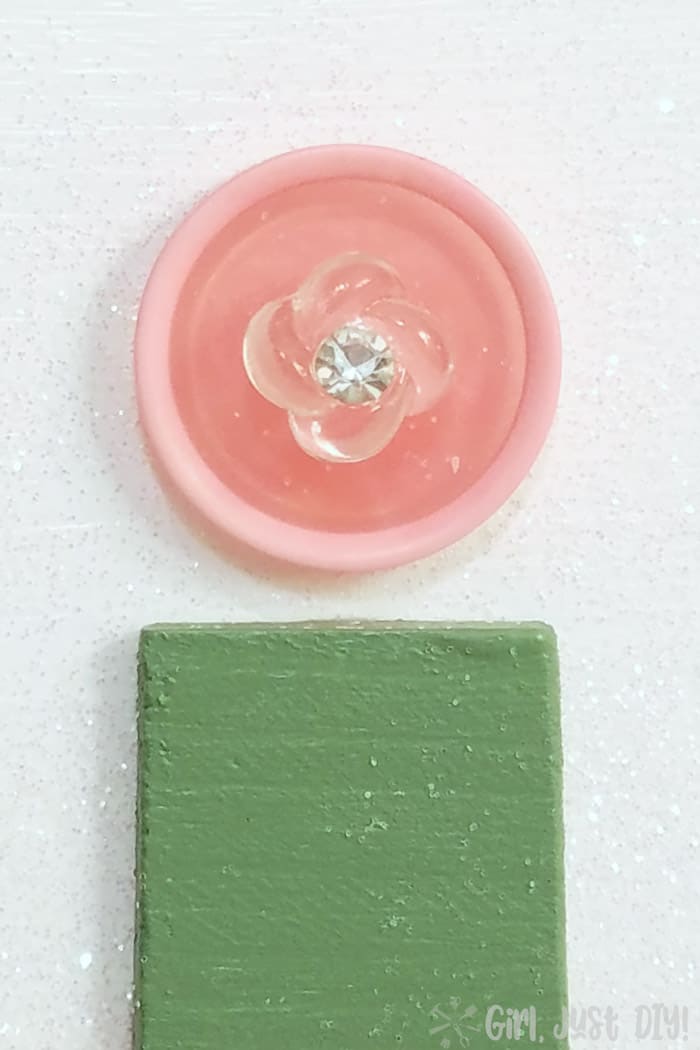
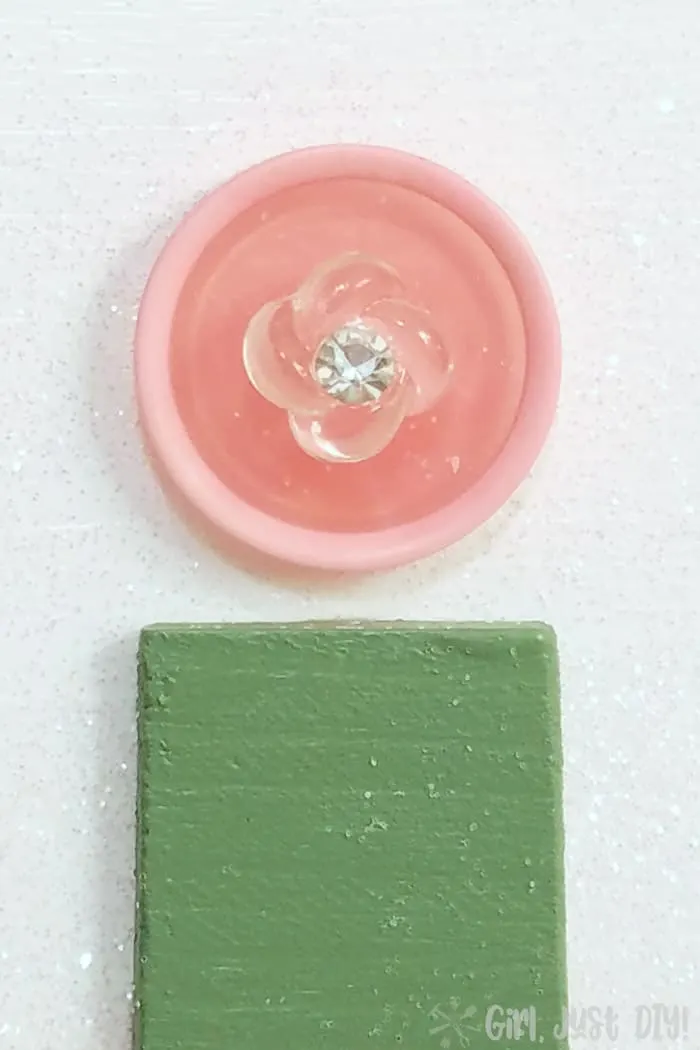
- Pink and White Button
Getting Started
Did you know you can buy paint sticks? They are better quality than the ones you get for free when you buy paint, and they’re not that expensive. You can get the at Home Depot for under $1 for 10, or in larger quantities Online.
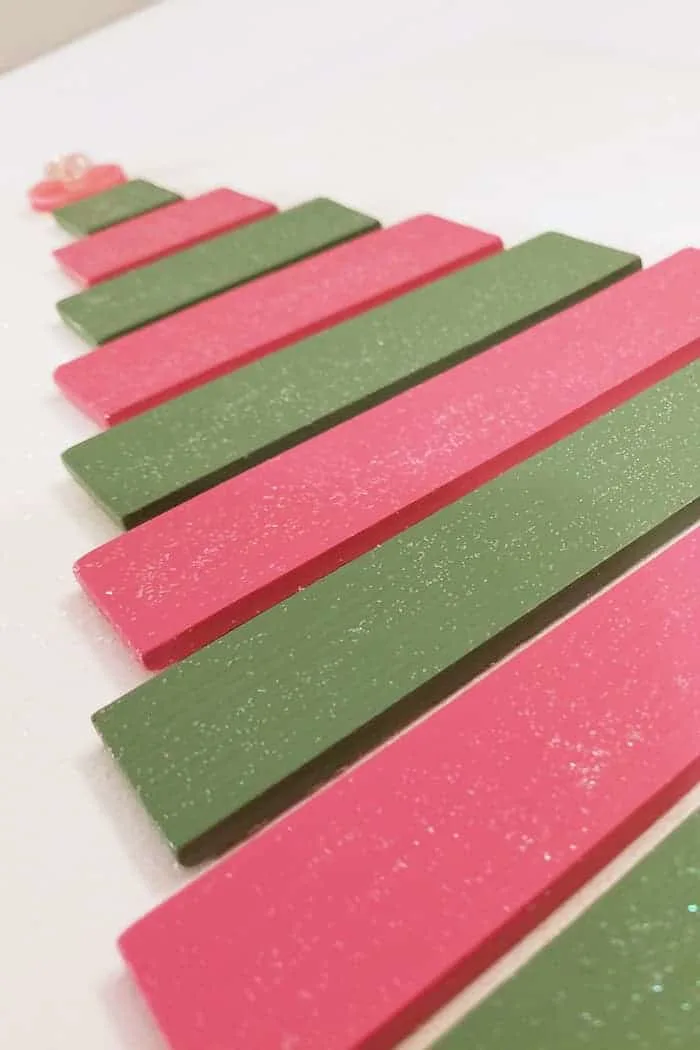
Mark and cut paint sticks in the following measurements, top to bottom:
- 1″
- 1-3/4″
- 2-1/2″
- 3-1/4″
- 4″
- 4-3/4″
- 5-1/2″
- 6-1/4″
- 7″
- 1-3/8″ (tree trunk affixed vertically)
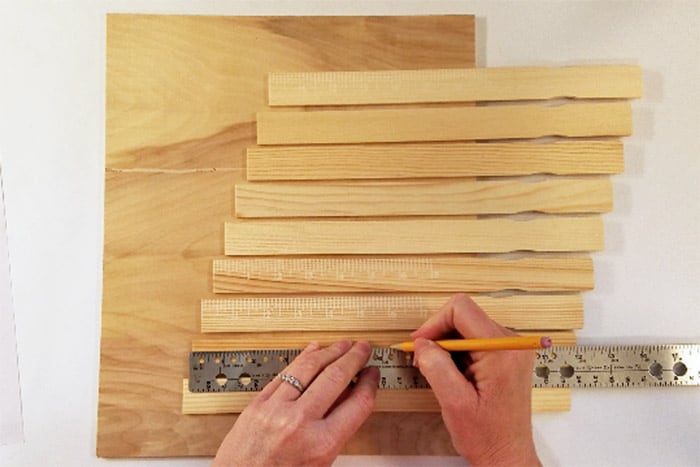
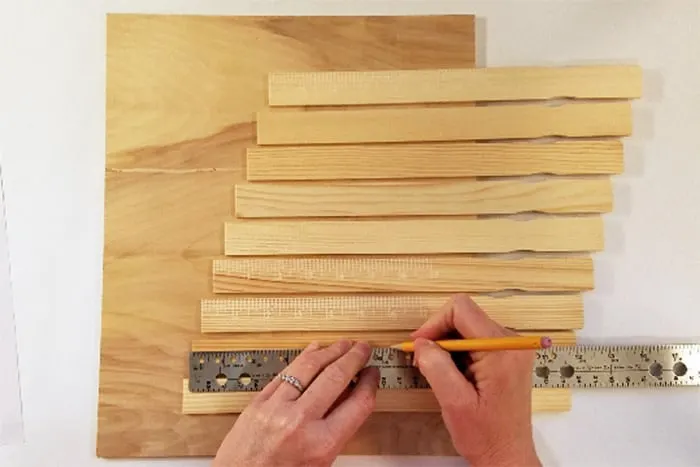
This part is fun. You can use these little saws for so many things. It’s really nice to cut something small without having to get out the miter saw.
- Use a fine tooth pull saw to easily cut the paint sticks as marked.

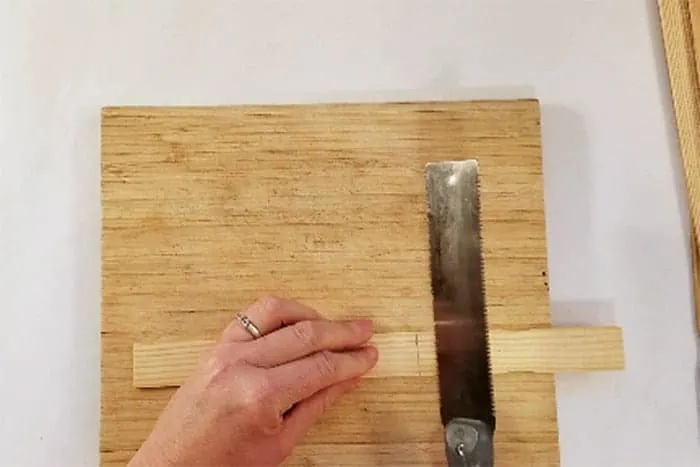
- Sand the rough edges of the cut paint sticks before assembling your Christmas tree craft.


- Paint the paint stir sticks in alternating colors starting with Green craft paint at the top. Then paint the remaining sticks Pink.
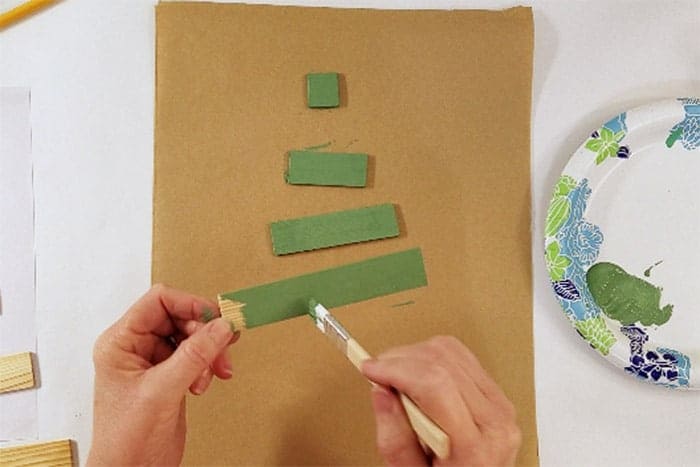
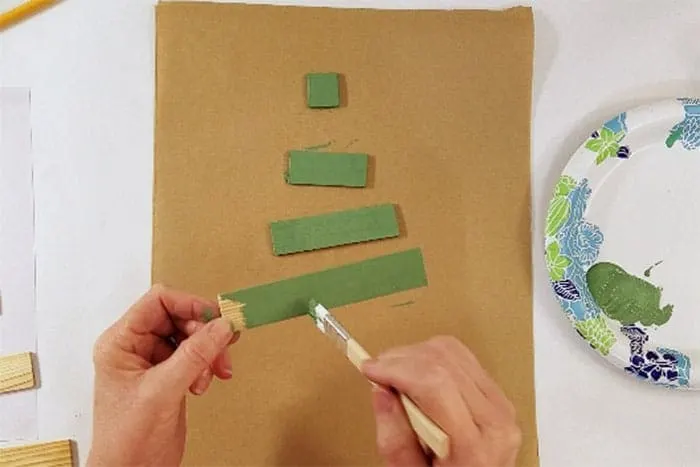
I didn’t have a shade of pink on my craft paint shelf so I mixed white with red until I got a shade I liked. Make sure you mix enough the first time so you don’t run out. It will be very hard to match later.
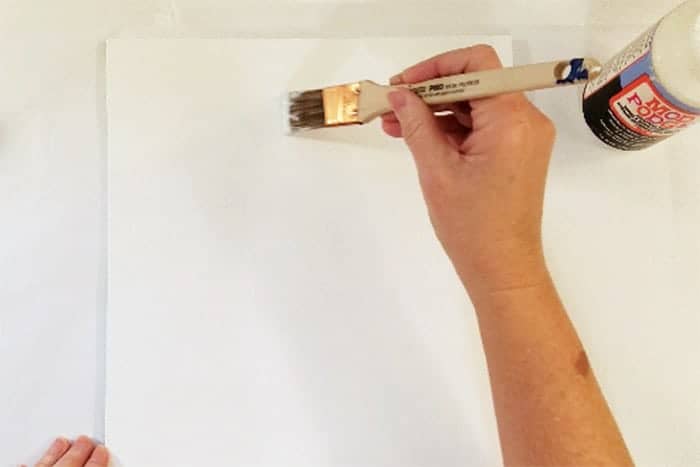
- Using white craft paint give your 12″x14″ board a few coats of paint.
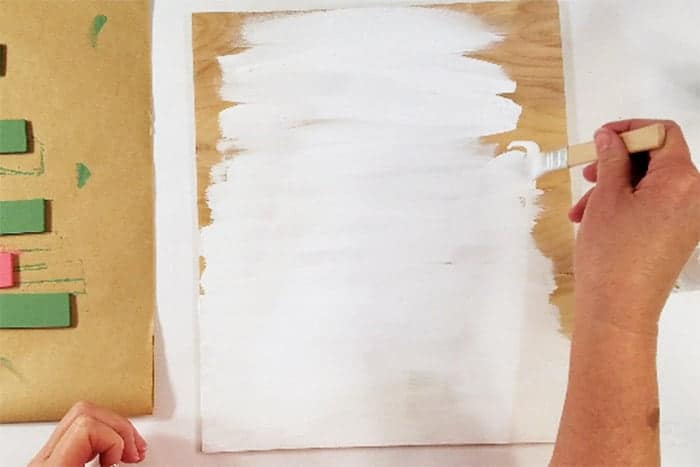

- When the paint is dry apply a thin layer of Mod Podge to the white paint.

This part is messy so I suggest you lay out some white craft paper under your project to keep the glitter contained.
- Sprinkle heavily with extra fine glitter to cover completely and press in.
- Shake excess off onto a sheet of craft paper to catch and return to the container.

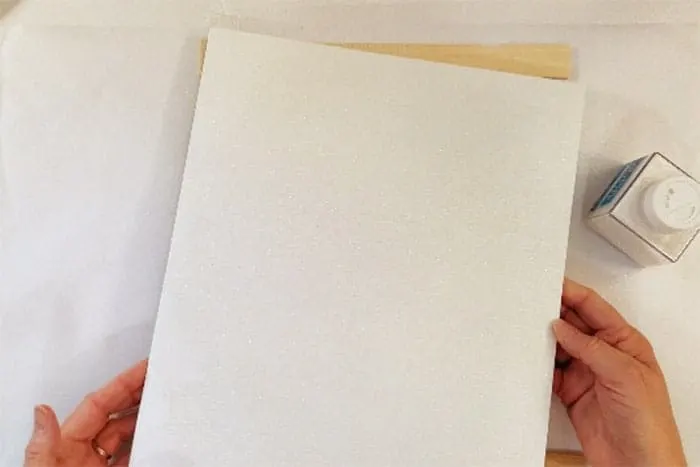
- Let the glittered board dry completely.
Assembling your Christmas Tree Craft
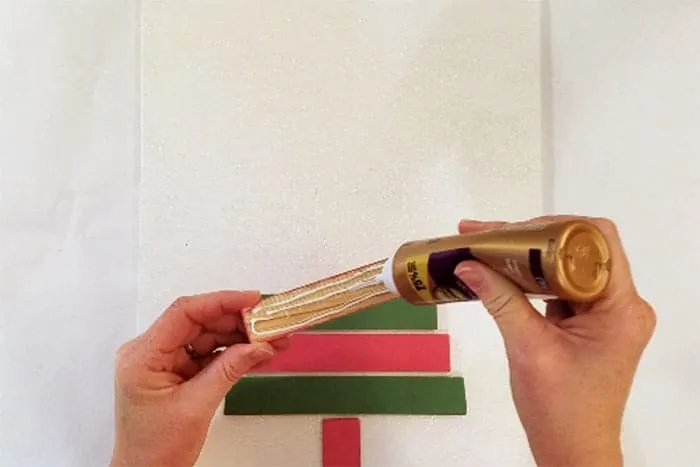
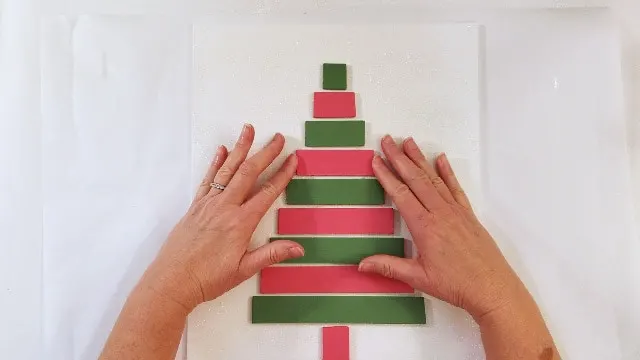
Normally I use a glue gun when making projects but I wanted some dry time so I could make adjustments as needed to the branches of my little Christmas tree. I normally like to measure everything but this time I eyeballed most of this project. Except for marking the paper beneath the board with a center mark (not shown).
- Start from the bottom up and affix the 1-3/8″ piece vertically as the trunk with the a few lines of Tacky Glue.
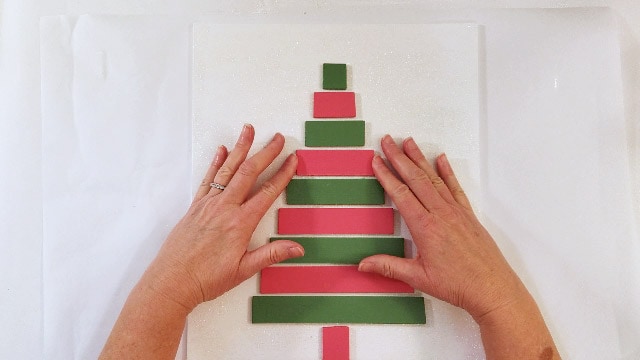
- Keep working upward leaving approximately the thickness of a paint stick between each layer.

When all the branches are on take some time to make necessary adjustments before the glue sets.
This is where you can use the ruler to make sure you have the same distance from the bottom of the board to the bottom green paint stick. Then make any necessary adjustments as you move upward.
- Make any topper you like but I hot glued a cute flower button with a rhinestone onto a pink button I had left over from my other project.


Rub some glitter onto the green and pink “branches” for a little extra sparkle (glue’s not necessary as a few flakes will stick easily).

I love this little button and wish I had several more of them. Let your cute new Christmas Tree Craft dry for at least a few hours to make sure nothing slides when you lift it.
And it’s finished! Now you can either add a picture hanger to the back or prop it against a wall. I haven’t decided where mine will live this season so currently it’s leaning against the wall in my office.

I hope you love this cute craft Christmas Tree! Don’t forget to check out all the other creative Wood projects linked up below.
Pin it for later

Lynne B Boyer
Saturday 11th of December 2021
Love this Christmas tree. Simple and elegant. My sorority colors are pink and green. So I am definitely going to make theses as gifts. Thanks for the idea.
Betsy
Wednesday 14th of November 2018
I'm a sucker for anything built with paint sticks so I'm totally on board... it turned out so cute! I love how simple it is!
meegan
Tuesday 13th of November 2018
I am in love with your craft stick Christmas tree! So easy and those colors are magical. Thanks for the tutorial, too.
Christine
Tuesday 13th of November 2018
What a fun craft! I love how you re-purposed the paint sticks #free!
Amy
Monday 12th of November 2018
Oh my goodness, this is adorable! What a clever idea! And I absolutely love your color scheme. Pink and green are my two favorite colors. :)