Hi Friends, I’m knee deep in the One Room Challenge for my office makeover and boy this challenge is keeping me so busy. I was hoping to share the making of my new desk but, painting and I haven’t gotten along very well this week. Next week I promise I’ll share my desk! In its place this week I’m going to show you a fun Desk Lamp Makeover to bring task light into our newly updated office. I’ve been complaining (if only to myself) about the lack of light in our office. Daytime is fine but evenings it’s a dark dungeon with two tiny table lights. I hate sitting in the dark and these old eyeballs need all the light they can get.
The One Room Challenge was started by Calling it Home and I’ve been following along for a few years. I’m glad I joined this year, it’s been such a great motivator for me to finally get our office reworked to function so much better. I’ll be glad when it’s done because everything that was in the office is now in the dining room.
If you missed my post for last week you can read all the tips I shared for Painting a Room. And be sure to follow the link at the bottom of the post to see how all the other rooms are coming along. There have been hours upon hours of work put into making rooms new and sharing them with you to inspire you to get busy on your own project.

Week 1 | Week 2 | Week 3 | Week 4 | Week 5 | Week 6
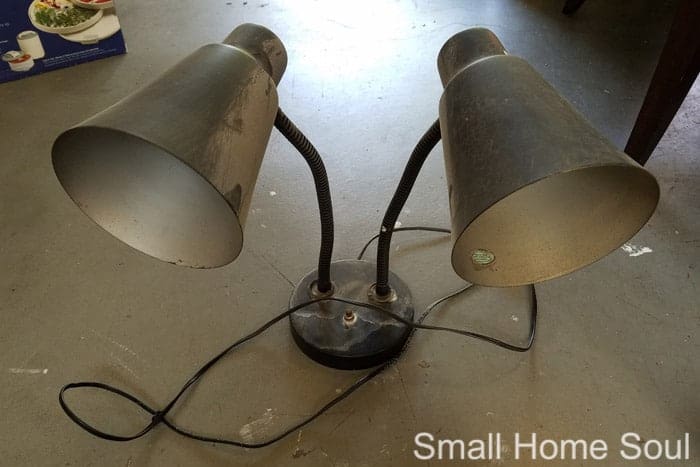
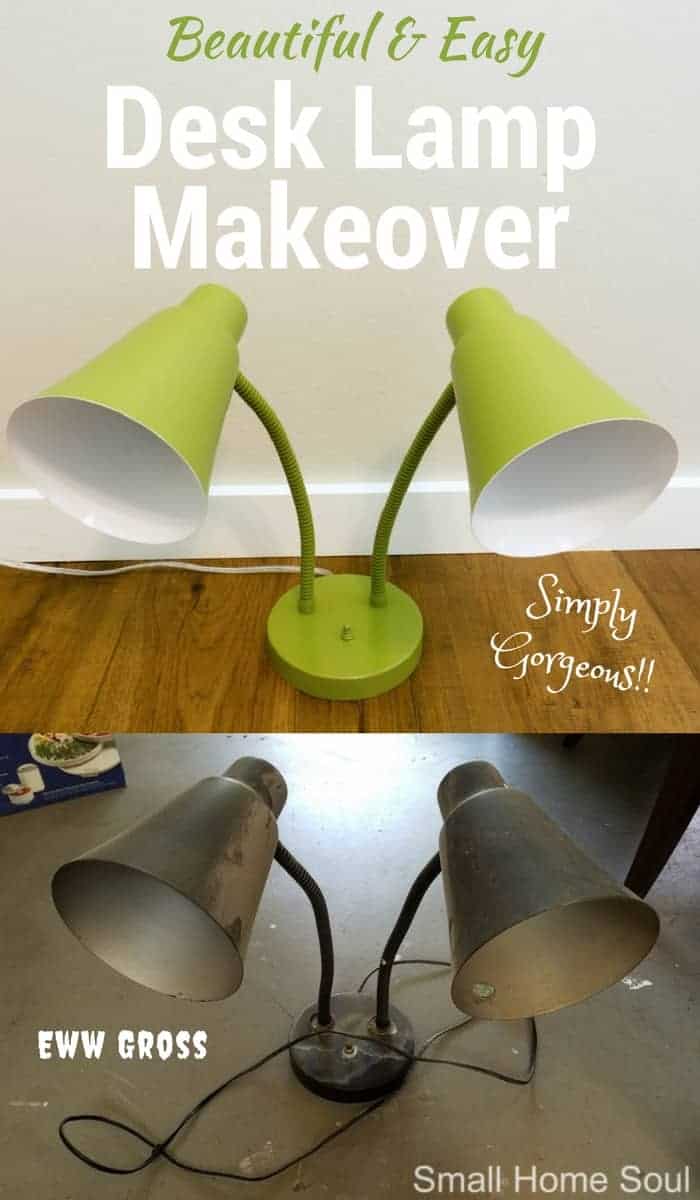
I wasn’t sure what I was going to do for a new desk lamp until I was invited to look around my late neighbor’s house for anything I might like as they were clearing out his contents. I scored a few cool things but one of the things I found I knew exactly what I’d do with it. It was this awesome, but old and grungy, double goose-neck desk lamp. It was in really rough shape, but it worked 🙂 I knew I could make it beautiful. I’m going to show you how I transformed this desk lamp with a beauty makeover but also how to rewire it from non-polarized to polarized wiring. If you don’t know what non-polarized is that just means your much younger than me 😀
This post contains links to products, if you purchase something after clicking on my link I may earn
a small commission (at no extra cost to you).
Desk Lamp Makeover Supplies
- Old lamp
- Lamp Re-wire Kit or 8′ Cord Replacement
- Wrench or Pliers
- Extra wire nuts
- Wire Cutters
- Sanding Sponge
- Old Rag
- White Felt
- Spray Paint in Green and White (or your color selections)
- 1″ Painter’s Tape
First things first, I plugged in the lamp to make sure it worked before I spent any time replacing the wiring or painting it. Thankfully it worked perfectly so I bought a new cord kit and got busy. Here are the steps to take with a lamp that has the switch on the base like mine does. It didn’t take very long at all, your desk lamp might be slightly different to rewire.
Desk Lamp Makeover – Rewiring a Lamp
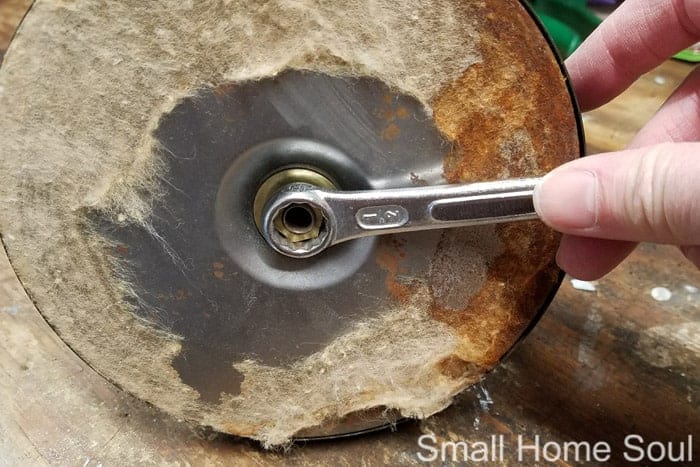
- Remove the felt or paper from the bottom of the desk lamp
- Use a wrench or pliers to loosen the nut from the bottom.
- Set aside the bottom, the nut, and any washers.
- Pull the wires free from the bottom and inspect them. Follow the cord from where it enters the back of the lamp base to the two wire nuts.
- On my desk lamp since it’s a 3-way lamp one wire nut connects two wires and the other connects three wires.
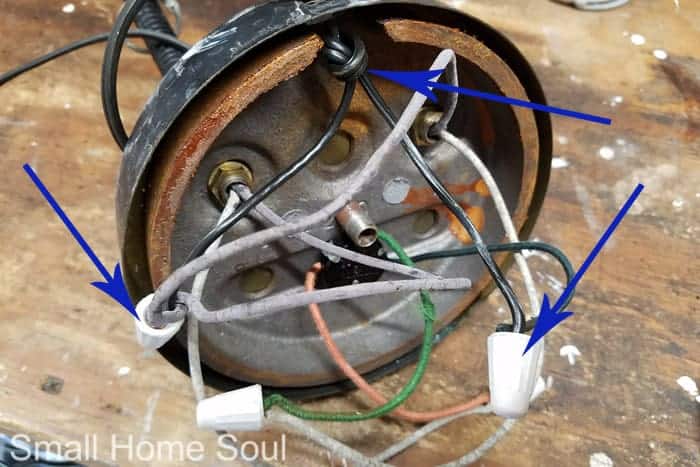
- Unscrew the wire nut and separate the old cord from the lamp’s wiring.
- Set aside the wire nut if they look good to reuse. If they are cracked use a new wire nut.
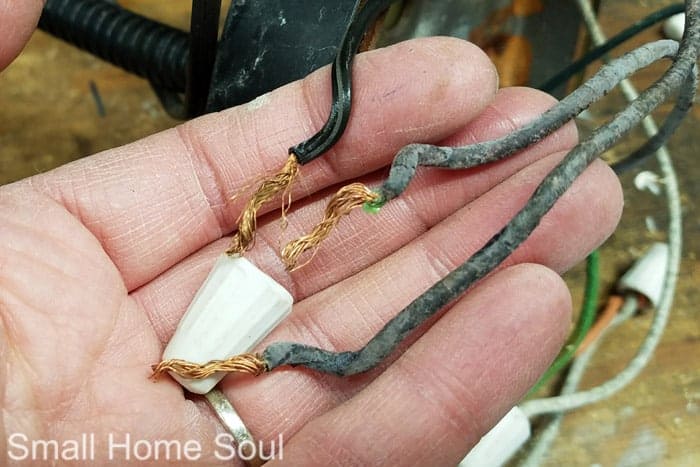
- After both wires are free use your wire cutters to clip the cord.
- Keep the short end of the cord for reference in the next step.
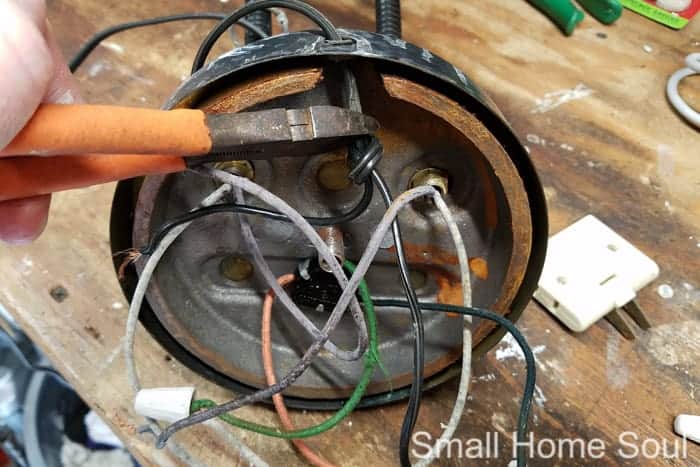
- Insert the exposed end of the replacement wires through the hole in the back of the desk lamp.
- Using the short end of the old cord as a reference tie a knot in the new cord.
- Pull apart the two sections of the new cord up to the knot.
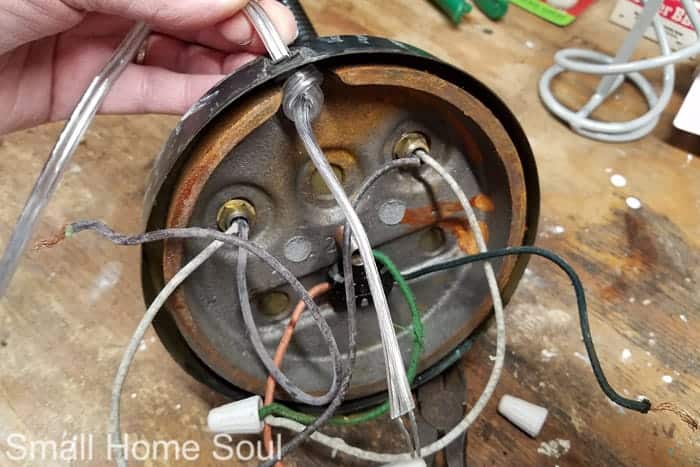
- Twist together one end of the new wire with one cord from the old lamp.
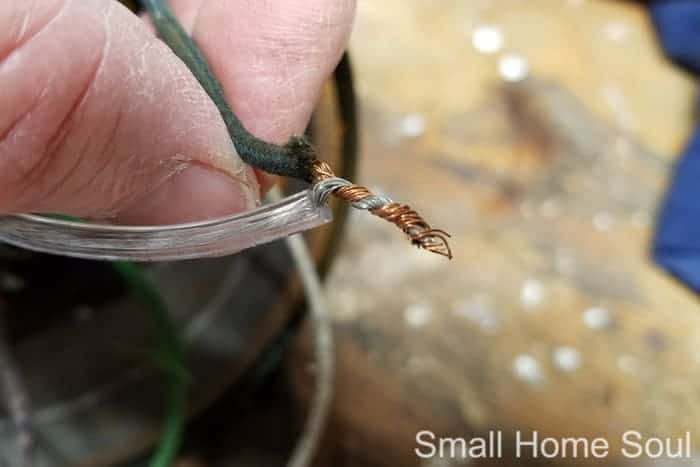
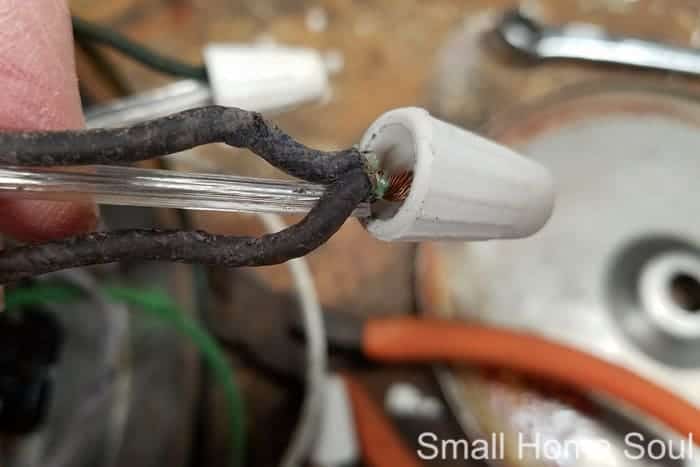
- With the wires twisted together screw on the wire nut making sure no raw wires are exposed.
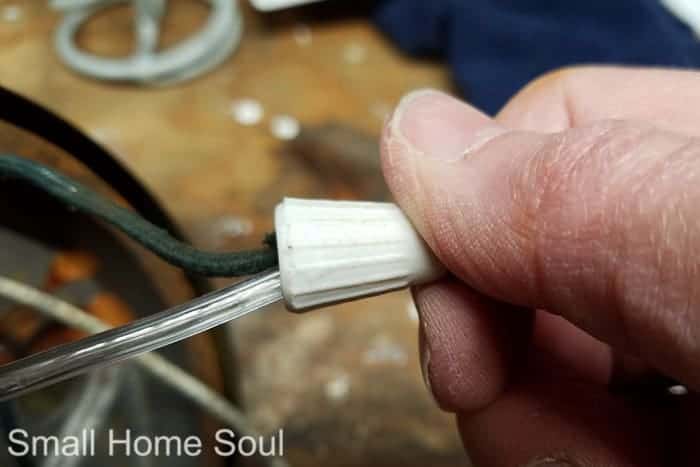
- Do the same step with the new cord and the two wires. A few more twists and the wires are tucked safely inside the wire nut.
Desk Lamp Makeover – Beautifying It
- Clean the lamp with a wet rag.
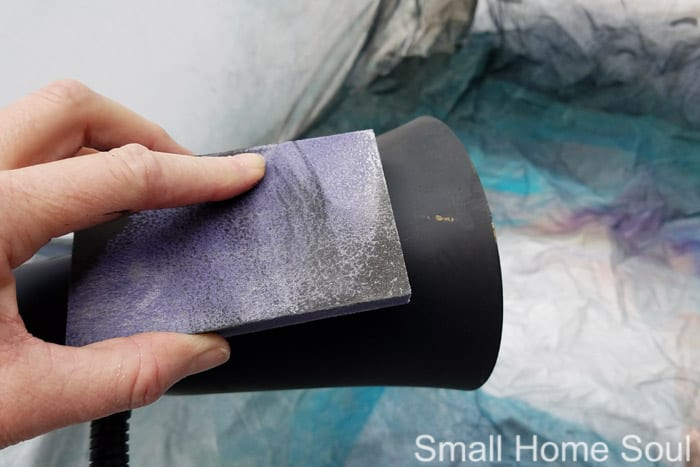
- Using a sanding sponge lightly scuff the surface. Use more pressure to remove rust, paint, etc.
- Wipe down again with a wet rag.
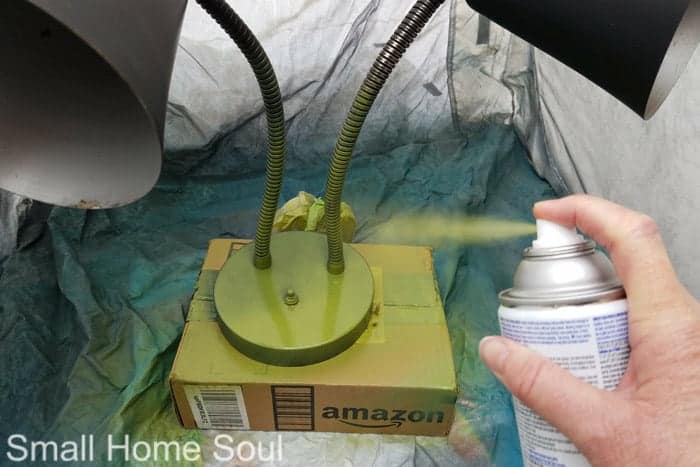
- Stuff the new cord into a small paper bag or plastic bag and use painter’s tape to tape it right up the base of the lamp. (You can see it illustrated in one of the pictures below)
- Spray paint the desk lamp in a sweeping motion. If your lamp has lots of nooks and crannies like this goose-neck lamp does use caution not to spray too heavily at one time. Several light coats are more effective than one heavy one. Plus you don’t want drips which heavy coats of spray paint will do.
This desk lamp makeover of an old lamp isn’t complete without updating the inside of the metal light covers. The old insides were originally silver and over the years have dulled significantly. Remember, I want the maximum light possible in my updated office space.
- After the lamp is dry carefully tape the outside edge of the lamp covers.
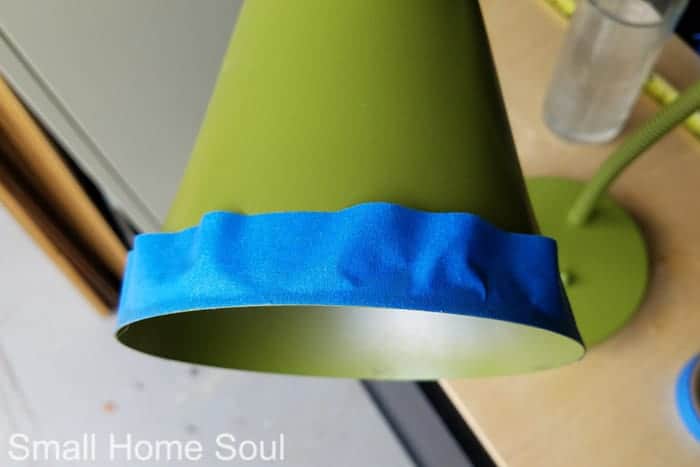
- Using a plastic garbage bag tear a hole in the bottom and fit it over one globe and tape it.
- Now do the same for the other globe.
- Wad up and stuff paper over and around the bulb socket to protect it from paint.

- Paint the inside of the globe using white paint (to increase reflection).
- Start by spraying from the inside and sweep it out to the edge. Stop the flow of paint just after the edge of the globe.
- Continue this action until fully covered.
- Leave the globe pointed up just in case there is a little dripping.
- Let dry fully before removing paper with fingers or tongs.
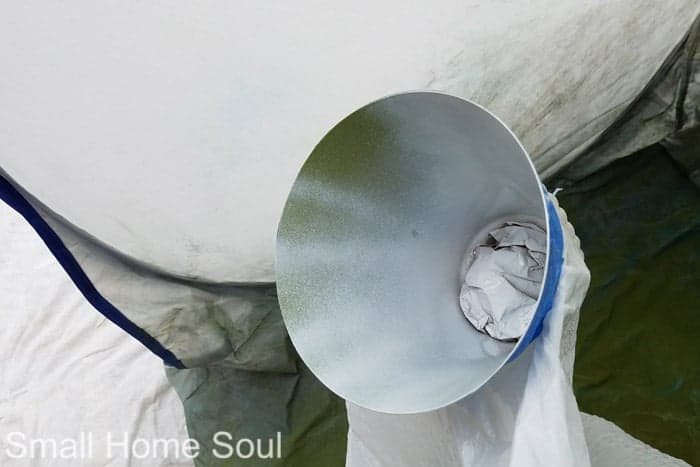
- Carefully remove the plastic bag and then the tape from the globes.
- Remove the tape and bag from the new cord.
- Glue a new circle of felt or paper to the bottom of the lamp to protect your tabletops.
That’s it, you’ve just rewired a lamp and completed a beautiful desk lamp makeover.
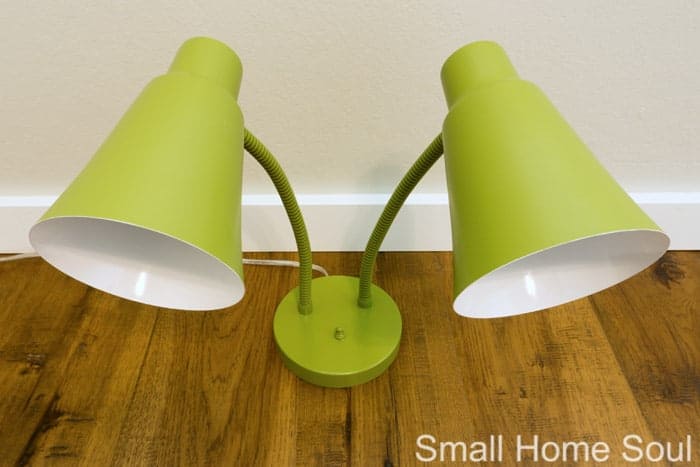
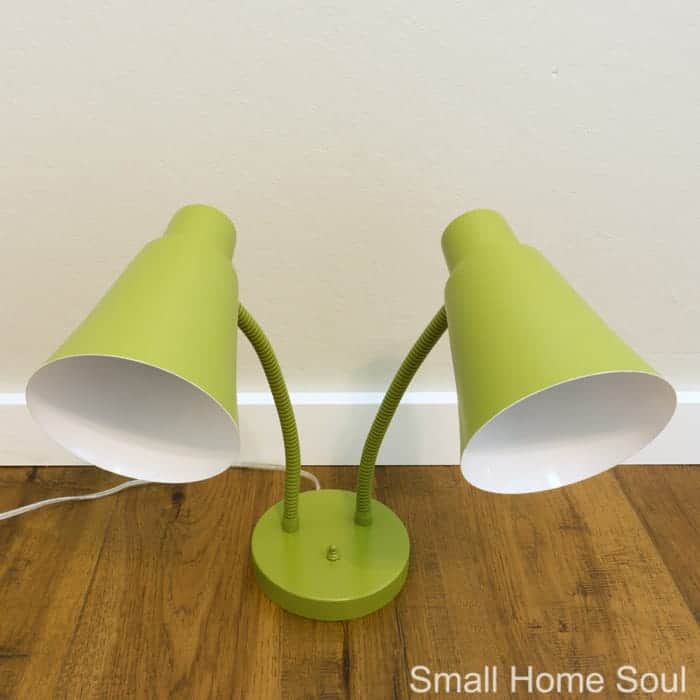
Gah, look how beautiful this green and white are together!!
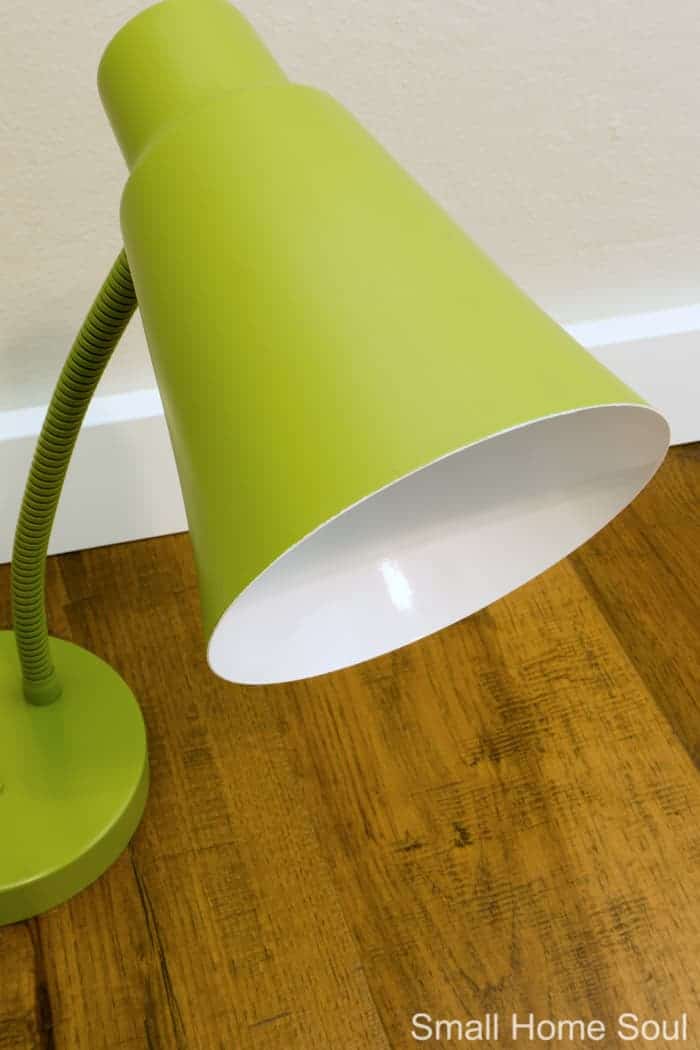
Here’s my updated progress. Not as much as I’d like but I’m getting there:
Give the room a fresh coat of paint.- Build an L-shaped corner desk. (Almost done, you’ll see this revealed next week.)
- Recover my existing desk chair, or buy a new one.
Take down the unused TV.Updating the lighting.- Create organization with peg board or some other fun product.
- Replace the existing area rug.
- Install shelves over the desk.
Don’t forget, check back on Thursdays to follow along with my progress. Now head on over and visit ORC participant’s projects through the links below:
LOVE THE LAMP!! PIN IT!!
Easy Tiffany Mirror DIY - Girl, Just DIY!
Friday 15th of March 2019
[…] More Lighting ProjectsHanging Wire Basket Lamp – Desk Lamp Makeover […]
Marko Vain
Wednesday 25th of April 2018
Now you ruined it! You should have renewed the electrics and leave it there.
Toni | Small Home Soul
Wednesday 25th of April 2018
I'm sorry you feel that way but I didn't ruin anything, I saved it from going to the dump (as I mentioned above). And it was all gross and etched from years of use and abuse. It will work beautifully in my new office so I'm calling it a win win because I saved a perfectly useful lamp from the landfill.
Jann Newton
Tuesday 24th of April 2018
Toni, great tutorial, and I love how the lamp turned out. Of course, I love the green you picked!
Toni | Small Home Soul
Wednesday 25th of April 2018
Of course you love the green :D I knew you would and I'm so happy you like it Jann!
Jessica | Petal + Ply
Monday 23rd of April 2018
It always amazes me what a huge difference a little paint can make! Great job!
Toni | Small Home Soul
Wednesday 25th of April 2018
Thanks Jessica, spray paint is the best invention ever!
Diane Rath
Monday 23rd of April 2018
I love how you took an old piece and made it beautiful again rather than just buying a new one. These are honestly my favorite kinds of projects well done ??
Toni | Small Home Soul
Monday 23rd of April 2018
Thank you Diane, they're my favorite projects too. I'd rather take a well-made older piece and make it beautiful than spend a lot of money on a new item that's probably not made as well.