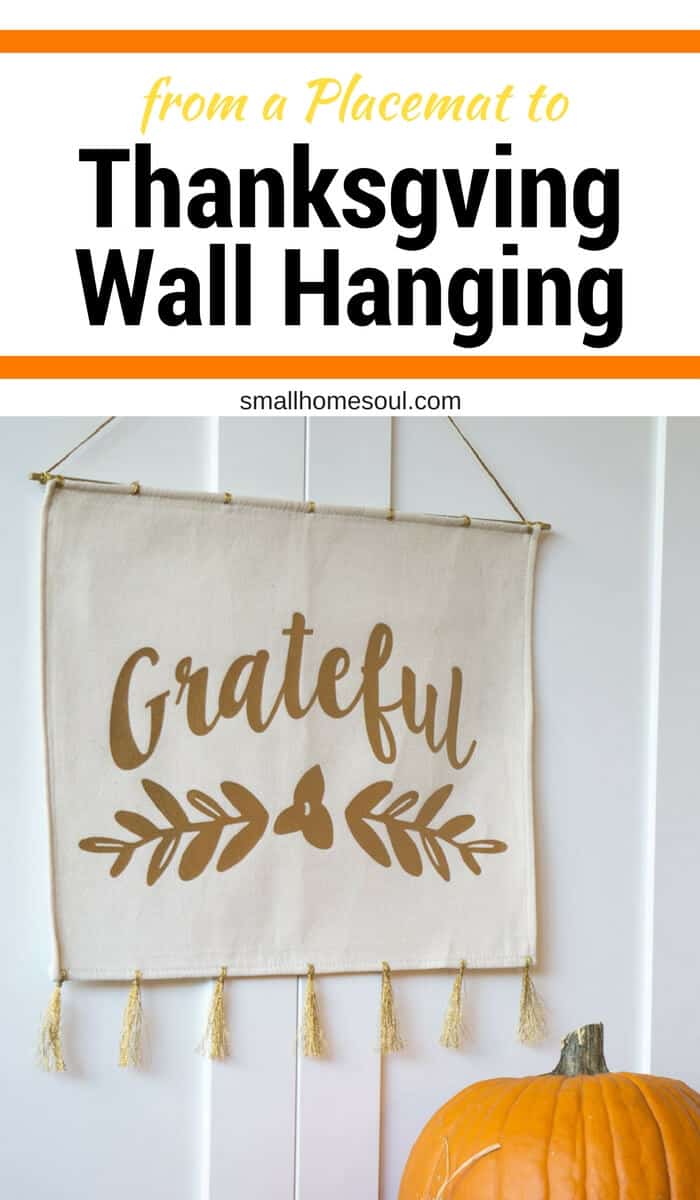
Show of hands… if you bought something for a project and it sat around for a few years. You too? I’m glad I’m not alone. A few years ago I bought a placemat to make a pillow. When I finally got around to actually make my project instead it became a Grateful Wall Hanging. It’s very very easy, my favorite kind of project
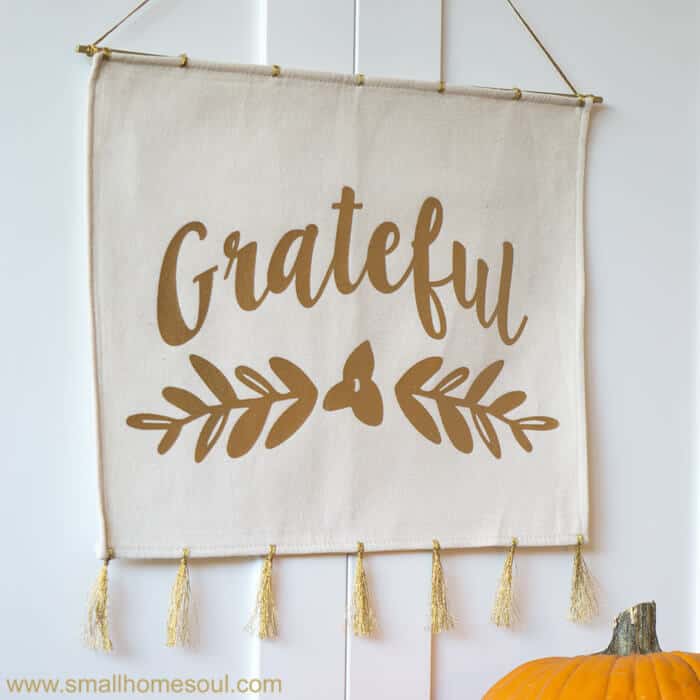
Today is day 2 of the 3-day Handmade Holidays 2017 blog hop. It’s a 3-day event with different themes each day. (pssst, here’s where you can find my Day 1 project. You might desparately need one like we did 🙂 I only signed up for Days 1 & 2 and today’s theme is Handmade Holiday Decor. This is the 7th Annual Hop hosted each year by Jennifer at Smart Fun DIY (check out her blog for Day 3’s yummy Recipes).
Jennifer along with some generous brands are also sponsoring a GIVEAWAY with an awesome prize pack. Be sure to look for the giveaway signup at the bottom of the post.
Yesterday was a lot of fun, I can’t wait to see what everyone shares today. Look for their links at the bottom and be inspired with great holiday decor ideas.

This post contains links to products, if you purchase something after clicking on my link I may earn a small commission (at no extra cost to you).
Grateful Wall Hanging Supplies
- 1 Placemat printed with Grateful or any other beautiful saying
- 2 Tubes of Yellow Gold Metallic Embroidery Floss
- Tapestry Needle
- Needle Threader
- Gold Metallic Paint Marker
- Scissors
- 3/8″ x 19″Wooden Dowel
- Pull Saw (to cut the dowel)
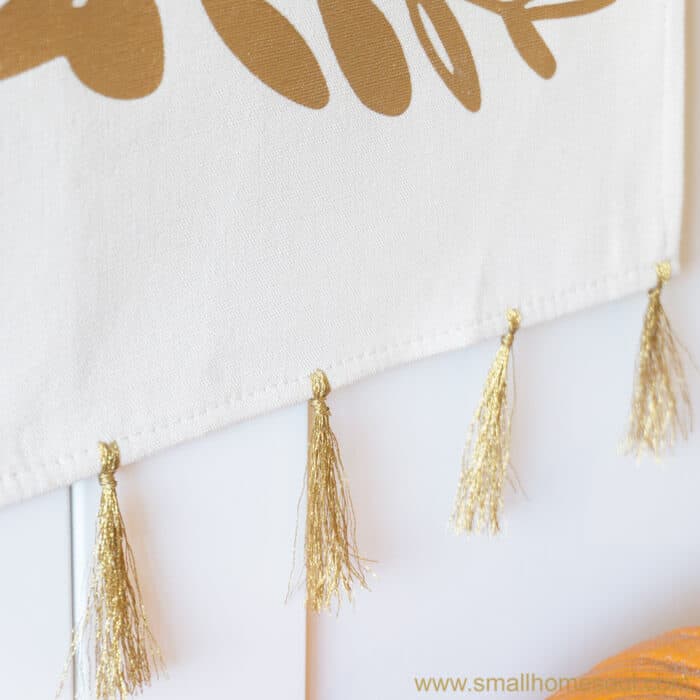
To give my wall hanging a little more pizazz I created some tassels along the bottom of the placemat. An odd number is always best so mine has seven evenly spaced. Using approximately 1 yard of floss for each tassel thread your needle and starting from the back side of the placemat make 3 loops approximately 3″ long. When you insert the needle for the first pass leave 3-4″ of floss dangling from the back (don’t knot the floss and pull it taught).
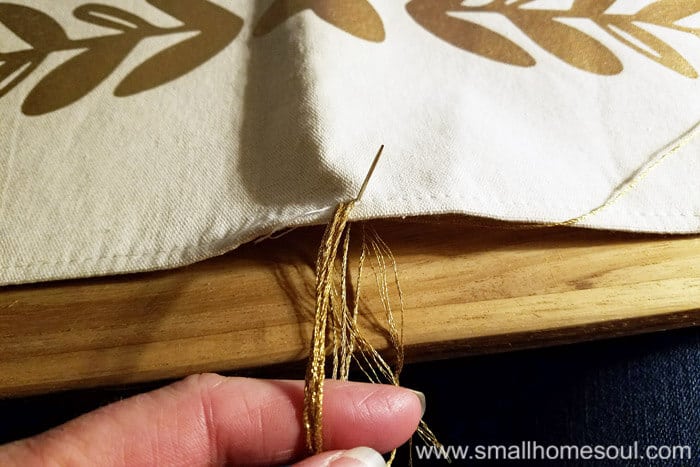
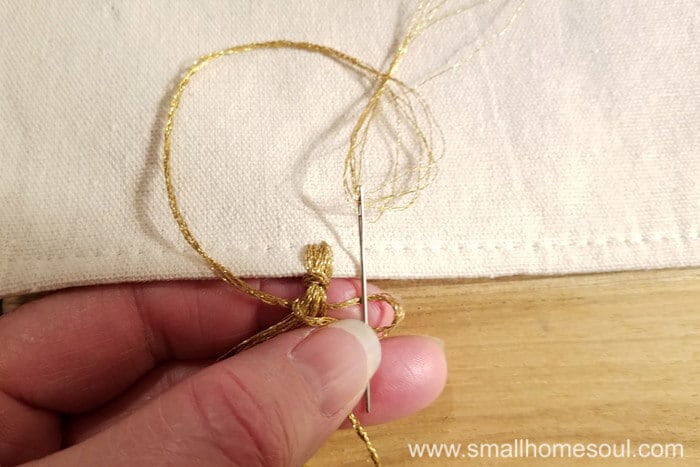
After your third loop use the long end with the needle to wrap around the loops and the one loose end. Tie a knot as shown below on the backside of the tassel to hide any knot or bumps. Insert the needle top down to make your knot, this will help it lay properly. Repeat along bottom edge of placemat for all your tassels.
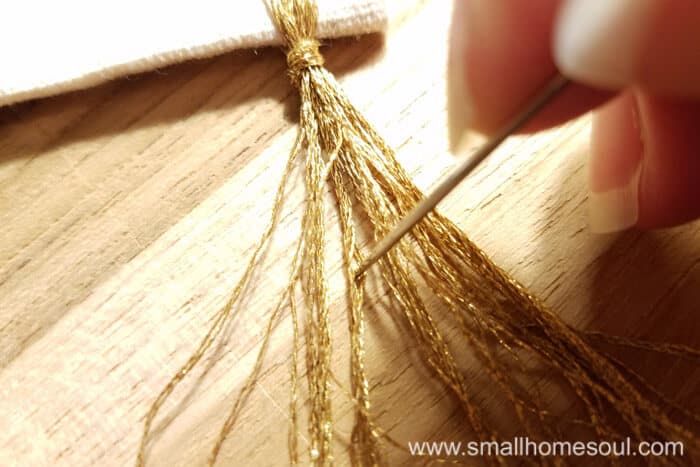
Cut the loops with scissors and using the tapestry needle separate the floss threads. Trim the tassel ends to 2″ in length.
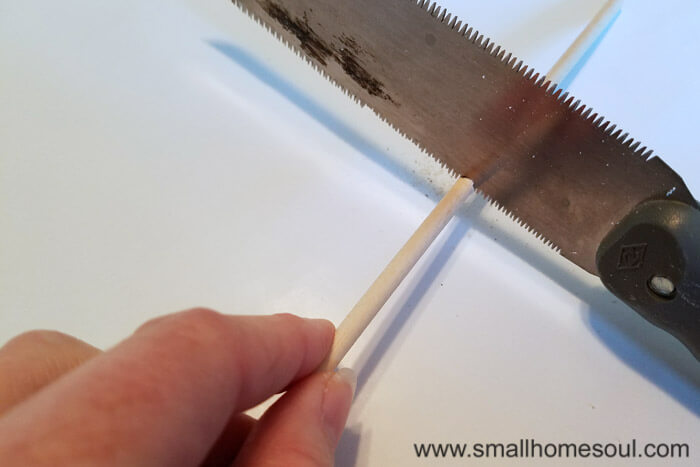
If your Wooden dowel is too long use a pull saw to cut the end.
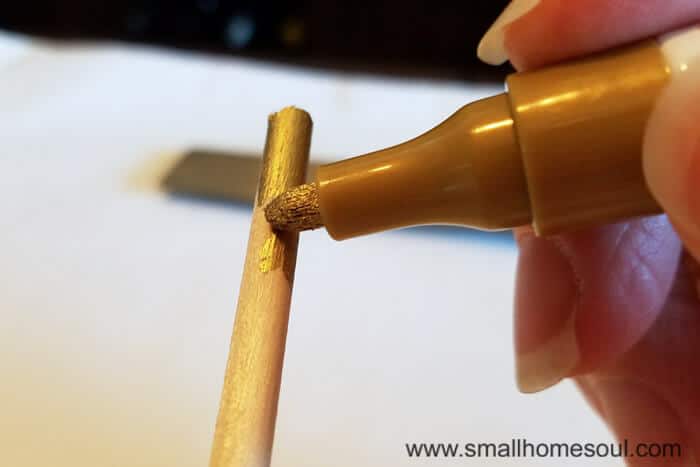
Use the metallic paint marker to color the wood dowel. The paint marker worked perfectly and dried much faster than paint would have.
Assembling your Grateful Wall Hanging
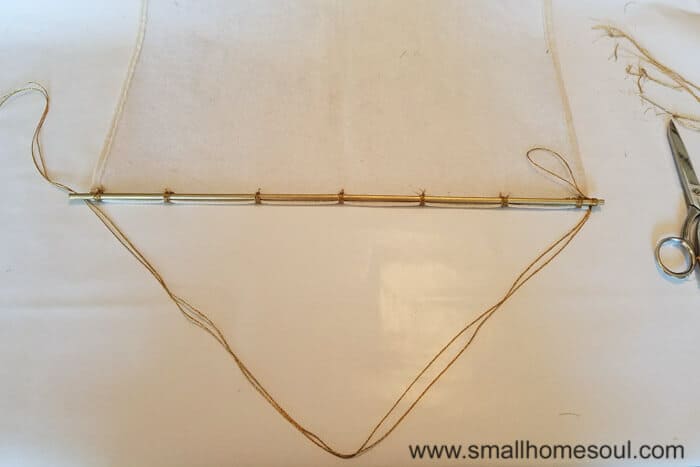
Attach the dowel to the top edge of the grateful wall hanging with more metallic floss. I spaced these out in line with the tassels at the bottom edge and used a simple knot on the backside. Double up approximately 2 yards of floss (more or less for your preference) for the hanger and wrap each end around the exposed dowel 4 times and knot on the back side.
And you’re done, that was so simple.
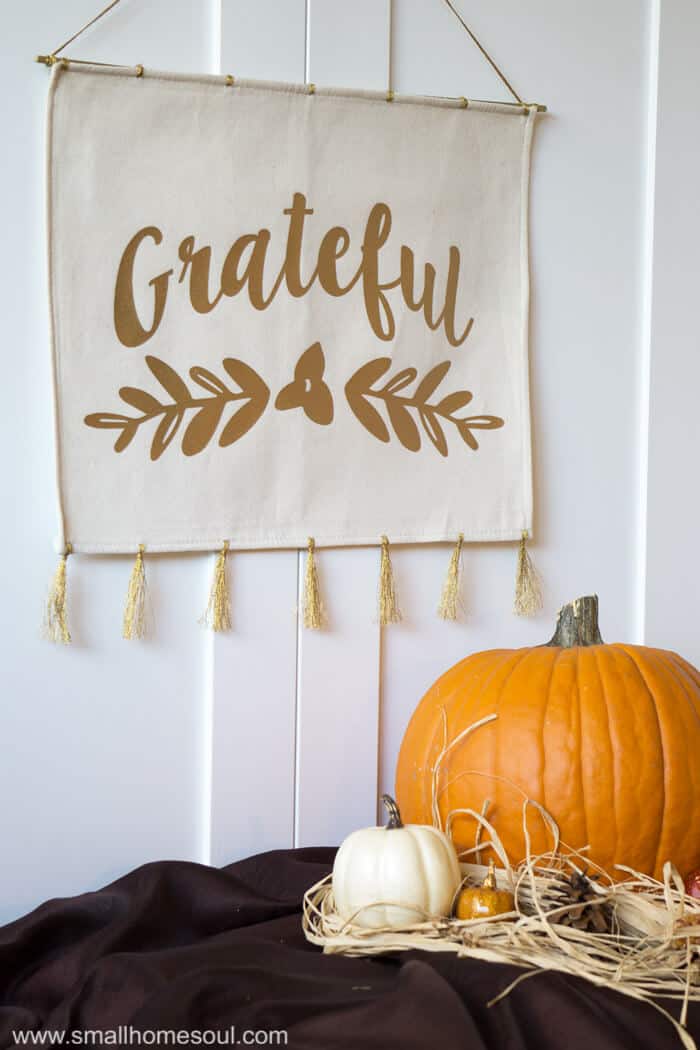
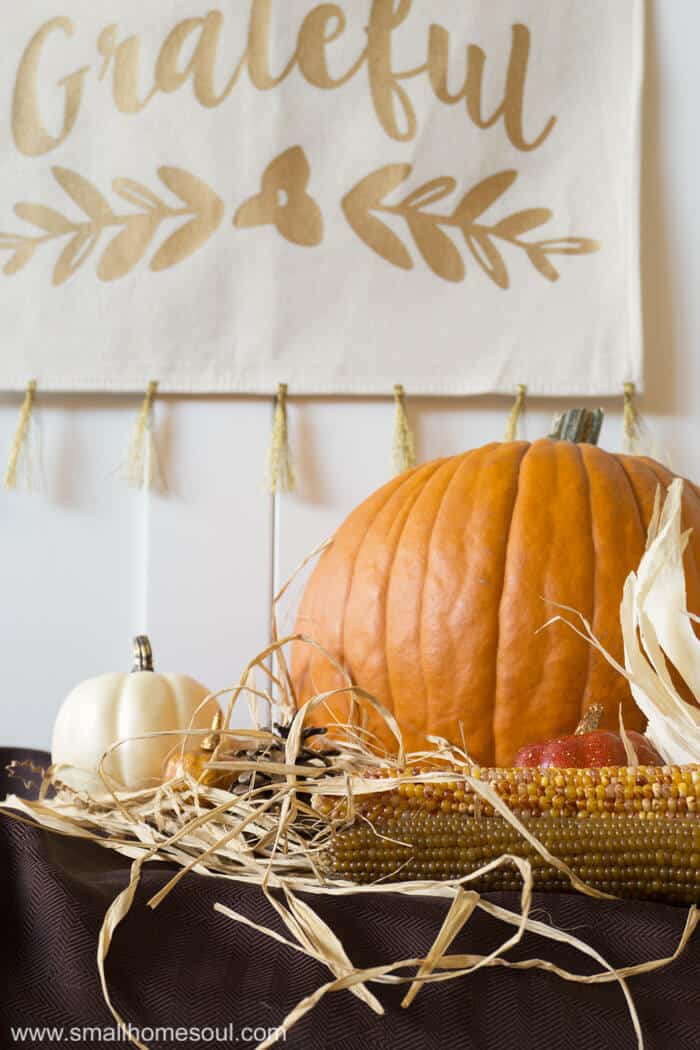
The sun really sparkles on the metallic floss.
Like it Pin It!
Don’t forget to check out all the Handmade Holiday Decor projects created by my very talented blogger friends. You’ll be inspired, just click on the links to check out their projects.
Have you entered the giveaway yet? Don’t miss out, enter until 11/19/17! It’s a great prize pack including a $50 Michaels Gift Card and all other items shown in the image below. Who wouldn’t love all that crafting stuff? Heck, I wish I could enter too 🙂
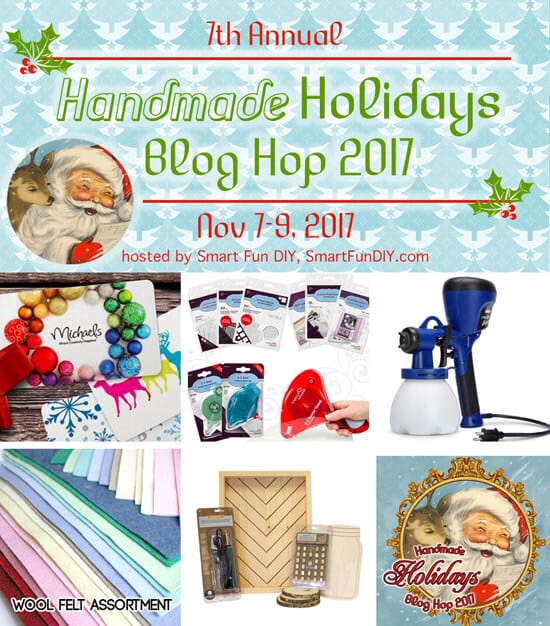
Thanks again to our Host Jennifer at Smart Fun DIY and our Giveaway sponsors of the 2017 Handmade Holiday’s Blog Hop!

Michelle James
Friday 17th of November 2017
Love this sign and great tutorial!
Kathleen
Wednesday 15th of November 2017
Grateful is definitely the word for Thanksgiving! I created a printable with it:) Love what you did with the tassels. As I've said before, I have always made pillows out of place mats but this is a new idea for me to try! Thanks for sharing the inspiration. And thanks for sharing at Vintage Charm -- hope to see you there at tomorrow's party as well:) xo Kathleen |Our Hopeful Home P.S. Pinned!
Sherry
Monday 13th of November 2017
Very pretty. Thanks for sharing at Home Sweet Home.
Emily
Sunday 12th of November 2017
This is so creative, Toni!! Love that you added the tassels, too. Thanks for linking up with Merry Monday - I'll be featuring your wall hanging at our upcoming party tonight.
Sue D
Friday 10th of November 2017
This is lovely!
Toni Harvey
Saturday 11th of November 2017
Thank you Sue, I'm so glad you like it :)