Hello friends I’m so glad you stopped by because today I want to show you how I updated a tired, thrifted French End Table with a little paint. —UPDATES— Initially I was going to use this table in my living room but after taking the pictures for this post and talking it over with my husband it just didn’t really fit. Not only didn’t it fit with the two chairs on either side, the style didn’t coordinate well our dining room furniture visible in the adjoining space. One day I’ll find the right table but until then I’ll show you in this post how I gave it a fresh update.
I love saving money on furniture and painting is such an inexpensive way to update on the cheap. It’s very easy on the pocket to find furniture at garage sales or online and give it new life. This is a huge savings over buying new furniture.
I’ve already shown you how I updated an old thrifted dresser into our “new” TV console. I used that same process and paint color on the thrifted french end table to update the look of this tired and a beat up table.
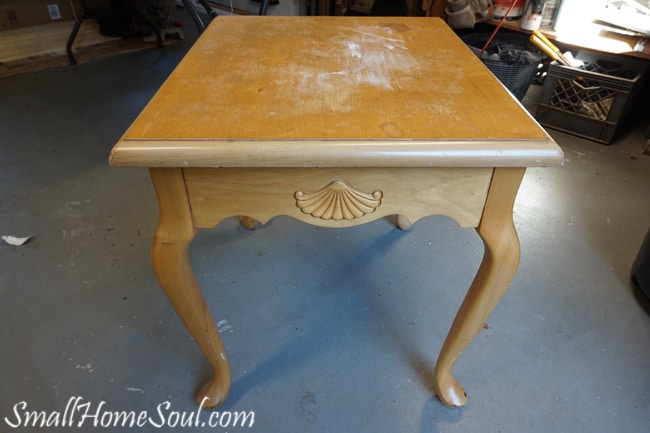
Several months back I bought this table on a FaceBook Treasures group for around $10. It took me a while to get around to painting it and it sat in the shed for a few months. I had my husband bring it into the garage so I could finally get started. He was very glad because my project stuff is forever in his way 😀
Thrifted French End Table Makeover supply list
- Thrifted French End Table, or a piece of your choosing
- Sanding Blocks (Medium/Fine grade)
- Paint
- Paintbrush
- Chip Brush
- Floetrol
The top wasn’t in great shape but the legs were perfect and “swoon worthy” as my friend Sarah calls them. My plan was to paint this thrifted french end table exactly like my TV Console; with a stained top and white base.
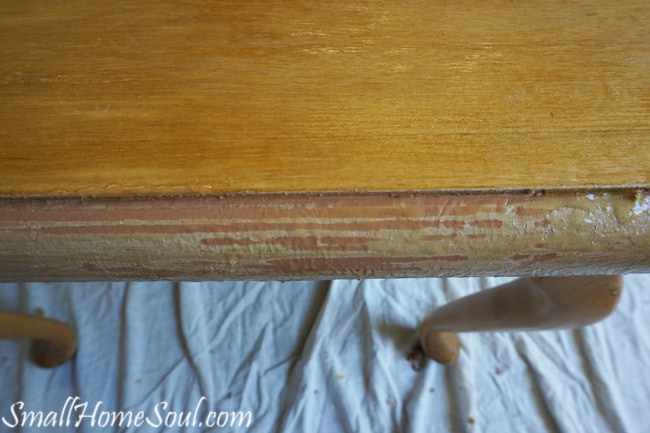
Unfortunately my plans were thwarted because once I started stripping the finish from the top I discovered the top is a pressed material with a veneer piece in the center and the edges were painted to look like wood grain. That fake paint seems obvious in the picture above but in person it was a pretty good fake. Major bummer!
Oh well, moving on to plan B I decided to just paint the entire thing. If I hated it I would only be out my time and I could easily sell it for more than it cost me.
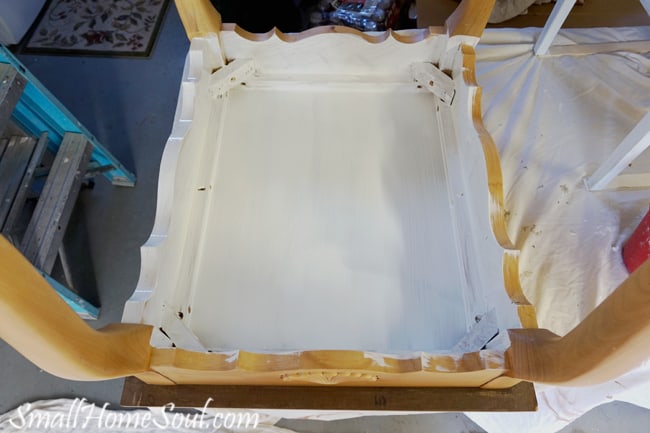
I always paint the underside first so I can get that out of the way and paint the final coats on the top at the very last. I gave a light sanding to the entire thrifted french end table and applied two coats of primer to the underside, the apron, and the legs.
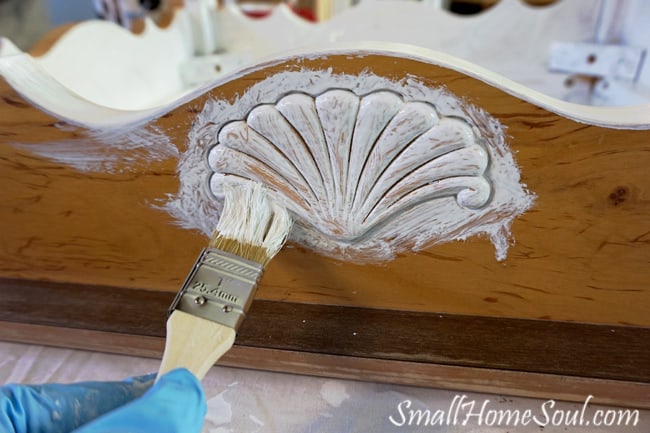
Each of the four sides of the apron has this cool fan detail so but painting it took a bit more work. I used a chip brush to push the paint into the cracks and smooth out the surface. I then painted the rest of the apron and moved onto the legs.
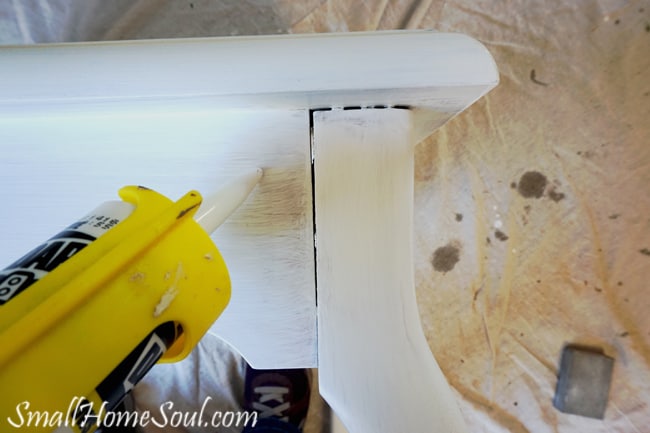
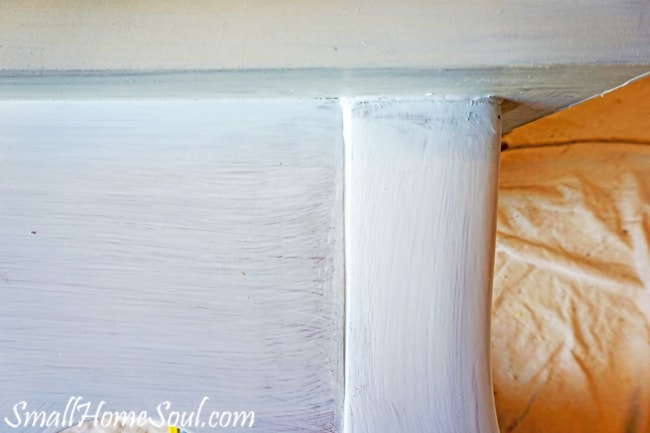
After I applied the first coat of primer to then entire end table I noticed some major gaps. These weren’t obvious before I painted but when your face is all up in the project you’re working on you notice a lot more stuff. The table is very solid and not rickety at all, just not the best construction job I’ve ever seen. Oh well, nothing a little paintable caulking can’t fix.
I just squirted that stuff in there and then wiped and smoothed out the excess. All ready for the last coat of primer.
Between each coat of primer and finish paint be sure you give your piece a light sanding. And if you have areas that are bumpy sand them a little more aggressively. For anything with curves I love to use sanding blocks, they really help you get into all the nooks and crannies and around the edges. They are more expensive than buying sheets of sand paper but for me it’s worth the extra cost to get the extra control.
Oh, and be sure to use a paint additive like Floetrol. This stuff keeps the paint from drying as fast and gives you more working time with the paint. It also helps eliminate brush strokes in the finish product which is a nice bonus.
This project took me a little longer to finish than I wanted. I kept putting it aside while I worked on other things but I’m so glad it’s finally finished.
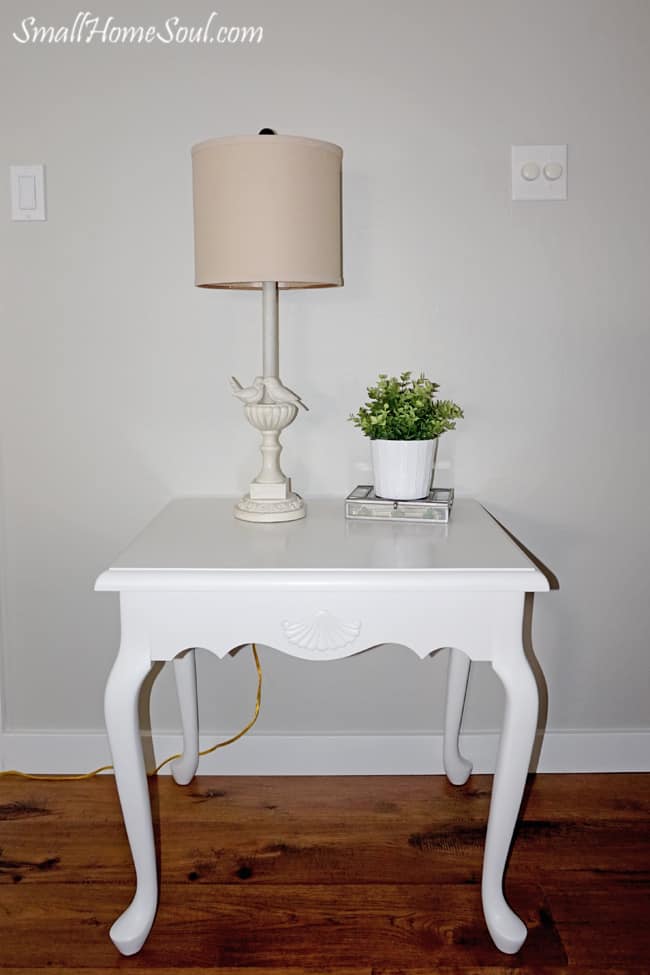
The lighter color changes the entire feel of the table and makes it more elegant. I’ll post this to sell and maybe it’ll find a new home. I think it would look beautiful in a little girl’s room with pink accessories, teddy bears, and little sparkley tiaras.
If you enjoyed this project then you might also like How to Make a TV Console from and Old Dresser and Hacked IKEA Nightstands.
I’m so glad you stopped by to check out my latest project. Have you painted anything recently? Isn’t it the best way to change a look or update a style?
Until next time,
Toni



Leanna
Tuesday 30th of January 2018
I really like white furniture above all other colours including French provincial. This makeover looks great.
Lisa
Tuesday 17th of May 2016
This is just lovely! You know how much I love French style???
Toni Harvey
Wednesday 18th of May 2016
Lisa, you are too cute :D Thank you so much!
Susie from The Chelsea Project
Tuesday 17th of May 2016
Don't mind me....I just came back for the third time to share your table on social media. :-)
Toni Harvey
Wednesday 18th of May 2016
Susie, you are a dear for sharing! xoxo
Susie from The Chelsea Project
Sunday 15th of May 2016
Thanks so much for linking to Friday's Furniture Fix. I already went on and on about your cute table...so this time....I'll just say thanks. XOXO Susie from The Chelsea Project
Susie from The Chelsea Project
Saturday 14th of May 2016
Lovely makeover. It is so amazing how one little piece in a lighter color can lighten an entire space. It really lifted the area between the sofas from heaviness and dark to airy and light. Plus....it's just so darn cute. Congrats on a another great makeover. Xoxo. Susie from The Chelsea Project