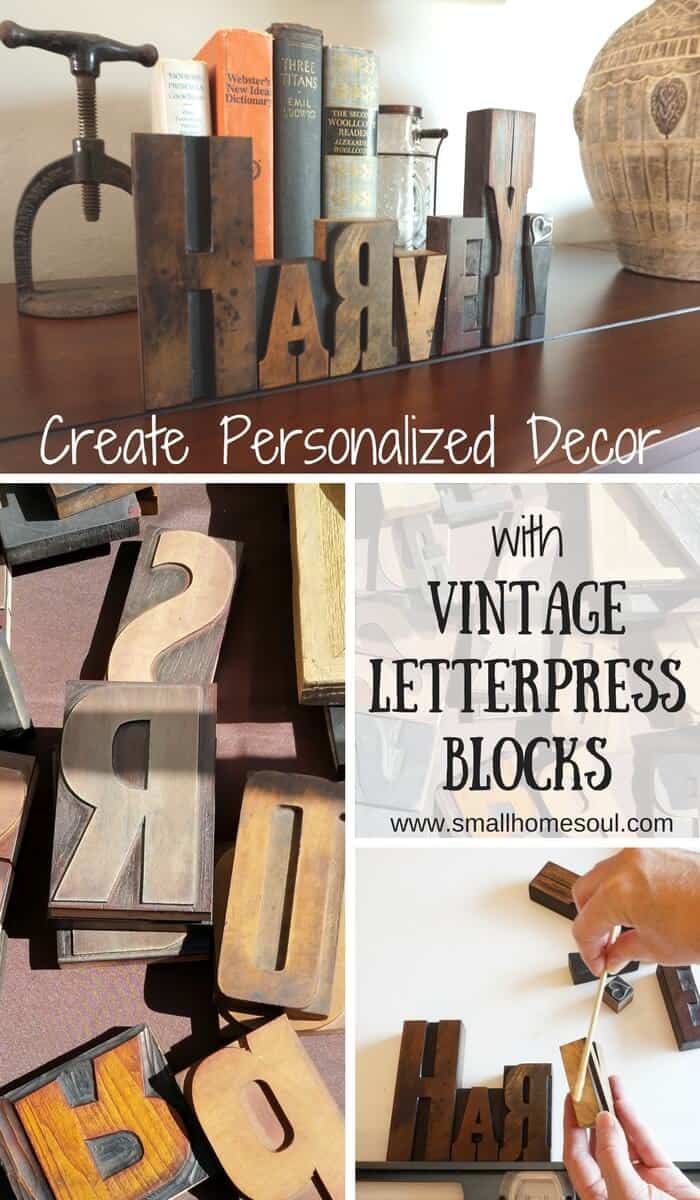
Hi Friends, I’ve finally gotten around to writing the follow up post to my Antique Fair Deals from the Summer. If you remember I bought some really awesome letters and had a plan for a cool personalized decor project. Well, I finished it about a month ago but time gets away form me with so much stuff to keep on top of. Today I’m going to show you how to use vintage letterpress blocks to make personalized decor for your home.
I just love these vintage letterpress blocks! With everything so computerized and digital today they’re a reminder of the extra effort and work it took to produce newspapers and books.
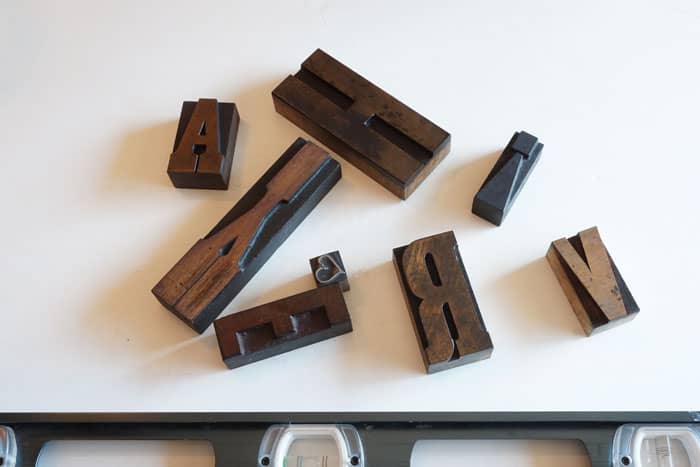
My husband and I had fun picking through all the bins to find the perfect letters for our project. I’m excited to show you how I did it and how it turned out so a-w-e-s-o-m-e!
This post contains some affiliate links for your convenience. You can read my full disclosure here.
Vintage Letterpress Decor Supply List
- Vintage Letterpress Blocks or some other wooden letters
- 12″-24″ Carpenter’s Level or Straight Edge depending on project width
- Tube of JB Weld Clear Weld
- BBQ Skewer or narrow Craft Stick
- Paper Plate
- Parchment Paper
After you determine the word and design you want to create it’s time to put it all together. Lay your letters out on a flat surface near your carpenter’s level. Make sure you aren’t working directly on your table or other delicate surface. I used a foam board to protect my dining room table. I put a large piece of parchment paper directly under where I planned to lay out my letters.
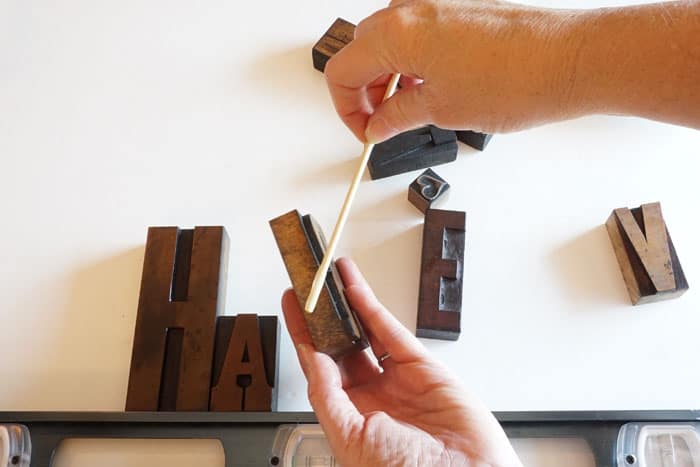
On your paper plate squeeze out about a dime-size circle of the JB Weld Clear Weld. It’s a two-part mix so be careful to read and follow the directions. Mix it with the end of your skewer or craft stick.
Connecting Vintage Letterpress Blocks
Start with your first letter against the level and apply the second block. Only apply the Clear Weld to the areas that will touch. It dries clear but you don’t want to see any extra as it might change the look of the surface when the light hits just right..
Apply a thin layer, it really doesn’t take much at all. Less is more here. If you aren’t sure how it will hold try it out on two paint sticks or something you don’t care about (seriously, it’s that strong). I tested it on two scrap pieces of wood and there was no way it was coming apart after I let it sit for the 1 hour cure.
This stuff is great and it dries like cement. You’ll have about 5 minutes of working time to make sure all your pieces are straight and level. The benefit of using the JB Weld over a glue gun for this type of project is once it’s applied there is no discernible gap between your pieces.
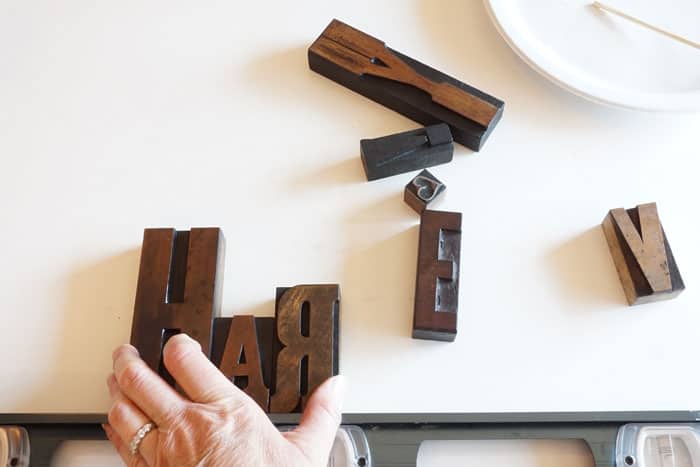
Keep working until you have all your blocks together in your perfect design. If your Clear Weld gets goopy on the plate (like mine did while I was stopping to take photos) while it’s exposed to air just squeeze out and mix a little more.
Right after you finish putting your pieces together, and while your design is still against the level, straighten each piece so they sit squarely against each other and the level.
I let my newly connected vintage letterpress blocks sit for the full 1 hour before I moved it to it’s new home.
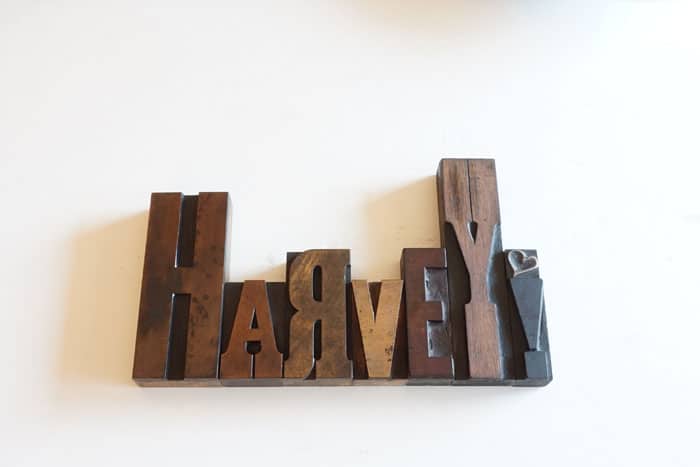
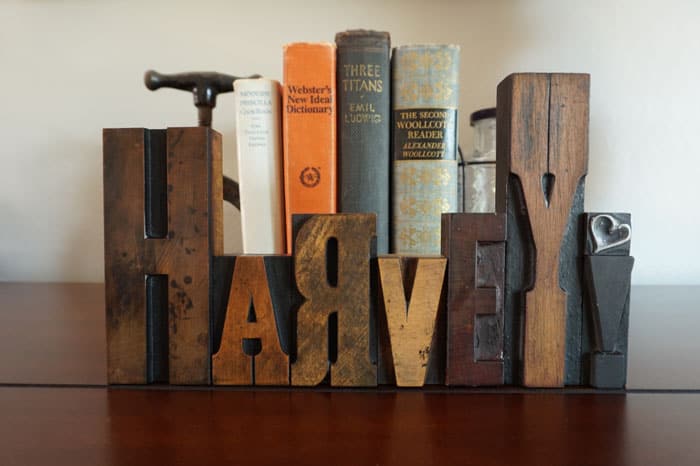
Personalized decor for your home
Do you know what I love about this? The only letter in our last name that actually looks backwards is the R. The E is actually upside down so it looks normal. Every other letter in our name looks the same forward or backward 🙂 And I especially love the unique look from the various types and shades of wood that the craftsmen used to make these vintage letterpress blocks. The years of embedded ink really adds a beautiful patina.
I would love to create more decor items like this with a crazy combination of letters. They make such unique gifts that everyone would love!
I hope you like my quick project! Until next time,
Toni
Don’t forget to Pin it to your favorite board. You can also follow my Decor Board for other great ideas 🙂
Susan
Thursday 23rd of May 2024
What a shame your webpage is such a mess with all the ads. I really could not be bothered to stop and look!
Toni
Saturday 5th of October 2024
Well good riddance to you then. It doesn't hurt for me to make a little money (and I mean little) for giving away free content. You see Ads all across the internet, and even in your gmail account. Because Gmail is free and they want to make their money somehow.
So for you to take the time to leave a nasty comment on my blog, you can pound sand.
Have the day you deserve Susan.
ps, I'm not one for taking crap comments from anyone laying down, especially from fearless but rude keyboard warriors like yourself.
Diana
Wednesday 16th of November 2016
Love this project, Toni, and I'll be featuring it tomorrow at Vintage Charm :)
Toni Harvey
Thursday 17th of November 2016
Thank you so much Diana :D I now need to go find more of these letters because I have so many cool things I could make!
Cecilia MyThriftStoreAddiction
Tuesday 15th of November 2016
This is so clever and would make such a wonderful gift! Blessings, Cecilia
Toni Harvey
Wednesday 16th of November 2016
Thanks Cecilia, I have to go hunting for some more of these letters. So many great projects to create!
kathleen
Thursday 10th of November 2016
I love this! I'm a real "letters" lover, I collect them. We have "A's" all over our house (my last initial). I never heard got the welding glue - thanks for the tip and thanks for sharing at Vintage Charm! xoKathleen Charm Bracelet Diva {at Home}
Toni Harvey
Wednesday 16th of November 2016
Kathleen, you will love that glue, once it's on there and dry there will be no getting them apart.
Kimm at Reinvented
Thursday 10th of November 2016
OH mY GOSH, Toni, this is amazing! I LOVE the patina. Now I'll have to add letterpress blocks to my shopping list! :) And thanks for linking up to Funtastic Friday, I am the newest co-host, and we'd love to see you back tonight!
Toni Harvey
Thursday 10th of November 2016
Yay Kimm, so happy you like it, it's unique and you can create so many different designs. You are going to love hosting a Link Party!! I'll be back for sure!