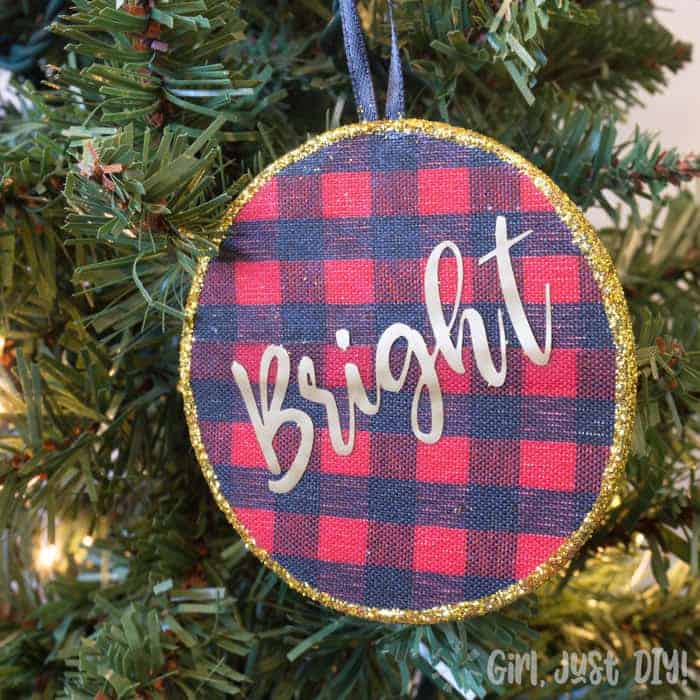
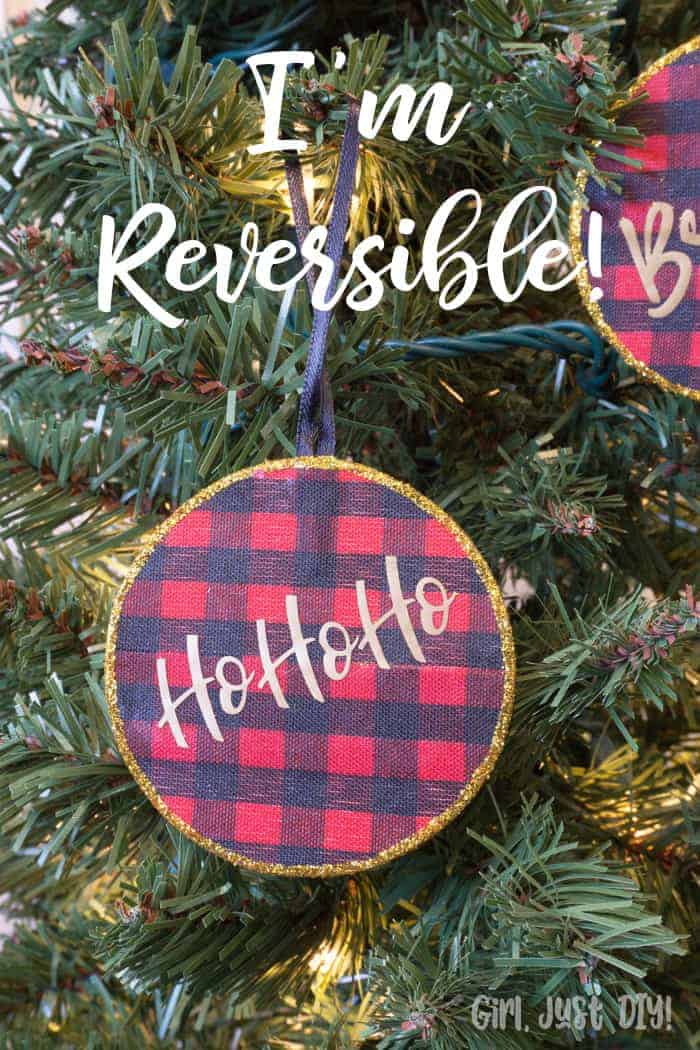
I’m back with another Christmas project for you. I hope you’re not tired of it yet because I have a few more upcoming. I don’t know when I’ve been so organized with Christmas crafts as I have this year. To get you organized I’m going to show you how to make Buffalo Plaid Christmas Ornaments. And they’re REVERSIBLE!!! I know, amazing, right?

I’m participating again in an online Ornament Exchange so please visit the link to see all the ornaments that were made and exchanged between 50 bloggers this year.
We made ornaments for a blogging buddy (sort of like a Secret Santa) and mailed them so they can enjoy them on their Christmas Tree.
For my project I made these cute reversible buffalo plaid Christmas ornaments for Terri at Christmas Tree Lane and she sent me a cute little Bottle Brush Tree ornament in exchange. It’s really fun, like opening a package on Christmas morning. I participated in the ornament exchange last year and love the ornament she sent me and the one I made for her.
This tutorial might seem like a lot of steps to make these buffalo check ornaments but don’t be intimidated, they’re very easy and it goes pretty quickly. And please forgive the picture quality, I was filming video (coming soon) and forgot to keep one ornament aside to take closeups. I made two sets, one for Terri and one for myself because I sometimes have gifters remorse 🙂
This post contains links to products, if you purchase something after clicking on my link I may earn a small commission (at no extra cost to you).
Buffalo Plaid Christmas Ornament Supplies
- Buffalo Plaid Fabric or Ribbon
- Three 3″ Wood Circles
- 1/8″ Black ribbon
- Scissors
- Glue Stick
- Mod Podge
- Extra Fine Gold Glitter
- Wonder Tape or skinny 2-sided tape
- Cricut Gold Vinyl Sheet for Words
You could use buffalo plaid fabric or paper if you have it. I had neither but I had a full roll of 2-1/2″ wired buffalo plaid ribbon so I figured I’d use that.
I’ve put the steps into bullets so it will be easy to follow.
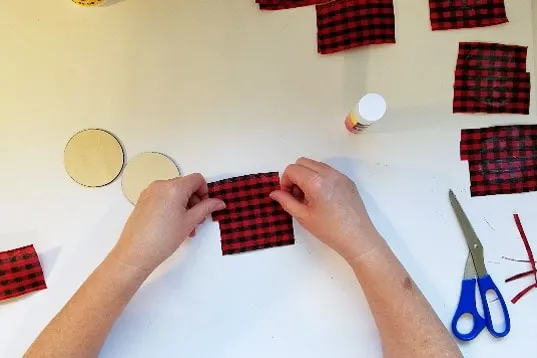
- Cut two lengths of ribbon for each side of your reversible ornament approximately 4″. They need to be longer to match up the pattern. For a set of 3 you’ll need 12 sections. If you have wider ribbon, or fabric then you can skip this part, obviously 😀
- Cut the wire off each section and on half of them near the edge cut carefully along a black line leaving the red section. You’ll use this to overlay the other half. Trust me, it’s gonna be fine.
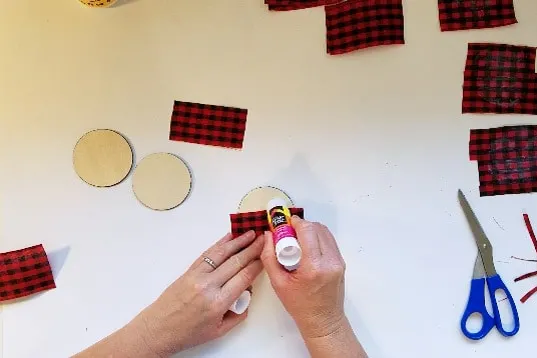
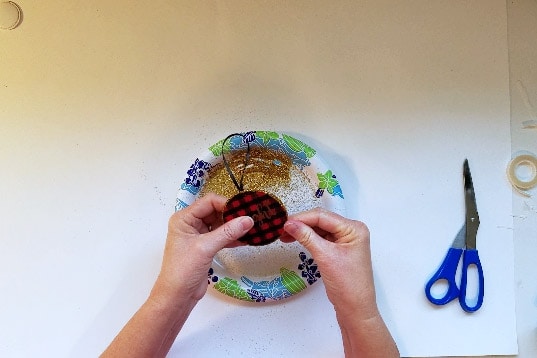
After all the pieces are cut and trimmed it’s time to affix them to the wood.
- Rub the entire ornament circle with the glue stick.
- Press down the first side of buffalo plaid.
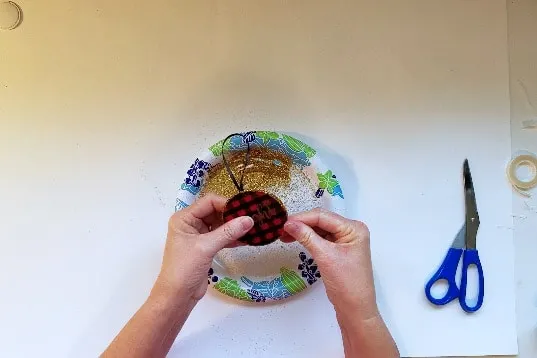
- Run a little glue stick along the edge of the buffalo plaid.
- Take one of the pieces you trimmed to the red section and align that onto the first piece of ribbon so the pattern looks perfectly aligned. Press in place.


- When the glue is dry (it dries pretty quickly) trim the excess buffalo plaid ribbon as close to the edge as possible. You don’t want any overhanging.
Now turn the ornament over and let’s do the other side.
- Cut 3 lengths of 1/8″ black ribbon approximately 8″ long.
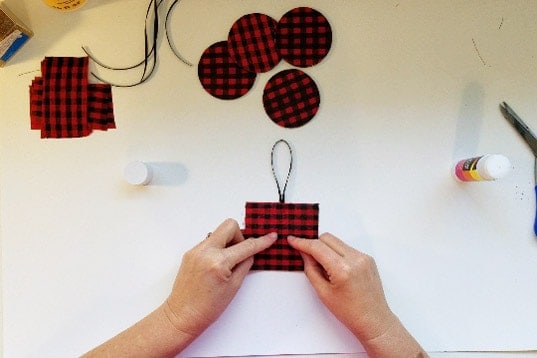
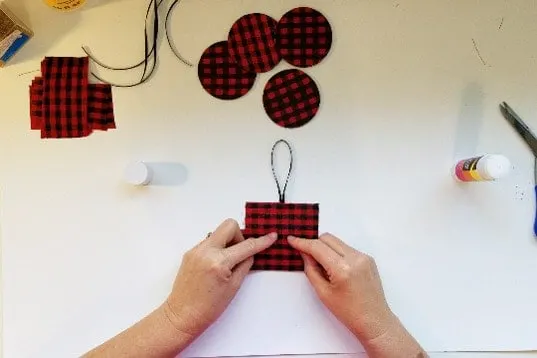
- Take one ribbon and fold it in half. Affix it to the bare wood with some glue stick.
- Rub glue stick on the rest of the wood ornament and starting at the top nearest the ribbon attach the buffalo plaid.
- Attach the second half of the buffalo plaid the same as you did on side one.
- Let them dry and trim the buffalo plaid ribbon again like side one.
NOTE: If you’re a little OCD like me make sure you line up the plaid pattern on side two the same as on side one. Also noting the placement of your hanging ribbon. Some of mine are a little off. Not that anyone but me would notice it LOL
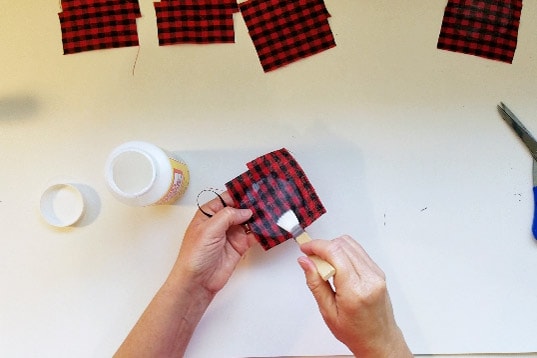
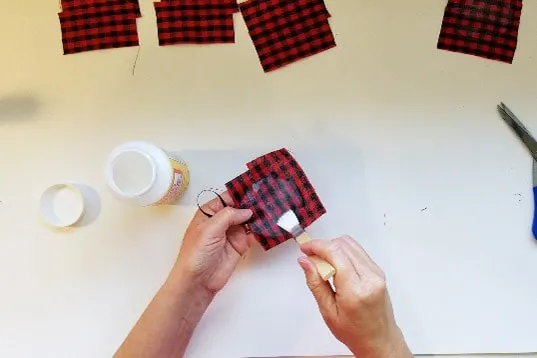
- If you want you can give them each a light coat of Mod Podge. This will keep the edges from fraying while you finish up, and it will keep the fabric from collecting dust and dirt over the years.
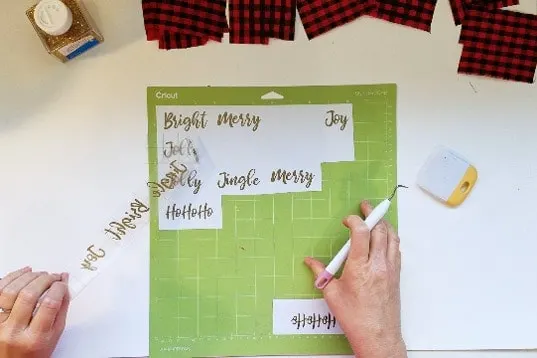
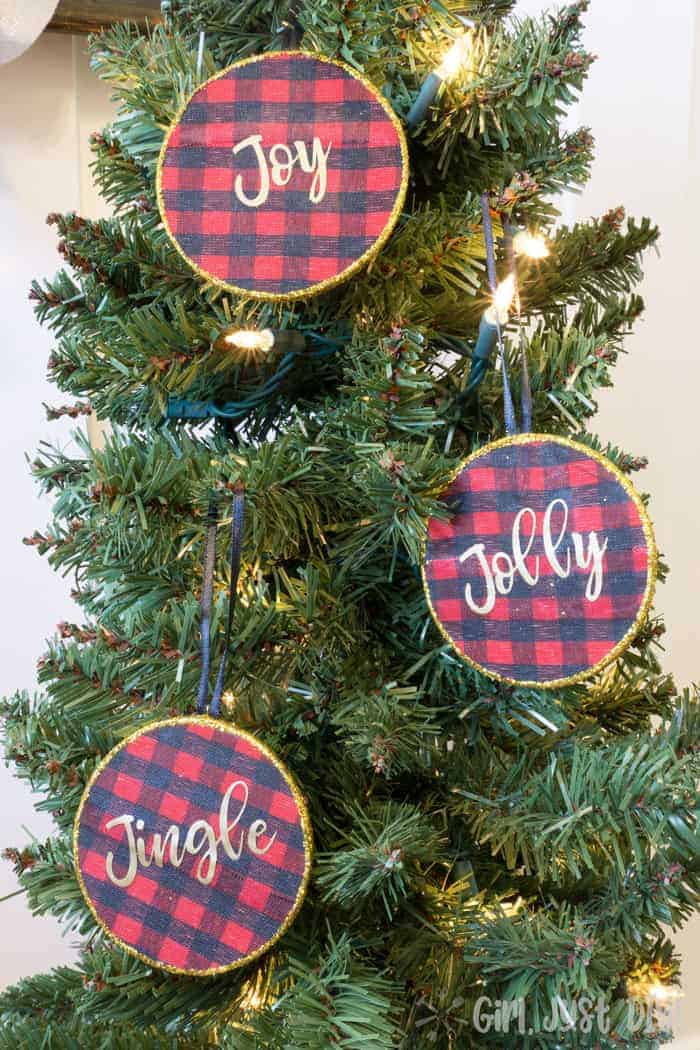
Attaching Vinyl Letters
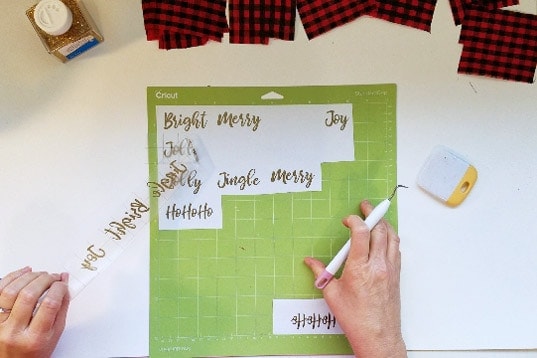
Use your Cricut to make and cut out letters you like. I went with these words in font size 66, yours might vary depending on the font you choose.
Joy – Merry
Jolly – Bright
Jingle – HoHoHo
I used my Cricut to cut out my words in on Gold Vinyl. I spaced them pretty close together and used narrow sections of Transfer Tape to pickup several words at once. They were laid upside down on the cutting mat until I was ready and cut off one word at a time.
- Place the transfer tape with the word onto the buffalo plaid Christmas ornament at a slight angle.
- Press the letter in place with the rubbing tool or the back of the little spatula.
- Carefully lift the transfer tape off and use the spatula to hold down the edge of any letter that doesn’t want to let go.
- After the tape is up press the letters again with your fingers.
If you have a cutter and need a place to store all your vinyl rolls, you can see how I built one using scrap wood I had in the garage. Of course you could build this Craft Vinyl Storage Rack with new lumber as well.

– More Red Christmas Decor –
Pom Pom Pillow – Red Decor Roundup – Fast Ornament Updates
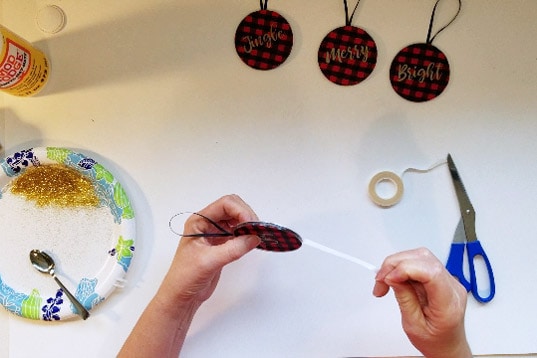
Glitter the edges
At first I tried using a little Mod Podge around the outside edge but it was an ugly mess. Then I remembered I had this sewing stuff called Wonder Tape. There’s other double-sided tape that works the same.
- Apply the tape to the edge of the ornament centering it as you go.
- Pull the paper from the tape and press down the edges of the tape onto the flat of the ornament.
- You’ll have to cut a small piece to apply on either side of the ribbon holder.

When the tape is in place pour some of the gold glitter into a paper bowl or a deep paper plate.
- Roll the edge of the ornament into the glitter and really press down.
- Change the angle of the ornament and roll again making sure the tape is covered.

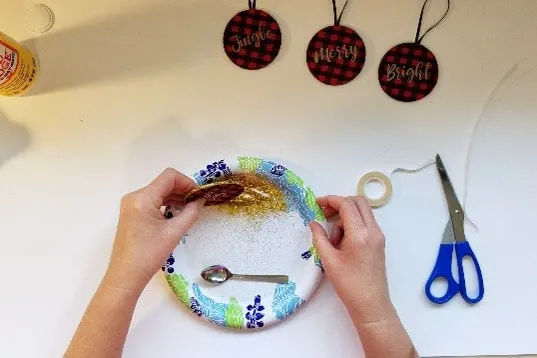
- When you’re sure all the tape is covered press the glitter with your fingers to make sure it’s really stuck.
I’ve been having some fun with glitter lately making a Door Hanger and a cute pink and green Christmas Tree. It’s been everywhere, not lying 😀
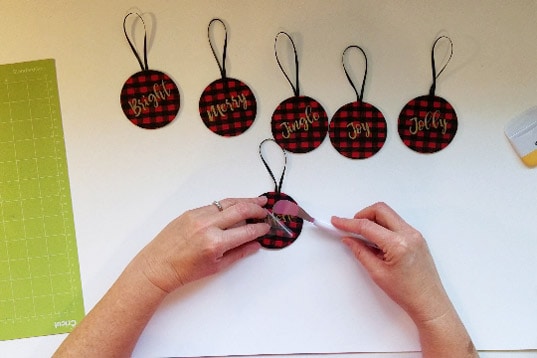
DONE!! Yay, you have just made your first Reversible Buffalo Plaid Christmas Ornament so keep moving and finish the other two. ?
Buffalo Plaid Ornaments Side One

Buffalo Plaid Ornaments Side Two


Pin it for later!!

Are you ready to make these? Have you made any other ornaments for your tree? Share in the comments what your favorite ornament crafts are to make.
Also, please Don’t forget to visit the Ornament Exchange Link Party, there are tons of awesome ornaments to inspire your crafting. If you’re a blogger you can also add your own ornaments to the Link Party until 12/15.
DIY Craft Vinyl Storage Rack - Girl, Just DIY!
Thursday 7th of March 2019
[…] My first published project using my Cricut was pretty popular at Christmas time, I have a few other projects for my daughter’s wedding last fall that will be published very soon. […]
Super Mom - No Cape!
Monday 26th of November 2018
I love that they're reversible!
Toni | Girl Just DIY
Tuesday 27th of November 2018
You can flip them every few days for a new message :)
Erlene
Monday 26th of November 2018
Love that you made these ornaments reversible! Thanks for sharing your ornament tutorial on the ornament exchange. Pinned.
Toni | Girl Just DIY
Tuesday 27th of November 2018
It's like two for the price of one :)
Beverly
Thursday 22nd of November 2018
I love these! Using ribbon instead of fabric is a great way to use what's on hand. Making them reversible is a great idea.
Toni | Girl Just DIY
Tuesday 27th of November 2018
Sometimes you have to get creative to get the look you want. When I was shopping I looked for craft paper in buffalo plaid but couldn't find any, which I thought was odd considering how popular it is now.
Natasha
Tuesday 20th of November 2018
I have some friends who would absolutely love these! Thanks for the gift idea. =)
Toni | Girl Just DIY
Wednesday 21st of November 2018
Oh that just made me so happy. I know they will love them!