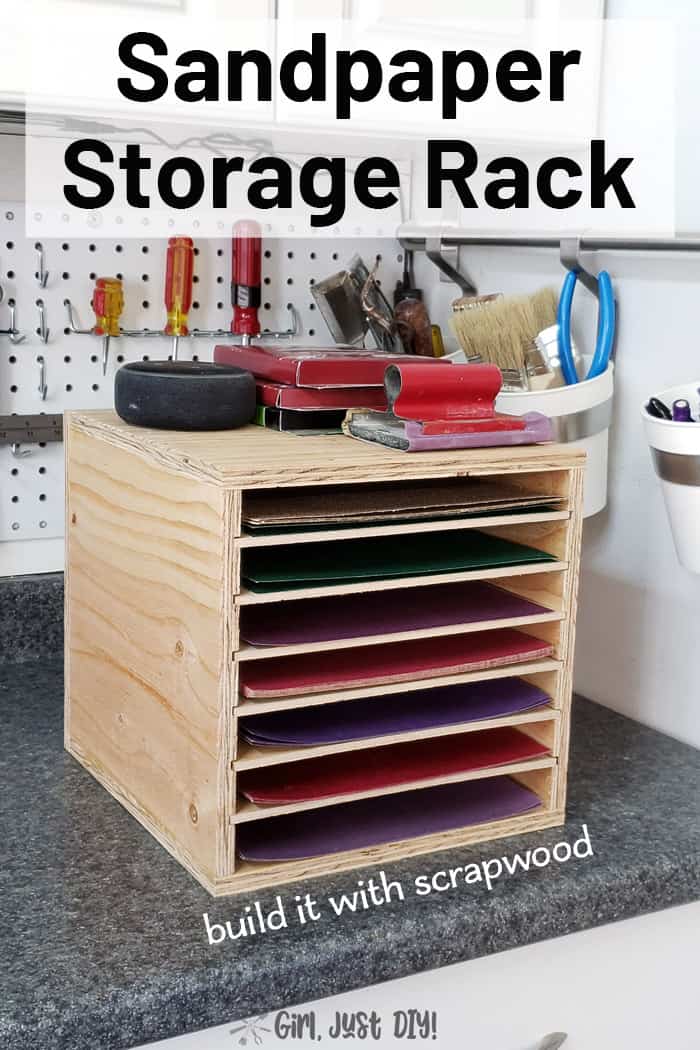
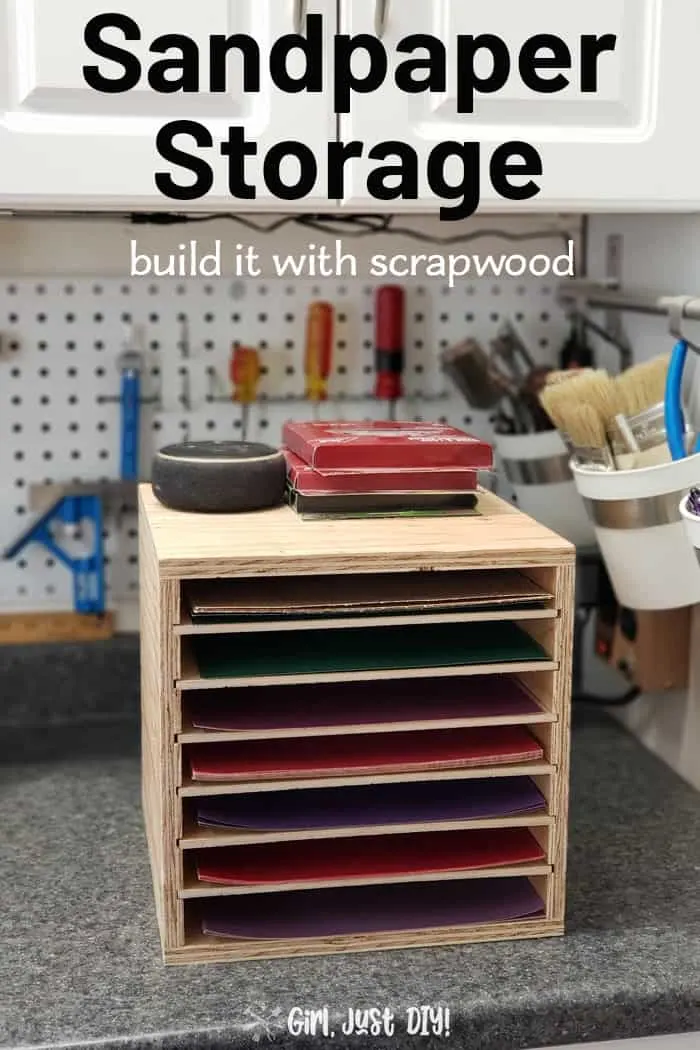
If you’re already a woodworker then you know the struggle of keeping your sandpaper organized. I’m excited to show you this DIY Sandpaper Storage Rack you can build in less than 2 hours.

Honestly you could probably build it much quicker than that since I was creating the plans as I went.
This month’s At Home DIY Challenge is all about Build to Organize, and this project was long overdue in our garage. Be sure to check out all the other amazing organizing projects at the bottom of the post.
You can build your sandpaper storage rack with scrap plywood or you can buy them in 2×4 sheet at most home improvement stores.
Supplies to Build a Sandpaper Storage Rack
- 1/2″ Plywood for carcass (see cut list)
- 1/4″ Plywood for shelves
- Table Saw
- or Circular Saw with Rip Cut
- or a clamped straight edge as a guide
- Wood Glue
- Brad Nailer
- alternately you could use a hammer and finish nails
- 1-1/4″ Brad nails
- Router (I have this one)
- 1/4″ Straight Router bit (I have this set)
- 24″ or 48″ Carpenter’s Straight Edge
Cut List
For Sandpaper Rack using 1/2″ Plywood
- Cut two (2) for Top and Bottom – 11″ by 10-1/2″ each
- Cut one (1) Back – 10-1/2″ by 10-1/2″
- For Sides – 22-1/2″ by 9-1/2″ (this will be cut down in a later step)
For Shelves from 1/4″ Plywood
Cut six (6) – 11″ by 9-3/4″
This project comes together pretty quickly. The longest part is routing the grooves for the shelves. This is my first project using the router I got for Christmas. Be sure to practice first, it takes some control and getting used to.
I don’t have a router table so I fashioned a “fence” that I’ll explain more about below.
Building the Sandpaper Storage Box
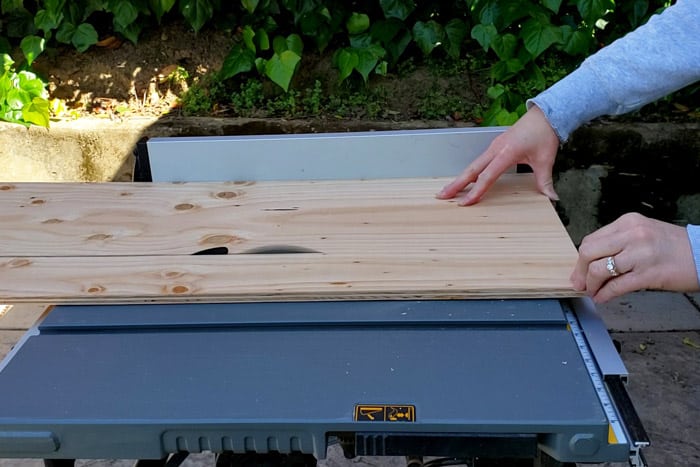
Step 1: Cut the plywood to size
If you use scraps like I did then you can easily cut them to size on your table saw. If you are using a full sheet you might need a helper. But if you have to purchase plywood I suggest getting a 2’x4′ section from the hardware store as it’s easier to work with.
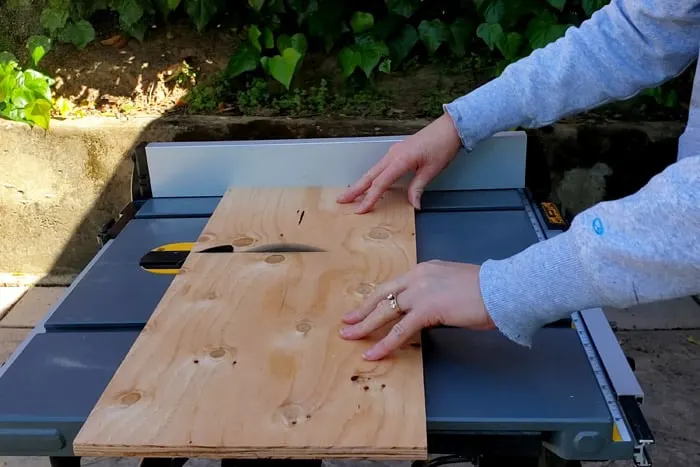
If you’re using a 2’x4′ piece of plywood it’s easiest if you can first cut:
- Rip a section 9-1/2″ wide that will become the sides.
- Adjust the fence and trim it to 22-1/2″ long
- Adjust the table saw fence and rip another long section 10-1/2″ wide.

- Turn that section sideways and cut the square piece for the back.
- Adjust the table saw fence again and cut the two pieces for the top and bottom that are 11″

Making the sandpaper shelf slots
As I mentioned this is my first router project. I practiced on a piece of scrap and it was pretty comical. Even though I used a clamped piece of wood as my guide my first pass looked like a kids roller coaster.
The second one was much better.
Also, initially I had cut two separate side boards but decided to modify my plan, which you’ll see below.
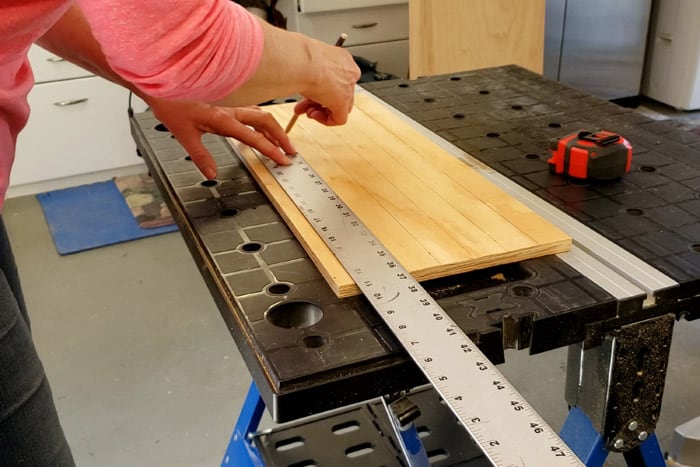
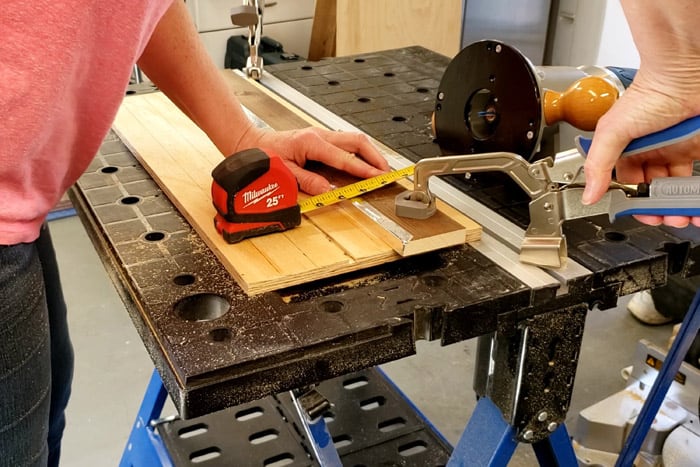
Step 2: Mark your router lines
You can figure out your own spacing if you want. You might want more shelves, or you might want them at different heights for a bigger supply of the sandpaper you use most often.
If you’re following my plans do the following:
- For nearly equal spacing mark lines every 1-3/8″.
- Do this three times across the width of the side board.

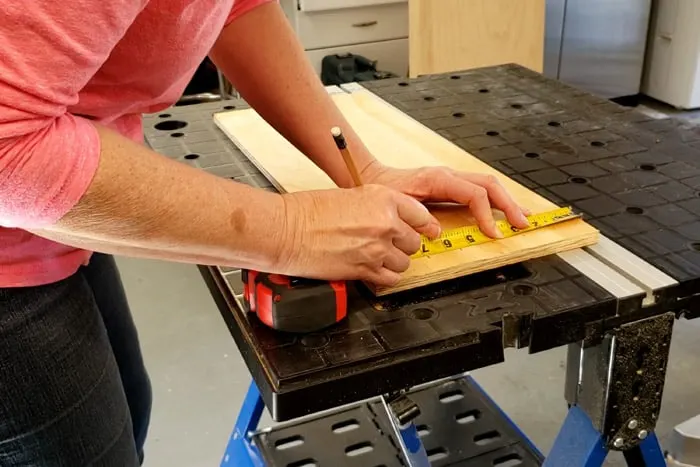
- Using a straight edge line up and trace your lines all the way across.

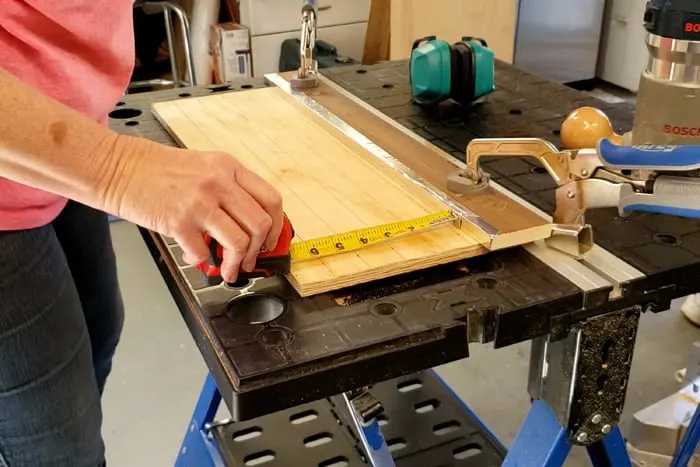
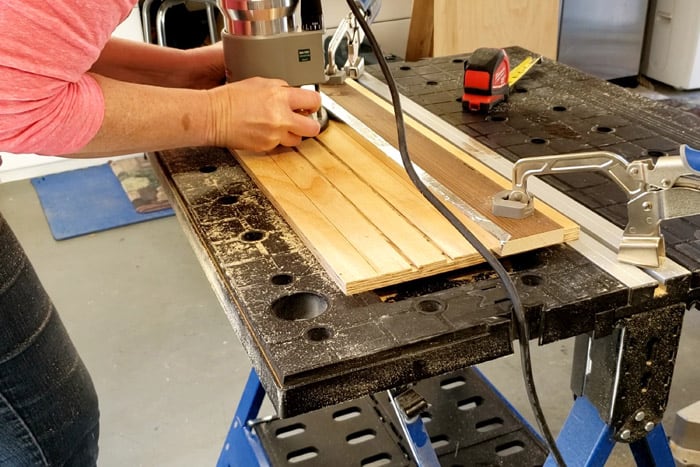
Step 3: Setting up for the router
I don’t yet have a router table so I made due with my Mobile Project Center. I got two of these when I designed the 2×4 Plant Stand. They also have a really great bench top clamping system.
I covered a piece of scrap wood with some Aluminum Foil Tape that I bought for my Boob Light Makeover. The foil tape made the “fence” smoother so the router would glide.
Your router might be different but the center of my router bit is 3″ from the edge.
- Hold the 3″ mark on the tape over the line and move the fence into place and clamp it down.
- Move to the other end and do the same.
- Measure both sides again and make any adjustments necessary.

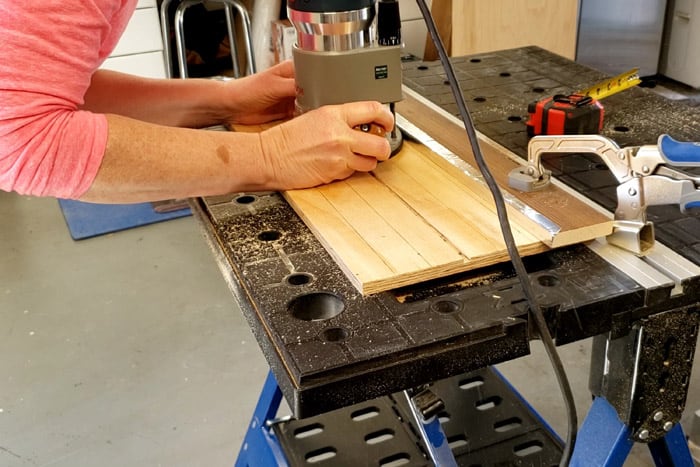
- Insert the 1/4″ Straight Bit into the router with 3/8″ protruding from the base of the router. This will be the depth of the routed grooves.
- With the left side of the router resting on the right edge of the wood turn the router on. Adjust the speed based on your comfort level.
- Press the router firmly against the fence and move the router to the left continuing to press firmly against the fence.
- Continue until you get all the way through.
- Turn off the router and set it aside.
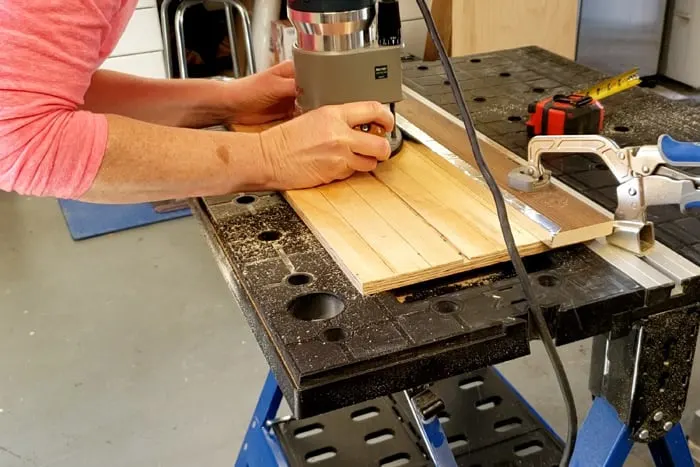
- Unclamp and move the homemade fence down (repeating the measurement process outlined above) and continue to route the 2nd line.

- If you get a little wobbly don’t worry, just go back over the line again to clean it up. As long as you have one continuous line for the your shelves to slide into, you’ll be fine.
- You’ll have to flip your board around to route the remainder of the lines.

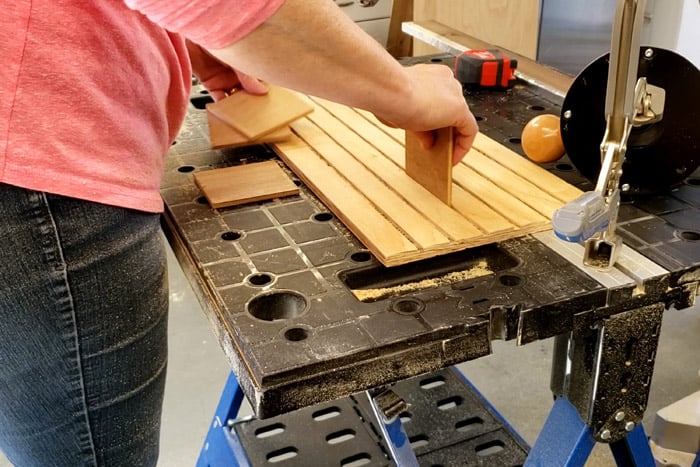
- Use a small scrap of 1/4″ plywood to test that the grooves are straight.
- Go back to the table saw and cut the routed board into two (2) sections that are 11″ long.

This Sandpaper Organizer will make your projects smoother
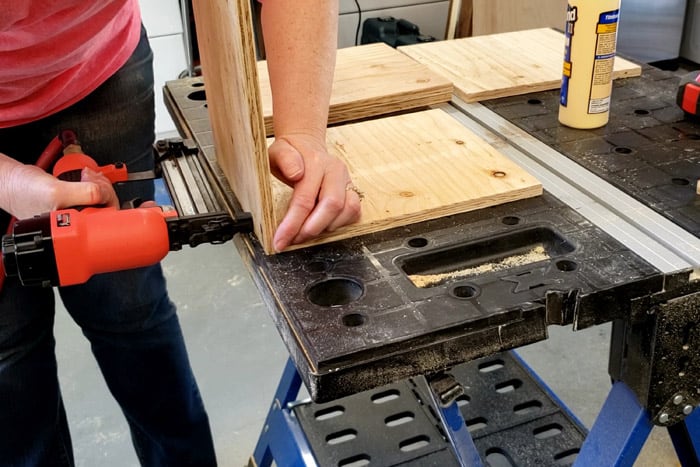
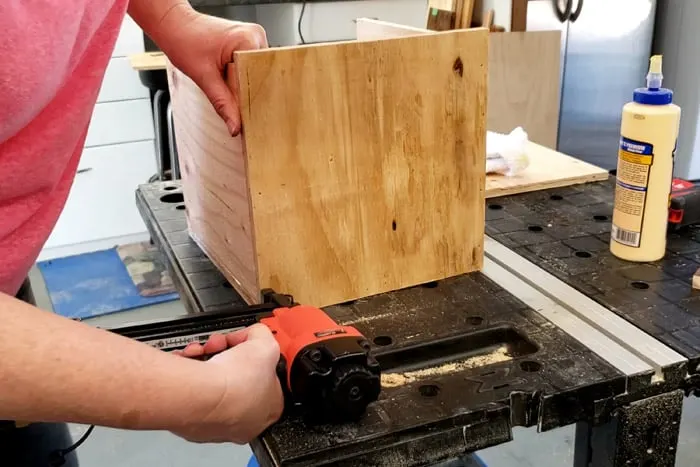
Step 4: Build the sandpaper storage rack
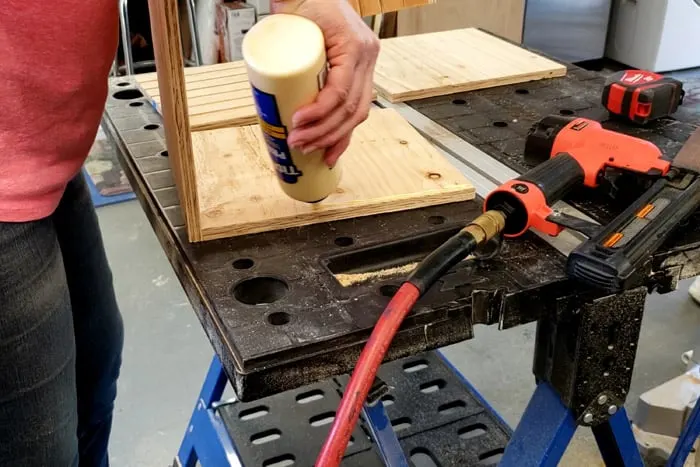
Now that the sides are routed it’s time to assemble the carcass of the storage rack. Get your brad nailer ready. We have a pancake compressor that does a great job but one day I want a cordless!
- Place the Bottom board on your work surface.
- Run a bead of wood glue along the bottom edge of the Back board
- Keeping the edges even nail in at least 3 places.

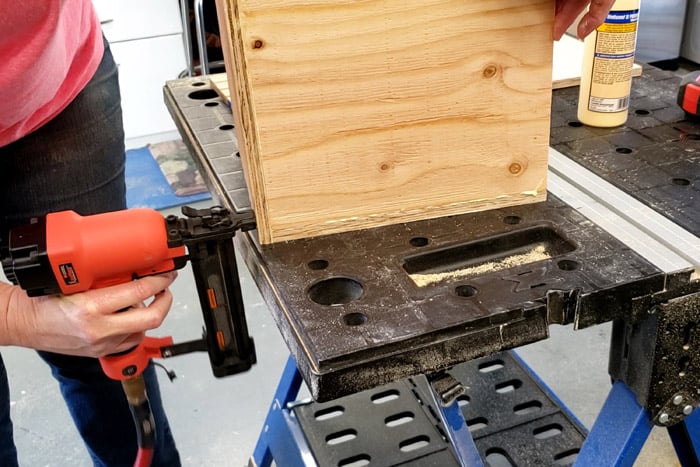
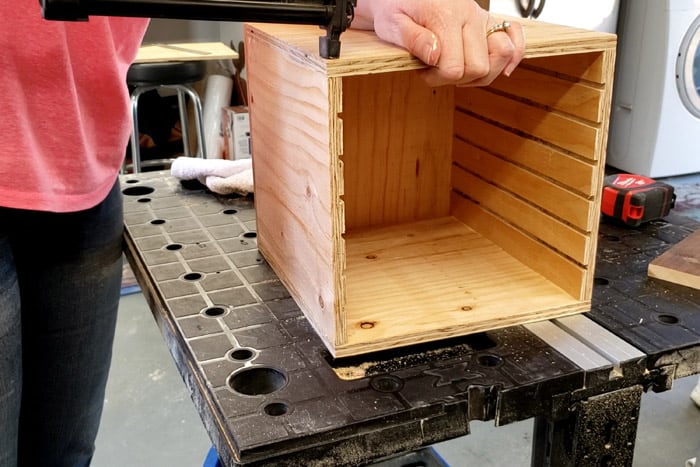
Now let’s add the sides.

- Put wood glue on the edge of the connected pieces and put the left side piece into place.
- Holding the side flush to the edge nail in place from the back.
- Turn the box over to nail from the bottom.

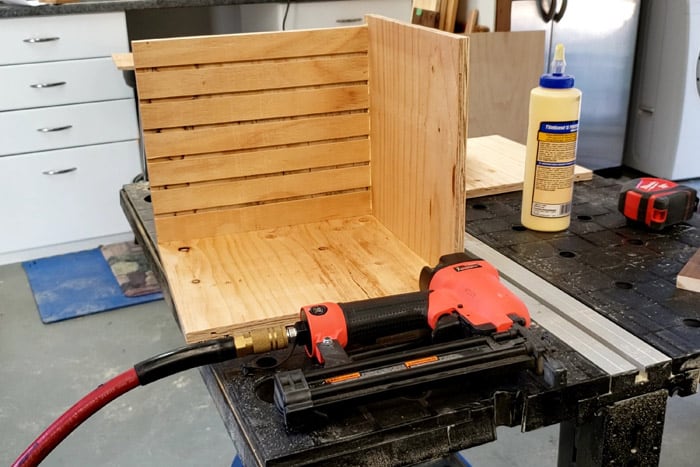
Now do the same thing and attach the right side.

Lastly attach the top piece and you’re almost done with your DIY sandpaper rack.

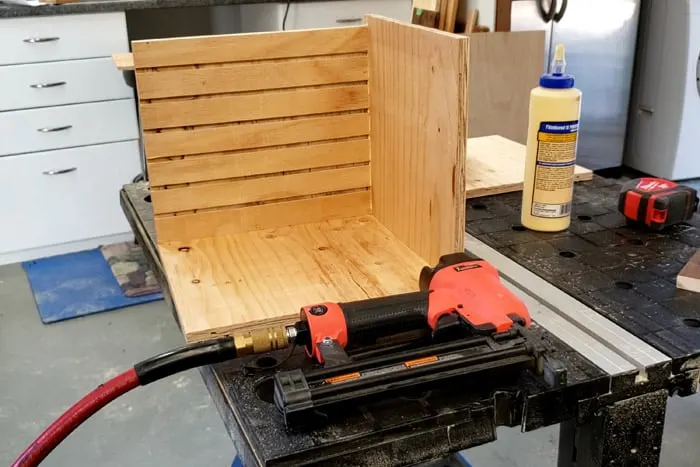
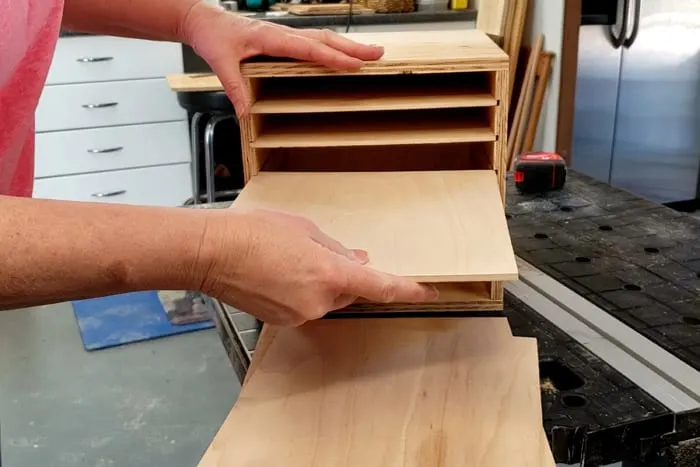
I didn’t get any pictures of cutting the shelf pieces but cut those to size and slip them into place.

This is a perfect sandpaper organizer, I can’t believe it took so long to finally make this. Now I wish I’d added some slots for the disk paper for my orbital sander. Maybe that’s another project I’ll have to make.
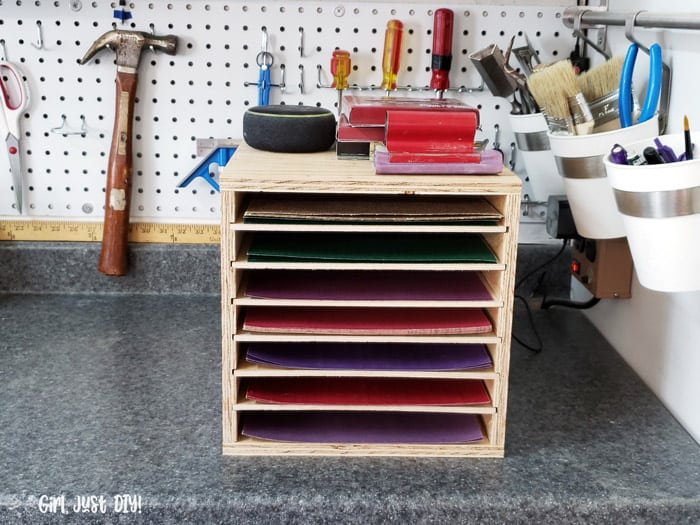

Now all you have to do is fill it with your sandpaper supply. I put mine in with the coarsest at top to the finest below. You could also add some labels to the sides if you want.

see even more build to organize projects


Michelle
Sunday 19th of April 2020
My husband needs this!! His sandpaper is always a mess. This would make a great father's day present.
Paula@SweetPea
Saturday 18th of April 2020
What a great idea for organizing sandpaper. Ours is shoved in a cabinet. This is a great solution!