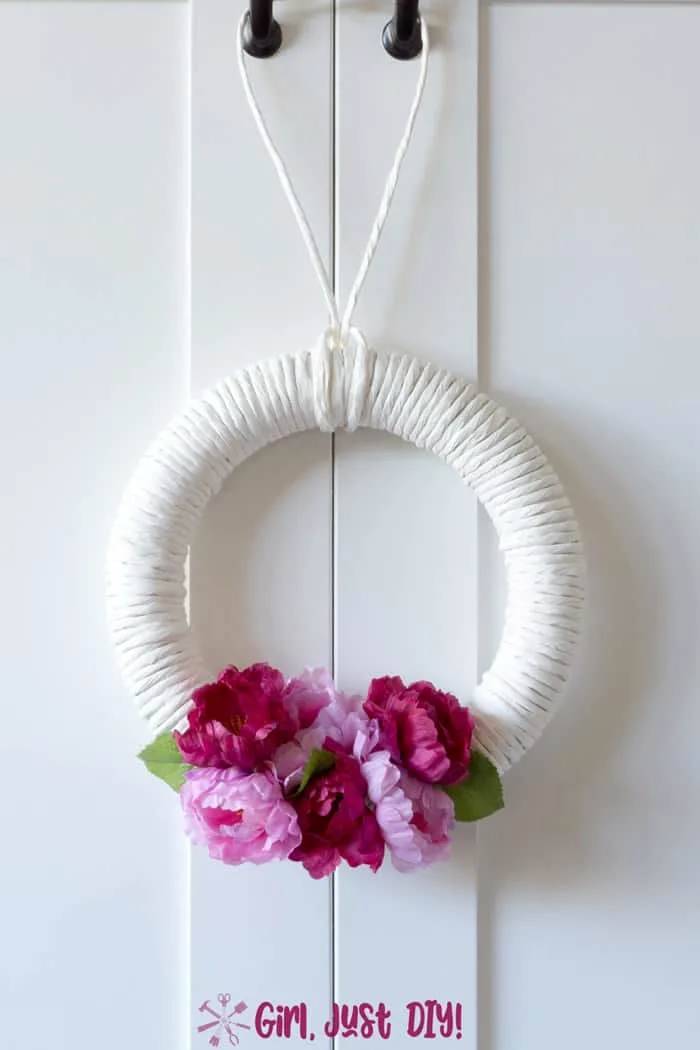
After a long rainy or snowy winter everyone is ready to brighten and cheer up their homes a bit. This easy DIY Spring Wreath is just what you need to bring Spring indoors, even if the weather outside isn’t quite ready to cooperating.

When I started writing this post it was dreary and rainy so making my diy spring wreath for my house came at just the right time. Our home office seems to be the brightest spot in the house in late winter, even though in deep winter no sun actually hits our house.
So instead of using it as a front door wreath it’s going to stay displayed on the handles of our Murphy Bed for a while so I can enjoy it all day long while I work. Maybe in a few weeks I’ll move it to the front door. Maybe.
It’s really easy to make this DIY Spring Wreath so let’s walk through the steps I used to mine mine.
This post contains links to products, if you purchase something after clicking on my link I may earn a small commission (at no extra cost to you).
Supplies for Your DIY Spring Wreath
- 1 Roll 25 yd Paper Twist Ribbon or get it here too
- or 25 yd white 5/8″ ribbon in a color you like
- 1 12” Foam Wreath Form
- 1 – 2 bunches of Pink and Burgundy Silk Peony flowers
- (I got mine at Walmart)
- Glue Gun
- Wire cutters – or buy this Made in USA combo tool
- Craft Paint (if your wreath form isn’t white)
- 16 oz available in multiple colors at a low price
- Scissors
- 1″ Foam Paint Brush
- Command Hook
Let’s make a DIY Spring Wreath
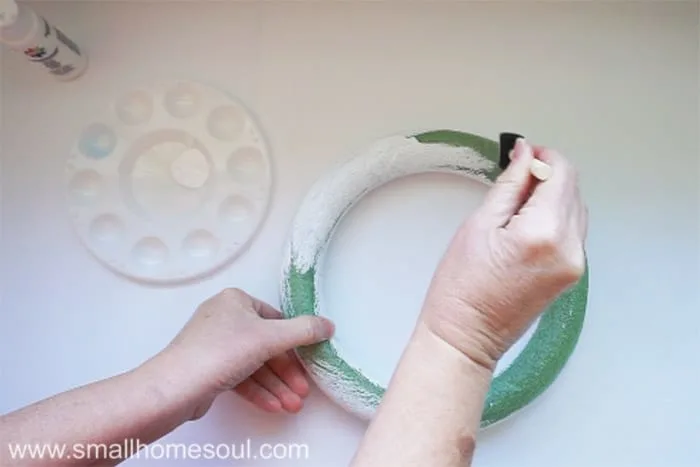
Step 1: Paint your wreath form
You may not need this step depending on the color of paper twist or ribbon you choose. And some foam wreaths are white which makes this project that much quicker.
- Paint your foam wreath form with the white craft paint. Or use whatever color paint that matches the paper twist ribbon you chose.
- I like to use small foam brushes for these types of quick projects. You can clean them out and reuse them.
- You could also use spray paint.
- Set it aside to dry. I’ve also found using a blow dryer on low is helpful to move the project along faster.

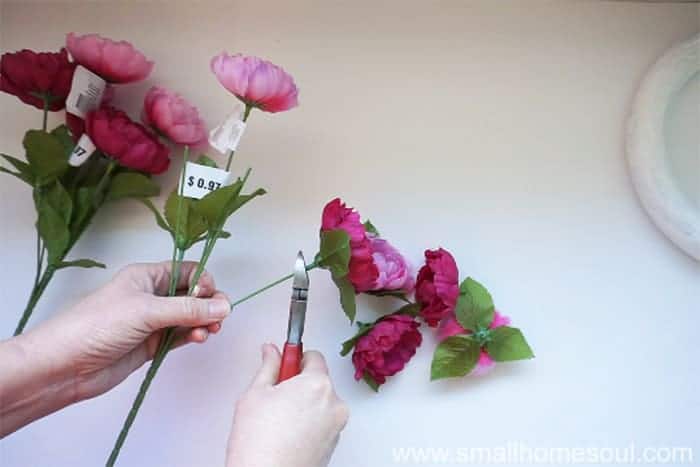
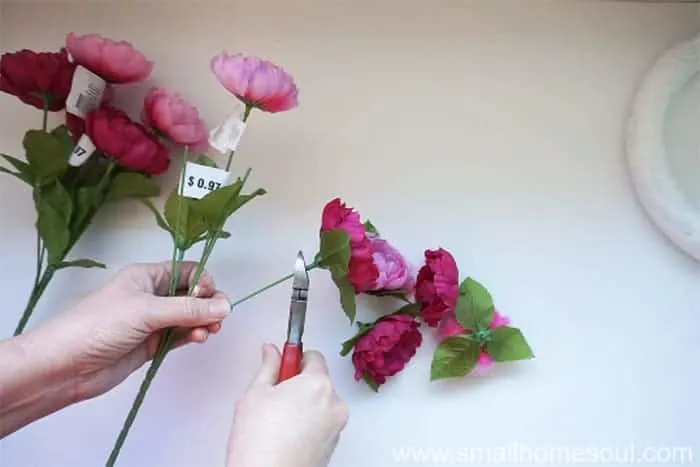
Step 2: Cut the faux flower blooms
- While the paint is drying cut the flower heads off the stems with wire cutters. I ended up cutting mine a bit shorter during assembly.
- Slide the the leaves up the flower stem before cutting.
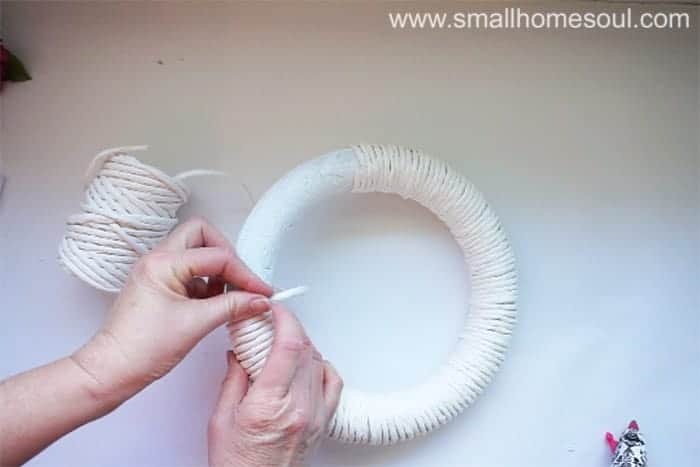
Step 3: Wrap the wreath form
When the paint is dry start wrapping your wreath form with the paper twist or ribbon. Dab some hot glue on the wreath form to get started and hold the paper twist in place until the glue sets.
This goes pretty quickly but make certain they’re pressed close together as you wrap.

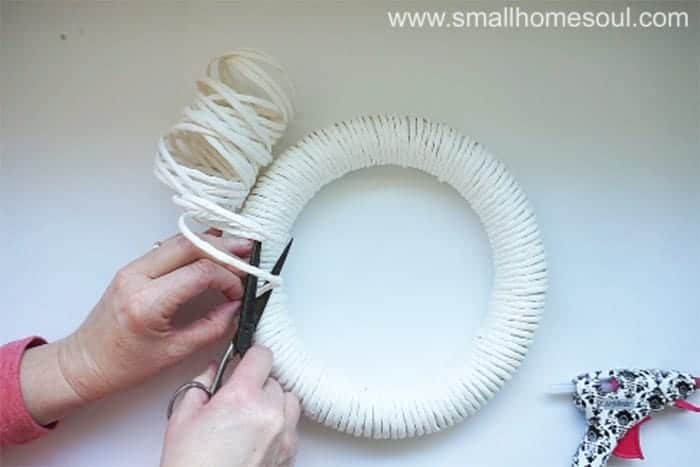
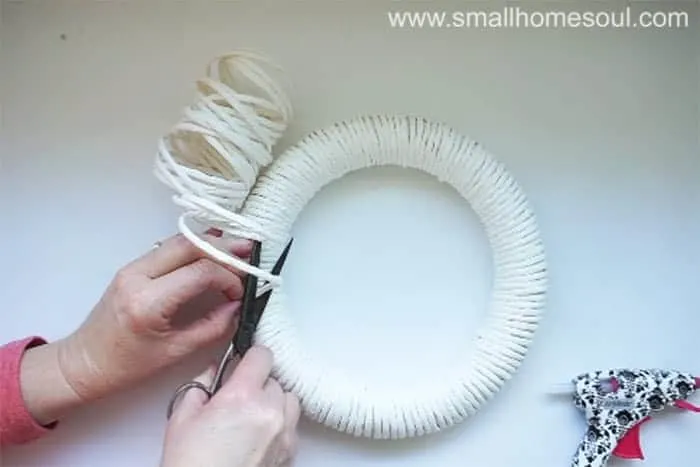
Keep wrapping and pushing the paper twist together. If you’re using white ribbon overlap edges slightly and glue on back side as necessary.
Hot glue a spot every few inches to help keep it together while you wrap.
When the wreath is all wrapped cut the paper twist ribbon with sharp scissors and glue it where you started.
Now that that part’s done you’re ready to make it pretty. You can use any flower in any color you like.
I was going for a simple design with high contrast.
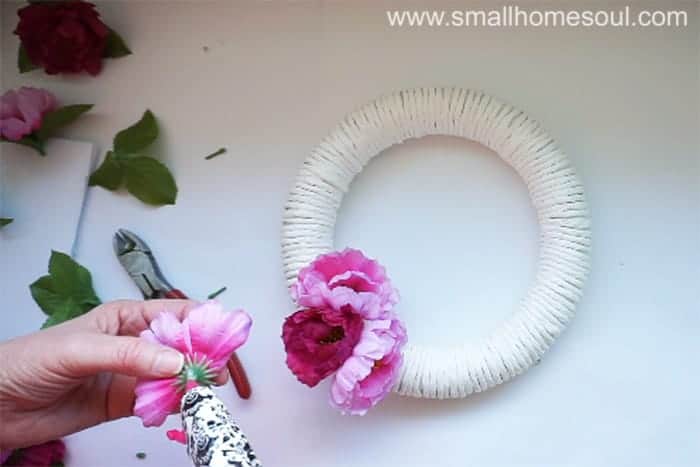
Step 4: Attach the flowers to your Spring wreath
I bought two bunches of flowers but decided that I only needed one. Because the wreath form was hard I had to snip the stems a bit shorter than the photo above.
- Attach the flowers to the wreath with hot glue randomly or in a pattern you love.
- Cut apart and attach a few of the green leaves for more contrast and dimension.
- If you want more greenery don’t remove the leaves from the stem before attaching.

More Wreaths to DIY
Fall Pumpkin Wreath – Fluffy Winter Wreath – Easter Bunny Wreath – Valentine Wreath
Step 5: Hang and enjoy
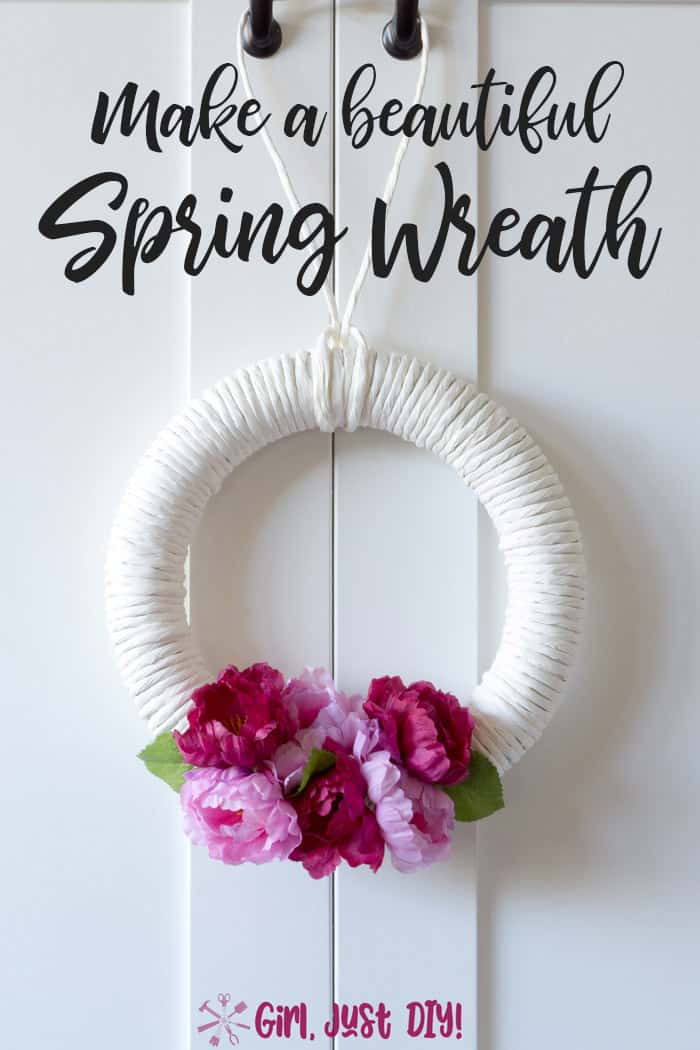
To keep your hanging ribbon from clashing with or taking away from your new DIY Spring Wreath use a length of the paper twist or ribbon you used.
Make a simple slip knot to hang it from a wreath hanger or a Command Hook, a handle or even a simple nail.

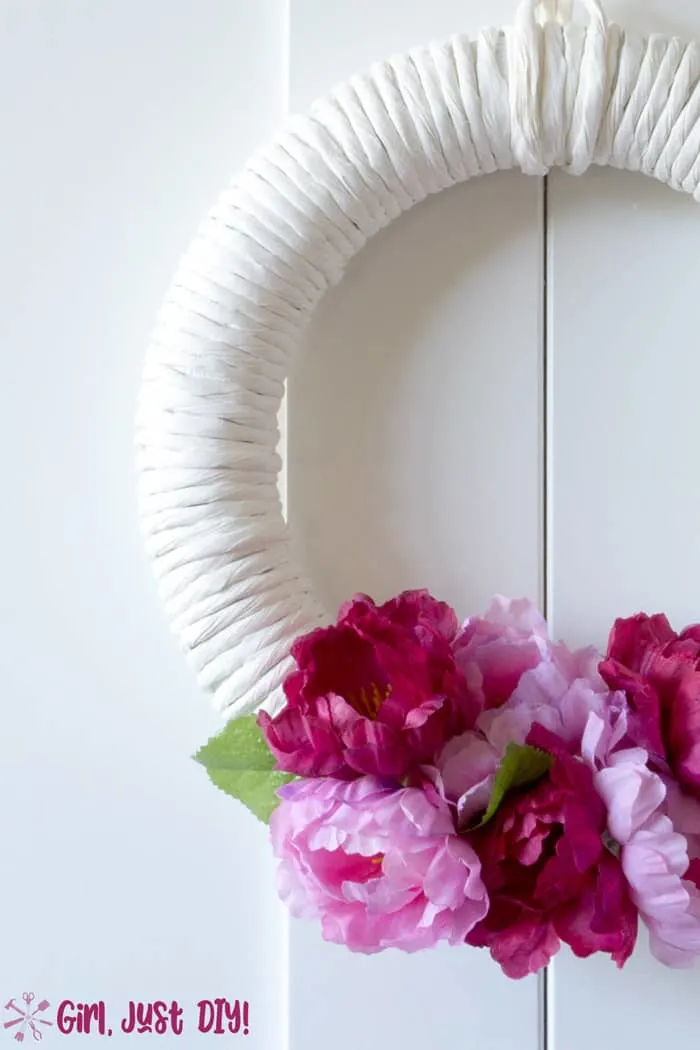
I love how this turned out!
The simplicity of the white wreath with texture and interest from the paper twist is lovely. And the bright pop of bright Spring flowers make it such a cheery addition to your home decor 🙂
LOVE IT!! PIN IT!!

I hope you’ve been inspired to make your own DIY Spring Wreath.
What color flowers would you choose for your Spring Wreath?
Happy Spring,
Toni
DIY Hydrangea Wreath - Girl, Just DIY!
Thursday 7th of March 2019
[…] DIY WreathsPretty Spring Wreath – Easter Bunny […]
Double-Sided Fluffy Valentine Wreath - Girl, Just DIY!
Tuesday 5th of March 2019
[…] you know it Spring will be here. Get a jump on your Spring crafts with this bright Paper Wrapped Spring Wreath. And the kiddos will love painting some Colorful Easter Eggs that you can keep and use from […]
Michelle Leslie
Wednesday 4th of April 2018
Beautiful Toni and what a stunning way to welcome in Spring, even if she's taking her sweet time getting there ;-)
Toni | Small Home Soul
Thursday 5th of April 2018
Oh Michelle, I love that you think it's stunning :D I'll be enjoying it a lot this week since our nice weather was short lived with rain expected this week.
Kim
Tuesday 3rd of April 2018
Oooooh, the texture is beautiful on this!! It's adorable, I'd probably do some greenery & white, or neural on mine!
Toni | Small Home Soul
Tuesday 3rd of April 2018
Ooh, that would look lovely too Kim :) I love your Spring Wreath too <3
Julie | icanlivewithoutsugar
Saturday 31st of March 2018
Hi Toni, Love this wreath. What a gorgeous pop of colour to usher in the new season. :)
Toni | Small Home Soul
Tuesday 3rd of April 2018
Thank you Julie, I'm so ready for Spring. ❤