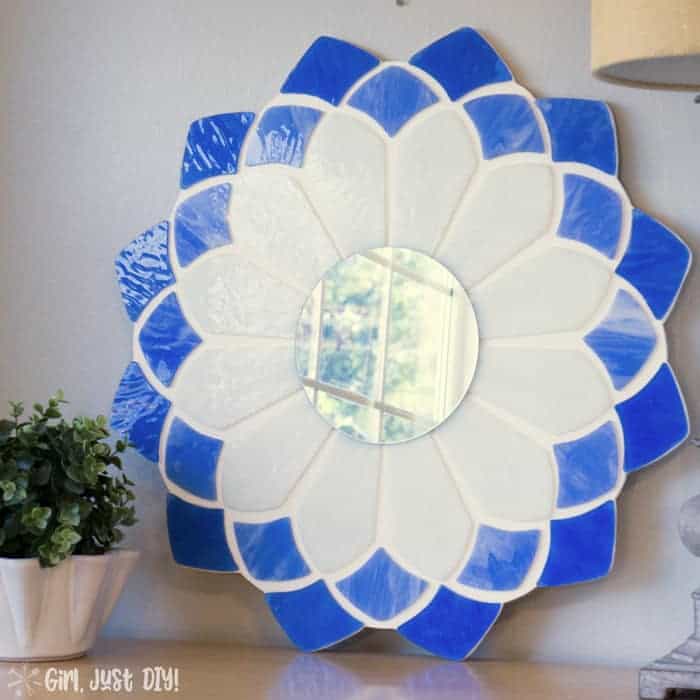
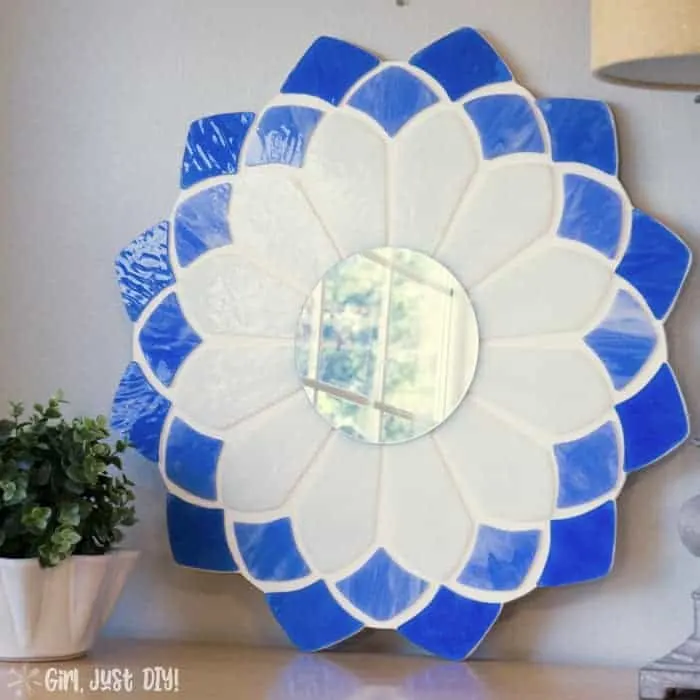
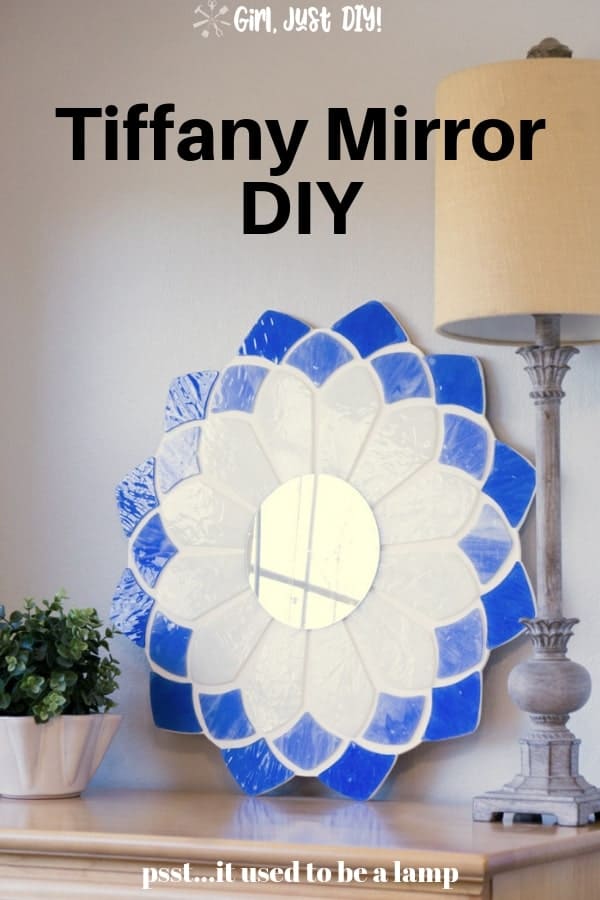
Friends, I have a very cool project to share with you today. I’m so pleased with how this upcycled DIY Tiffany Mirror turned out. When you see the before pictures, and where I found it, I think you’ll be shocked.
Do you love upcycle as much as I do? Never heard of upcycle? Where’ve you been? LOL
That’s where you find something at the thrift store, garage sale, curbside, etc., and you turn it into something else or give it a modern update.
My project started as a dumpster dive. Not actually in the dumpster but it was in a heap of trash to be thrown out. My neighbor had passed about a year before that and they were finally getting the house cleaned out and updated to sell.
You guys, it was sad, he apparently never cleaned, yuck. This and another smaller hanging stained glass lamp were cut from the ceiling and left by the garbage cans with a bunch of other trash. I knew it was ok for me to snag it since they’d already cleared out the house.

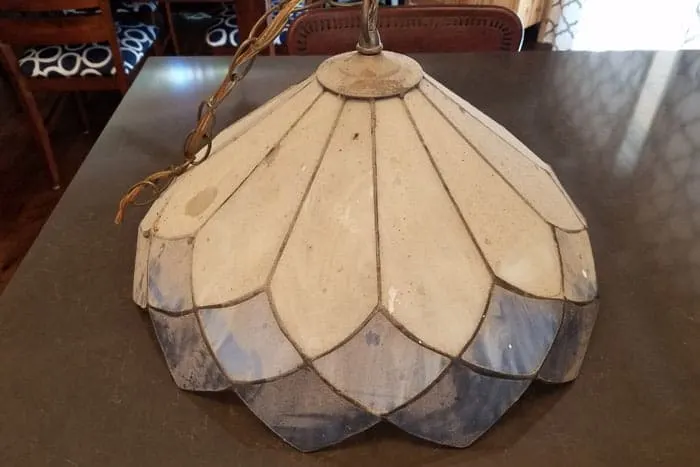
It was so covered in dust that I couldn’t really tell what color it was until I looked at the underside. Then I knew it could become something awesome.
This page contains links to products, if you purchase something after clicking on a link I may earn a small commission (at no cost to you). If you do make a purchase, thank you!
You can read about affiliate links here.
Stained Glass Mirror Supplies
- Old Tiffany Lamp Shade
- Wire Cutters
- Jewelry Pliers
- Wood Burning Kit
- Goof Off
- Razor Blade
- 1/4″ Plywood (sized to fit your project)
- Jigsaw
- 6-8″ Round Mirror
- Leather Gloves, we love this brand
- Craft Paint
- Tube of e6000 Glue
- Picture Hanging Kit
- Sanding Sponge
- N95 Particulate Mask (for potential lead vapor)
Lead Safety and Precuations
Before you get started familiarize yourself with lead safety.
Also, you need to use precautions when working around or with lead came in stained glass. Y .
Working with lead (stained glass haslead caming holding the glass pieces together) can be dangerous. Don’t tackle a project like this around children or in an area where they play. Read the “Jobs and Hobbies” section this article by the EPA- Protect your Family from Sources of Lead.
More Lighting Projects
Hanging Wire Basket Lamp – Desk Lamp Makeover
Disassemble your Stained Glass Shade
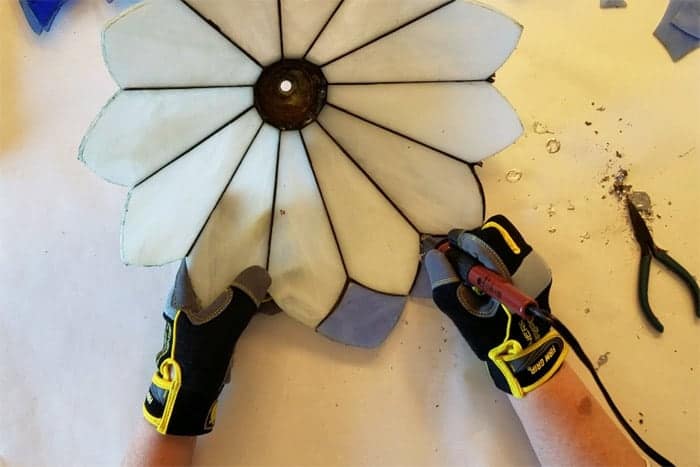
Now, let’s have some fun taking this thing apart.
- Grab your wire cutters and gently snip into the came that borders the outer most section of glass. Try first with your wire cutters parallel to the came and not perpendicular. This way you can cut a bit at a time without cutting into the glass.
- When you have a section cut bend it back away from the glass.
- Avoid using the glass as leverage, this can break your glass.
- You might hear some glass crunching from time to time. You most likely have caught the edge of the glass with the wire cutters. Continue cautiously.

Have I mentioned yet that this isn’t a fast process?
No? Well, it’s not, but it’s kind of like therapy so enjoy the process.
Stained Glass Lamps are made to be durable so it’s not going to easy to take it apart. Some pieces will seem to release rather easily and others take more coaxing.
This is when you might need to resort to the wood burning tool.

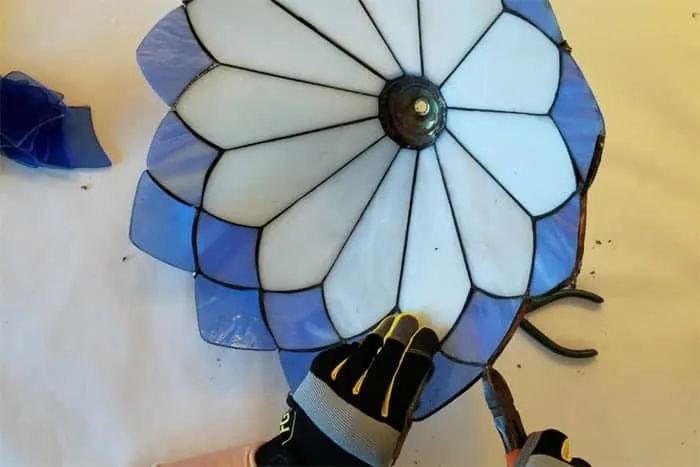
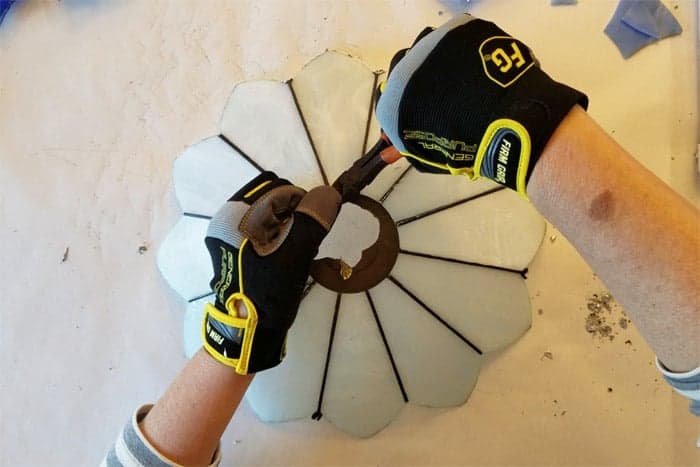
I worked from the outside in disassembling my lamp shade and this is probably the best method. Before I started on the center section of white glass I had to remove the metal ring that held the bulb and cord.
- Use the wire cutters and cut into the center hole.
- Grab the cut section with the wire cutters and twist and roll the metal backward, like opening a sardine can.
- Be patient and keep working at little sections at a time until it fully removed.
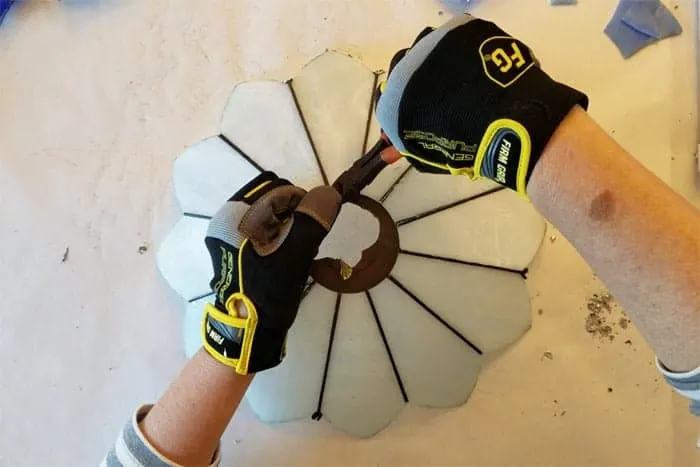
- To disassemble the final section work mostly from the inside with the wood burning tool melting the solder to release.
- Give gentle pressure until you get the first seam to release.
- Continue working like that until all sections are free.
- I had 3 pieces break (two light blue and one white) but nothing I couldn’t work around.
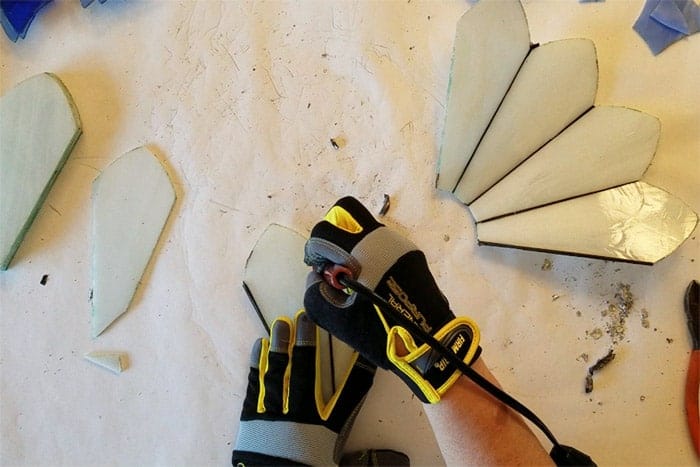
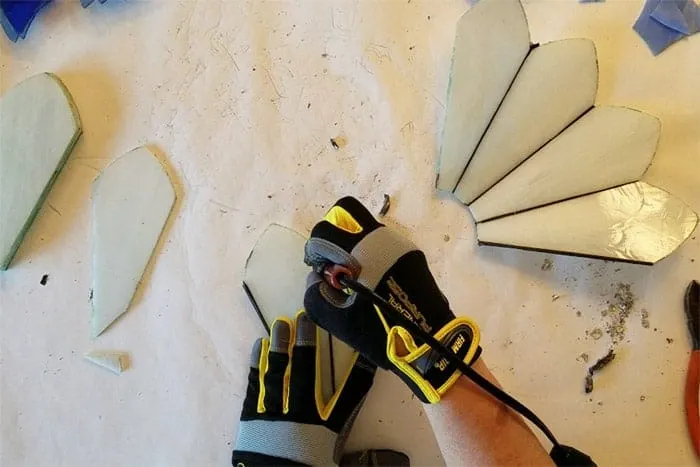
Cleaning your Stained Glass Pieces
Before you move to the next part of the project you need to clean the edges of your pieces.
- With your leather gloves still on use a razor blade and scrape any remnants of copper tape, solder, and stickiness from the face and edges of the pieces
- Squirt some Goof Off onto a cleaning rag and rub vigorously along the edges of the glass pieces. Scrape again with razor if necessary.
- Lastly, with your sanding sponge lightly sand the edges of the glass. This will remove any remaining gunk or green patina that might be present from the copper.
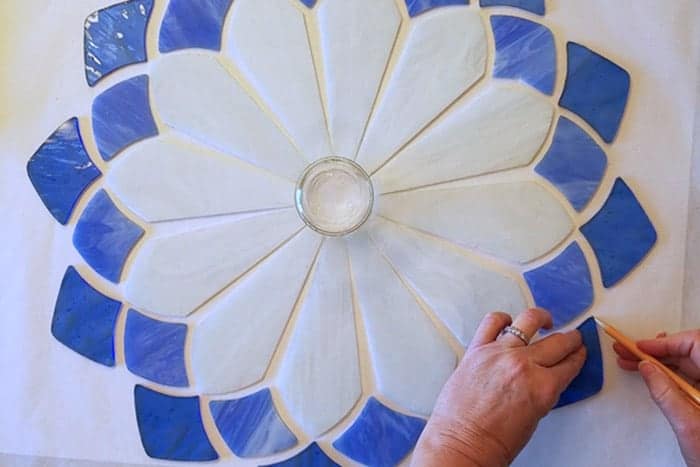
Stained Glass Mirror Layout
We need to make a backer for the Tiffany Mirror but before we can we need to put it all back together.
- Lay out a section of white paper that’s larger than what the Tiffany Mirror will be.
- Assemble all your pieces just as they came off the lamp.
- Find something to use as your center circle. For my pattern one of the many Oui Yogurt jars I have was a perfect match.
- Get everything aligned in a way that is pleasing to you.
- I made sure the points of the white pieces and dark blue pieces lined up, and that there was even spacing between the white pieces.
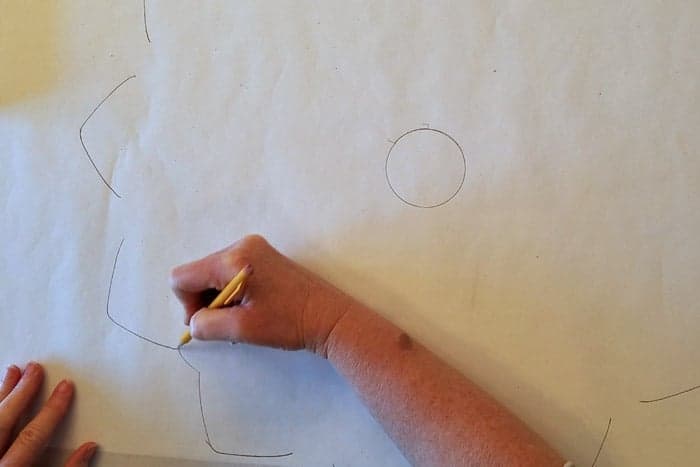
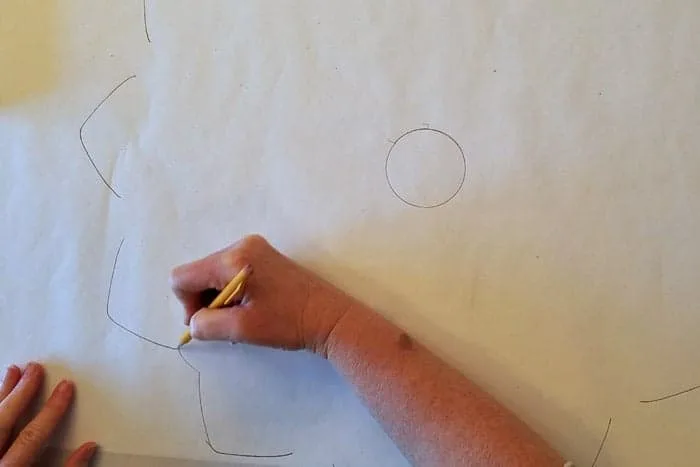
Make an outline
Now that everything is how you want it trace around the outer edge. I traced only around the dark blue glass pieces. You’ll see why in a minute.

- Transfer each piece onto another sheet of paper in the exact order, because no two pieces of glass are the same.
- Mark the Top of your pattern for reference later.
- Trace around your center jar, you’ll need that later.
For my Tiffany Mirror I outlined only the dark blue glass and then connected them with a gentle arc.
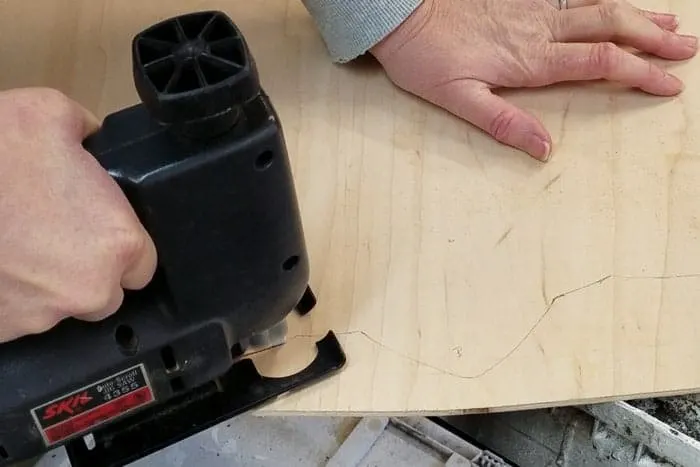
Cutting the Tiffany Mirror backing
Cut out the traced pattern and then trace that pattern onto a piece of 1/4″ plywood. Be sure to transfer the notation you made on the paper for the Top onto the plywood. Hold onto the pattern you’ll need it for the circle when you’re ready to assemble.
- Cut your pattern using a jigsaw with a blade that’s at least 15 teeth per inch for a smoother finish.
- Use the sanding sponge to sand the edges so there are no rough spots
- Transfer that mark for the Top onto the back of the plywood.
- Give your board a few coats of spray paint or craft paint. I chose a matte finish because I wanted the shiny glass to really stand out.

Tiffany Mirror Assembly
When the paint is dry it’s time to assemble your tiffany mirror. Find the mark you made for the Top of the pattern and place that in the same spot as the glass you transferred after you traced your outline.
- Grab the paper pattern and align it on top of the plywood so that all edges line up.
- Use the edge of a closed pen and pressing hard trace over the circle. You’re trying to make an indentation in the paint below.
- Place the jar in the center of the plywood where you made indentations.
- Reassemble your pattern, we’re just doing a dry fit right now.
- Get them all lined up.
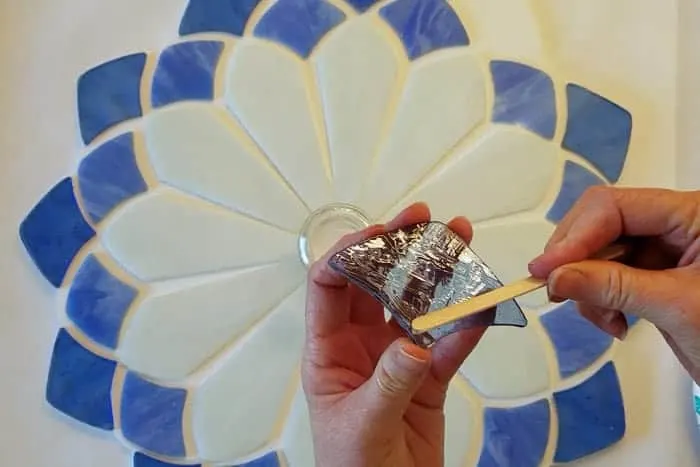
- My outer circle was very see through and the dots were easy to see. So I added extra glue and spread it on each outer piece. Then pressed down hard so no air pockets were left. Ultimately I had a few but overall it looks great.
- The rest of the pieces needed only a few good sized dots of e6000 glue.

Finish off by attaching a mirror into the center.
The e6000 glue takes a long time to dry, 24 hours and 72 hours to be fully cured. That makes it nice so you have some time to adjust your pieces so that they are exactly how you like them. It’s not so great when you’re trying to beat a deadline (eh hem, procrastinator) and want it to dry yesterday LOL.
I put mine in the sun to dry enough so I could take pictures. Once it’s fully cured I’ll attach the picture hanging kit and put it on the wall in the house, possibly the dining room where I have a blank wall near the kitchen.
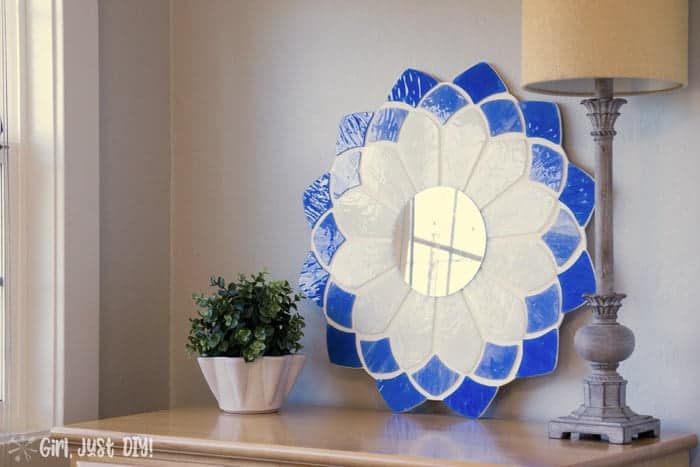

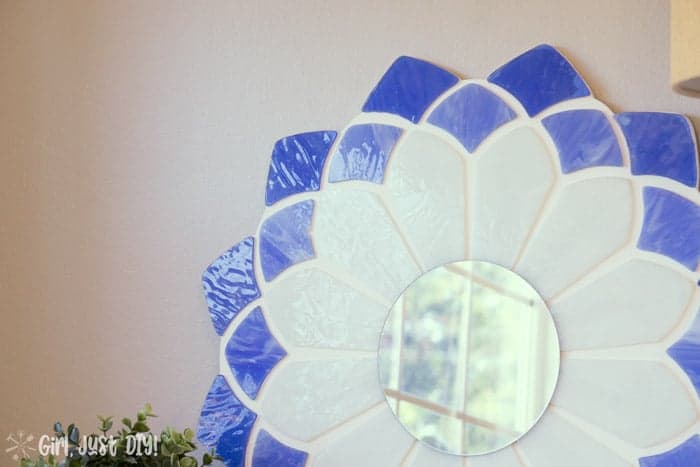
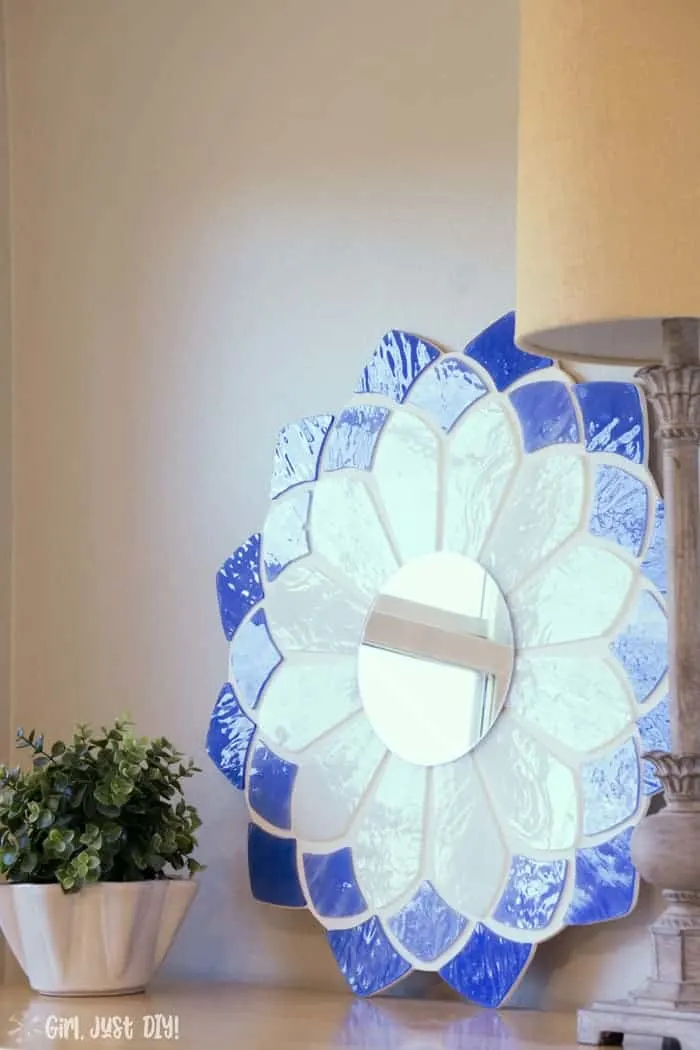
Oh gosh, this turned out better than I imagined it would. Look how pretty the uneven glass looks reflecting the light from the window.

PIN IT FOR LATER


Drop me a comment and let me know what you think of my project and the others.
Rehoboth
Saturday 12th of November 2022
Wonderful work! Thanks
LeAnna
Tuesday 14th of June 2022
I realize this post is really old. I love how you transformed the old lamp. As a stained glass artist it makes me sad to see beautiful glass creations get thrown away. I love that you were able to save this piece! I do have one tip- solder contains lead. There is lead free but it's usually only for jewelry. 60/40 and 50/50 are the most common solder meaning they have either 60 or 50% lead.
LeAnna
Wednesday 15th of June 2022
@Toni, if you are wearing gloves and not heating it up the risk is super low. The only other precaution I'd take is possibly wearing a mask and working in a garage/outdoors not like on your dining room table... Also lead came is much easier to remove than solder and copper foil IMHO.
Toni
Wednesday 15th of June 2022
Hi LeAnna, I learned after I completed my project that the caming can contain lead. Yikes, I hope I didn't do any damage. I tried to find that information online but wasn't able to locate anything. My brother's sister-in-law is also a stained glass artist and she's the one who told me about it. I'll update the post with a notation about taking care for lead exposure. Thanks for reaching out!!
Susie | Chelsea Project
Wednesday 10th of April 2019
This is a masterpiece upcycle. It's amazing....and have I mentioned...I just love how your mind works. Nobody else would have ever thought of this. Great job, girlie.
Toni | Girl, Just DIY!
Thursday 11th of April 2019
You are too sweet my friend, and thank you, I really love it!
Claire
Thursday 28th of March 2019
Wow what a great repurpose. Your transformation looks fabulous.
Toni | Girl, Just DIY!
Thursday 28th of March 2019
Thank you so much sweet friend!
Amy
Sunday 24th of March 2019
This is amazing! I'm not sure I would have ever thought to take an old lampshade apart in order to use the pieces. So cool. The mirror is absolutely gorgeous!
Toni | Girl, Just DIY!
Thursday 28th of March 2019
Thank you Amy, I really love how it turned out!