Give new life to a neglected and weather-beaten hanging flower pot. Just a little paint and some fresh flowers will bring it back to life.
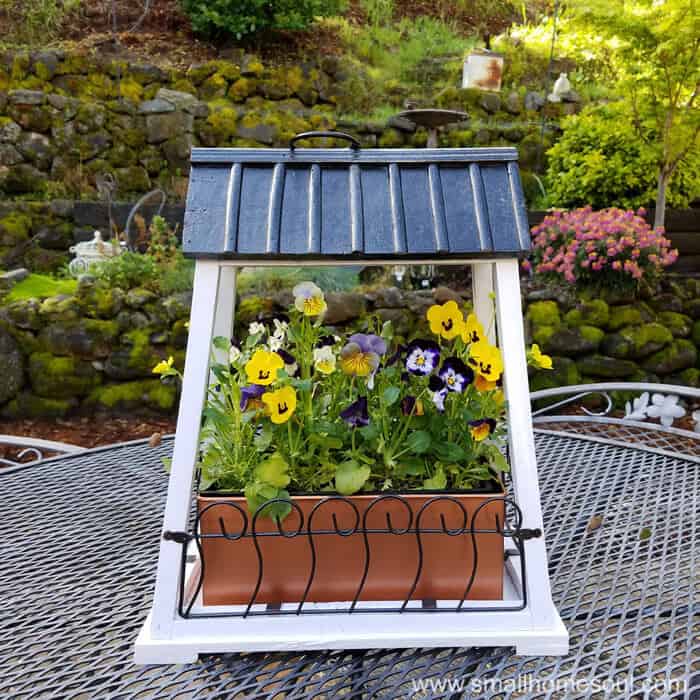
How many times have you almost passed up an item at a yard sale or thrift store because it was so sad? That’s what happened when I was at a yard sale up the street from my house. The top on the hanging flower pot was crusty because the paint was flaking off.
Maybe this was intended for indoors? Who knows but I’m glad I didn’t leave it there for someone else to discover.
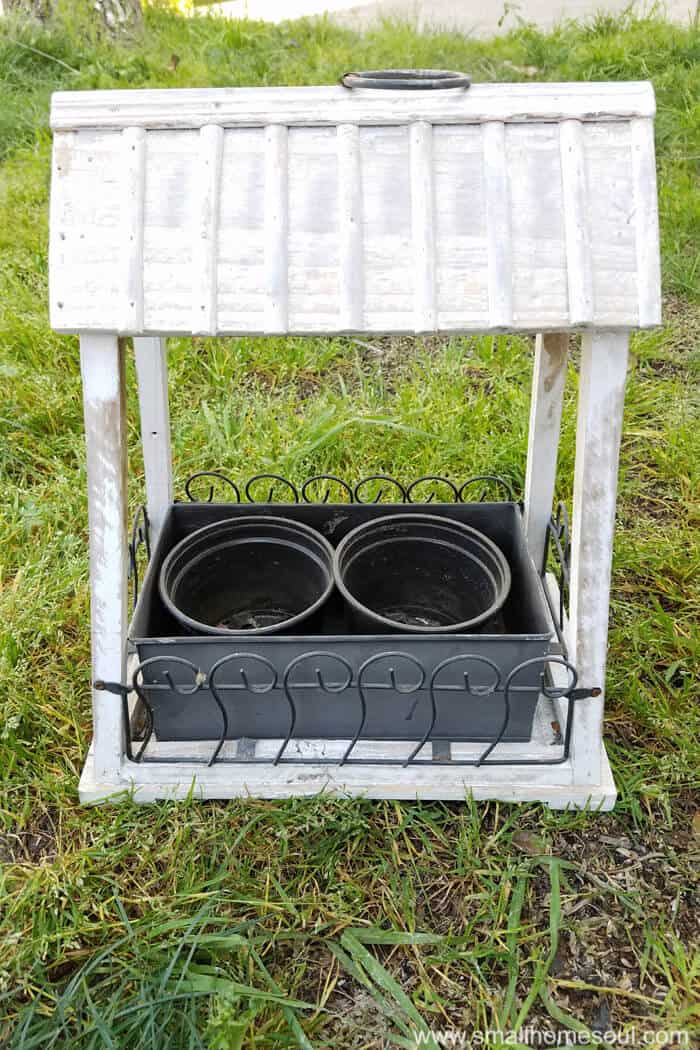
I love easy projects with paint, like when I showed you how to update a bathroom light or glam up your soap dispenser. This is the same, I knew I could make this hanging flower pot look good as new with just a bit of paint.
Having everything on hand I estimate the cost of this entire project to be less than $5. I bought the flower pot with a bunch of other things for $20 so the little bit of paint I used from the cans I already had makes this a very reasonable project.
This post contains affiliate links for your convenience. If you purchase an item after clicking on a link I might make a small a commission, at no extra cost to you.
Supplies for Hanging Flower Pot Refresher
- Old grungy flower pot
- Spray paint in White, Metallic Black, and Copper Metallic
- Table Top Spray Shelter
- Sand Paper or Sanding Sponge
- Small head Screwdriver
- Paper to protect from overspray
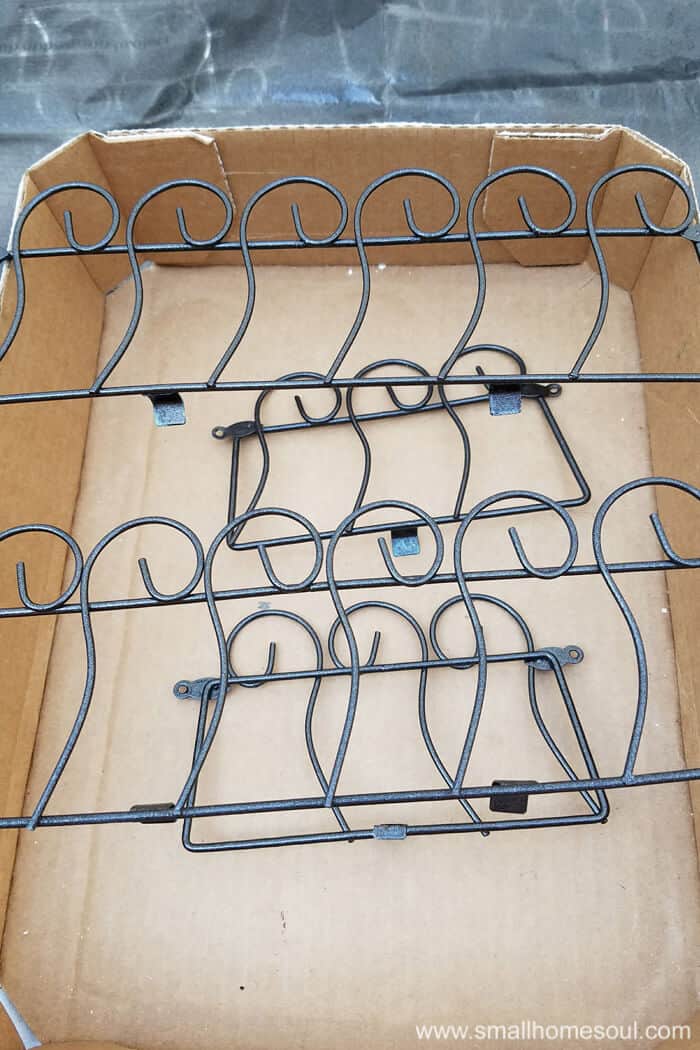
Using the tiny screw driver I removed the scrolled rails so I could paint them. Then I got busy giving the flower pot a good scrubbing with water and a little bit of soap and then let it dry. Once it was dry any paint flecks that were left I used a sanding sponge to smooth out the paint.
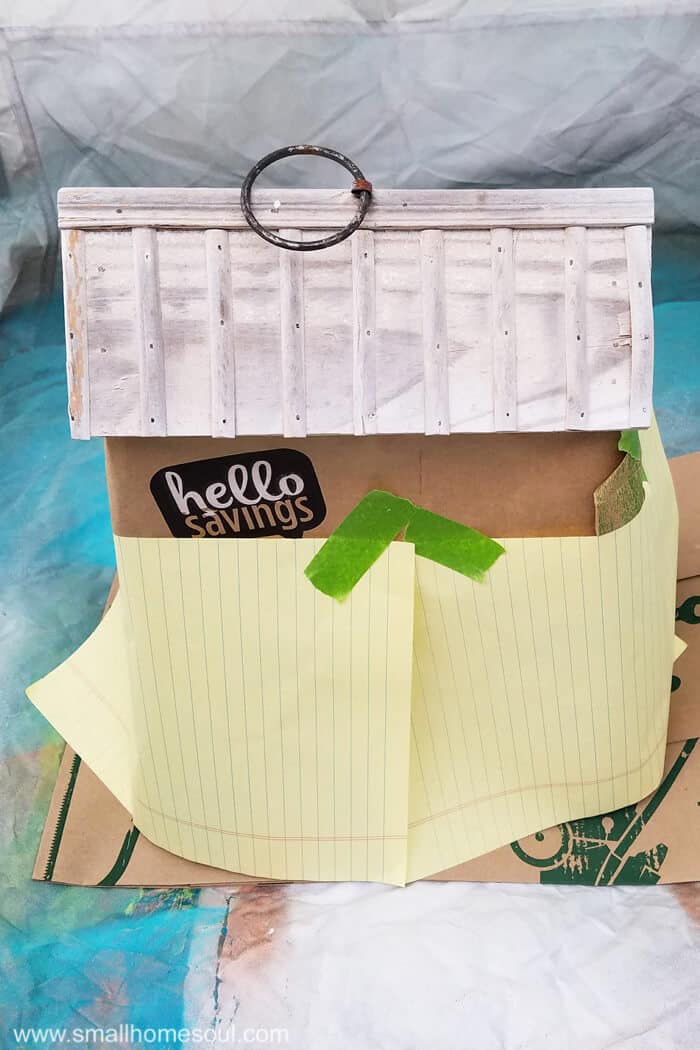
I set up the Spray Shelter and gave the body of the flower pot a coat of white paint on all sides. Once the body was dry I protected the bottom with paper so I could paint the roof. So, not my best looking taping job but heck, use what you have on hand so you can just get the job done 🙂
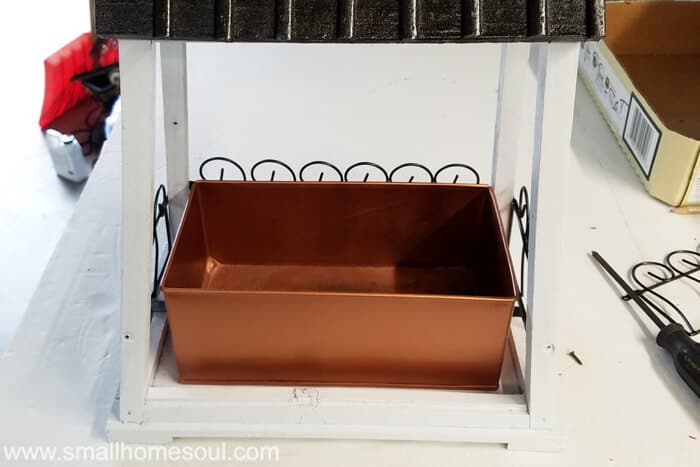
The square pot that came with the hanging flower pot is metal so that was a great candidate for a new look with copper spray paint. I set that in the spray tent and gave it several coats inside and out.
While the top and pot were drying it was time to get busy on the lovely scrolled rails. Those got a coat of the same black spray paint I used on the roof.
Reassembling your Flower Pot
When everything was dry it was time to reassemble the rails to the flower pot. I set the copper pot inside before I attached the final rail. It was kind of a tight fit with the last rail on, and I didn’t want to risk scratching the new paint job 🙂
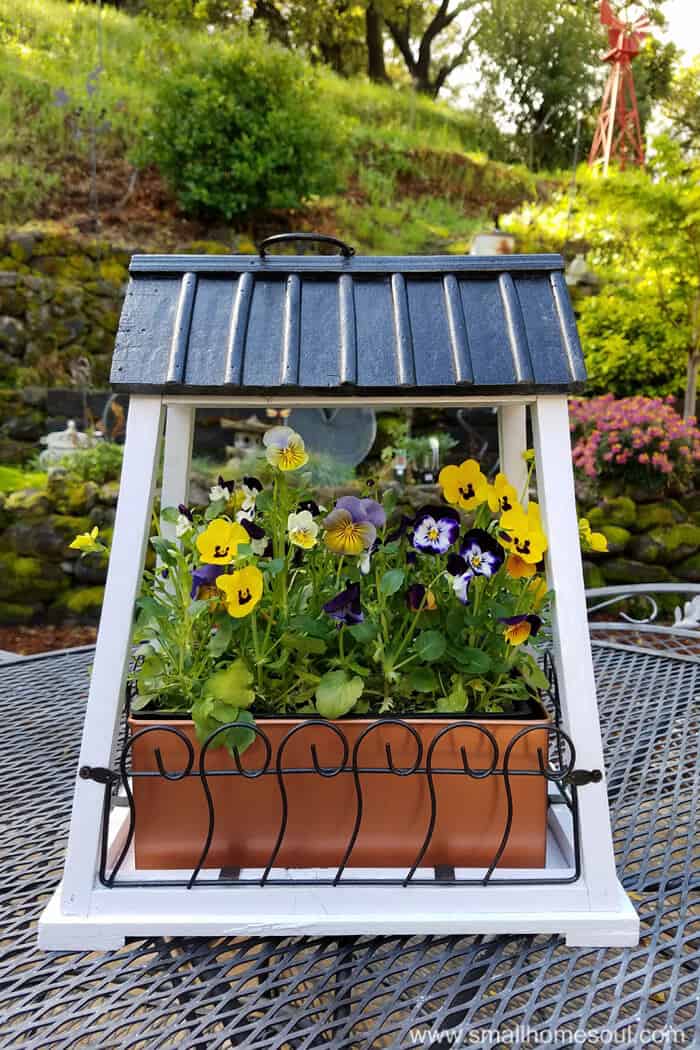
There were so many pretty options at the nursery but I found an 8-pack of my favorite colorful violas fit perfect right into the pot. They’re annuals so I knew they wouldn’t last until next year so I was happy to skip the repotting mess. Like it was meant to be 🙂
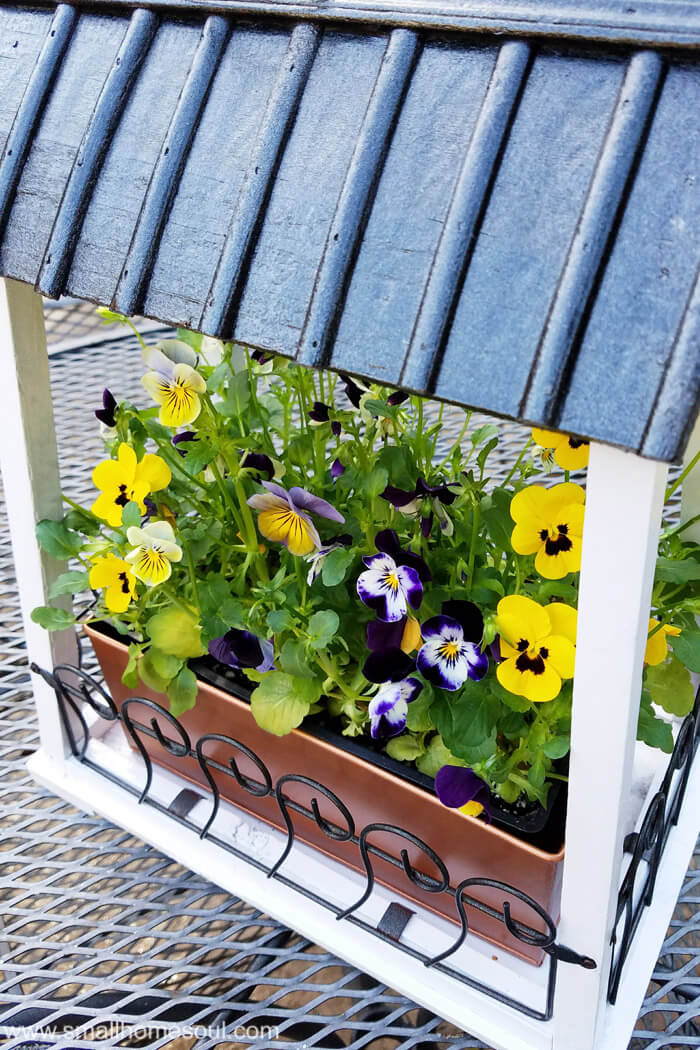
I love the purple (my favorite color) variegated with the bright yellow centers. They are all so pretty and the contrast of the colorful flowers to the copper is so beautiful.
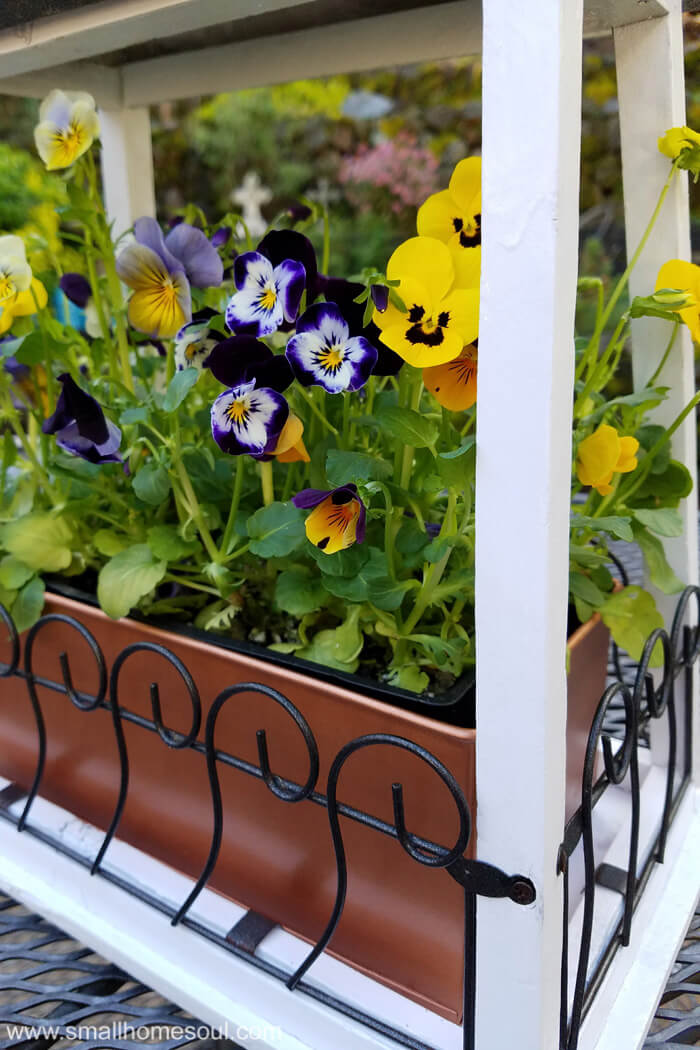
I actually did this little hanging flower pot makeover in the early Spring. You can see from the green hills in this picture we finally got a lot of rain (drought over, yay). The variegated flowers look kind of link a tie dye design. I need to plant more of these flowers around my yard.
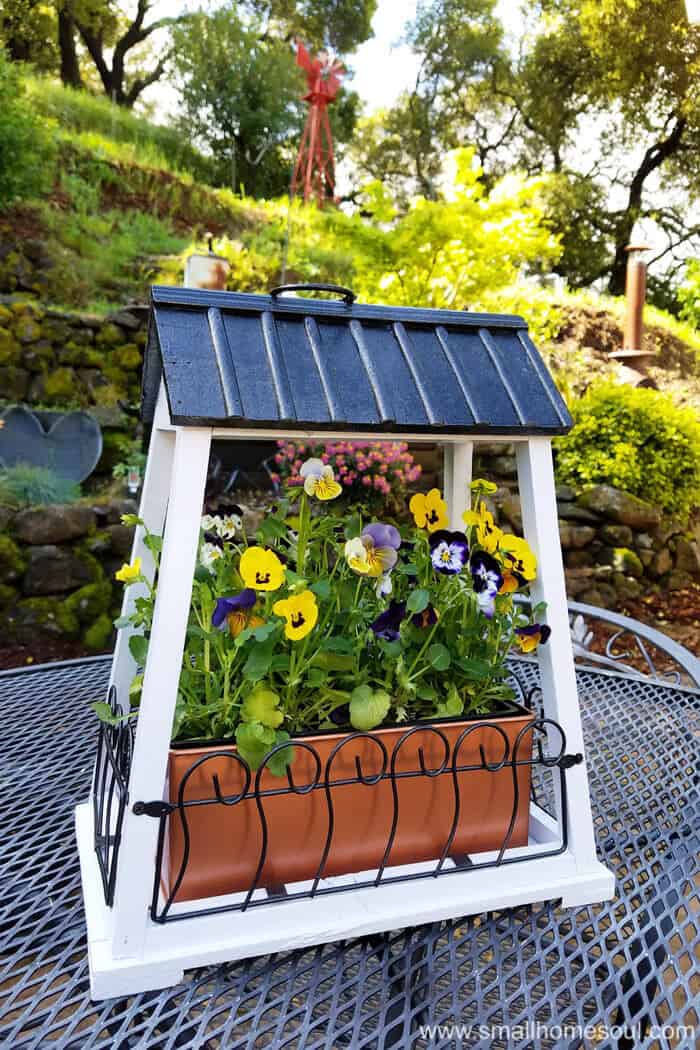
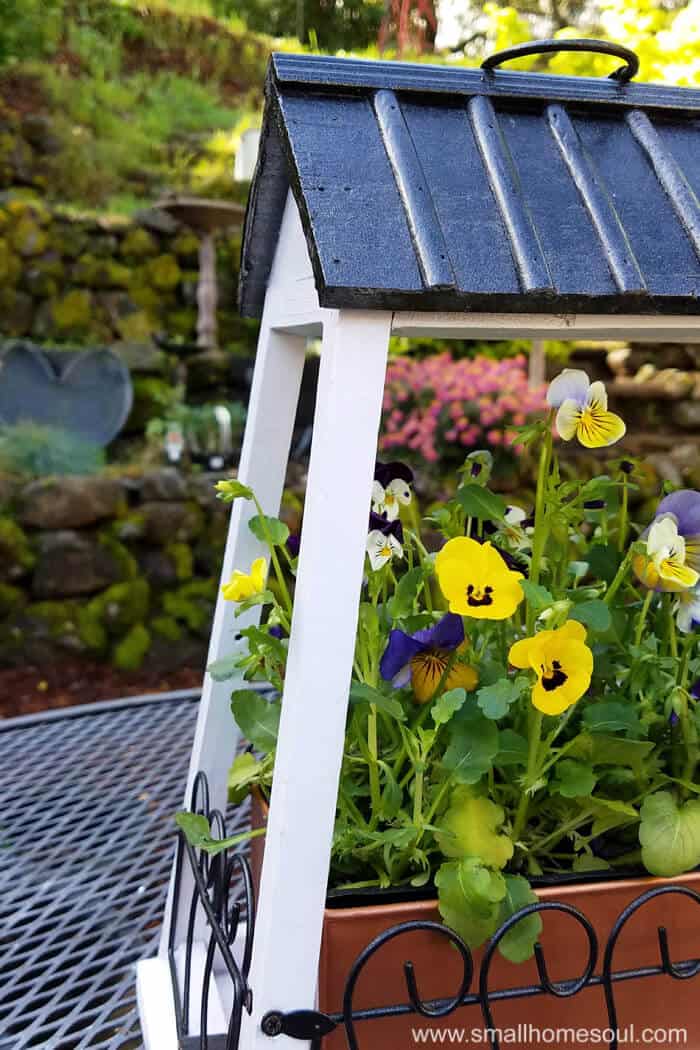
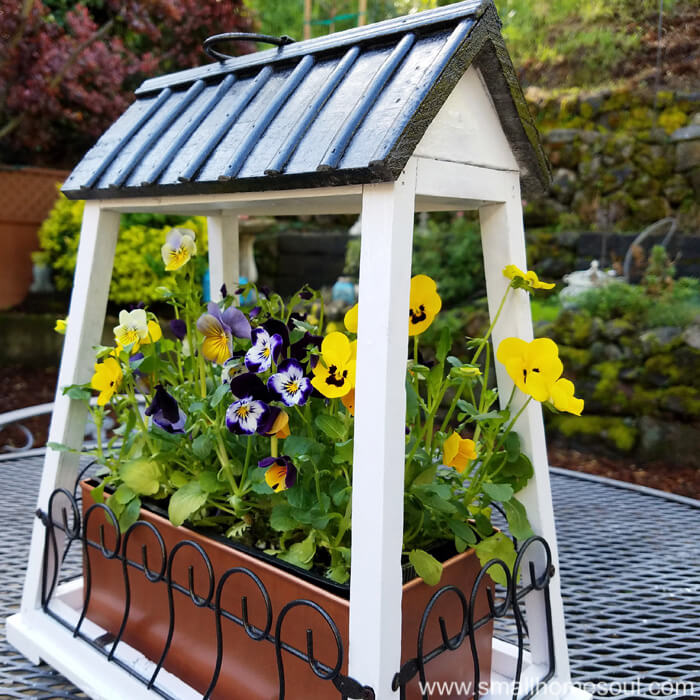
As I was getting the pictures ready for this post I realized one of the roof slats was missing. Oh well, it still looks beautiful on my patio. And it’s a little reminder of how neglected it was. I’m so glad I didn’t keep walking and let someone else take her home 🙂
Marie InteriorFrugalista
Monday 11th of February 2019
Hi Toni, I'm visiting from our friend, Mary The Boondocks Blog and had to come over to take a closer peek at your lovely flower pot. I'd love to have something like this in my back yard. You couldn't have chosen a better color to paint the base - so pretty in copper! Pinned :)
Janine
Tuesday 29th of August 2017
Toni, I LOVE it!!! What a great upcycle and it is adorable. It looks so fabulous now and I love all your lovely choices and touches! Congrats and enjoy it in your garden!
Toni Harvey
Thursday 14th of September 2017
Oh thank you Janine, I think the copper really sets it off so well.
Kim
Monday 28th of August 2017
What a totally charming piece!
Toni Harvey
Thursday 14th of September 2017
I'm so glad you like it Kim!
Sam- Raggedy Bits
Wednesday 2nd of August 2017
Love your new planter!! So glad you were able to see its potential! Your violas look super happy in there too! Gorgeous!!
Toni Harvey
Thursday 14th of September 2017
I need to plant more violas, they make any pot look like a star :)
Carolann
Wednesday 2nd of August 2017
This turned out great Toni. I love it!
Toni Harvey
Thursday 14th of September 2017
Thanks Carolann, I need to find a place to hang it. Maybe on my front porch next spring.