Painting over a tarnished piece of metal requires a little prep. I’ll show you how to prepare a grungy, tarnished, brass lamp for a beautiful makeover perfect for any decor.
I arrived early for my chiropractor appointment a few weeks ago and to kill time I ran to the Teen Challenge Thrift Store across the street. You never know what you’ll find there. Usually the smaller items have no price tags so you have to wait until you get to the counter. I gathered a bunch of stuff that was interesting and negotiated $15 for my haul. Mostly because it was all the cash I had on me. Included in the haul was this very grungy lamp that was missing a globe.
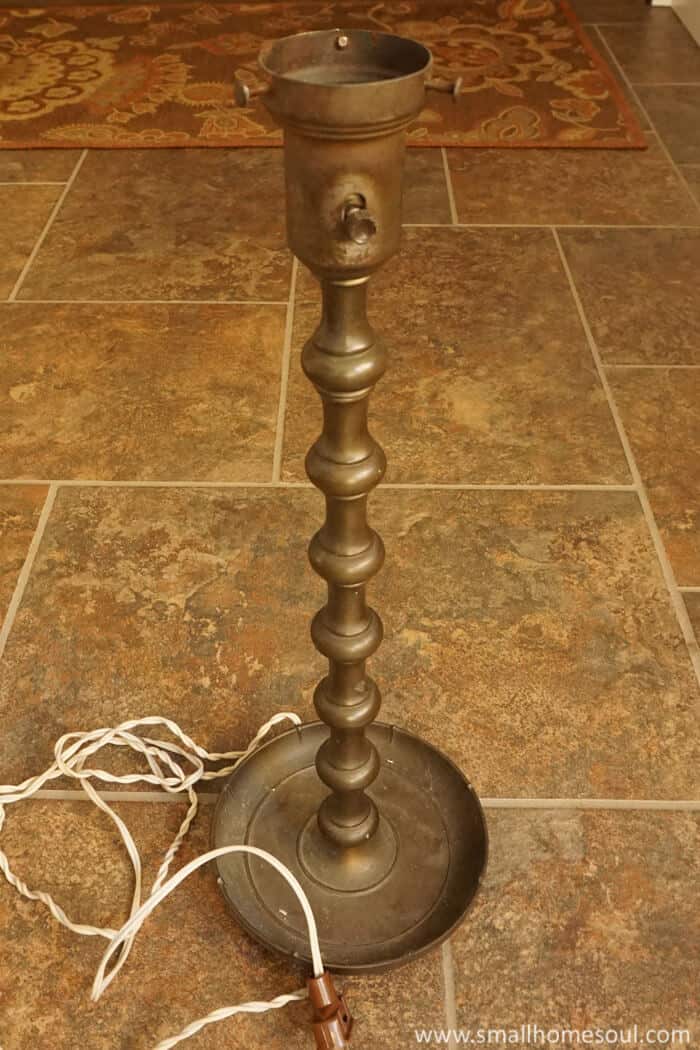
This baby needs a little lot of love.
This post contains links to products, if you purchase something after clicking on my link I may earn
a small commission (at no extra cost to you).
Supplies for your Brass Lamp Makeover
- Lamp (haha of course)
- Light Kit (if rewiring is needed)
- Screwdriver
- Metal Polish (I like this one)
- Old Rags
- Wire Cutters
- Steel Wool
- Green Scrubby
- Gloves
- Spray Paint, I love this Black Metallic color
- Small Spray Shelter
- 2″ Electrical Terminal Adapter
- Light Globe
- Rotary Tool
- e6000 Glue
I figured I could find something for the top, and it was going to need some sweat equity to look good. Plus it needed to be rewired since it appeared to have a very old plug. Easy peasy, I already had a wiring kit at home.
I knew what I wanted to do with the lamp but hadn’t started yet. That is until my blogging tribe asked if we could all be ready for a $10 challenge in just a few days. Um, sure 🙂 So I got busy while the hubby was out fishing for the day.
Here are all my lovely blogger friends who are participating this month.
Join us the last Friday of each month for a different Inspired Makers Challenge
Follow along with #InspiredMakers and #InspiredMakersChallenge to see more amazing projects every month!
July Challenge: $10 and Under Projects with:
Kimm @ Reinvented | Denise @ My Thrifty House | Suzanne @ Shop At Blu
Sam @ Raggedy Bits | Toni @ Small Home Soul | Susanne @ Pearl Street Designs
Ann @ Duct Tape and Denim | Anika @ Anika’s DIY Life | Janice @ Sawdust Sisters
Kim @ Farmhouse Made | Sarah @ 1915House | Lisa @ The Purple Hydrangea
Be sure to check out all their great under $10 projects in the links at the bottom.
The challenge was for $10 and under and since I already had everything before the challenge started I knew I could finish it under budget. But in the spirit of the project I’ll do the math. The lamp was part of a bundle and with everything else I bought I’d say it was $2.00 (total steal). The globe cost $1.00, the connector was $1.95, and the 3-way stitch I needed to go with the light kit I’ve had for a few years was $4.95. Grand total of $9.90.
First thing is to disassemble the lamp and remove the wiring. I didn’t take detailed pics of this process but table lamps will have a threaded metal rod up the center. If you start untwisting the lamp from top and bottom it will start to loosen. Alternatively there may be a nut at the bottom where the cord is. Pay attention to how the parts come apart (or take pics with your phone for reference) so you can easily reassemble it later.
The socket portion has a little screw that secures it to the upper threaded end of the rod. Cut the electrical cord at the base of the lamp then loosen the screw to remove the wiring completely.
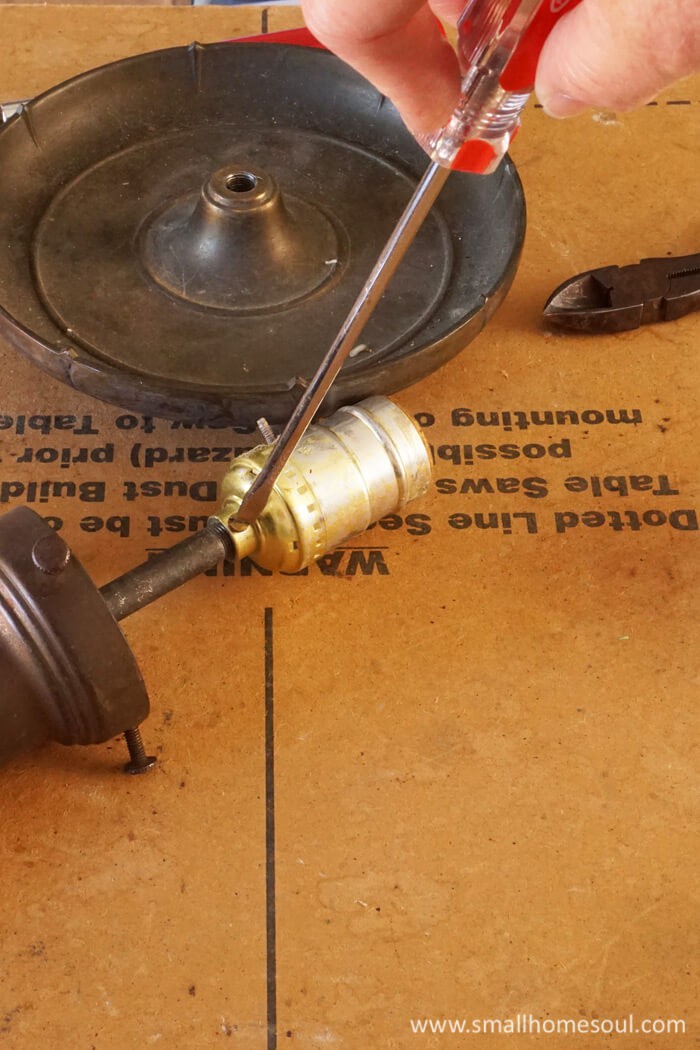
After the lamp is apart it’s time to clean it up with some metal polish and prep your brass lamp for paint. This is a messy job so make sure you wear your lovely and oh so fashionable blue gloves or you will be picking out tarnish sludge from under your fingernails.
I started cleaning the base of the brass lamp using an old towel. An old towel worked perfectly when I revealed the beauty of a Brass Platter I polished. But after some serious sweat building I switched to a green scrubby. Not a new one but one that had been broken in and was more flexible to wrap around the parts easily. Since I was planning to paint my lamp I wasn’t worried about any surface scratches that might occur.
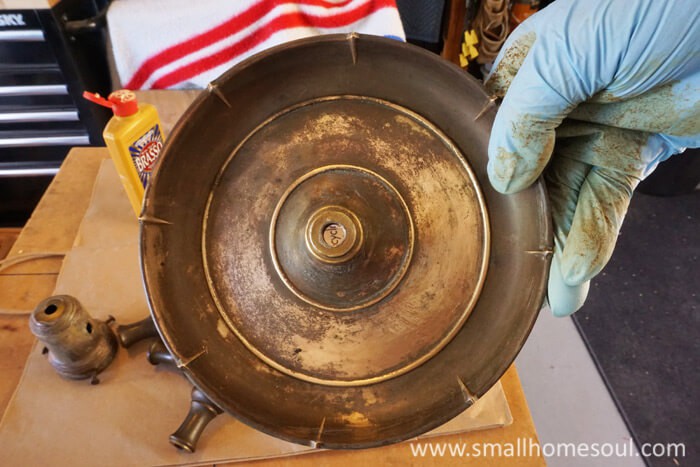
The green scrubby worked great but in the end I did switch to using some steel wool to get into the nooks and crannies as much as possible.
After you’re done cleaning the parts with the metal polish wipe them down with a clean towel. Then run them under water or use a wet rag to make sure no residue remains. After they’re completely dry it’s time to paint.
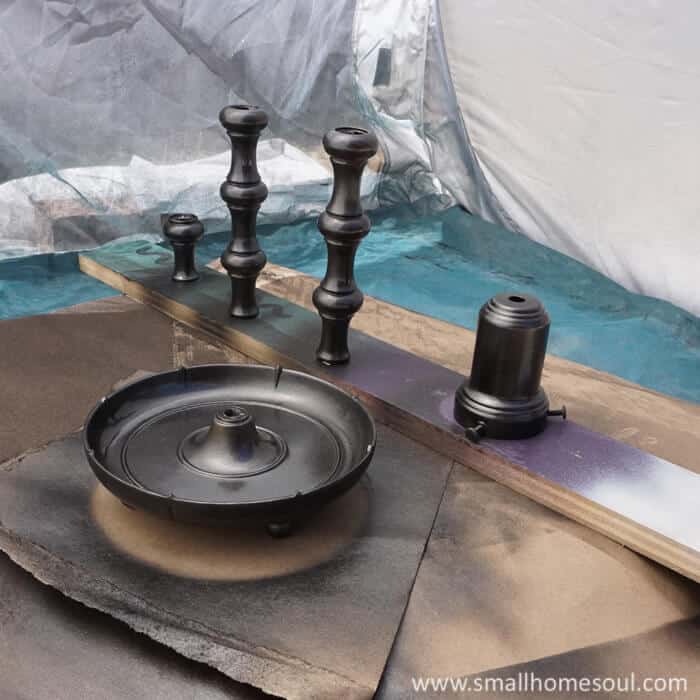
Set up your Spray Shelter in your ventilated garage or on the grass. I propped up the parts over long screws on an old piece of scrap wood and gave them a few coats of paint.
While the paint was drying I started working on the new globe. If memory serves I found this globe at the Habitat for Humanity ReStore. I loved the crackled glass look and figured I’d find something to use it for. But it had one problem. The neck was broken off so there was nothing to insert into the lamp base. And the edges weren’t smooth. But that didn’t stop me from buying it anyway 🙂
One day when I was walking the isles at Home Depot I perused the electrical isle. I knew the lamp base would take up to 2-3/8″ and I found that the neck of a terminal adapter would fit nicely. I hoped the other end would fit into the globe. With some modifications using my Rotary Tool I am happy to report that I was able to make it work.
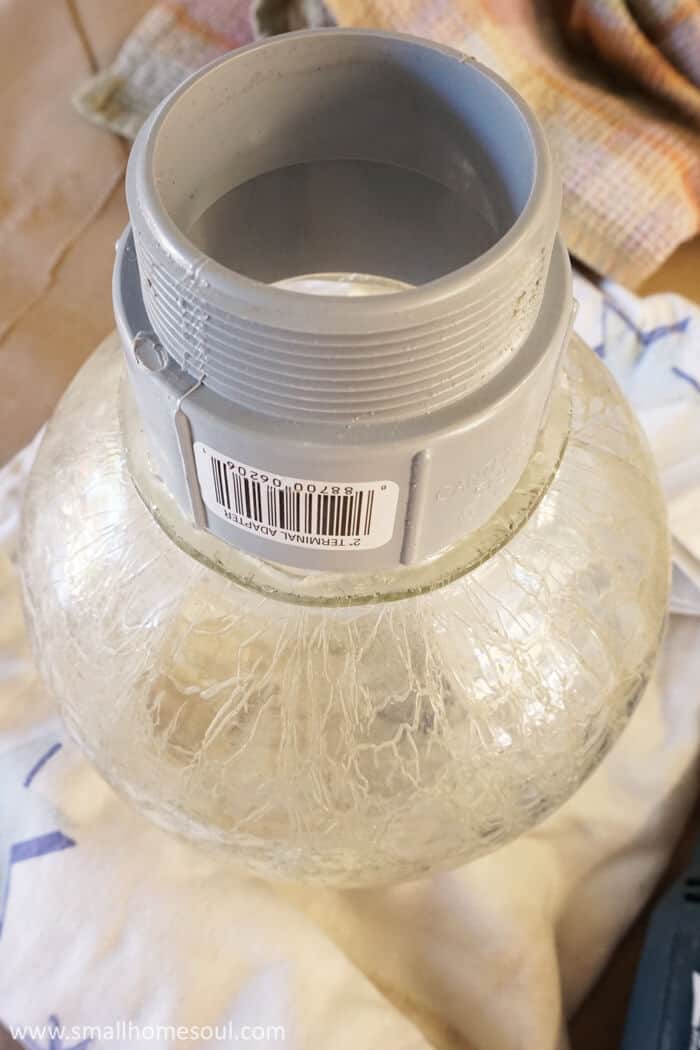
Here’s what I had to do to the globe and terminal adapter to marry the two together.
- Starting slowly I used a sanding circle to smooth the edges of the glass. As I got more comfortable I increased the speed of the tool and gave a little more pressure.
- Avoid sanding in one place too long so that the glass doesn’t heat up. I didn’t want to break the globe I was working so hard to make work.
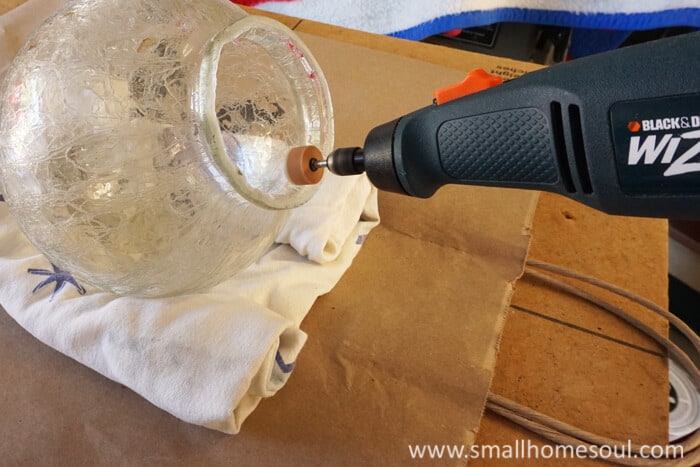
- Determine the depth that the wide end of the terminal adapter would fit into the globe neck. Mark it with painters tape, secure it in the clamp and use the rotary tool to cut and smooth it.
- I had to trim off the bumps on the outer side, the rotary tool made easy work of that. I smoothed the outside edge with the rotary tool so it would take the paint well.
- Trim the threaded end if necessary to fit into the lamp base.
- Paint the new globe neck to match the lamp.
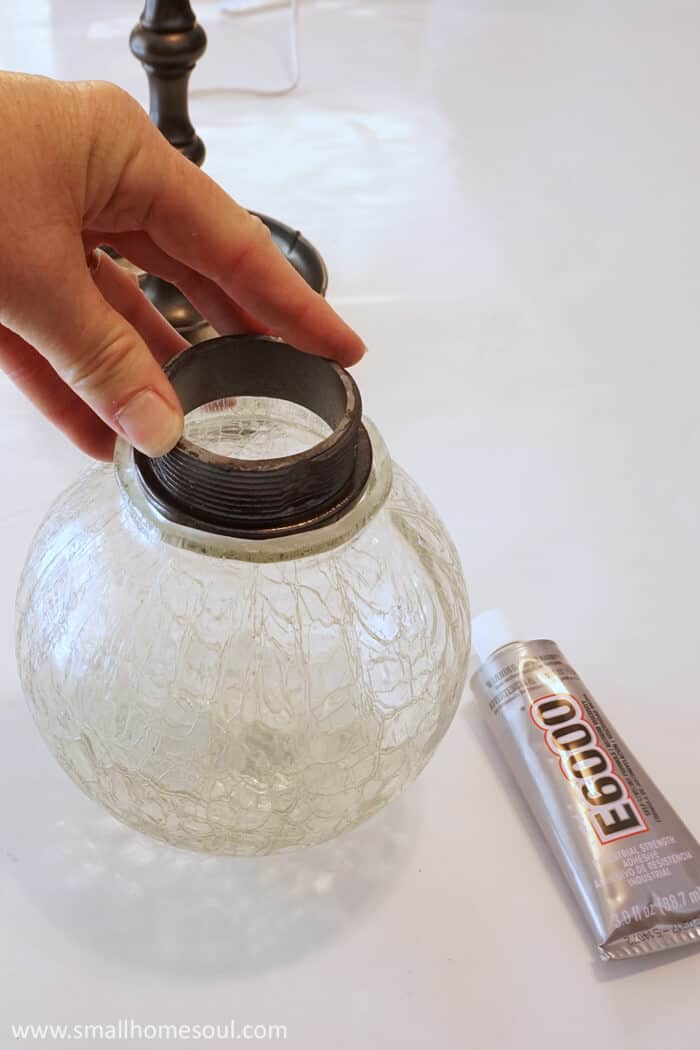
- Secure the newly trimmed and painted terminal adapter into the globe neck with e60000 glue. I used a craft stick to smear the glue onto the edge of the adapter as well as the inside rim of the globe. Make sure it’s in there level and let it cure for 24 hours.
Wiring your new Lamp
Once all the parts are dry it’s time to assemble your lamp. Before you can assemble you have to do the wiring. But they have to be done simultaneously. Pay attention as you go because you may have to do it a few times if you miss something. Speaking from experience 🙁
- Lay out all your parts.
- Run the new lamp cord through the bottom of the lamp base and then through the center support rod.
- With the wires of the cord just visible at the top of the rod slide on the decorative spindles in the same order you removed them.
- Give yourself plenty of play in the cord between the base and the rod, you need working room.
- Pull about 1′ of wire out of the rod then slip the lamp neck (where the socket sits) over the wire and down near the other parts.
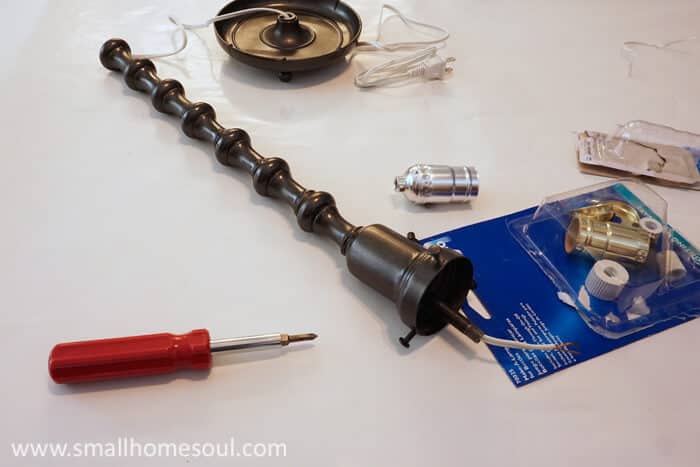
- Grab your new light socket and pull it apart. There will be 3 parts. The two outside pieces and the center where the wires are connected.
- Slip the bottom piece (like a little cup) down over the wire and set aside the outer threaded piece for now.
- Loosen the two screws on the center piece and loop one wire from the cord over each and tighten.
- Now slip this back into the outer threaded piece and lastly push the two outer parts back together.
- Thread the center support rod into the newly-wired socket and secure with the tiny screw at the bottom (see my illustration of disassembly)
(I made a short video of the wiring process that I hope to have linked up here very soon.)
Assembling your Lamp
With the wiring completed it’s time to reassemble the lamp. Carefully hold all the parts together and pull the excess cord back through the base. I found that holding the light upside down worked best for me (your scenario might be different). With my lamp standing upside down I fit the base over the threaded support rod and screwed it on like spinning a plate on a stick. Once it was tight enough I turned it right side up and gave it a few more twists at top and bottom like wringing a towel to make sure it was snug.
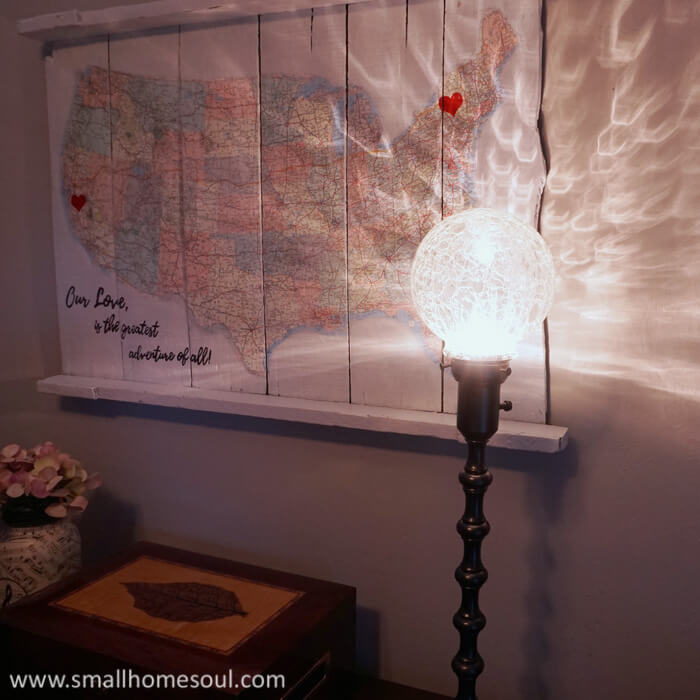
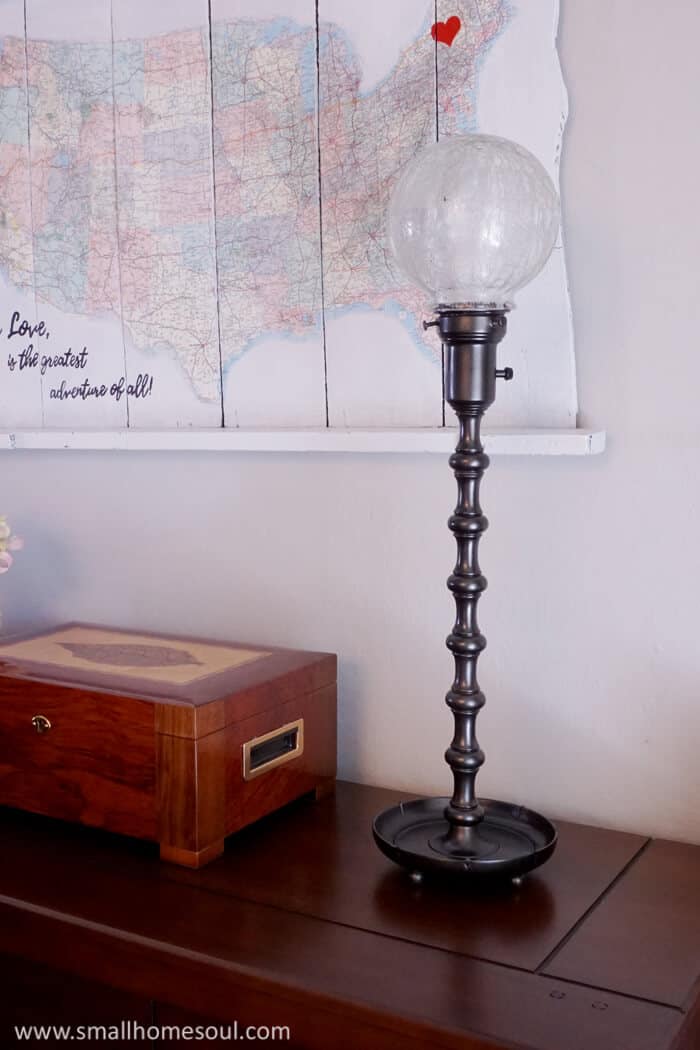
Now to add the globe and enjoy my new light. My dining room buffet has needed something with a little height and this works perfectly. I still need to do a little more to my sad buffet but for now this newly updated brass lamp is an improvement.
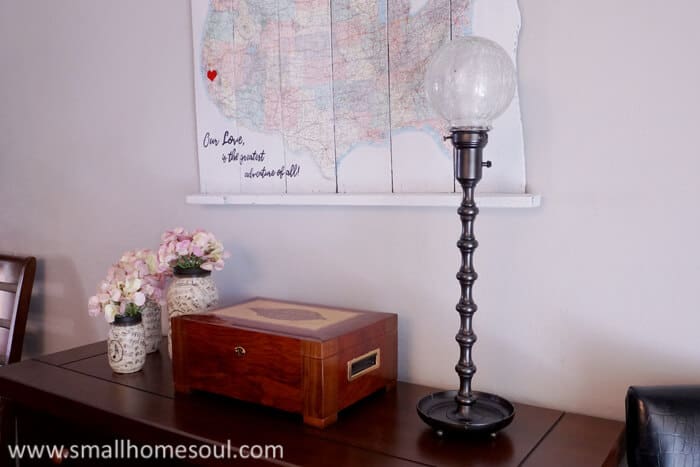
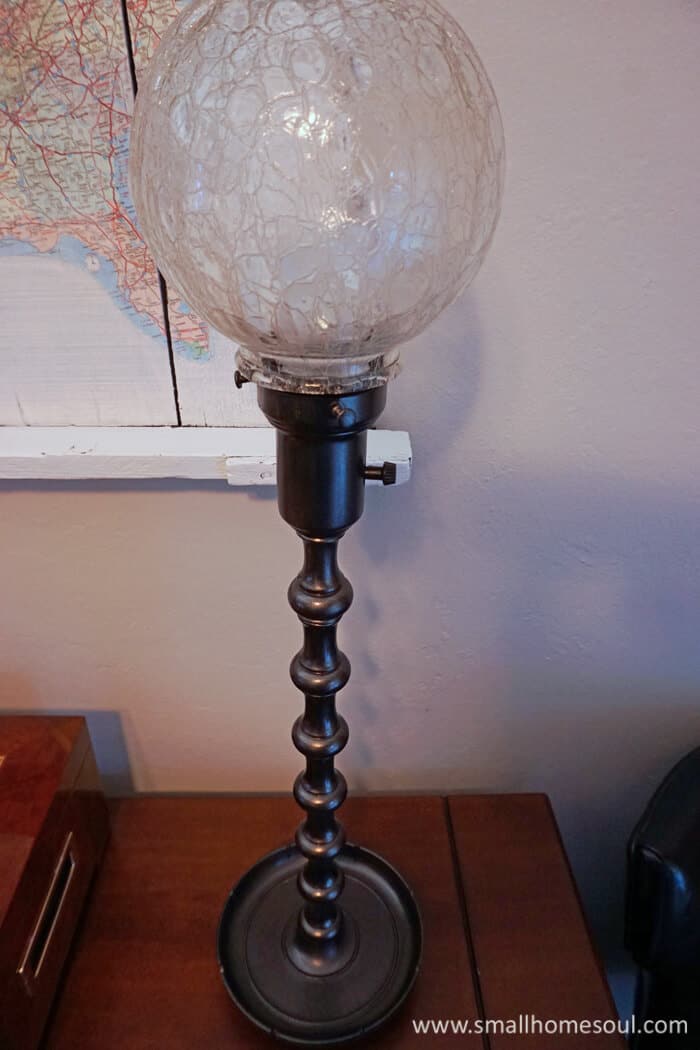
But I must fully disclose a problem I nearly created. When I glued my newly fashioned neck to the globe it does not fit over a standard size light bulb 🙁 I was able to substitute a lower watt and smaller bulb size that has a standard bulb base. That would have completely stunk to go through all that work only to find out it didn’t fit. Crisis averted 😀
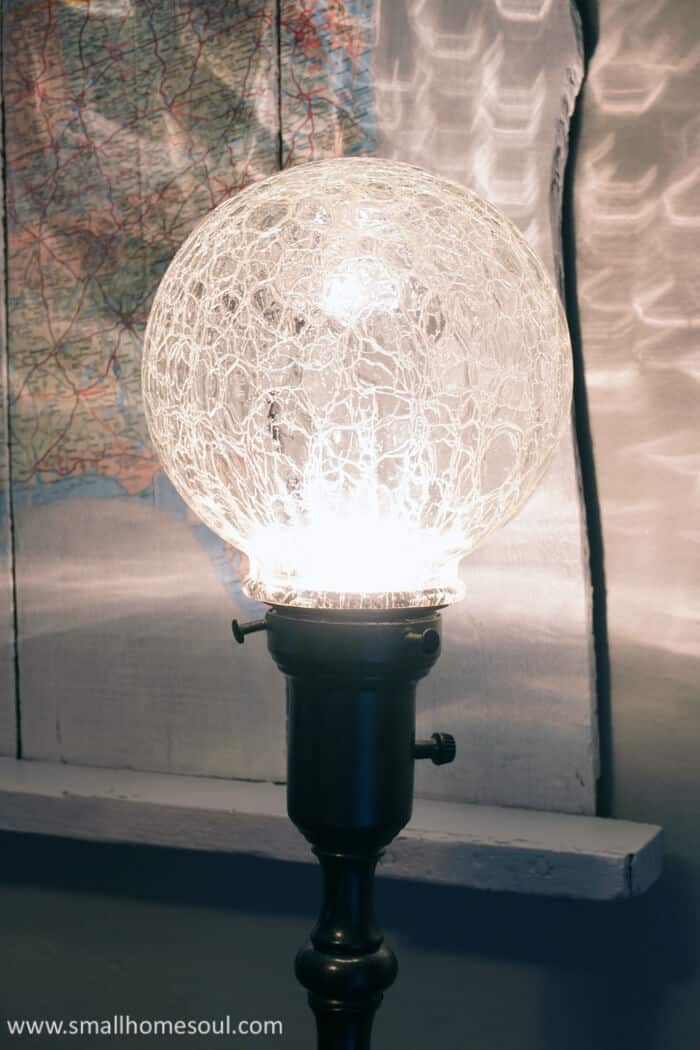
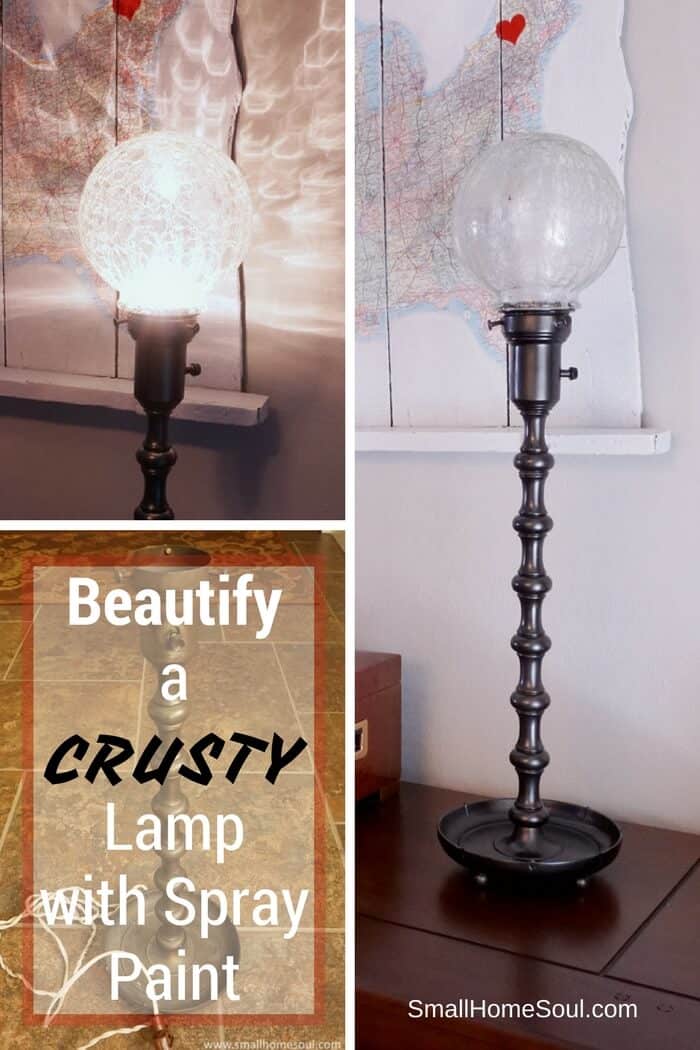
Isn’t this the coolest affect? This is one of the smaller bulbs I mentioned. This bulb is clear and I also tested it with a frosted bulb. If you don’t like seeing all the crackles on the wall the frosted bulb is what you’ll want to use in your newly madeover brass lamp.
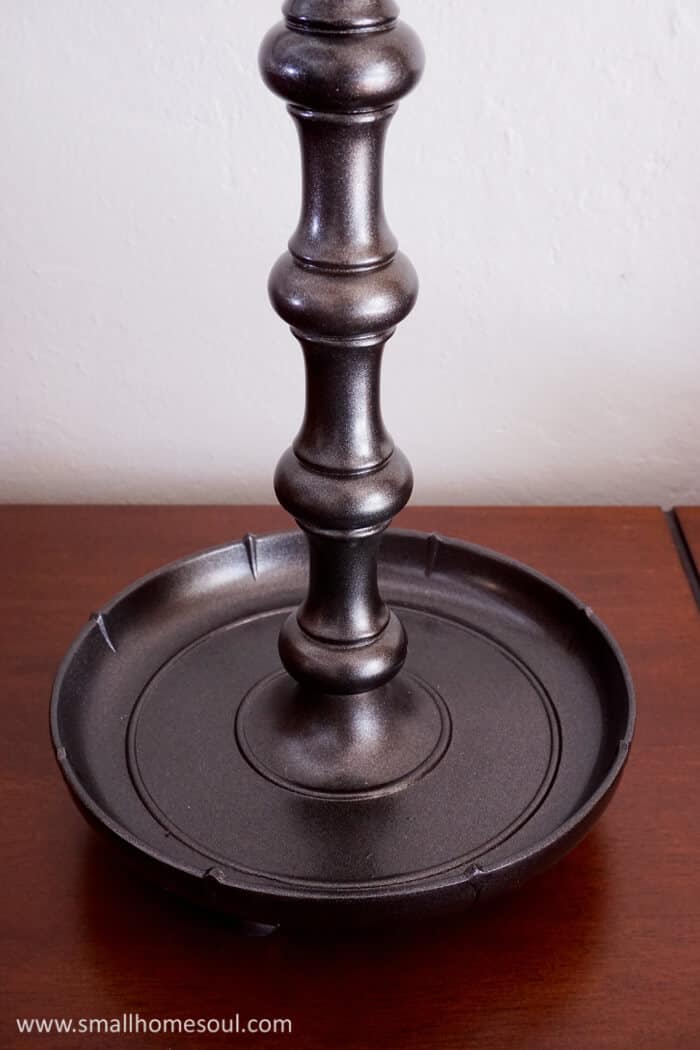
The bowl-shaped base on this lamp would make a perfect holder for jewelry in a bedroom. Or maybe some dried flowers or mossy balls to doll it up a bit with the seasons would be nice too.
This lamp now looks great next to my Map Artwork.

Can I tell you how hard it is to take pictures of my lighted brass lamp? I played with all the settings on my camera and in the end I think I didn’t do too badly. Learning more about camera settings would surely save me time 🙂

See how much beauty you can create for under $10. Well yes, all the parts and supplies cost money but once you start collecting stuff to use in your projects the expenses are spread very thin. And the options for more DIY projects are greatly improved 🙂
If you’d like to see more of my DIY projects and never miss a post, sign up for my newsletter using the link below 🙂
Love it, Pin it!
Now for even more Under $10 inspiration….
Karen
Tuesday 24th of October 2017
Wow, Toni, what an excellent tutorial on all the aspects of restoring and up-cycling this lamp. Makes me want to get one of those rotary tools and visit Habitat again!
lynn spencer
Thursday 14th of September 2017
Toni...so much great and useful information in this post! And so glad you dodged the lightbulb crisis! It looks fantastic and I know you will enjoy that lovely light it emits.
Thanks again for all the info.
Hugs, Lynn
Toni Harvey
Thursday 14th of September 2017
Thank you Lynn, I do love the light it casts on the wall :)
Tara at Lehman lane
Wednesday 13th of September 2017
Great job! Your lamp looks fantastic!
Toni Harvey
Thursday 14th of September 2017
Thanks Tara, I'm so happy you think so too!
Leanna
Saturday 12th of August 2017
This lamp makeover is remarkable especially the lamp shade portion. Grinding glass off to make it fit is going the extra mile and did it ever pay off. Your lamp is gorgeous.
Toni Harvey
Thursday 14th of September 2017
Oh Leanna, I was so nervous that I'd get close to being done and then ruin it. I went very slowly at first with the roto tool seed and then got more confident but still was cautious. Had it broke I could have used a standard globe like for a bathroom, but it wouldn't have been the same. I'm so glad you love it too!
Jelica
Sunday 6th of August 2017
You did a phenomenal job with this upcycle, Toni! And all under budget - woo-hoo! I so appreciate your detailed instructions and all the pics to walk me through it. So many great ideas and links. I have to say, that spray shelter is a fantastic idea. Gonna have to buy me one of those ;)
Toni Harvey
Thursday 14th of September 2017
Thanks Jelica, and yes you do need one of those shelters. They are a live saver in winter and in windy areas like my house, there always seems to be a breeze to take my paint away.