Hi friends, I’ve been so busy the past few weeks working on a One Room Challenge Project. My friend Lisa over at The Purple Hydrangea, one of my blogging besties, is the motivator behind this project. I’m so thankful she put us all up to this challenge. But as per usual I waited until almost the last minute to get started. I’ve been so busy, head down, working hard, that I almost forgot to share a master bath makeover preview with you all, or ya’ll as Lisa would say.
When we bought our house 18 years ago the bathroom had been somewhat updated. But the owners before us installed pergo in both bathrooms. Here’s a tip….never install laminate in a high moisture area. Ya, especially when the bathroom in question has no fan, just a window, on the lowest wall in the room. Eventually the floor started to actually warp.
Fast forward a few years later, yes we lived with a warping floor for a few years. We kept talking about redoing our master bath but the more immediate need was to get a shower added to our guest bath because our daughter had to shower in our room. In our neighborhood if you have two bathrooms there was only one shower, in the master. I guess that was the builder’s way of saving money.
Once we finally finished with the guest bath we needed a break. One day, though, I was itching to get started. We kept talking about starting but just hadn’t so I took a hammer into the bathroom when my husband wasn’t home and proceeded to punch some holes in the wall. HAHA, true story, just ask him.
Since I was kind enough to start the demo we got serious and made a real plan. We gutted the entire bathroom, installed a much needed fan, new shower, and all new cabinetry. It was beautiful, 14 years ago. Now, I refer to the bathroom as our builder-beige installation. Because, well, it just didn’t have any punch or pizzazz. Ask my husband, I like pizzazz!
That was 14 years ago and nothing has changed. A face lift has been long long overdue so I knew exactly the room I wanted to tackle when the One Room Challenge was announced.
Are you ready? My bathroom is small so it won’t take much time to give you the full tour. Don’t blink because you might miss it 🙂
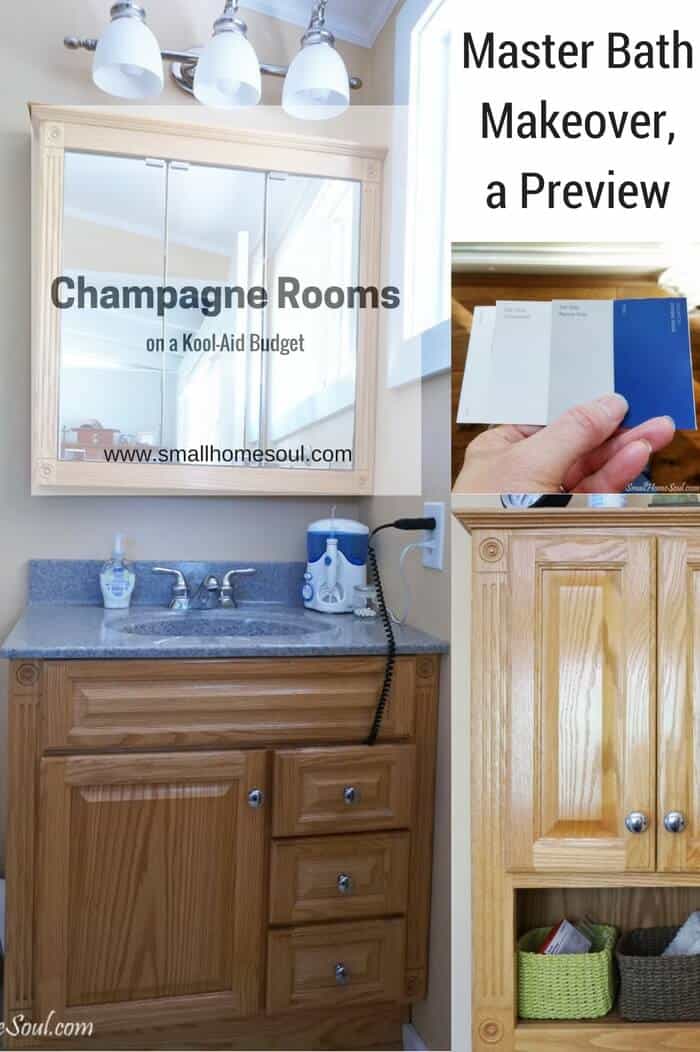
Here’s the vanity, medicine cabinet and the light. We bought solid oak and they’ve all held up pretty well over the years but the finish on the bottom edge of the medicine cabinet was starting to look really rough. Probably from water dropped when putting our toothbrushes back. Sorry that the picture angle’s a little wonky; it was hard to get a good shot without the camera, or me, reflecting in the mirror.
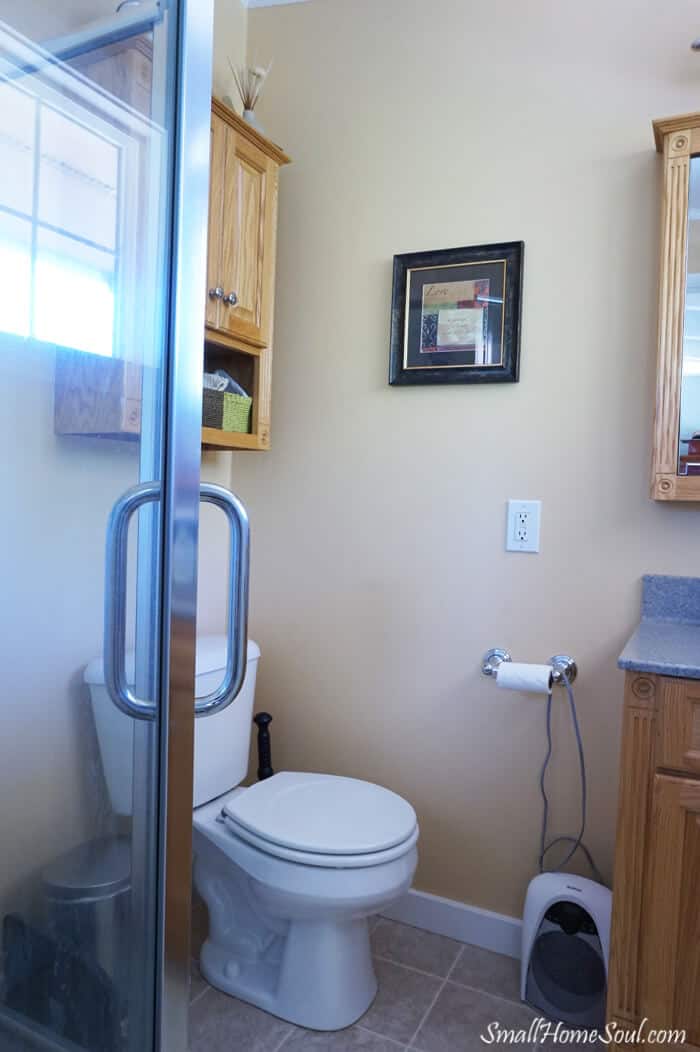
Here’s the other corner, see it told you it was small. It feels funny calling it a master bathroom when so many closets today are bigger than my bathroom 🙂
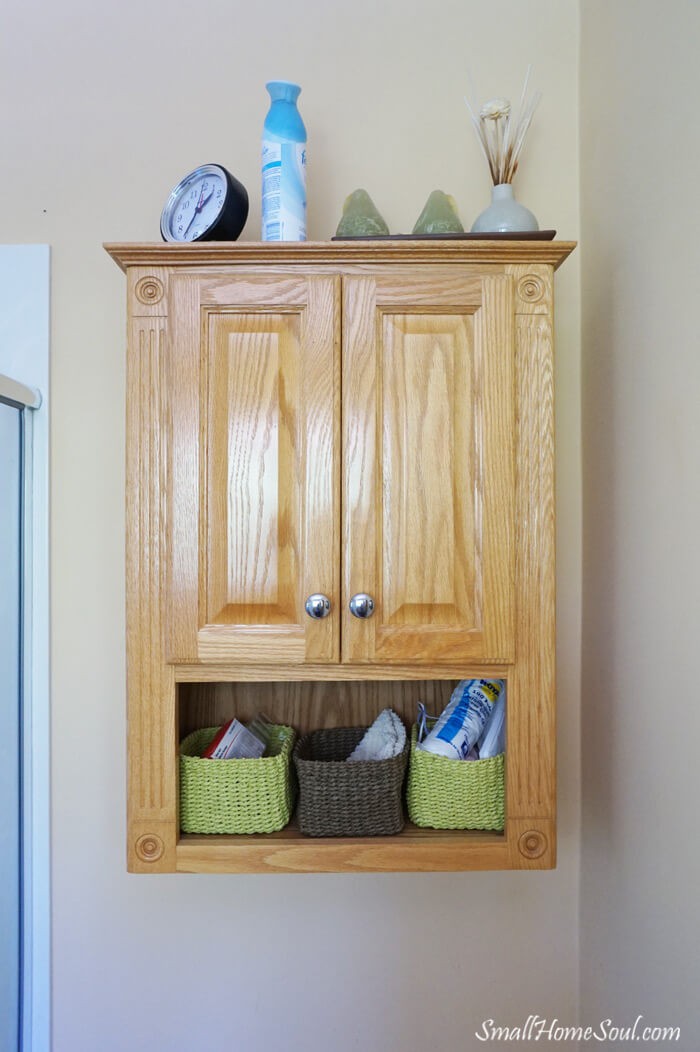
Here’s a better shot of the TP Cabinet (febreeze can and all, OMGosh LOL). I wanted to show you real life, not all pretty with stuff where it belongs. I’ll show you the perfect pictures in the big reveal in a few days.
Master Bath Makeover Preview – the Plan:
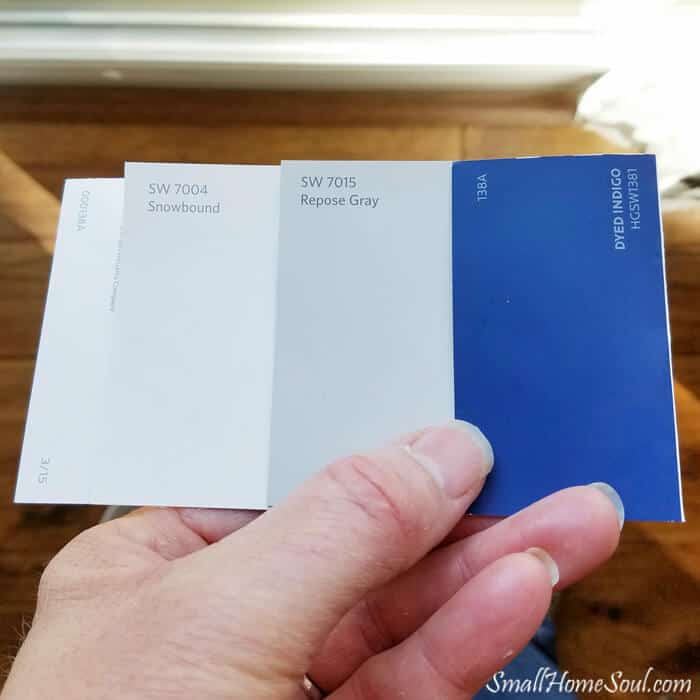
So what’s my plan? Several months ago I started collecting color swatches for the bathroom. Lots of them! After the one room challenge was announced and I had to narrow my color pallet. Let’s just say the Dyed Indigo gave my husband a bit of a pause. The other colors he was good with because the Snowbound I’d already used on my TV Console and on the Thrifted French End Table. We also used Repose Gray in our Kitchen Renovation and throughout the rest of the house. He decided to trust me with the blue.
So Repose Gray on the walls, Snowbound on the two upper cabinets, and Dyed Indigo on the Vanity cabinet. The Master Bath makeover will be done primarily with paint. One because it needs it, and two because it’s one the most cost effective tools a decorator can use. Did I just call myself a decorator? That might be a stretch, but it’s fun to pretend 🙂
Oh, and did I mention we have to do this all for under $100? Yep, it’s going to be a full-on mini-series of Champagne Rooms on a Kool-aid Budget!
I’m going to need a new rug, new artwork and I have to do something with the back of the TP Cabinet and the light. The finish on the light is etched from the years of moisture so I did some serious thinking on that. Coming up with creative ideas gave me my own challenges. But sometimes I do my best work under pressure 😉 And thankfully I have lots of stuff I save, keep, horde. Horder? no, not quite, well, maybe a tiny bwahahaha
Now that you know my plan you’ll have to wait a few days to see how it all comes together. I hope you enjoyed my Master Bath Makeover Preview! I can’t wait to show it to you so don’t forget to come back in a few days and check it out.
If you didn’t get enough DIY stuff from this post today, you might want to revisit some of my other painting projects:
DIY Chalkboard from a Picture Fram
Nightstand Update with Metallic Cream
Mid-century Modern Side Table Makeover
Don’t forget to pin it!


Janine
Thursday 29th of September 2016
Looks like a great project! I'm sure you are going to do a terrific job! I'll keep checking back for your reveal!
Toni Harvey
Thursday 29th of September 2016
Thanks Janine, I'm glad it's done but it was so worth it!
Lisa
Wednesday 28th of September 2016
I can't wait to see your reveal. I think all of us working on our rooms right down to the last minute!
Toni Harvey
Wednesday 28th of September 2016
Such truth, if I didn't procrastinate so much maybe I could breath. It's all I have been able to think about each night when I try to sleep.
I can't wait to see your dining room reveal :) Friday is almost here!!
Anika
Tuesday 27th of September 2016
Yay!!! Can't wait to see what you have got coming... I love that blue!!
Toni Harvey
Wednesday 28th of September 2016
Thank you sweet friend, I can't wait to see your bathroom reveal as well! I'll spend all Friday morning reading and loving on everyone's rooms :)