Hello Friends, I am so so happy to share my Master Bathroom Makeover with you today! As I mentioned in my Master Bath Makeover Preview earlier in the week, this project is a challenge that my blogging friends and I took on to complete for under $100. You’ll be amazed at what you can do with just $100
It’s been lovingly titled “Champagne Taste on a Kool-aid Budget” because well, none of us are independently wealthy. And while we might be able to hire out some jobs, or take on major renovations for some areas of our homes, we’re all thrifty at heart, or #cheaplikelisa as one of them likes to tease our group organizer 🙂
When you’re done reading my post be sure to click the blogs at the bottom and hop on over to my blogger friend to see what wonderful room makeover they created with $100!
Before I show you my completed Master Bathroom Makeover let’s review what I started with. I’ll show you the pics, you can use the link above to read the full backstory.
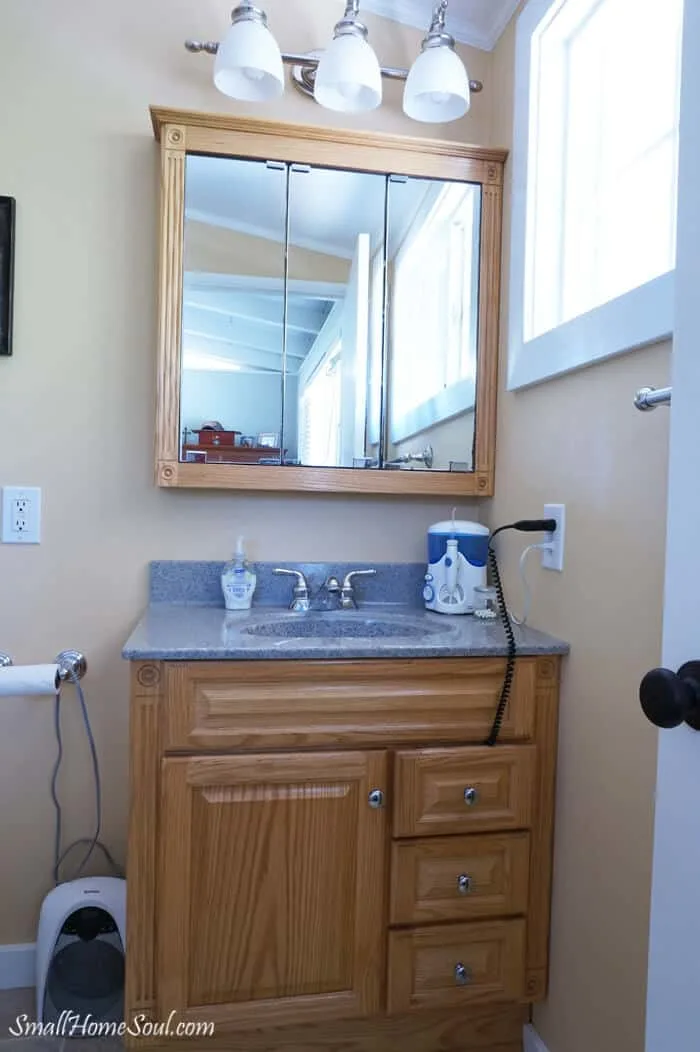
Builder beige, ugh, and we did that to ourselves.
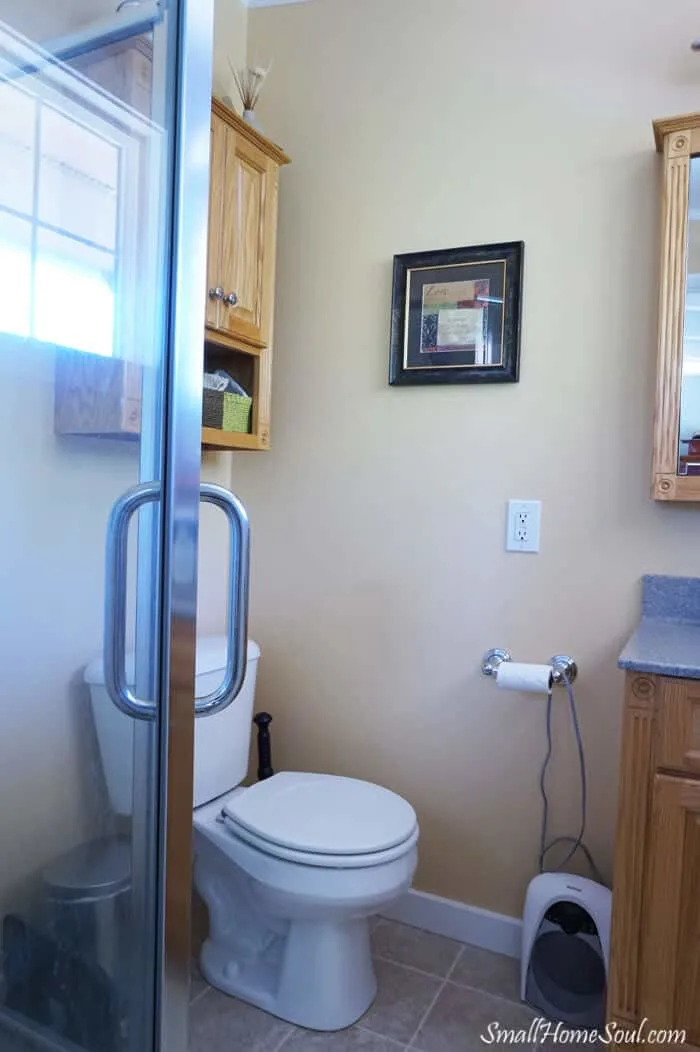
Brown on brown, not super inspiring. Sad little clock and some forgotten candles.
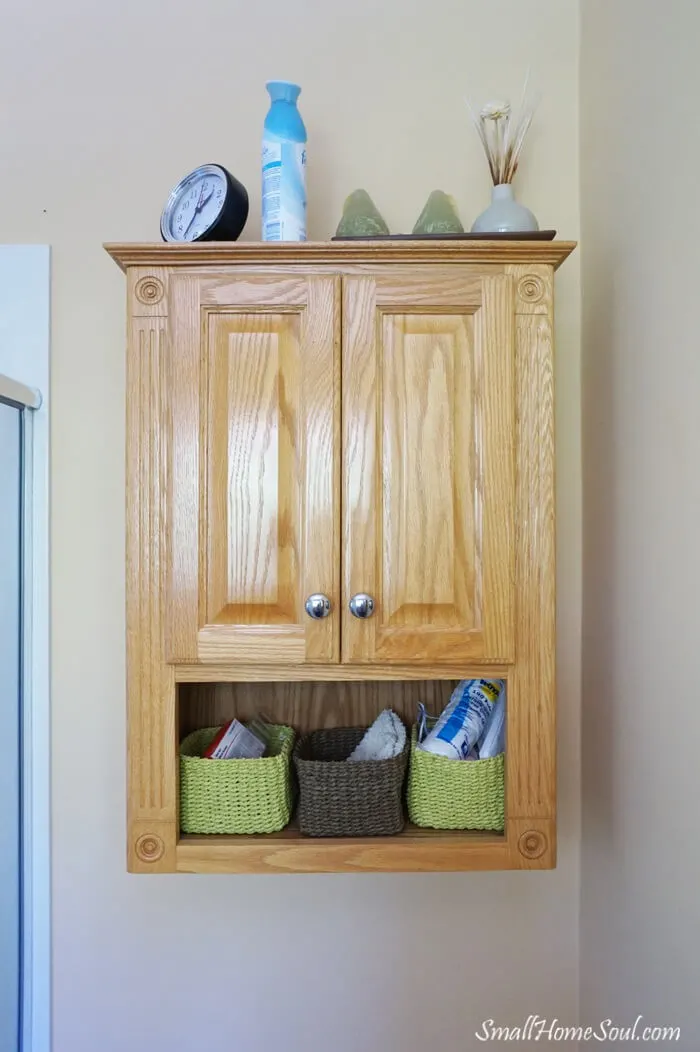
Yep, that’s it, it’s a tiny bathroom. And it was b-o-r-i-n-g!!!! I think I mentioned already that most of the makeover consisted of paint; but, I also did a few crafty projects to add an extra bit of glamour to my very small bathroom. You’ll see them in the pictures below. Then, over the next few weeks I’ll highlight a few of the features in the bathroom in more detail. I hope they inspire you to undertake your own master bathroom makeover.
This post contains some affiliate links for your convenience. If you click a link and make a purchase I may earn
a small commission, at no extra cost to you.
Master Bathroom Makeover – Dollars and Cents
Since this was a $100 Room Makeover let me show you what I got for $100. We didn’t have to count anything we already owned. The actual cost of my master bathroom makeover would be slightly higher if had to start from scratch and buy everything. Hey, that’s the best part about “saving” stuff 🙂
Here’s how it breaks down. If I had to purchase it the for the project my cost is listed next to it.
Master Bath Makeover Supplies
- Paint brushes, roller, roller tray
- Sanding blocks,
- Glass beads
- Glue Gun
- Large Spray Shelter
- Paint Sprayer
- 6 new drawer pulls from Lowe’s @ $1.97 ea – $11.82
- 1 Can Antique Pewter Spray Paint – $7.76
- New bathroom rug from Home Goods – $24.99
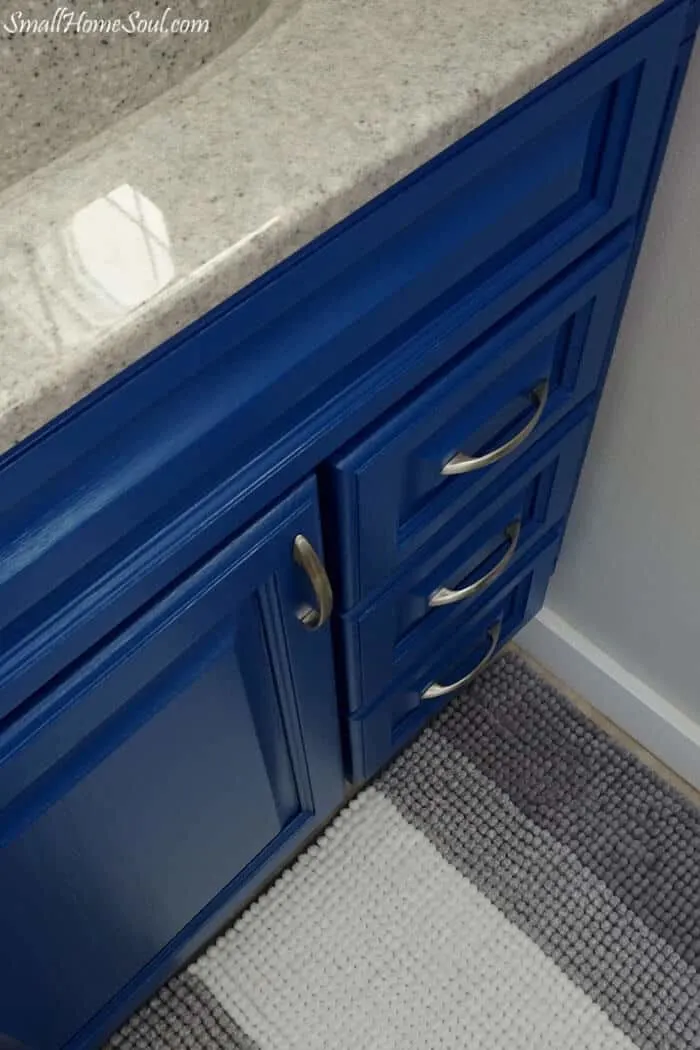
- 1 Quart of Dyed Indigo Enamel for the Vanity – $14.09
- 1 Quart of Snowbound Acrylic for the Medicine and TP Cabinets – $15.89
- 1 Gallon Repose Gray for the Walls- $22.69
The grand total before tax comes to $97.24. Since we all live in different states with different tax rates we decided it was the most fair to exclude tax. Thankfully Sherwin Williams was having a 40% off sale when I bought my paint.
Master Bathroom Makeover – The Big Reveal
I’ll take you all around the room now so please do try to keep up 🙂 Without further delay here’s my new, updated, and totally awesome bathroom!
I love everything about it, but I have a few favorites that I’ll highlight for you.
This newly updated light!! Who knew getting an elegant light would be so easy?
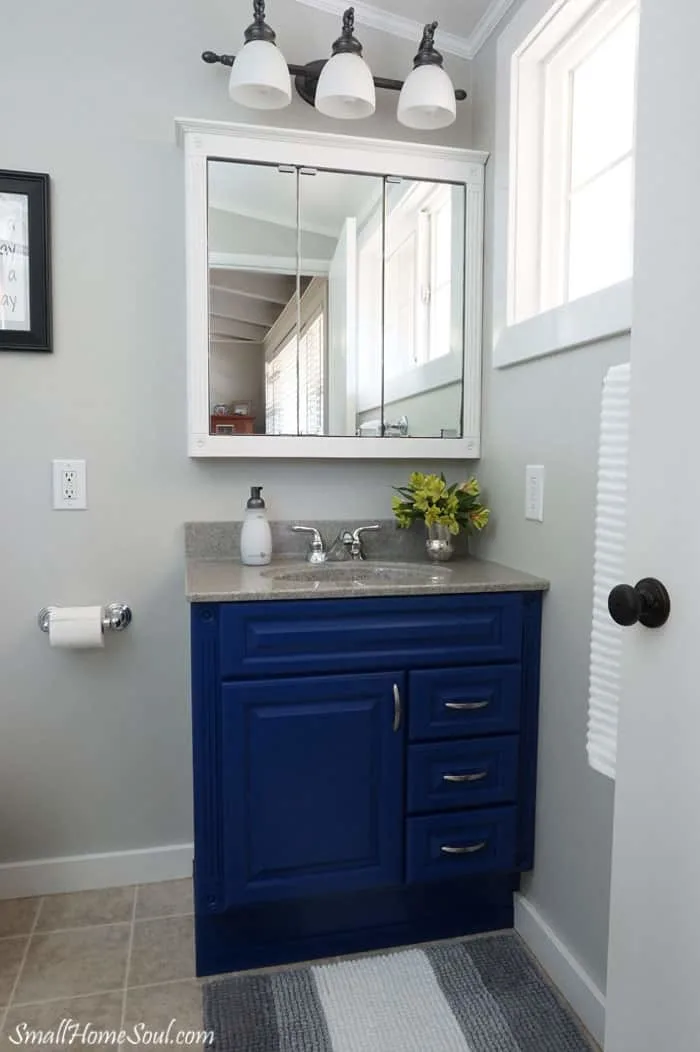
Isn’t the blue on that cabinet just the best? And that new rug from Home Goods feels so good on my bare toes.
Are you keeping up? There’s a whole lot more to show you, like the updated TP Cabinet and some new decor.
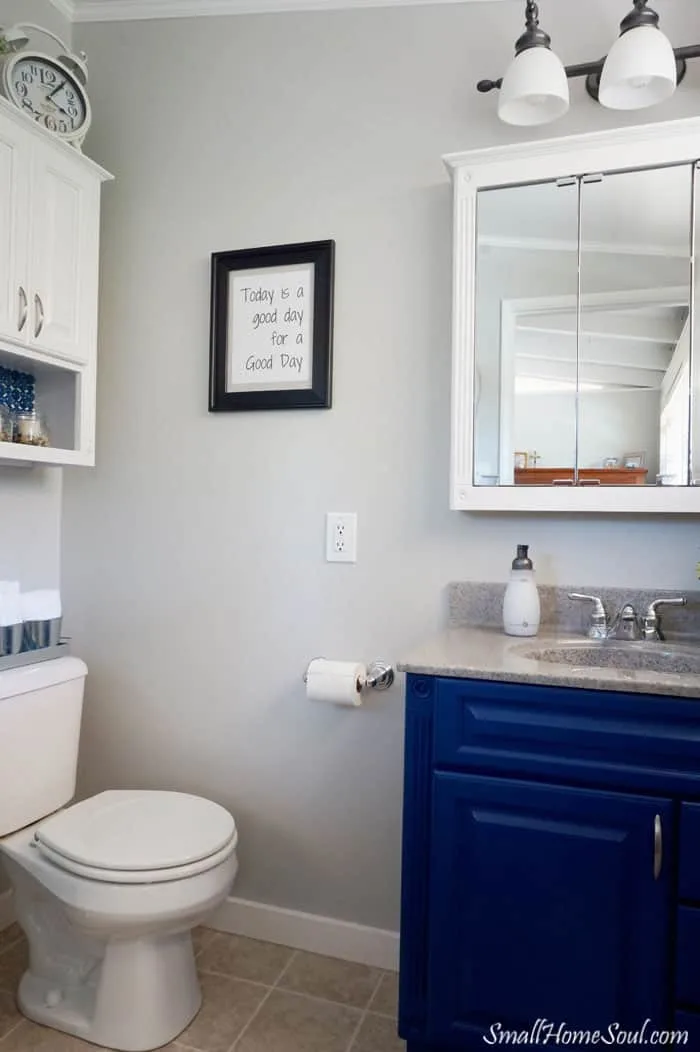
That’s it, tour’s over ….. bwahahaha I crack myself up 🙂 Remember me telling you it’s a small bathroom? I wasn’t lying. I didn’t show you the shower because I didn’t do any updates to it, and because I’d have to put a letter outside the window to get a decent picture of it. That’s the struggle of a 6’x6′ bathroom, but I’m thankful to have it.
Now let me highlight some of the other stuff I love. Like the giant clock that used to be in the guest bath, I decided I needed this prettiness in my bathroom. I scored this beauty at Home Goods a few years ago. Yes I love that store and browse there often! You can find similar twin bell clocks online if you don’t stumble upon one at their store. And I love the faux IKEA plants, they always look great and they never die. This one’s been all over the house but I think it’ll live here now too.
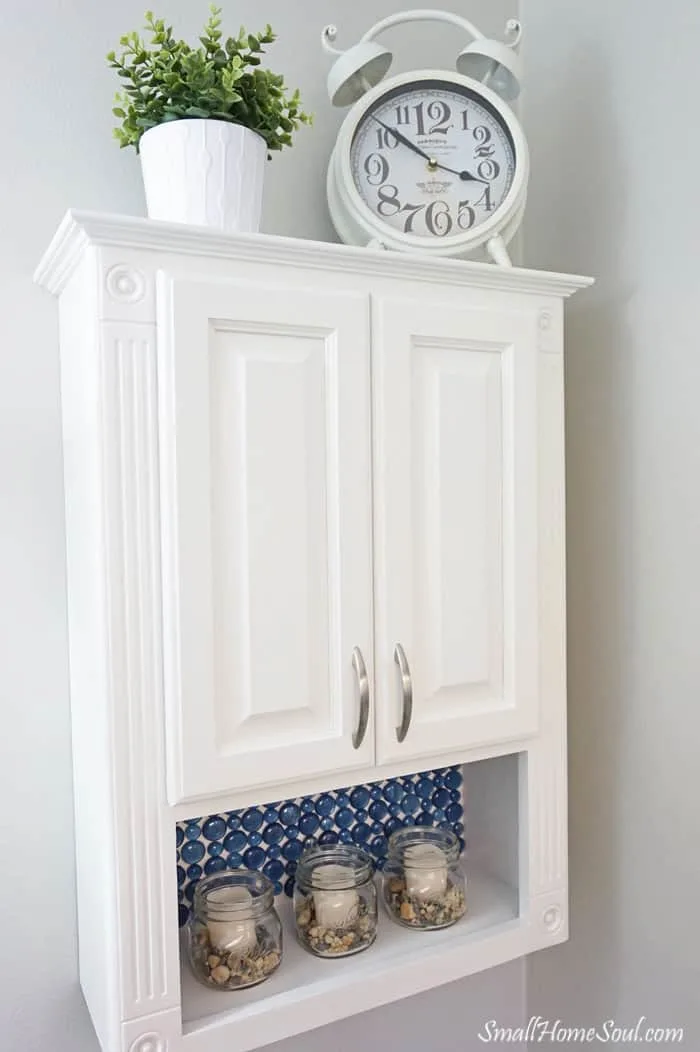
And that blue “back splash” let’s not speed past this new focal point in the master bathroom makeover. Would you believe me if I told you those started out as clear glass wafers from the Dollar Store? We used a few different sizes as decor for a few parties and since I never throw anything away….. I didn’t have to count it against my budget. Win for me 🙂
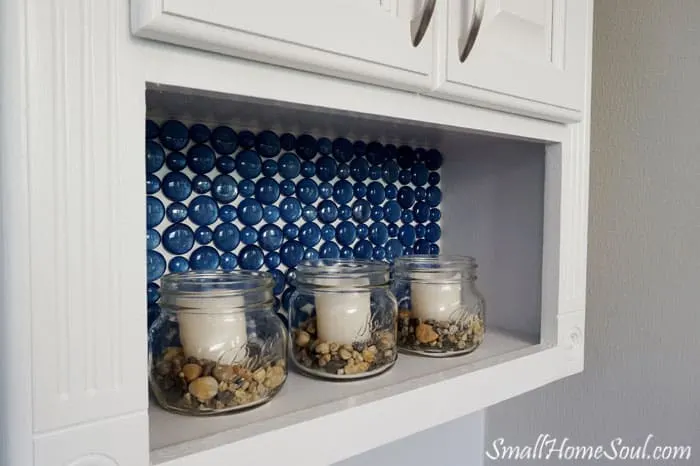
The medicine cabinet, like the TP cabinet got a beautiful update inside and out with my favorite white, Snowbound by Sherwin Williams. I wanted to add some fancy pulls to the mirrored sections but I decided to wait on that project for a bit. I’m not sure if drilling through the mirror or cementing to the mirror is the better plan so I left well enough alone, for now 🙂
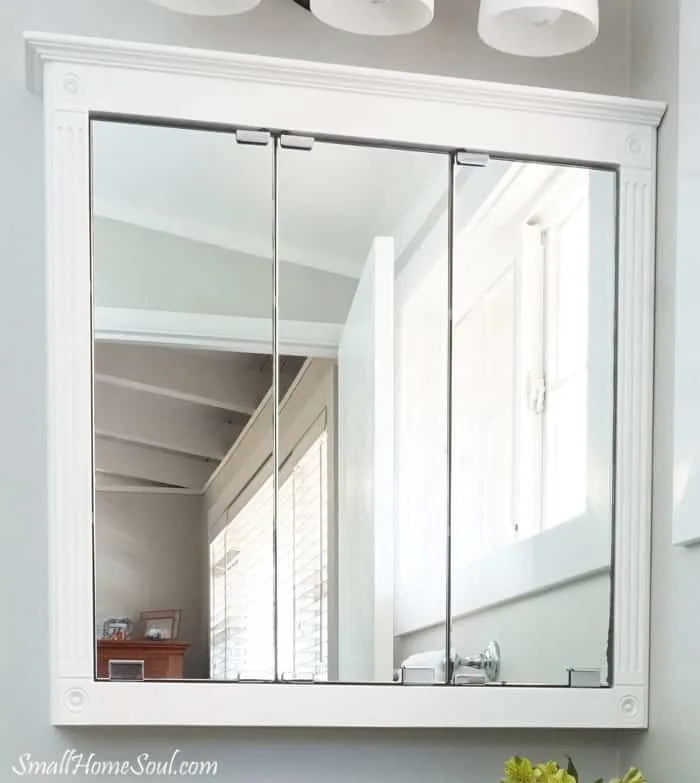
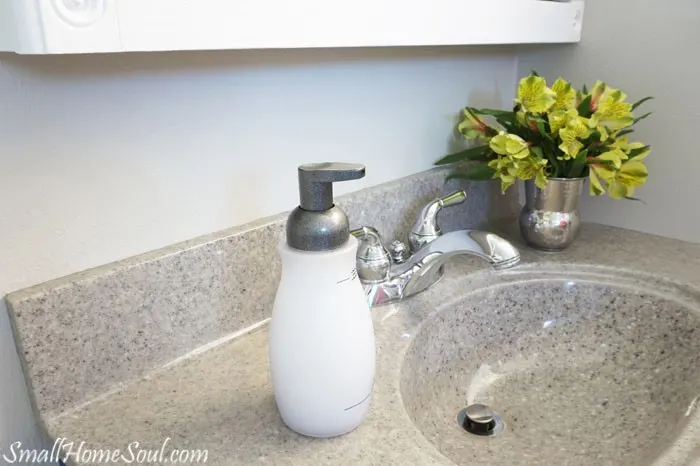
I even did a little makeover to the foaming soap dispenser that I used in this bathroom for a long time. It was ugly and brown with a clear plastic jar before I got my hands (and spray paint can) on it. I gave it the same treatment I gave the light, wait until you see a close up of the light!
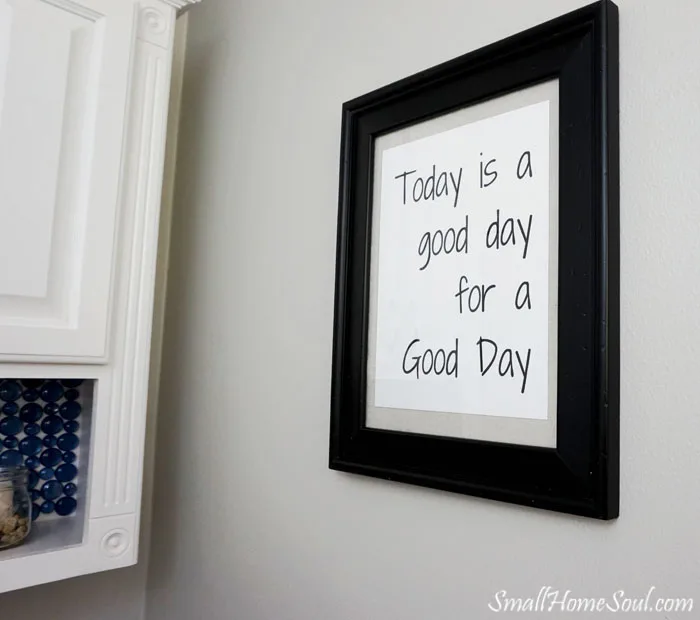
But first let me show you the new bathroom artwork. Well, not artwork exactly but I love it like it’s artwork! I love this saying, I first heard it while watching an episode of Fixer Upper and it quickly became one of my favorites. And I chose a black frame because I heard a designer say once that every room needs a little bit of black to help ground it. I think it does just that, and nicely.
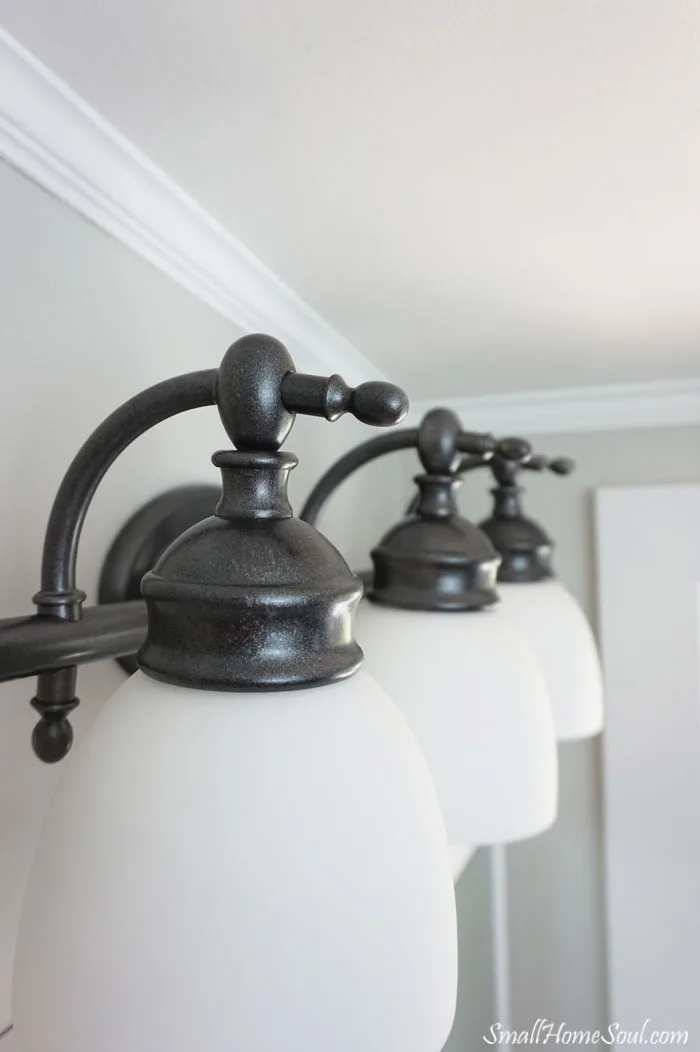
OK, OK, I’ll show you the lights now 🙂 If you remember from the master bath preview this light was chrome before. The finish was a bit etched from so many years in the bathroom. I think you’ll agree that the specialty paint job I gave it is a huge improvement. It looks like a whole new fixture and the light makeover was really easy.
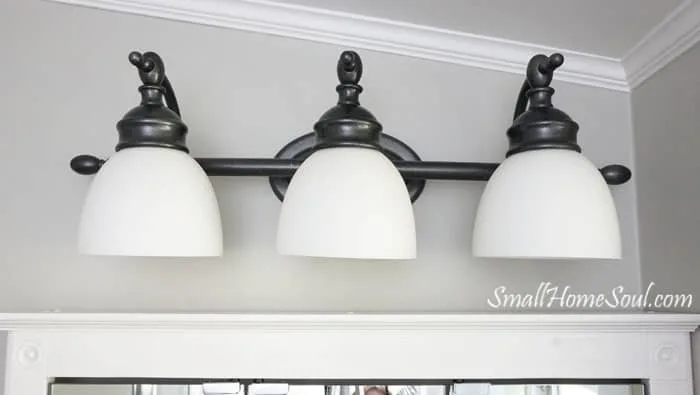
HA, you can see the top of my head in the pic above, it sure is hard taking pictures around mirrors.
And one last pic of the light, one of my favorites….
And I almost forgot to show you the new hardware. I filled all the holes in the vanity and the TP cabinet and drilled new holes for the new pulls. These are such an improvement over the tiny knobs. I learned a cool trick via a Pinterest Pin for drilling perfectly spaced holes.

And another shot of that beautiful new rug.
I hope you loved our my master bathroom makeover as much as we do!
Please don’t forget to visit all my friends’ awesome makeovers by clicking their Blogs below:
The Purple Hydrangea
Girl, Just DIY!
Sawdust Sisters
Savvy Apron
Raggedy Bits
Newton Custom Interiors
Farmhouse Made
Anika’s DIY Life
1915 House
The Handyman’s Daughter
My Thrifty House
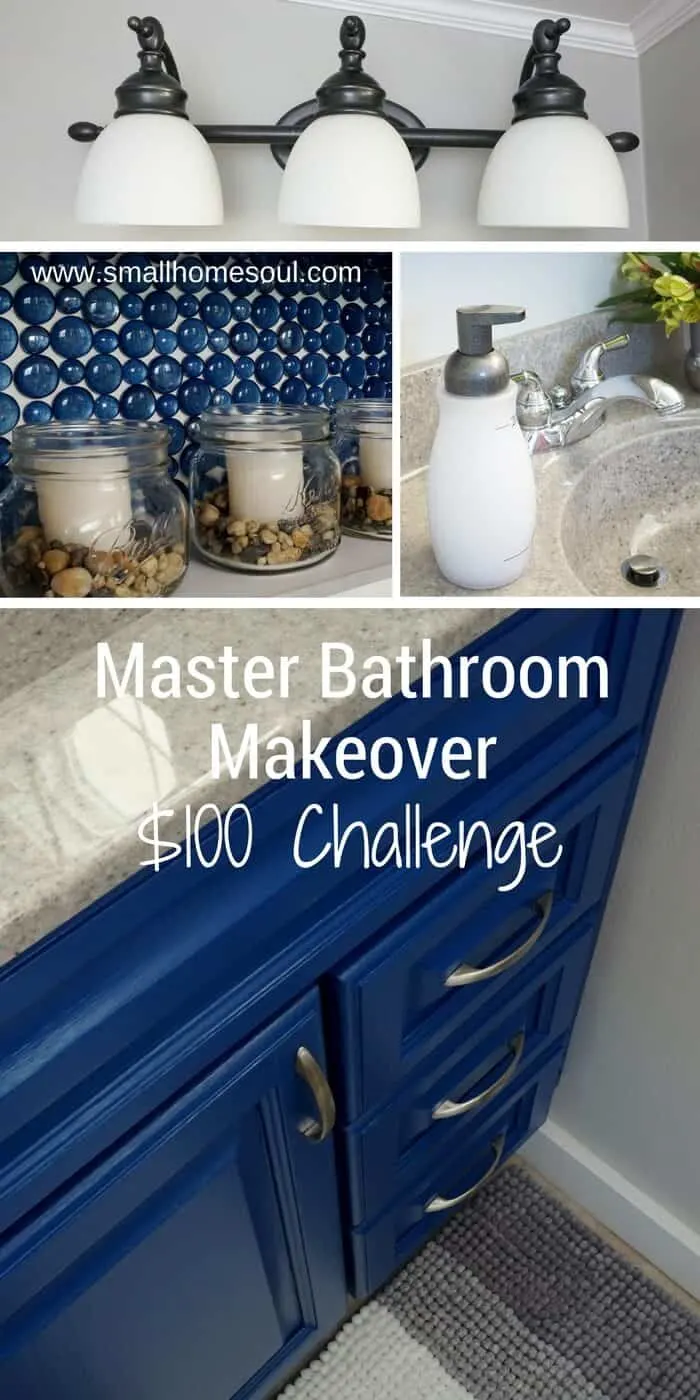
Don’t forget to Pin it!!
If you liked this post you might also like:
Mandy
Monday 29th of January 2018
Wow. Beautiful job. Very impressive ?
Toni | Small Home Soul
Tuesday 30th of January 2018
Thank you Mandy, I still love it. It's amazing what you can do with a little paint and some glass beads.
1stopmom
Thursday 27th of October 2016
I love that blue, it really pops! Now, I want to makeover my half bathroom .
Tina
Saturday 22nd of August 2020
Yes what is the name of the blue color?
Toni Harvey
Saturday 29th of October 2016
Thank you so much, it really pulled my bathroom out of the builder beige stage.
Kati
Monday 24th of October 2016
I'm impressed that you only spent $100! That is a pretty amazing transformation. I love the bold blue with the whites. Pinned!
Toni Harvey
Monday 24th of October 2016
Thank you Katie, in this instance I'm glad my bathroom is small because I might not have made it under budget :)
Sahana
Sunday 23rd of October 2016
Amazing transformation. Thank you for linking up with us at #HomeMattersParty .See you again next week.
Toni Harvey
Monday 24th of October 2016
Thank you Sahana!
Jenna @ A Savory Feast
Wednesday 19th of October 2016
What a transformation! I just love the color of the vanity.
Toni Harvey
Wednesday 19th of October 2016
Thank you Jenna, I love that blue too!