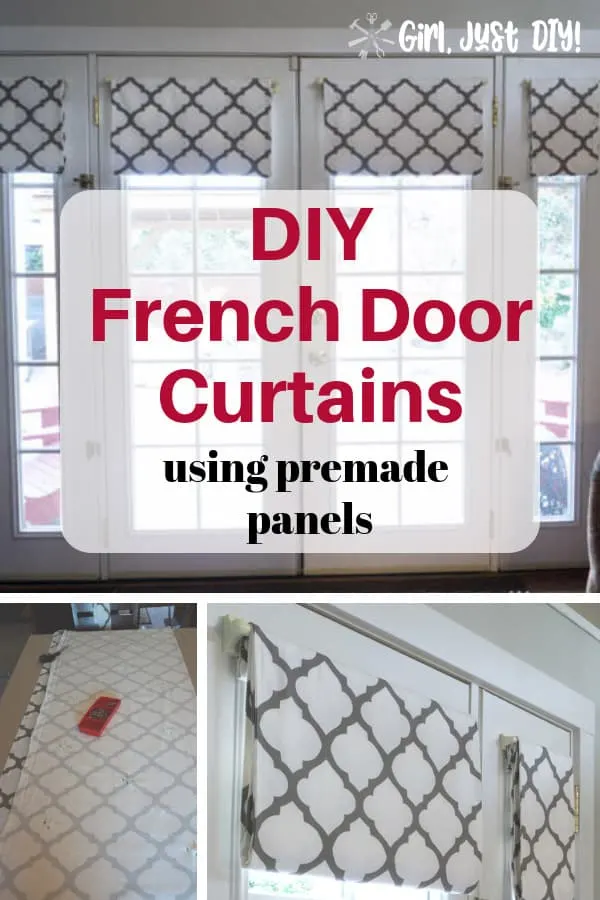
If you have French Doors then you know how difficult it can be to find a good solution that doesn’t cost a fortune. I’ll show you how to make custom but Simple French Door Curtains that will look great and save you a ton of money.

You’re in luck if you’re looking for something other than mini-blinds or sheers that attach at the top and bottom of the windows.
I like to see out my french door windows so covering them with a sheer or the door curtain panels that gather in the center will never work for me.
If you can sew a straight line, you can make these French Door Curtains.
Curtains add so much style to a room but they can be expensive, which is why DIY french door curtains might be the perfect solution for you too.
When we were broke newlyweds I made curtains from flat sheets that came with our comforter set. Sewing my own curtains over the years has stretched our budget when we didn’t have an extra nickel.
I’ve purchased inexpensive curtains panels or valances for some windows over the years. Other times I sewed simple valances to cover tab top curtains.
Recently I made lined curtains for my kitchen because with the window size I couldn’t purchase what I wanted. I’ve even done simple Drop Cloth Curtains on my patio.
When it comes to french doors off-the-shelf curtain options are limited, or they’re a costly custom order. I’m not willing to spend the money to order custom curtains that open fully without a bunch of hardware attached to the door.
The narrow sidelights make purchasing french door panels even harder. So I made some, using basic instructions I saw two decades ago.
I’m so happy to show you how to make french door curtains for your home too.
This post contains links to products, if you purchase something after clicking on my link I may earn a small commission (at no extra cost to you).
French Door Curtain Supplies
- Sewing Machine (this model is perfect to sew simple curtains if you don’t own one already)
- 4′ Straight Edge for perfectly straight cuts
- Fabric Scissors
- 4 Pre-made curtain Panels (or 10-1/2 yards drapery fabric for a double door with sidelights)
- Thread
- Sewing Pins
- 2 – 9″ Magnetic Curtain Rods
- 2 – 22″ Magnetic Curtain Rods (or cafe rods if you have wood doors)
- Fusible Interfacing (optional)
- 6″ Sewing Gauge & Seam Ripper (sold together in this set)
How to make French Door Curtains
You can make your DIY French door curtains single or double sided. If you plan to open them, or need them for light filtering you’ll want to go double sided. The extra weight will help them hang nicely as well.
Drapery fabric comes in 54″ widths so if you’re making them double-sided 10 yards of fabric can get pricey. I’m talking $15-$24 per yard. Even if you use a simple backing that cost adds up.
Custom making your own using pre-made curtain panels is a great alternative. They also come 54″ wide so I bought two sets of pre-made curtain panels (4 panels total) to use as my fabric. They came 54″ wide by 84″ tall at $29.99/set or $60.
You can find a huge selection of styles and prices of fabric online. But I like to see and feel my fabric in person so I mostly shop local.
Consider how much direct light your french doors get to determine if you need to worry about matching up the pattern from front to back. The pattern on the curtain panels I bought was easy to line up. You could also back them with a solid color if you choose.
How do French Door Curtains Operate?
I made my french door curtains double-sided so they would looked nice opened or closed. Look for details below on how I used to open and close them, and how I do it now.
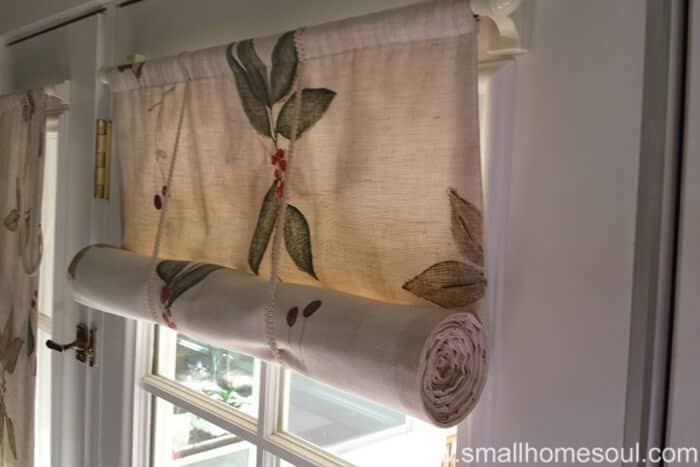
Below you’ll see the original set of patio door curtains I made many years ago and how they operate. Later in the post learn how I open them now.
I made these by following some basic instructions in a magazine article. The article illustration called for rolling up the curtains and tying them with two ribbons attached over the rod.
I modified their illustration and sewed trim in a loop onto mine. When they were closed the loop hung to the side (you can see it in the left of the pic below).
They looked great rolled up but honestly we ended up just folding them up and over the rod a few times which works great also.

There are lots of options for french door rods and the greatest majority screw in. But there are some magnetic options that work if you have steel french doors like mine.
Because ours are steel I didn’t want to screw anything into the door so I chose magnetic curtain rods and they work perfectly. There are more finish options today so next time I might choose black ones.
When I was ready to make a new set of french door curtains I followed the same basic instructions I recalled from the article since I no longer had my magazine clipping.
Instructions for sewing French Door Curtains
Step 1: Determine window dimensions.
The dimensions of my standard height French Door with Sidelights, on which all my measurements and instructions are based, are listed below.
You may need to modify these instructions to fit your French Door windows if the windows on your doors are wider than mine.
- 2 Sidelights 65-3/4″ Tall by 9″ Wide
- Cut four (4) panels 72″ Tall by 11-1/2″ Wide
- You should be able to cut these four sections from one curtain panel or one width of fabric, depending on the pattern.
- Cut four (4) panels 72″ Tall by 11-1/2″ Wide
- 2 Doors 65-3/4″ Tall by 22″ Wide
- Cut four (4) panels 72″ Tall by 24-1/2″ Wide
Read through the instructions fully and study the pictures before you begin cutting your fabric.
How to Measure for French Door Curtains
I added 6-1/4″ to the height and 2-1/2″ to the width of each window. This measurement should be taken on the outside of the window trim, not just the glass.
The extra length accommodates the rod pocket and the distance between the top of the window frame and the rod. This also allows the curtains to hang a little below the window frame.
You can adjust the length to your liking before hemming and sewing the top rod pocket listed in the steps below. For my standard height French door each finished panel is approximately 67″ tall.
If you’re sewing your panels to be fixed to rods at the top and bottom of the window add a total of 4″ to the length.
Step 2: Pin folded fabric or pre-made curtain panels together.
Work on one panel at a time following these instructions.
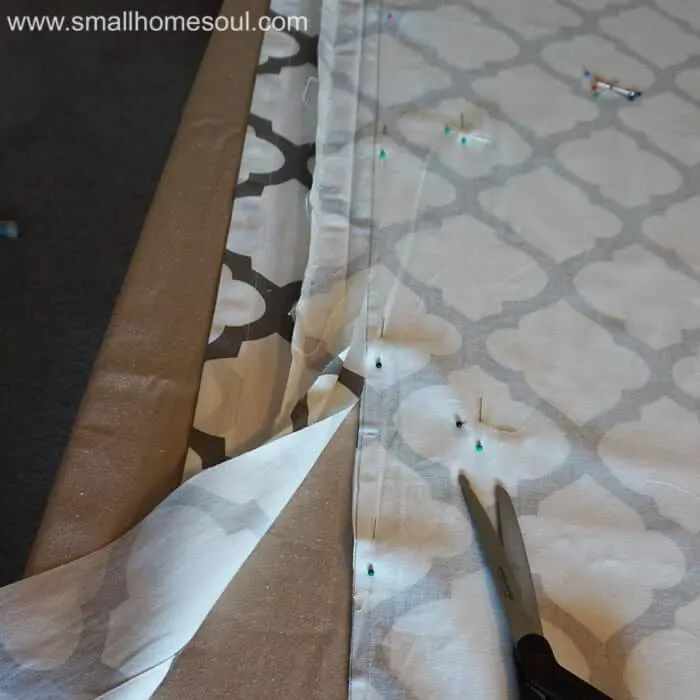
- If you’re using a fabric with a pattern pin the fabric together to align the pattern as I did below.
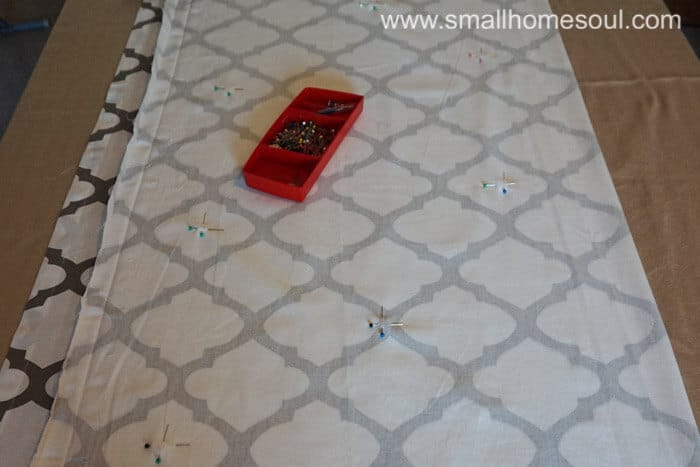
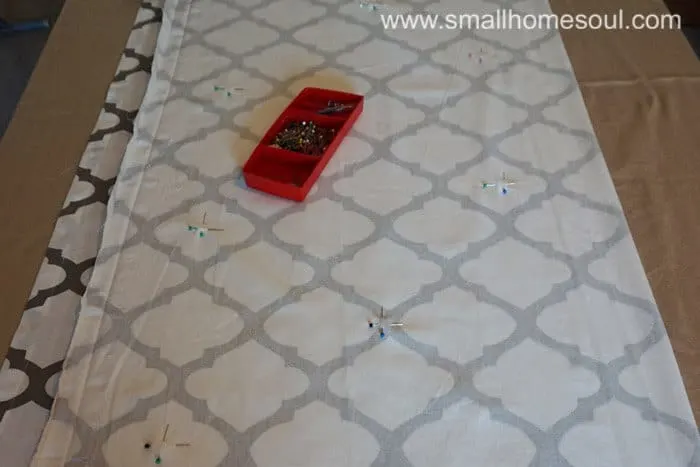
- For each panel mark the fabric in the dimensions above using the straight edge and pencil to ensure straight lines.
- Pin your panels along all edges before cutting.
Step 3: Cut curtain panels to size.
- With very sharp fabric scissors cut along your line as shown below.

Follow these steps for all the curtain panels you need to cut. We’ll move onto sewing them together but first we’re going to add some interfacing for the hem.
Step 4: Apply interfacing to curtain hem area.
OPTIONAL – Interfacing will stiffen the bottom edge of the finished panel and help them hang nicely. This is an optional step that you can ignore if you choose. All other directions remain the same.
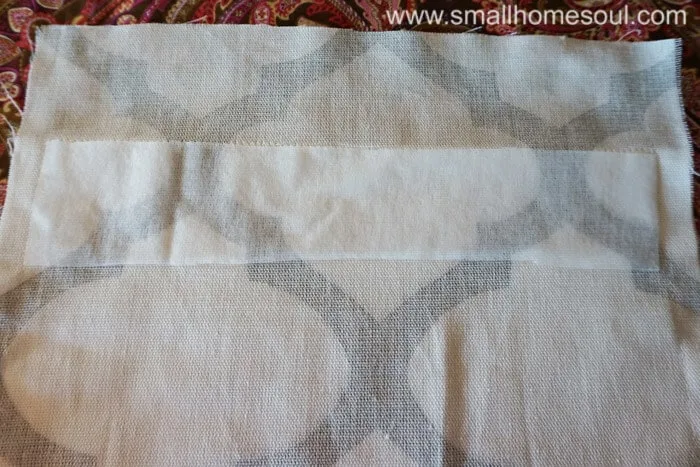
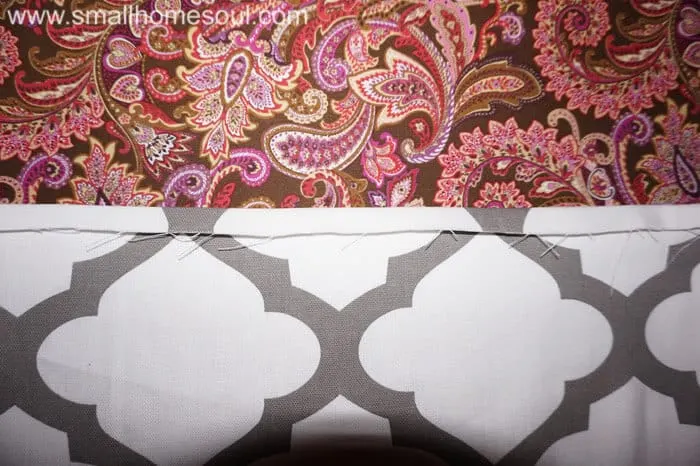
- Cut a 2″ tall section of Fusible Interfacing the width of the panel you’re working on minus 1-1/4″. For the wider window on the door the interfacing would be 2″ x 23-1/4″.
- Iron it to the panel along the bottom edge of only one side of two pieces of fabric. Center it as shown below.
Please don’t be confused by the poor example in picture below. The interfacing gets ironed to the bottom edge, I just took the picture to show it’s narrower than the panel of fabric.

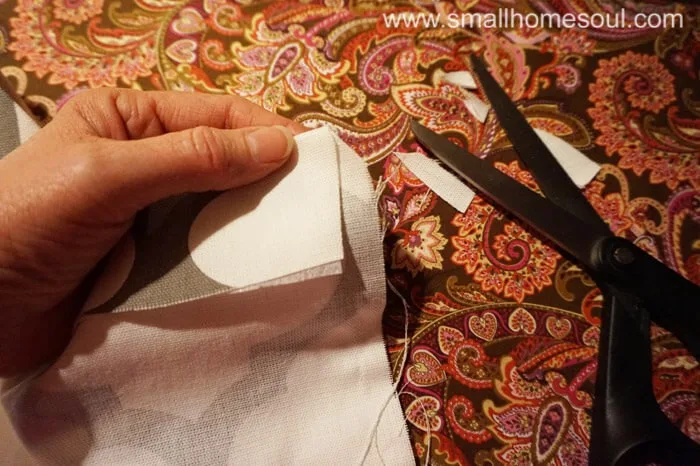
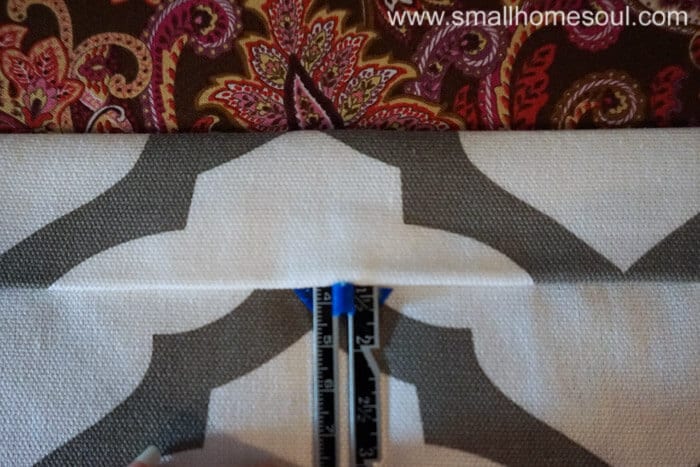
- After the interfacing is fused to the fabric fold the fabric down 2″ and measure in 3/8″ from the edge and carefully snip the “corner” at an angle as shown below. This removes some of the bulk in the corner after sewing when you turn them right-side-out.

Step 5: Sewing your curtain panels.
- Sew a standard 5/8″ seam on two of the long sides and a 2″ seam on short side that has the interfacing.
- Leave the other short end (without the interfacing) unstitched.

- Turn the panel right-side-out and use the handle of a wooden spoon or another dull but pointy object to push out the corners.
- Work the seams out between your fingers so they’re even along the edges and press with an iron.
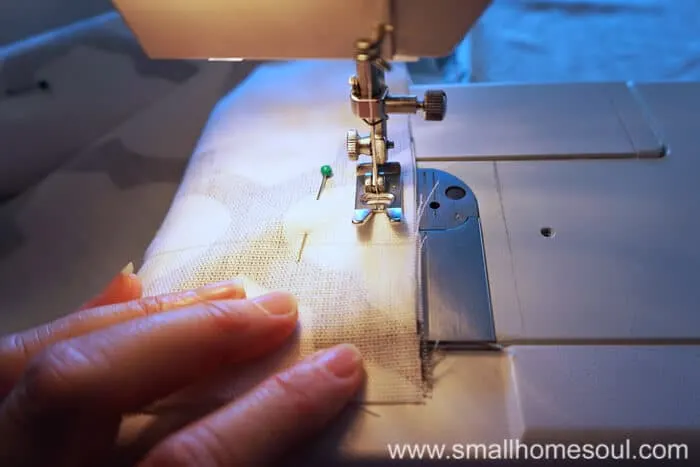
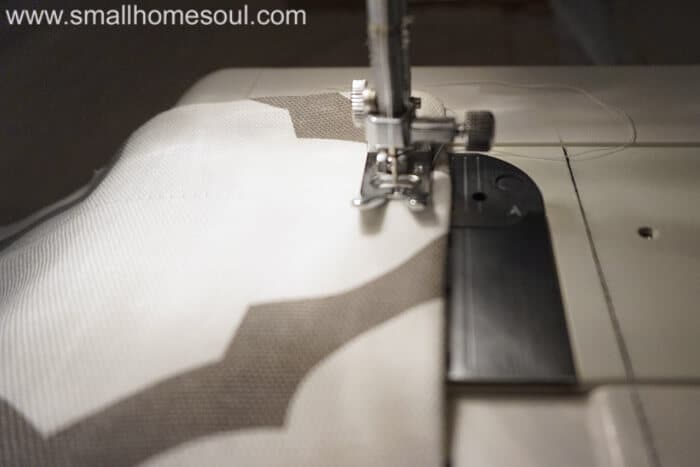
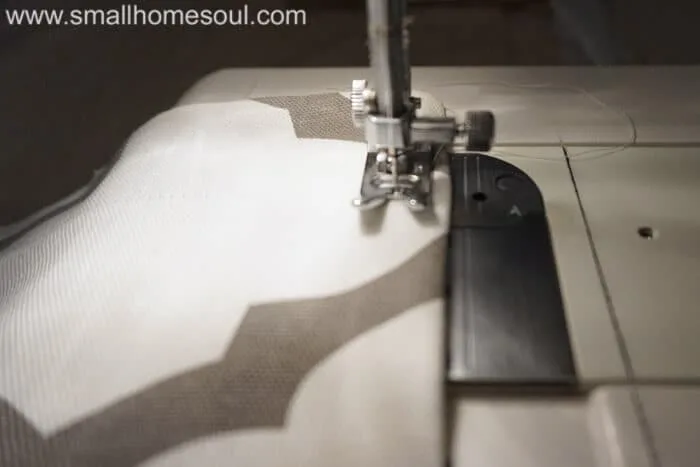
- With your sewing machine top stitch the newly pressed edges 5/8″ on the long edges and 2″ up from the bottom edge (with the interfacing) to put a nice finished edge on your curtains.
The interfacing from the optional step is now sandwiched inside the 2″ hem at the bottom. You can just make out the bottom hem stitching in the picture below, to the left of the needle.
Step 6: Sewing the curtain panel rod pockets.
- Turn the rough edges of the unstitched top end down 5/8″ and iron. This is the start of the rod pocket.

- Using the Sewing Gauge turn down another 1-1/2″ (more or less depending on the rod you choose) creating a pocket for the rod. Pin every few inches.

- Top stitch 1/4″ from the folded edge above to create the curtain rod pocket.
- Repeat the process for the rest of the window curtain panels.
How to Hang Curtains on French Doors
There are two main ways to install french door curtains. You can screw cafe rods into the french door. Or, if you have steel doors you can do like I did and purchase magnetic curtain rods.
Step 7: Hanging your new DIY French Door Curtains.
With everything sewn together slip the magnetic curtain rod through the curtain rod pocket and mount to the top of each window on your french doors. Or if you’re using attached rods slip the rod through the pocket and hang on the curtain rod hooks.
I prefer to use the magnetic rods on my steel doors but you could also choose a traditional curtain rod that screws into your door. If your door french doors are metal make sure use sheet metal screws.
And you’re all done! You can make these in an afternoon or two depending on your sewing experience. Just think of how much money you’ll save by making these yourself 🙂
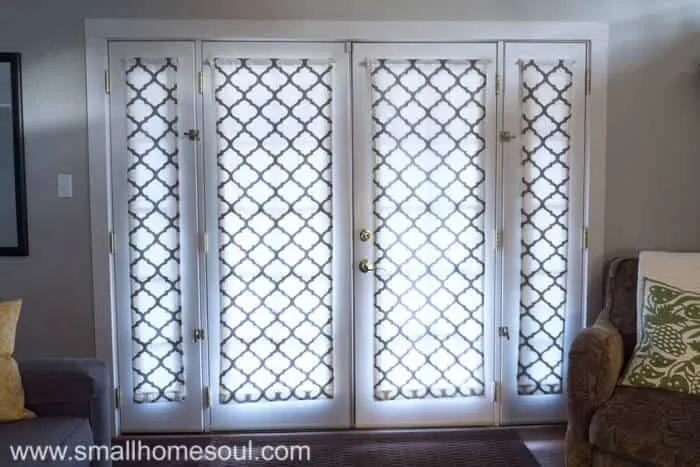
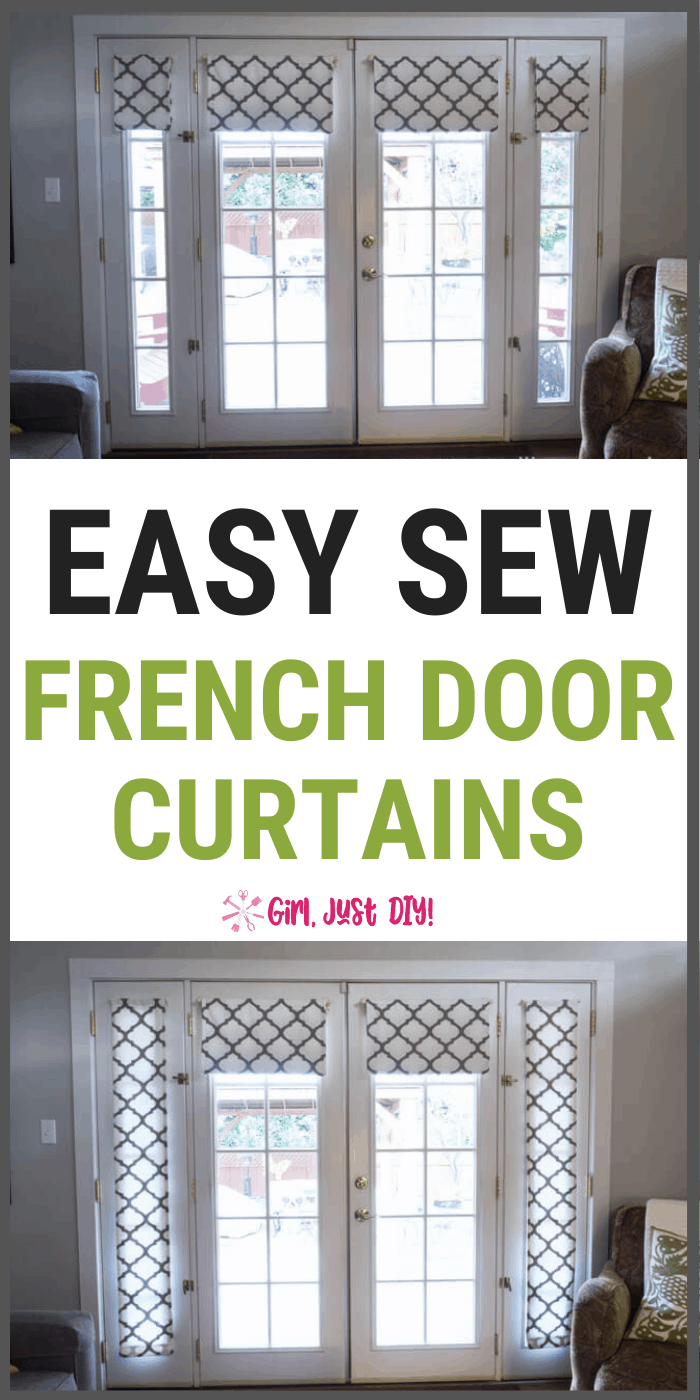
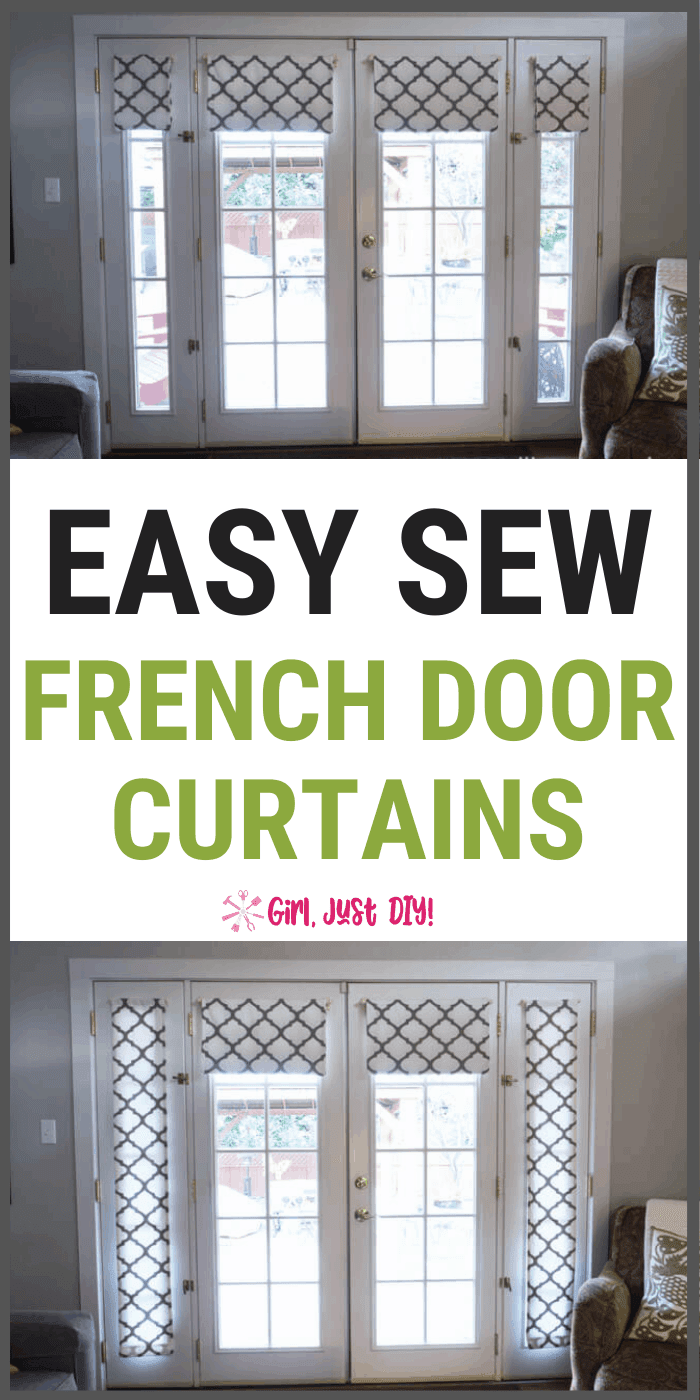
This is what they look like closed. The sun shining through thankfully confirms that I lined up the pattern nicely from front to back.

How to Open French Door Curtains
To open your new French Door Curtains just fold the hem over the rod then fold them over one more time. Sometimes if I want the curtains open even more I’ll fold them a third time.
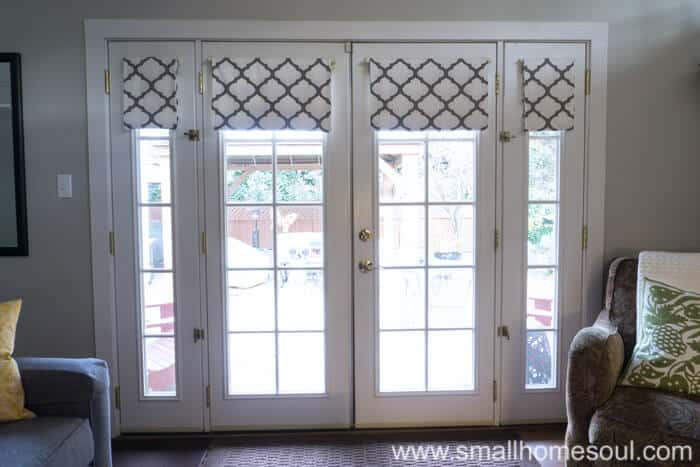
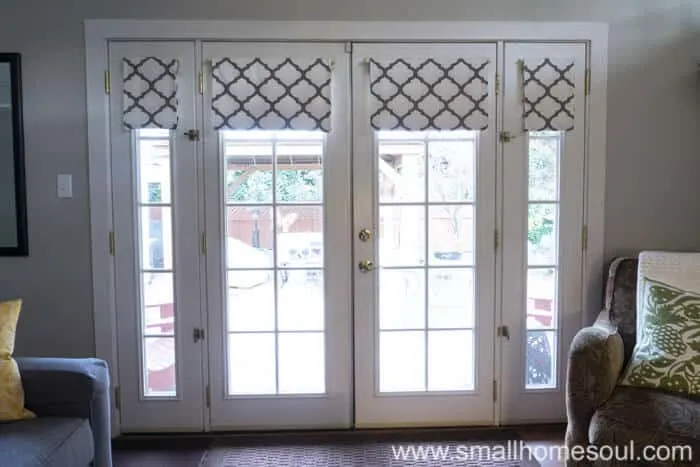
Here’s a closeup of what my french door curtain panels they look like when they’re all open. Most days I just open the two middle curtains but in the winter I open them all.
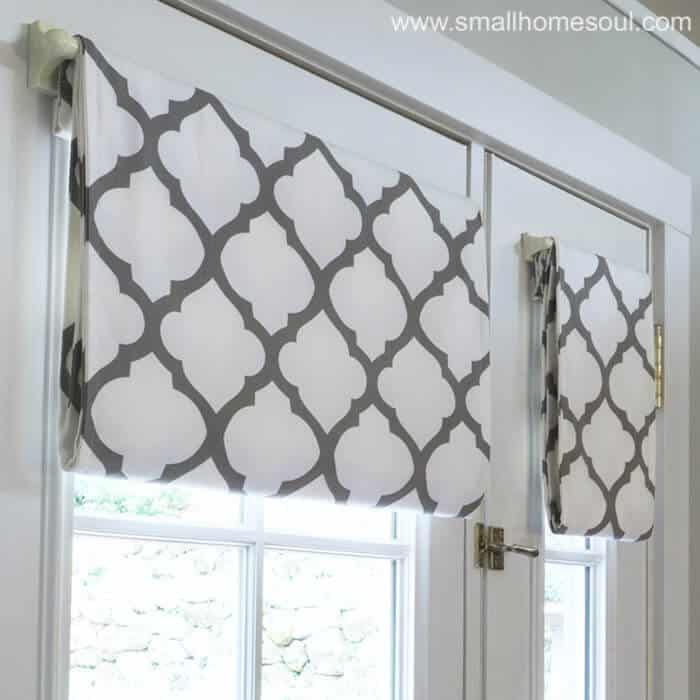
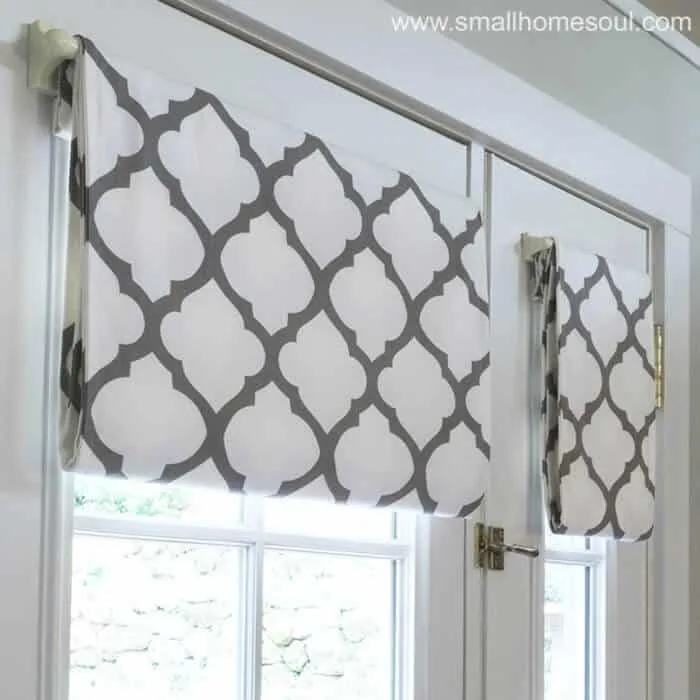
Recently I’ve been playing around with different ways to fold the curtains to give them a layered roman shade look, which I really like.
Are you ready to tackle making your own french door curtains? I know you can do it! But if you’re not into sewing, or you don’t have the time, you can also buy these at Walmart; I still prefer the looks of mine when they’re open versus any I’ve seen online.
Love it! Pin It!!
I hope you found this tutorial for simple French door curtains helpful and that it proves you can have beautiful french door coverings that don’t break the budget.
Happy Sewing!
Toni
Jody Thompson
Sunday 14th of March 2021
I love these as I am looking for French door ideas, but I don't see how it would work when you fold them up as the backing would show, not the curtain material?
Toni
Tuesday 30th of March 2021
I actually made both sides of my curtains with the same fabric. It worked because the pattern is the same all over. I was careful to line them up as I was pinning to cut. The inspiration I saw in a magazine decades ago they used a contrasting fabric because they rolled theirs up and used ribbon to keep them open.
Lisa G
Tuesday 10th of November 2020
I am so excited to have found your website and this project page. I made a homemade Roman Shade that didn't work out for our front door and am trying to salvage the fabric to make a different kind of shade for our long front door window. It's not a French door like yours, but this will work.
I see in your list of supplies that you have (2) 22" curtain rods for a window that's a bit wider? My window is 23" and I'm wondering what length rod I'll need to follow your project instructions. Thank you for any help or advice you can offer!
Toni
Wednesday 11th of November 2020
Hi Lisa, I did a quick search and found these options on Amazon that extend to 28." They are magnetic as well since my doors are steel. I love the convenience of these since they require no drilling into the door. And they come in so many more finishes than were available when I originally bought my set. I hope this helps, I'd love to see a picture of your finished project! BTW, I love your rhyming email address, I grew up being called Toni Baloney & Toni Macaroni :-)
Terri Steffes
Friday 19th of October 2018
I love the clean look of these curtains. Your instructions were clear, too.
Wendi H2OBungalow
Friday 27th of July 2018
Holy cow what a great idea! I have two front doors with glass windows in VT that need a curtain and I hate the dated look of sheers. Pinned for soon when I can get this project done! Great tutorial!
Toni
Thursday 5th of November 2020
I'm so glad you love them Wendi and I hope you do make a set for your VT house. I am not a fan of the sheer and I hate my windows covered but love the privacy when I want it.
Sarah
Friday 13th of April 2018
Toni! This tutorial is so perfectly written, you’ve got me wanting to run to buy some fabric for my French doors. I didn’t realize it was so doable. Thank you for all of the clear instructions and photos. You did a fabulous job!
Toni
Thursday 5th of November 2020
Yay Sarah, I'm so happy you love them and found them doable :)