Market signs are hot and you see them everywhere. I’ll show you how to make your own DIY market sign with a modern twist without a lot of fancy equipment. I’ve been a fan of these signs for a long time and quick perusal of Pinterest and you can see that there are many variations to choose from.
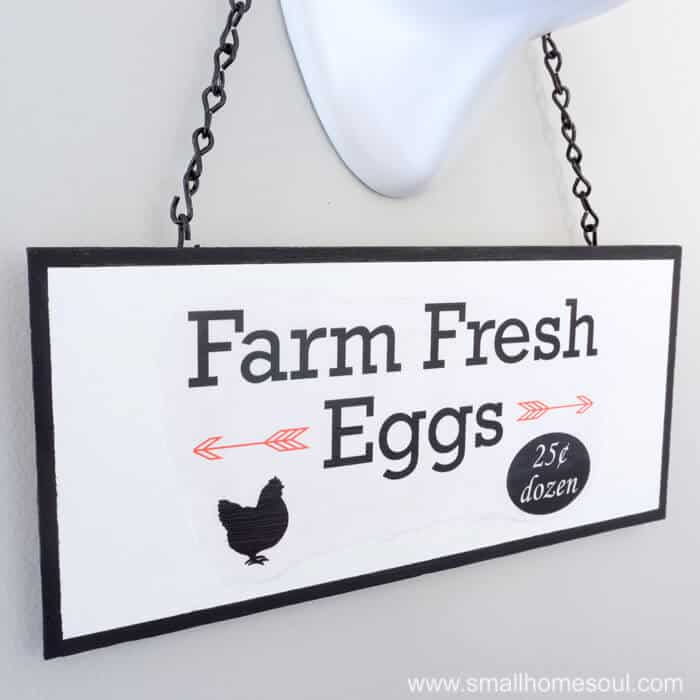
I’ve been planning to make my own market sign for a while to go with this awesome bull’s head I got on clearance at Target. So when Gina from The Shabby Creek Cottage put out a challenge to make signs I couldn’t wait any longer.
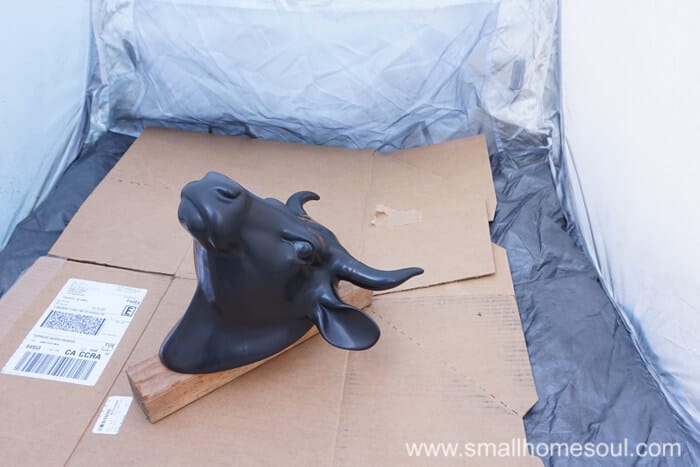
As you can see when I bought it he was black and he just looked sort of mean. And the few chips on his ears needed addressing so I gave him a few good coats of glossy white for a more modern look. He hung on they wall over my breakfast bar for a few months looking all lonely until this challenge came along. He needed a market sign to finish him off.
This post contains links to products. If you purchase something through the link I might make a small commission, at no extra cost to you.
Vintage Market Sign Supply List
- Wood Board measuring 5.5″ x 12″
- Sanding Sponge
- Carbon Transfer Paper
- White Craft Paint
- Black Craft Paint
- Craft Paint Brush
- Paint Markers
- Heavy stock or matte photo paper
- Glue Gun
- Matte Mod Podge
- Painter’s Tape
- #14 Jack Chain for hanging
- You could also use Jute Twine if you want
- Needle Nose Pliers
I had a plan for my market sign. As the best laid plans go sometimes, my first attempt failed. Since I don’t have a Cricut or Silhouette yet the plan called for making my sign using transfer paper and paint markers. Well, I have a Cricut that’s generations old that I got from a friend and I’ve never taken it out of the box. I want one of the new ones that connects to your computer for easy peasy operation.
Foraging in the garage I found a thin piece of wood that measured 5.5″ x 12″ which was perfect size. I found my font and designed a cute little sign on Photoshop Elements that would be perfect. The board got a few coats of white craft paint.
After the words were traced onto the wood with transfer paper I got busy filling them in with the paint markers. Just like I did when I made my Kitchen Sign and my Welcom Sign. But things didn’t go as planned.
“Just a little outside the lines. I can fix that.”
“Oopsie, those two g’s don’t really look the same.”
“Just keep going, it will be OK. No one will notice.”
“Crap! How can I save this?”
So goes the story of so many projects that don’t turn out as you envision them. I’m sure I’ve mentioned I don’t really have a steady hand when it comes to painting fine lines. Apparently the same goes for using paint markers. I’ve always wanted to take a painting class; I think I’d have to be impressionist painter since I apparently can’t color inside the lines.
But in my defense, I think the grain of the wood was partly to blame. I’m sticking with this explanation 🙂
Plan B – The Easy DIY Method
So onto Plan B. I really wanted my market sign to have a vintage feel but with a modern twist. Since my first attempt was a bust I went the super easy route that I’m happy with and happier to share with you. I’ll also share what I might do differently if I had more time to experiment.
So I painted the board, again.
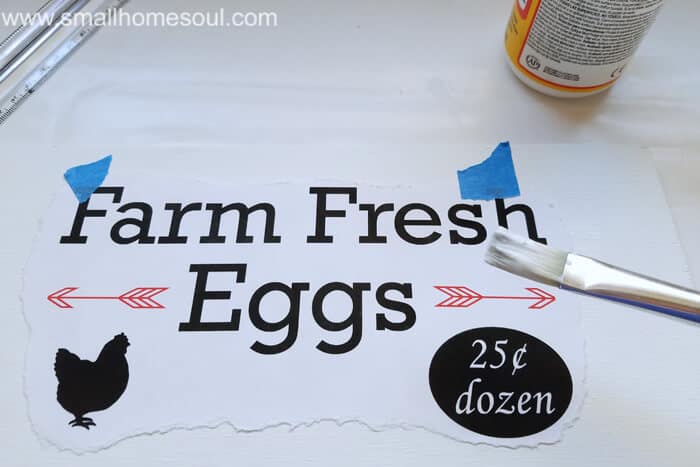
The market sign got printed onto matte photo paper this time. Carefully I tore around the edges of the market sign close to the printing because I planned to give it a border.
Using a copy I’d printed on plain paper I folded it in quarters so I could find the vertical and horizontal middle of my sign. Then I used those lines to visually center the printout of my market sign so that it was centered and level on my board.
Holding the top in place with some painter’s tape I applied mod podge to the board and smoothed it into place. I did the same for the top half. I smoothed it all out and let it dry.
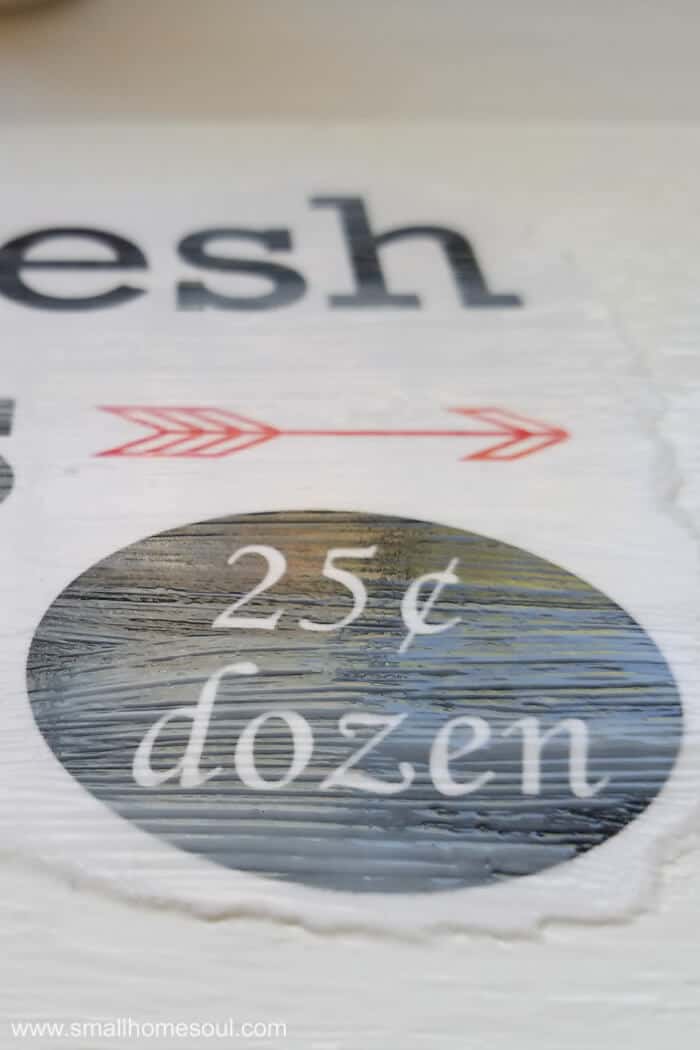
After it was dry I applied Mod Podge to the entire surface and to the edges of the board. The mod podge was matte finish but it still had some sheen that the painted board did not. If you you apply mod podge to the top of your printout when the underside is still wet you might be crinkled and bubbled spots.
Once the Mod Podge was dry it was time to make my border. Using green painters tape this time I placed a long piece 1/4″ from the edge of the bottom of the board. Since the board isn’t perfectly smooth I wet the edge of the tape with a damp paper towel to activate the tape and dried it. I quickly painted the edge and sides black and removed the tape quickly. Turning the board around I painted the other long edge.
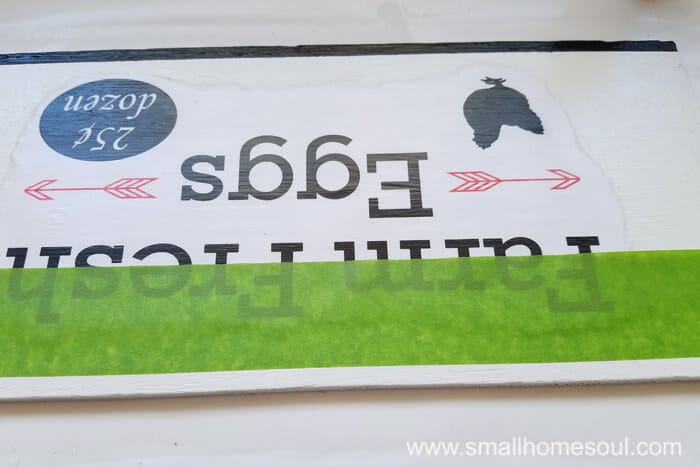
After the first two edges were dry I did the same process on the two shorter edges.
Now to get my market sign ready to hang. When I made my Tin Can Lantern I overestimated the chain I needed. Since I never get rid of anything like that I ran to my stash in the garage. I held my sign under the bull and looped the chain over the bull neck to figure out how much I’d need. forgot to measure exactly so I can’t tell you how much but it was probably 18″ in length. Your application might be different.
Using the needle nose pliers I opened one link to free the length I needed from the rest of the chain. Then I removed one more link from the remained. If I affixed both ends of the chain to the market sign I didn’t think it would fit over the bull’s ears and nose. And I didn’t want to have another failure on this project. Using the glue gun I attached the single link to the back of the board on one side and the closed link end of the long chain on the other.
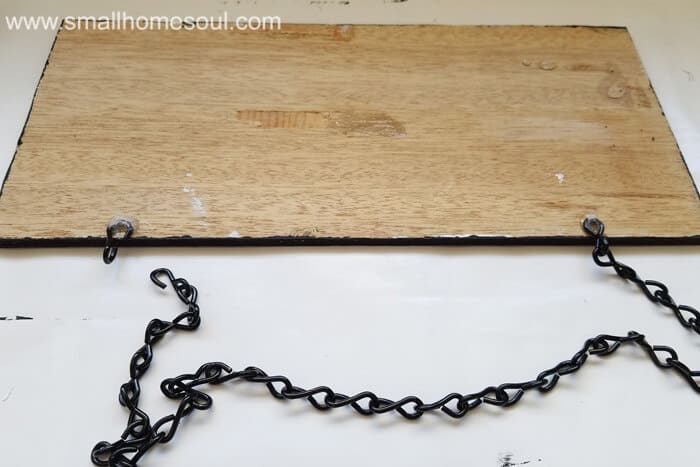
This setup allowed me to loop the loose chain over the bull’s neck and hook it to the single link on the other side.
Finally finished, and I love it!
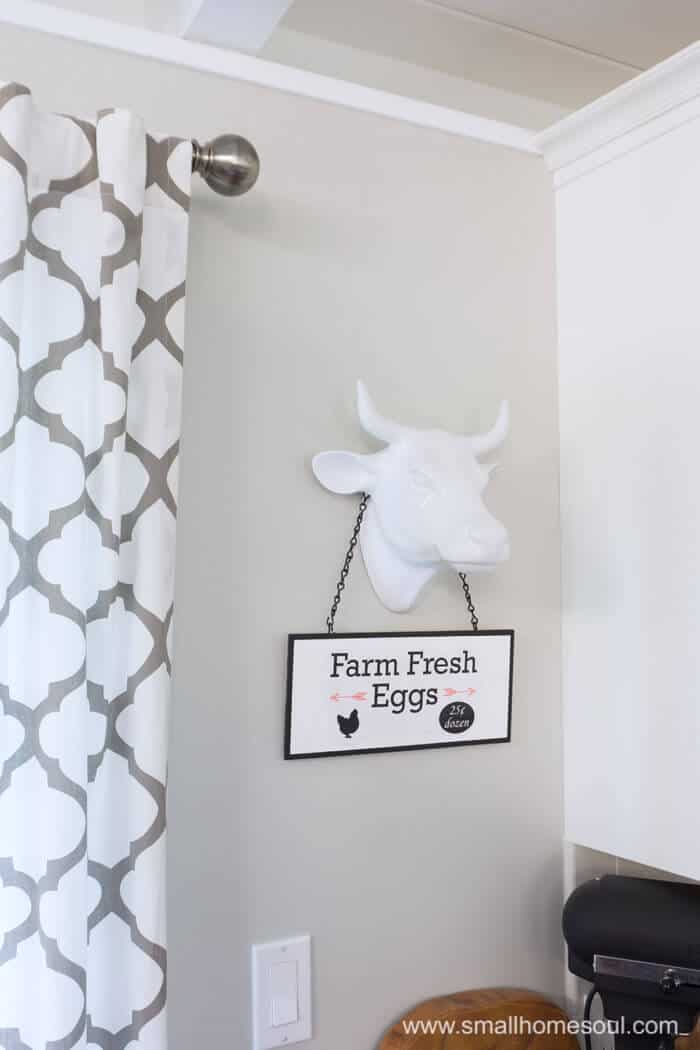
What would I do differently? Since the white of the paper and the white of the board aren’t the same there are a few things I wish I’d thought of. Such as using a lighter to burn the edges of the paper which would really make the printed area stand out.
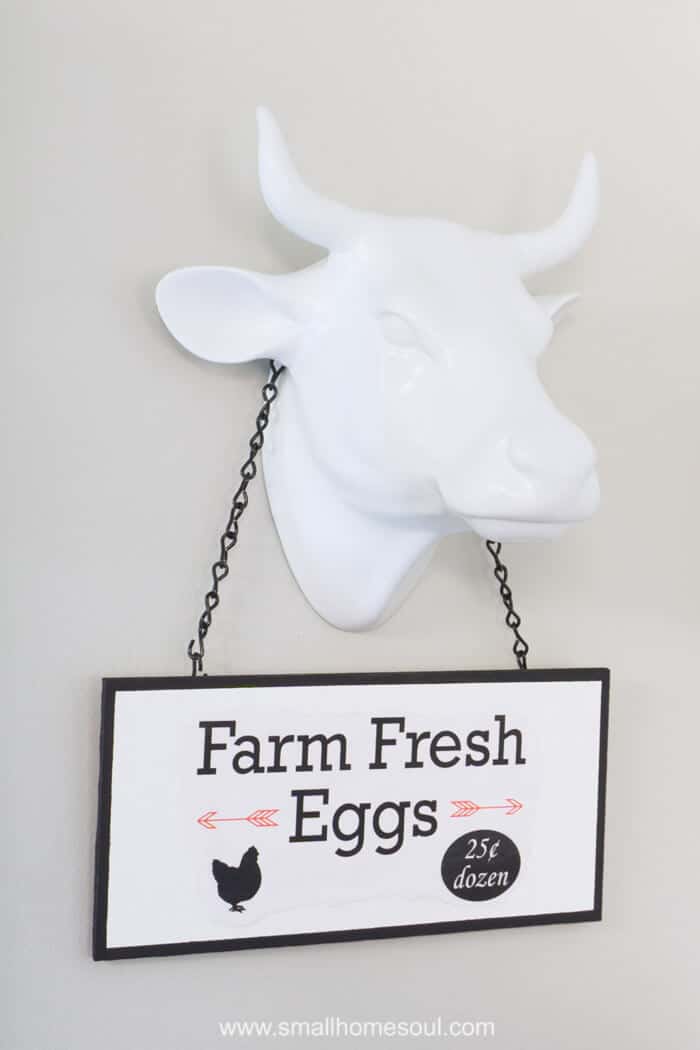
Or, I’d use a pickling wash paint on the white board in a gray tone before applying the sign with mod podge. That would have also been a nice contrast. But I still love my vintage inspired market sign. It was easy to make and it looks great too.
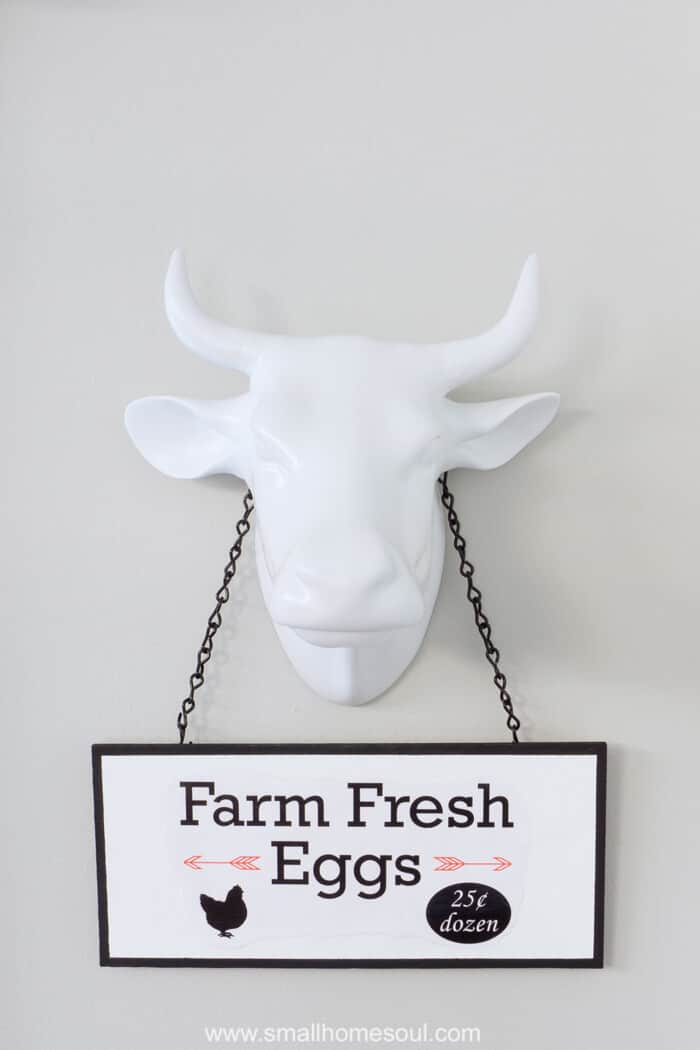
I think it’s hilarious to see a bull with a sign selling eggs instead of butter or milk 🙂
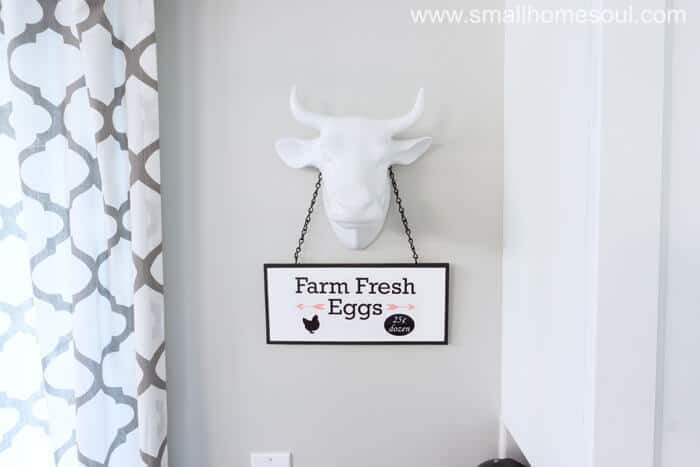
Even if I’m the only one who gets the joke, I’m OK with it, because I love it! And it really cost me $0 to make since I had everything I needed. When you can create home decor that’s nearly free it’s so much easier to mix it up and change your decor without feeling like you’re throwing money down the drain.
LOVE IT PIN IT!
Ready to make your own DIY Market Sign? Pin the image below so you can find it when you’re ready.
Are you ready to make your own DIY Market Sign?
Susanne
Saturday 7th of October 2017
This turned out so cute!! I always end up having to go with a plan B, but that's just how I seem to roll ;) A bull selling eggs instead of milk...ahhh the irony! It's like the Chick-Fil-A billboards, hahaha!!
Toni Harvey
Friday 13th of October 2017
I'm so glad you like it! If plan B didn't work out I'd have found a plan C cause that's how us DIYers roll :D
Anika
Friday 6th of October 2017
I love the sign Toni! And I would have never guessed it was modpodged and not painted :)
Toni Harvey
Friday 13th of October 2017
Yay, that's what I was hoping for. I think the mod podge gives it that "painted" look. I love a good faux project that turns out.
Susie
Friday 6th of October 2017
This is the cutest sign-turned-vignette. You have such a knack for high quality crafts. I absolutely love to see your work. You could totally open a shop..online?? Anyhoo...it's terrific. XOXO Susie from The Chelsea Project
Toni Harvey
Friday 13th of October 2017
Aww, thanks Susie, I'm not sure I'm cut out for selling what I make but that's something to think about and such a wonderful compliment :)