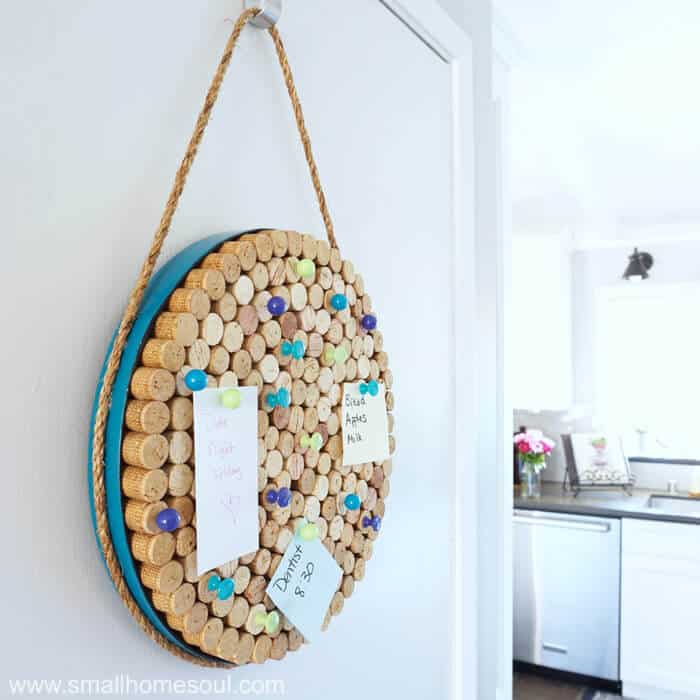
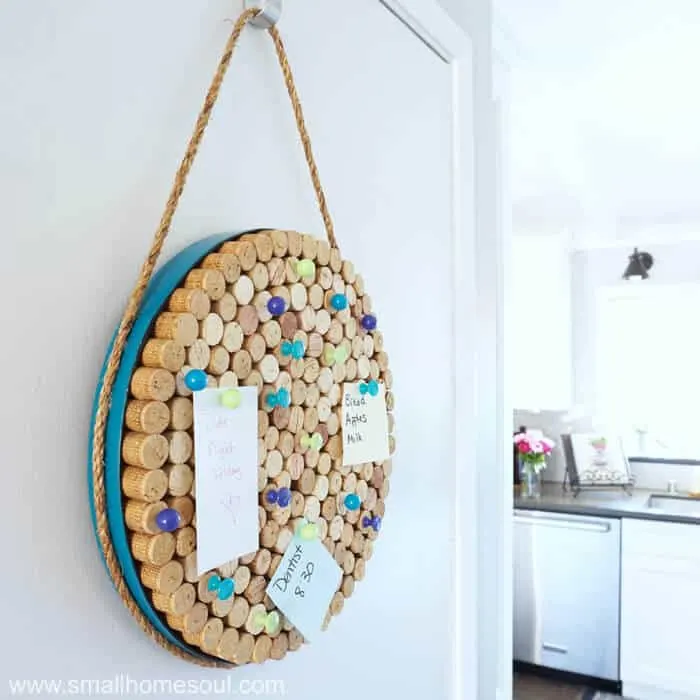
Do you have a stash of wine corks? Then you have what you need to make this DIY Wine Cork Board. Perfect for notes, a calendar, or your favorite family photos.
There are so many uses for old wine corks but what better project than to use them to make a beautiful Wine Cork Board to stay organized.
My daughter’s former boss owned a small winery so she scored a bunch of wine corks from them. Of course my generous girl loves to share with her momma 🙂
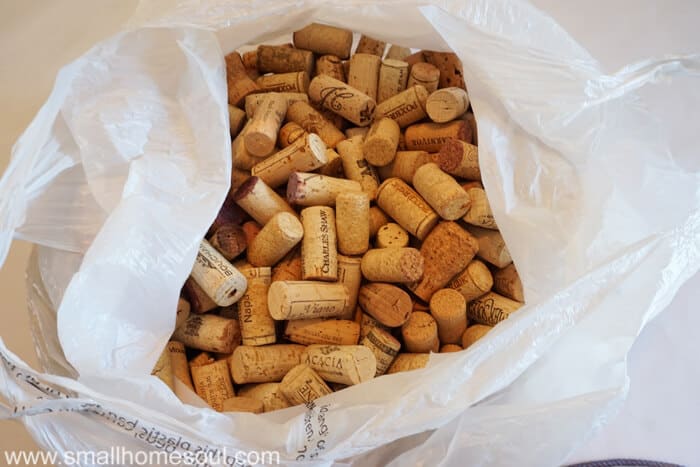
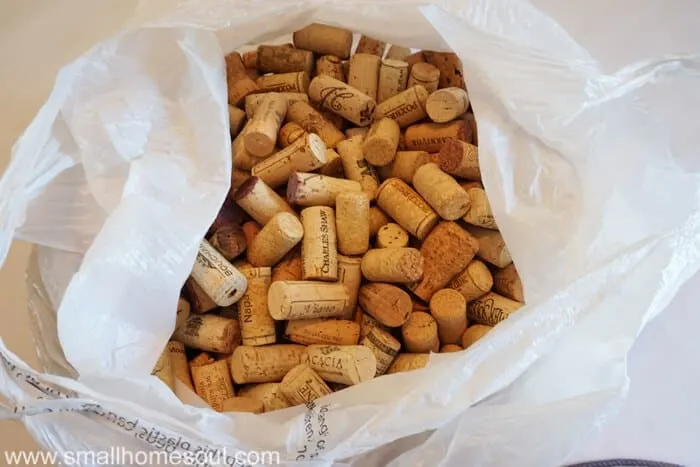
Mine have been in the garage for way too long. I’d planned for over a year to make a Wine Cork Board with them and finally got it done. So today I’ll show you how creative you can get and put some of your wine corks to good use.
This project first appeared at Pastels and Macarons where I was invited to post as a Guest Blogger. I’m excited that I get to give you all the details so you can make your own.
This post contains links to products, if you purchase something after clicking on my link I may earn a small commission (at no extra cost to you).
Wine CORK BOARD SUPPLIES
- Large Supply of Wine Corks
- Frame or large Paper Mache box
- High Heat Glue Gun & Glue Sticks
- Black Craft Paint
- Small Spray Shelter
- Spray Paint in Rustoleum’s Lagoon
- 1/4″ Manila Rope for handle
- Sharp knife or utility knife to trim corks as necessary
- Command Hook for hanging – I like this look
After searching through my garage for the perfect frame I decided to use part of a very outdated hat box I bought at a thrift store for $1. It was so ugly and I can’t believe I brought it home.
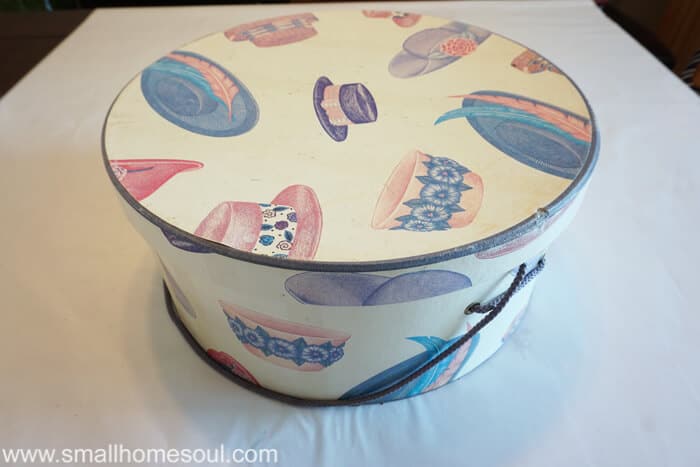

I only used the lid for my wine cork board. The bottom was pretty warped so it got recycled.
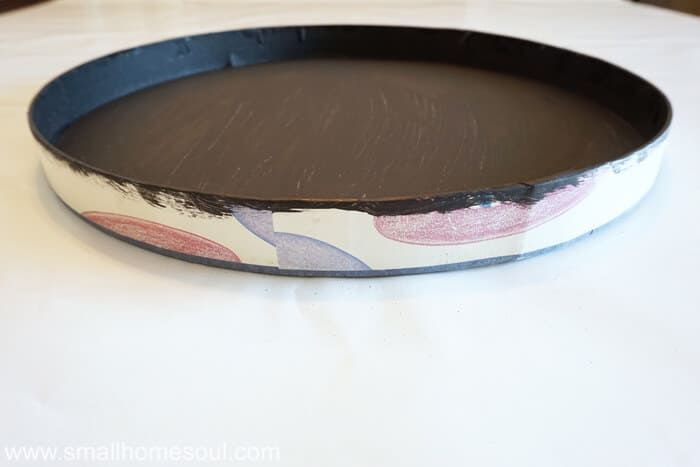
Step 1: Paint the lid inside and out.
- To minimize the appearance of gaps between the corks paint with inside of the lid with black craft paint. It doesn’t have to be perfect because it won’t really show. The edge got painted too as well as a little on the side.
- The outside will be a different color but keep the edge black for a good contrast.

MORE PROJECTS w/ CRAFT PAINT
Painted Cork Trivets – Craft Paint Storage
Drink Coaster Makeover
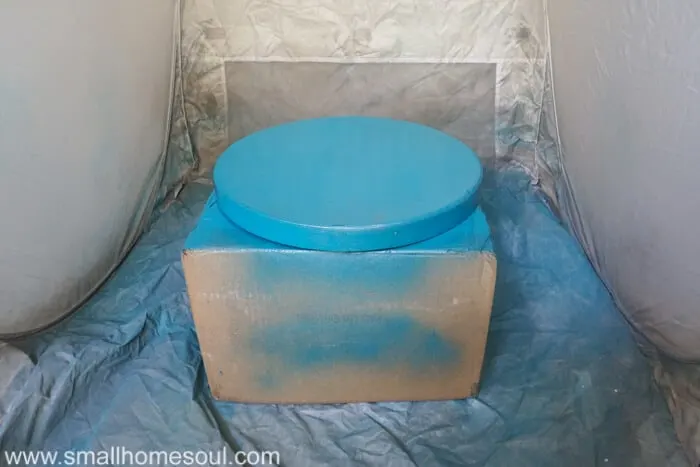
When the black paint is dry you can paint the outside. This is where the small spray shelters are very handy. They save over-spray from going where you don’t want it.
- Elevate the box lid on a cardboard box to make it easier to rotate as you paint.
- Giving the lid a few light coats of spray paint. I love Rust-oleum’s beautiful shade of Lagoon.
- Let the lid dry completely. You can touch up the black edge as needed afterward.

Assembling the Wine Cork Board
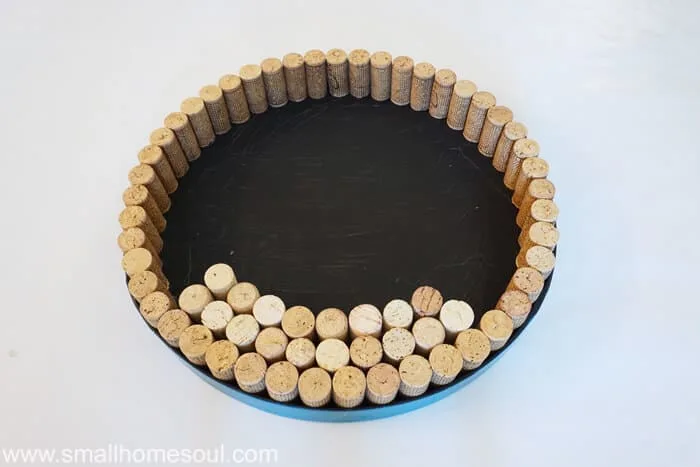
Step 2: Glue in the corks.
When the paint is dry we’ll get busy creating the Wine Cork Board. You can take the time to do a dry run inserting the wine corks into the lid without glue to be certain they’ll fit how you want.
This isn’t a necessary step but if you’re a perfectionist… 🙂
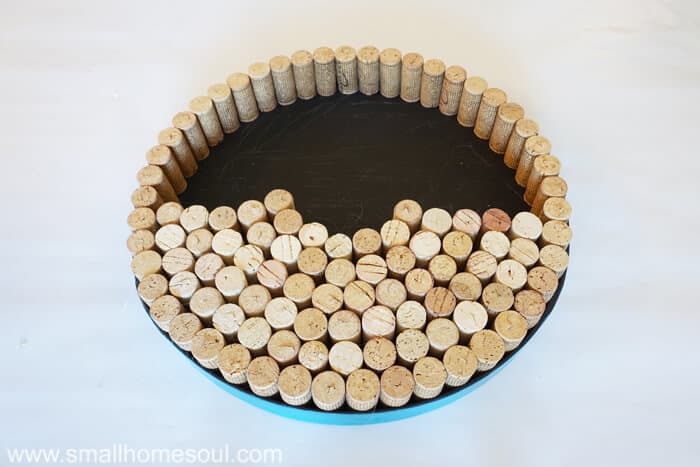
- Start by hot gluing all the wine corks onto the outside edge.
- Continue by gluing and working from one side to the other.
- Alternatively you might also glue each circle from the outside into the center. Either way there will be some gaps here and there.

Use a high heat glue gun for this project which gives a little longer drying time to move and squish the corks as needed.
Glue only the bottom of the corks onto the lid and not to each other. This allows squeezing a few corks into larger gaps. To fill really large gaps shave a cork to fit using a very sharp knife (or a utility knife).
I did this to a few on my finished cork board, you have to look hard to find them.

Hanging your Cork Board
Make a handle using a length of Manila Rope. I had some left over from making a Rope Planter Basket.
Step 3: Add a rope handle.
- Hold one end of rope at the bottom of the cork board and then loop it up and around leaving space at the top for a handle to determine the length of rope you need.
- Cut the rope with a utility knife or sharp scissors.
- Attached the two ends with hot glue to the bottom of the wine cork board in the center as shown.
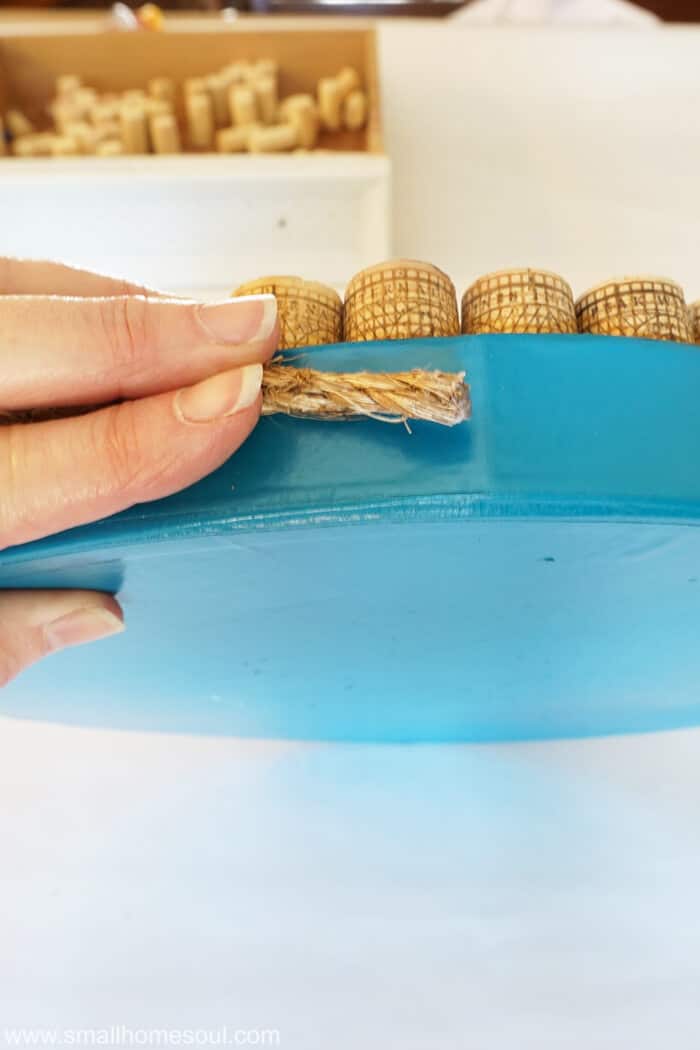

- Glue each side of rope about 1/4 of the way up the outer rim of the lid.
- When you’ve glued both sides 1/4 of the way, pull the rope handle as if it’s hanging to determine where to stop gluing.
- Keep gluing the rope until you reach the area where the rope naturally parts from the lid.
Hanging your new Wine Cork Board
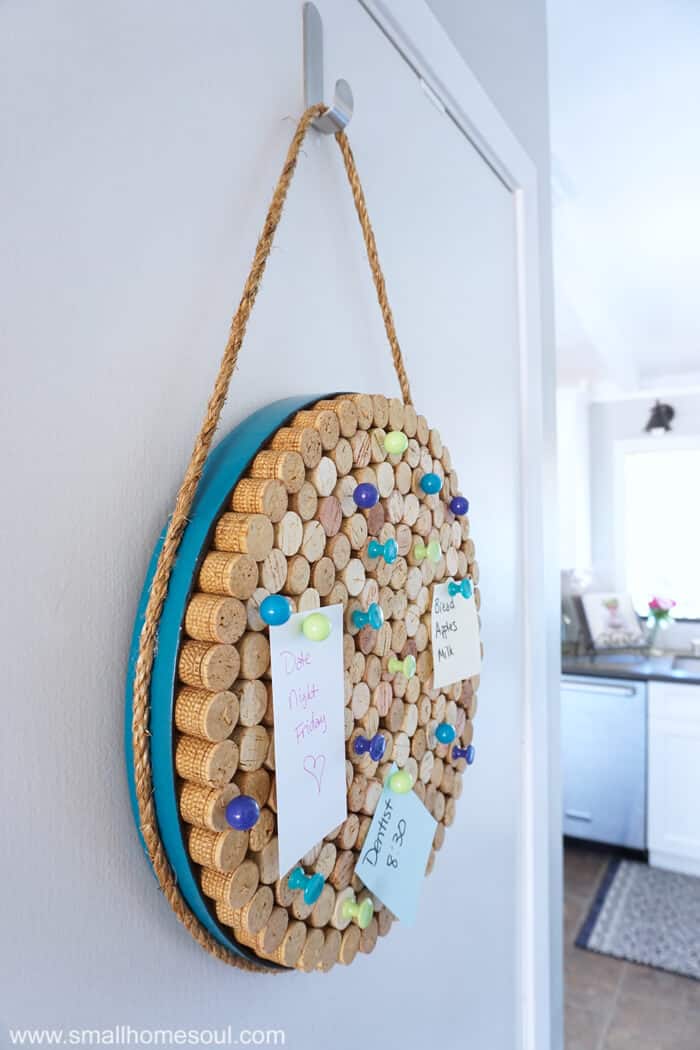
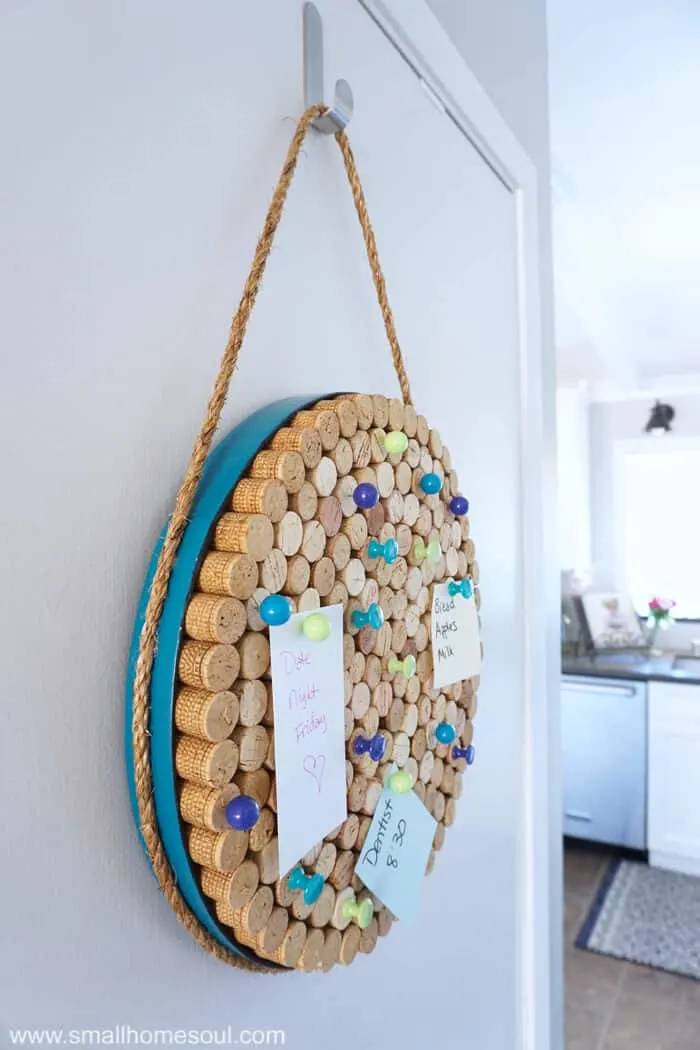
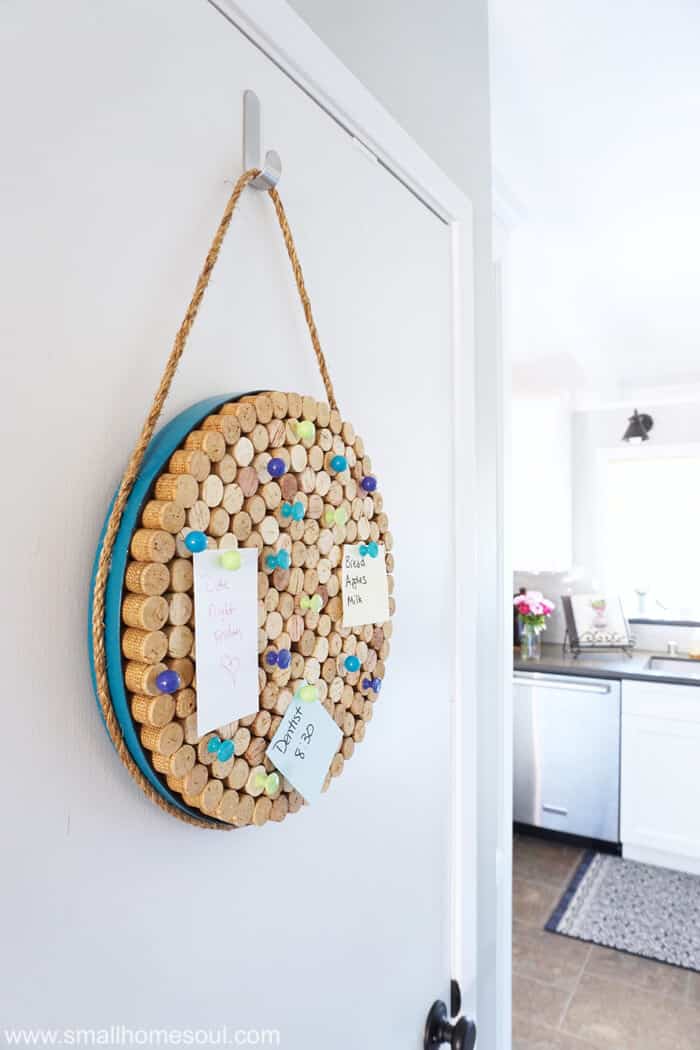
Now find the perfect to hang it and organize your notes, or display your favorite pictures. The door to the utility closet in our kitchen has been blank since we finished our Kitchen Renovation.
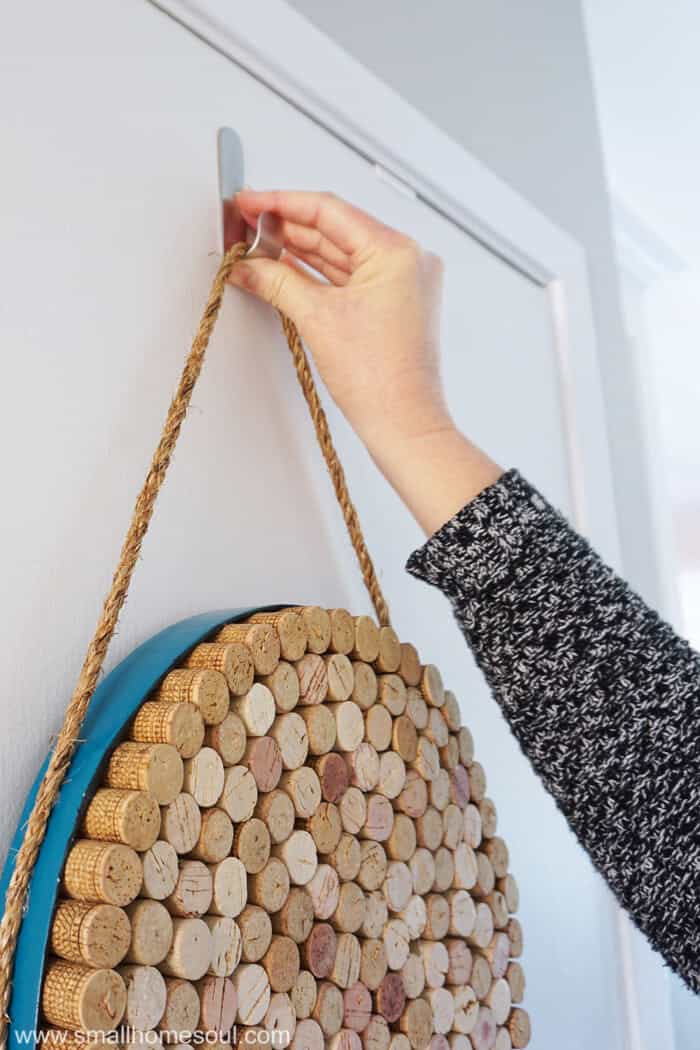
Step 4: Mount a hook in the kitchen or office.
My hubby’s been asking to have his calendar back up there but I like the Wine Cork Board idea better. A mini calendar will fit perfectly and leave space for notes and pictures.
Our door is heavy but it’s not solid. I hate the though of using a screw or nail and making a huge hole. So a heavy-duty Command Hook is the perfect solution.
- Clean the door according to the instructions on the packaging.
- Affix the adhesive strip to the hook but leave the backing on the side that goes against the door.
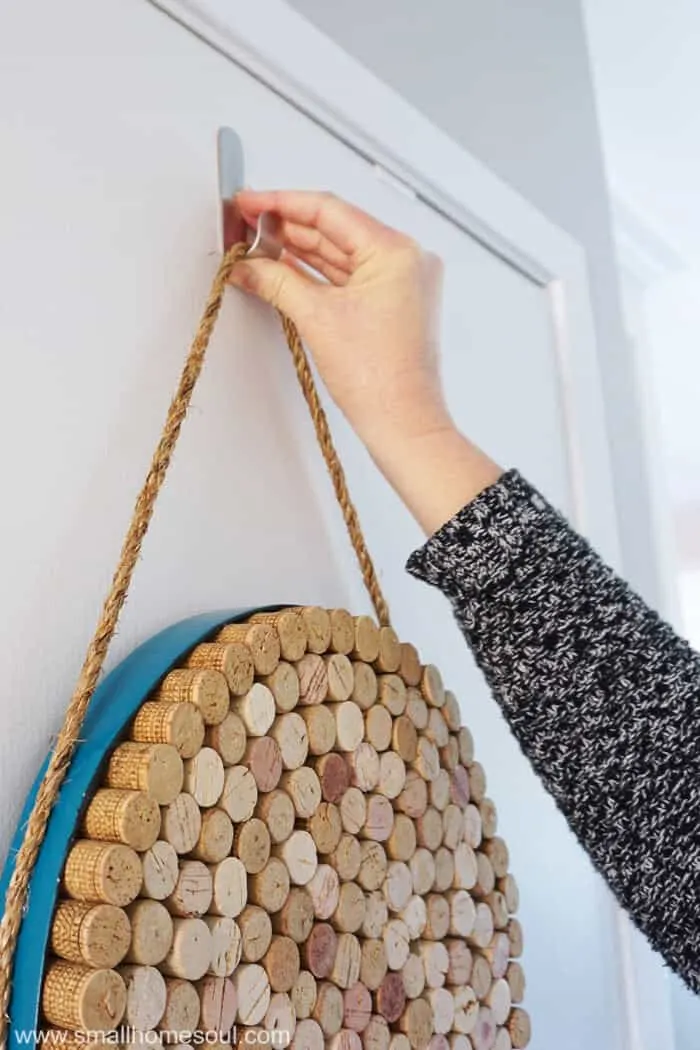
- Hold the hook in your hand and hang the wine cork board from it.
- Move the hook around until you find the perfect height for the cork board.
- Mark the spot lightly with a pencil at the bottom of the hook.
- Use a tape measure to find the center of the door and affix the adhesive back on the hook to the door and press hard.
- Wait the time instructed on the package before hanging the new cork board from the hook.
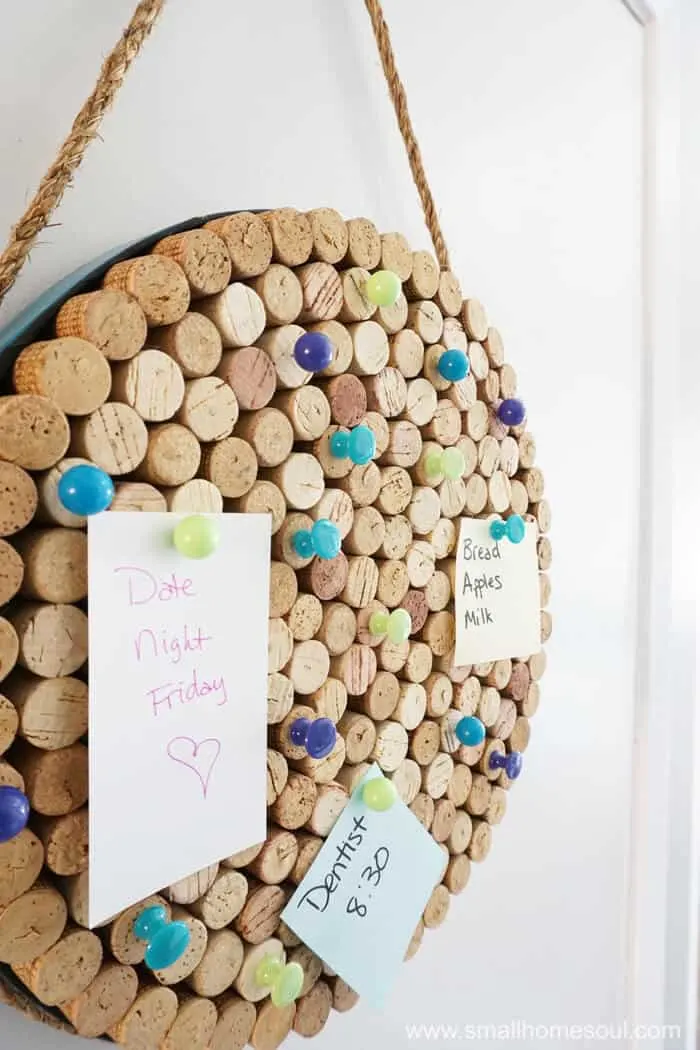
Step 5: Pin notes and reminders to your new wine cork board.
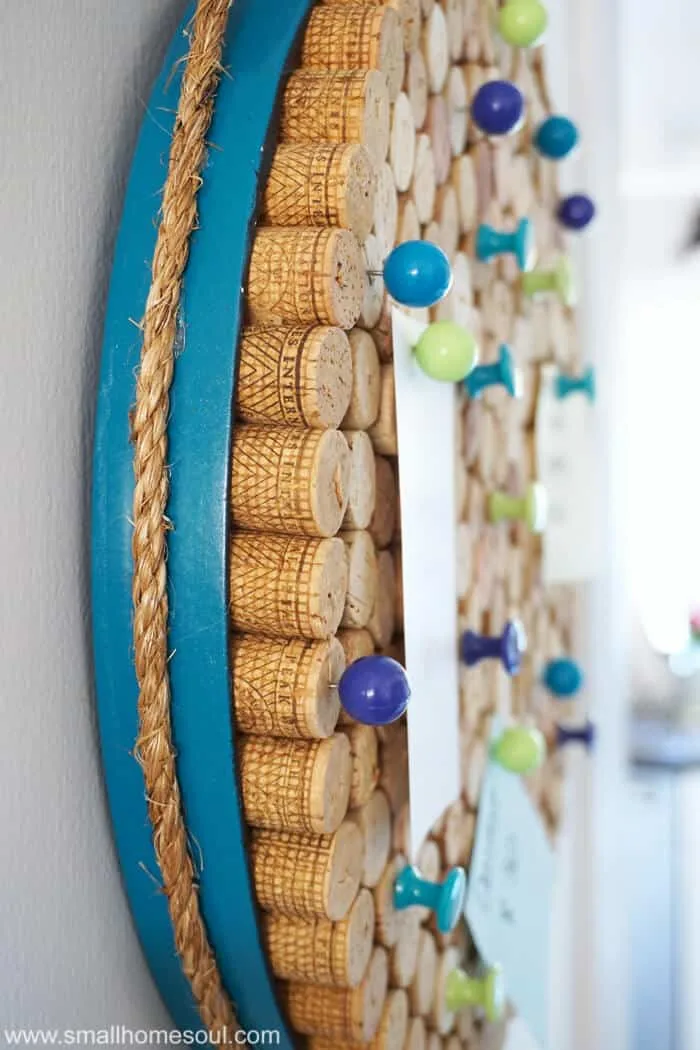
Match the border color of your corkboard with some pretty and colorful pushpins and they become gorgeous. Use clothespin pushpins for even more hanging options.
Now it’s ready to use and stay organized. I just need to get one of those mini calendars for my hubby.
I hung our new cork board in the doorway to the kitchen which is perfect for us. Reminder notes no longer get lost and there’s space for some pictures too.
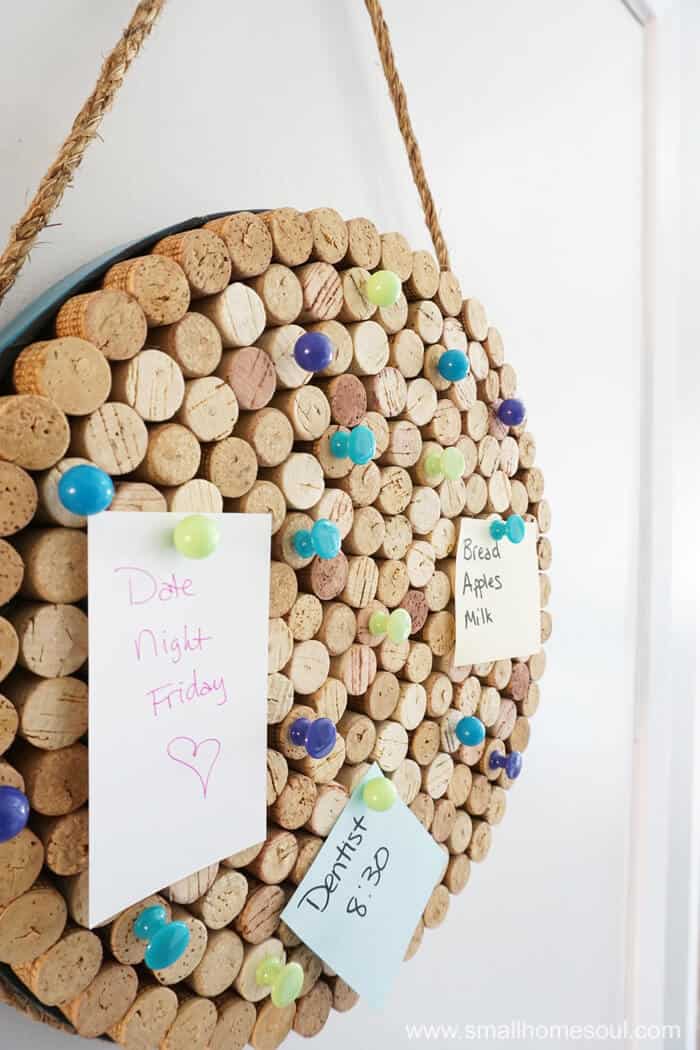
I love the intricately designed corks I used to rim the cork board.

Check out the full process in this short video…

Will a colorful wine cork board will help you stay beautifully organized? Everything is better with color
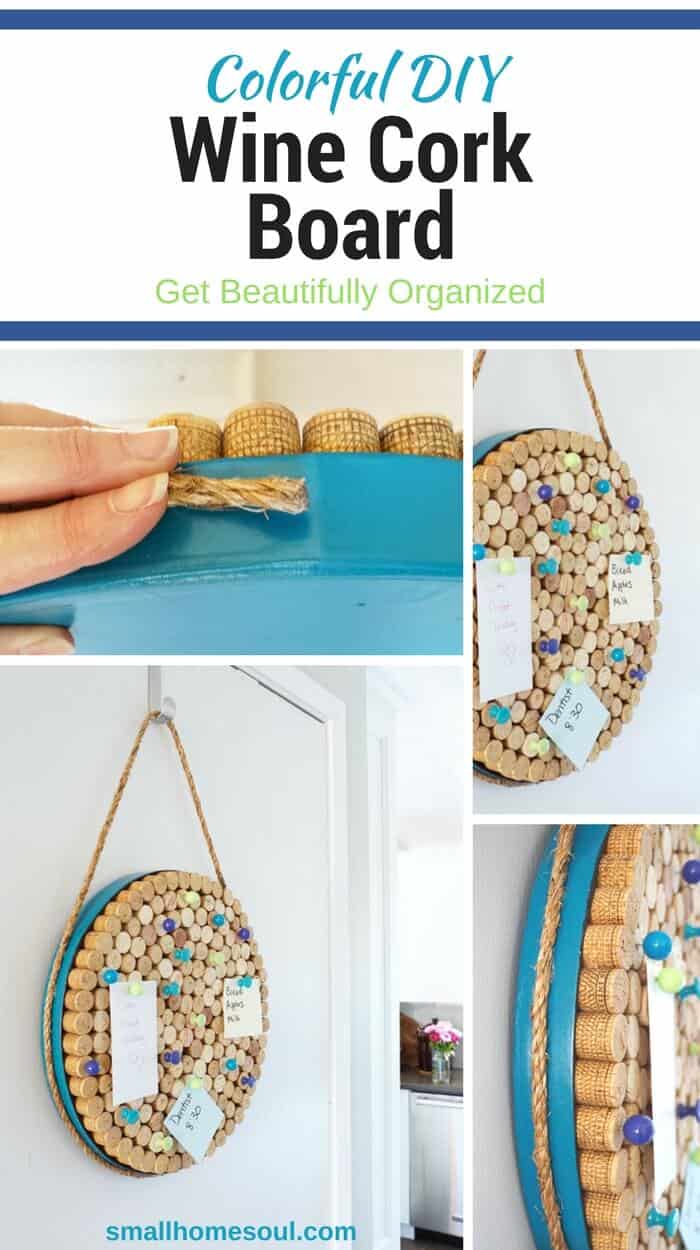
LOVE IT, PIN IT!
If you want to make your own wine cork board you should Pin it so you can find it easily once you’ve gathered enough corks for your own project.

Angie
Wednesday 10th of June 2026
Great easy craft! Getting started on this right away!
Teresa
Monday 11th of December 2023
This is a great idea. I've been saving my corks for 14 years. Don't think I have enough for a project this size but I want to cut mine in half glue them and use it for earrings. I can either push posts in or put a push pin in and hang the earrings that the wires snap closed onto the push pin. Thanks for the idea.
Lazy Susan
Wednesday 14th of September 2022
Hi Toni, I am new to your blog and would love to make this cork board with my 88 year old mom. Do you have printable directions by any chance?
Toni
Tuesday 3rd of January 2023
No I'm so sorry I don't have a printable set of instructions for it. Have fun with your momma on this project!
Outdoor Plant Stand - From an Old Basket - Girl, Just DIY!
Tuesday 5th of March 2019
[…] Blue Paint Projects you Might Enjoy –Drink Coasters – Wine Cork Board – 2×4 Side […]
Sherry Cole
Monday 9th of October 2017
Hi Toni! I am featuring your awesome wine cork board at Totally Terrific Tuesday tonight! Have a great week!
Toni Harvey
Thursday 12th of October 2017
Yay, thank you so much Sherry! I hope you have a great week as well.