Have you seen all the cool laser cutting videos and projects happening online? Does it feel intimidating and you don’t know where to start? Me too!! So let’s go though it together and take some mystery out of it.
I started seeing xTool reviews by some of my blogging friends and was thrilled when a company representative reached out asking me to do a review. I jumped on the chance and they kindly sent me the 10w xTool M1 Laser (huge sale as of 7/23) and Blade Cutting machine to review, along with an Air Assist unit, in exchange for my honest review.
This page contains links to products, if you purchase something after clicking on a link I may earn a small commission (at no cost to you). If you do make a purchase, thank you!
You can read about affiliate links here.
What is the xTool M1? And why you want one.
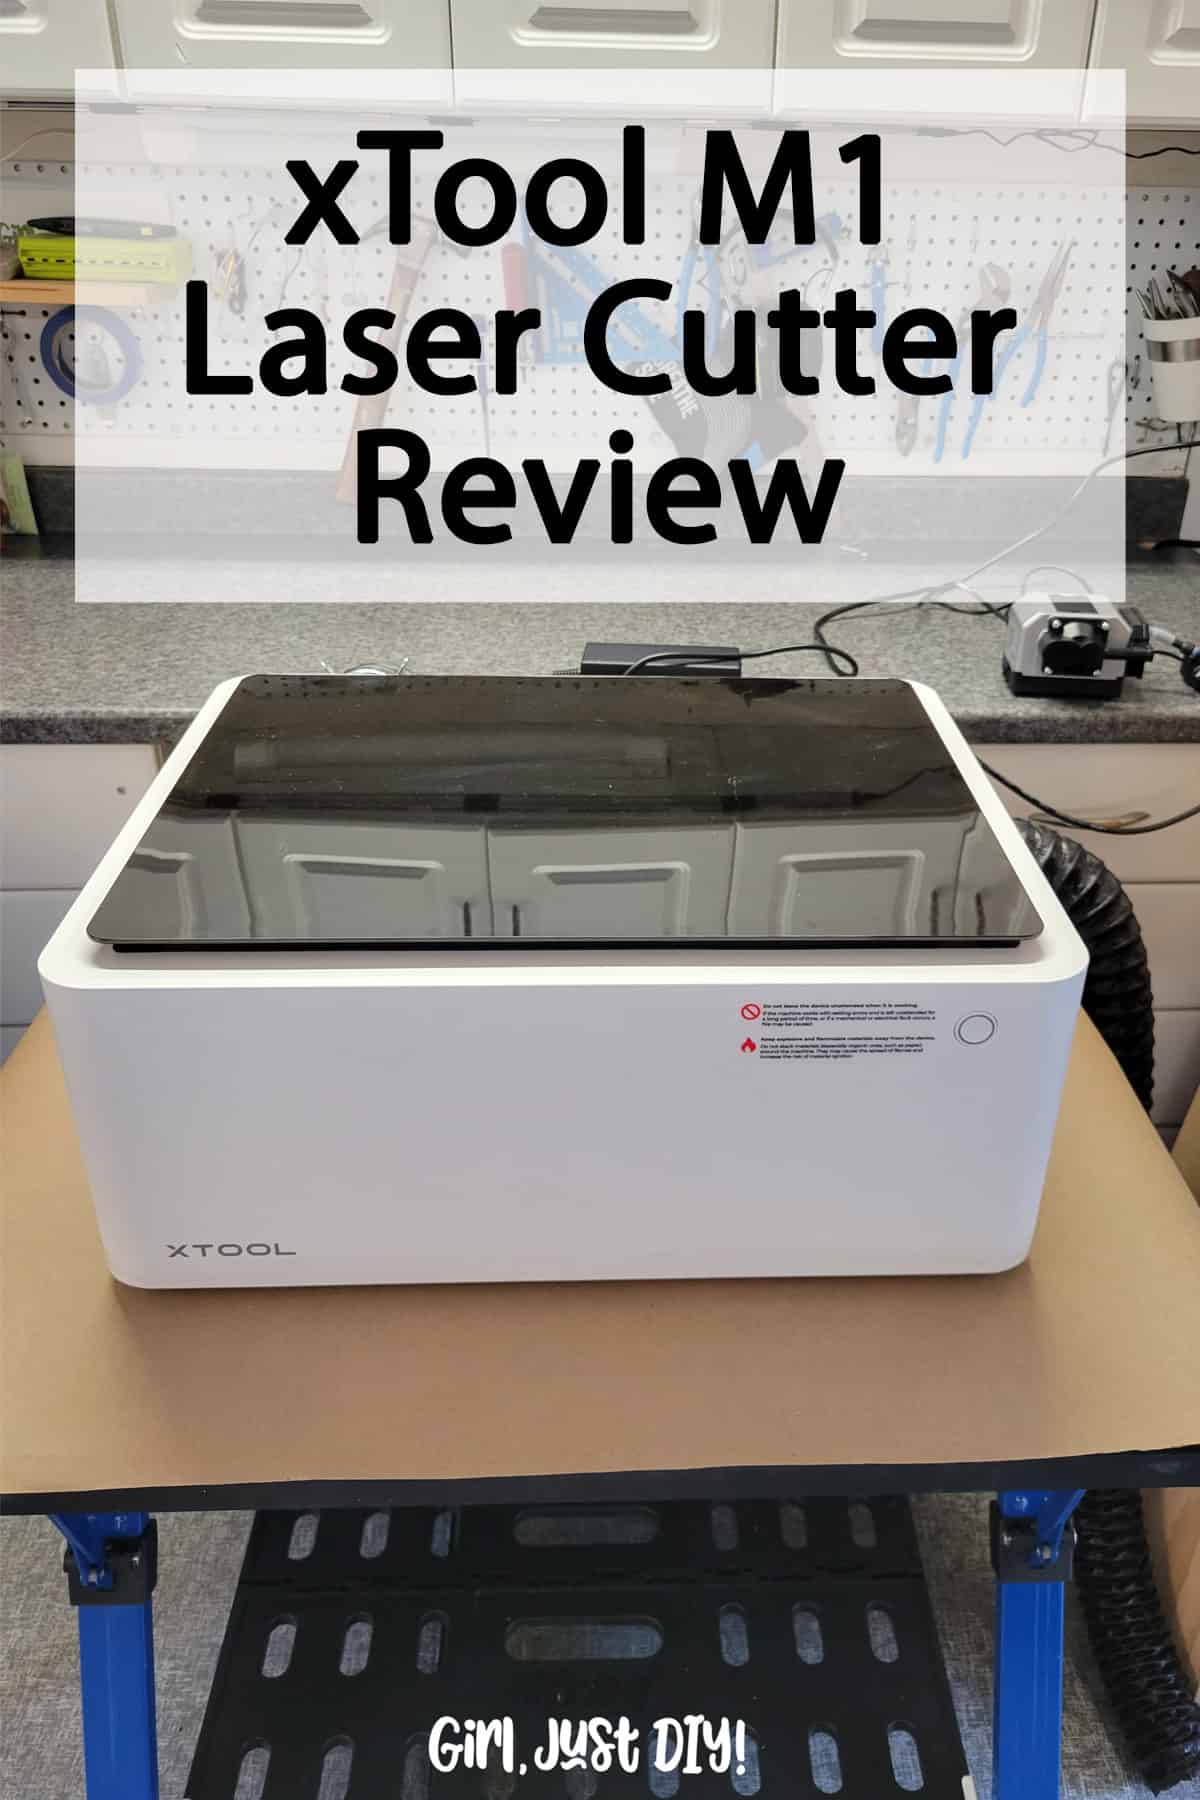
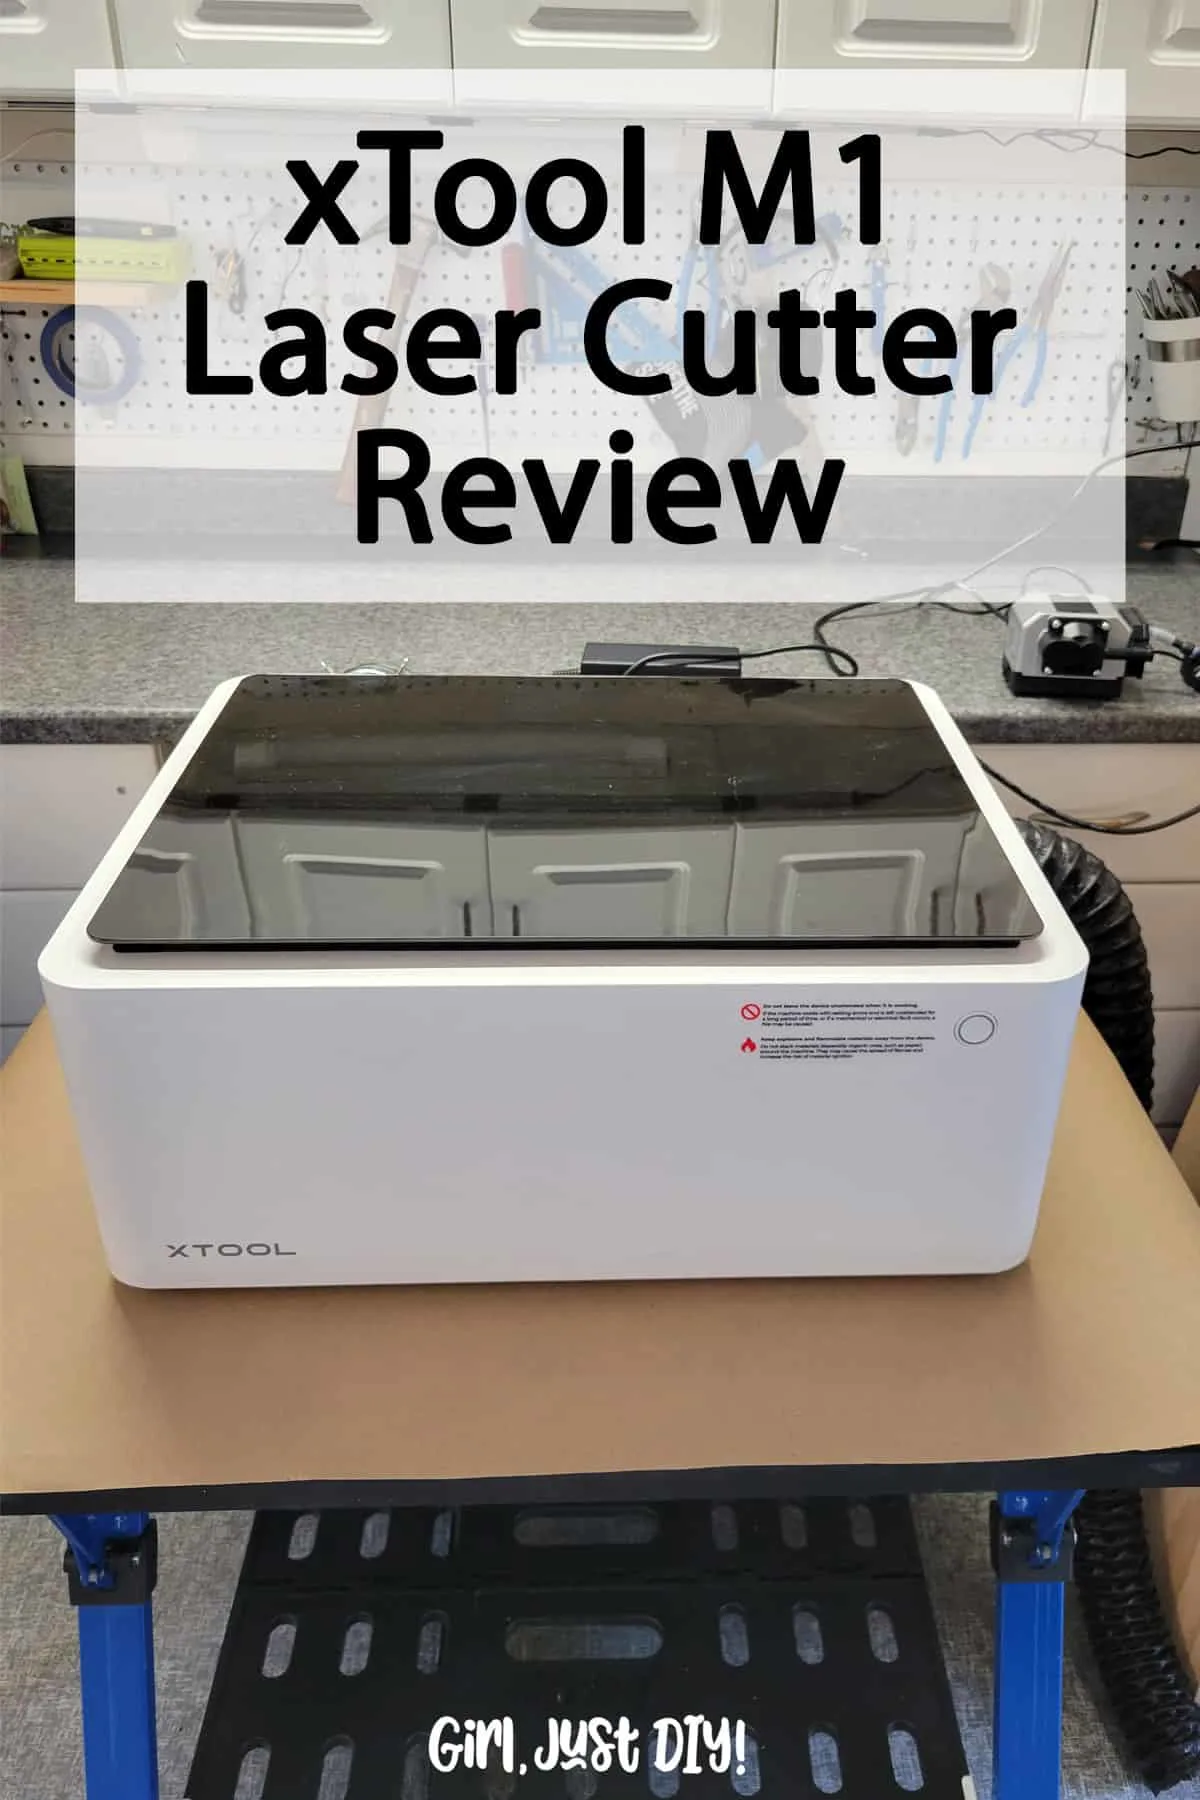
The xTool M1 is a sleek looking entry-level laser cutter, laser engraver, and a cutting machine. The 10w version (which I’m reviewing) can cut and engrave on wood, opaque actylic, paper, felt, leather, rubber, and stone and likely many other materials. It can engrave (and cut some thin) metals. The removable cutting blade can cut vinyl, leather, felt and craft papers.
Two sticky mats are included, a blue one for light grip materials and a pink one for things like fabric that require a bit more grip during cutting.
It measures just over 22″ wide and from a quick search it seems the most popular storage option for it is the IKEA Alex drawer unit. Since my house is so small mine will likely live in my garage. At some point I’ll build a rolling cabinet for it that will slide neatly under my workbench.
xTool M1 Setup
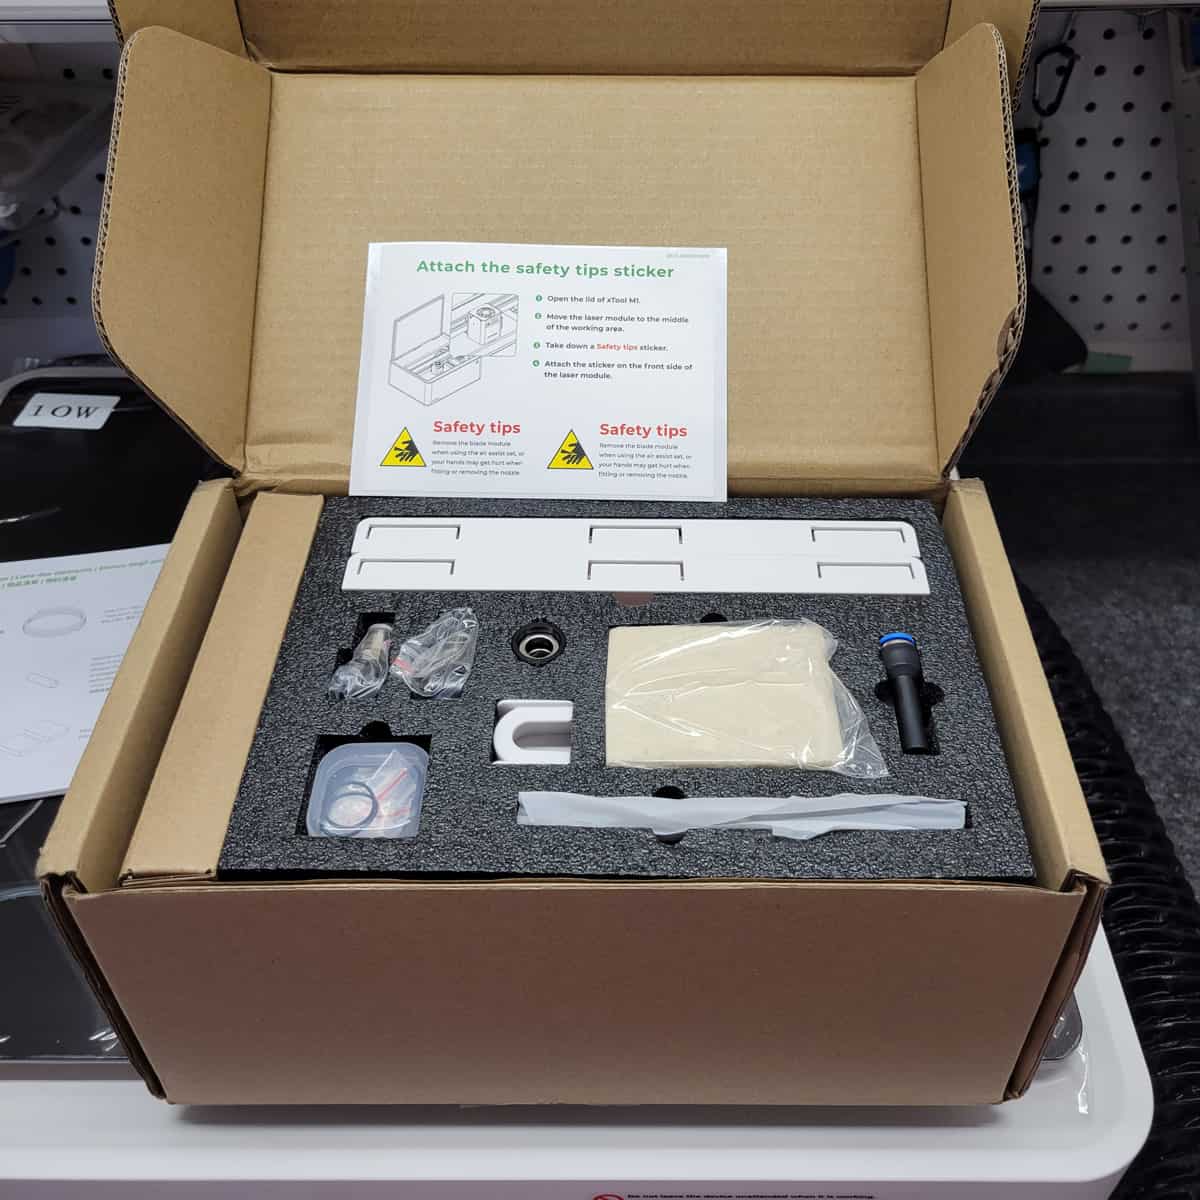
The setup of the main unit is very straighforward. The enclosed booklet illustrates all the components included in the box with the M1, and the five simple steps to get it ready for your first project.

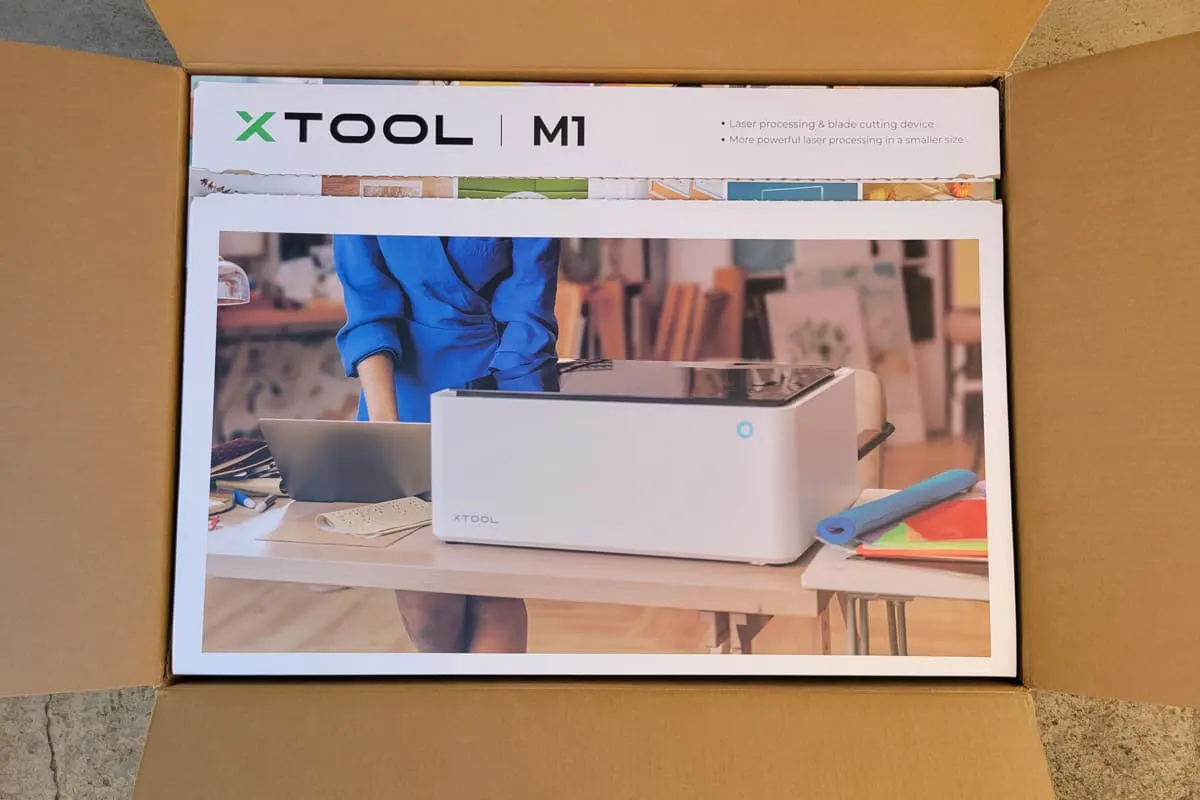
After you take the unit out of the box and open the amber safety lid you’ll see the inside is stuffed with everything you need for setup.
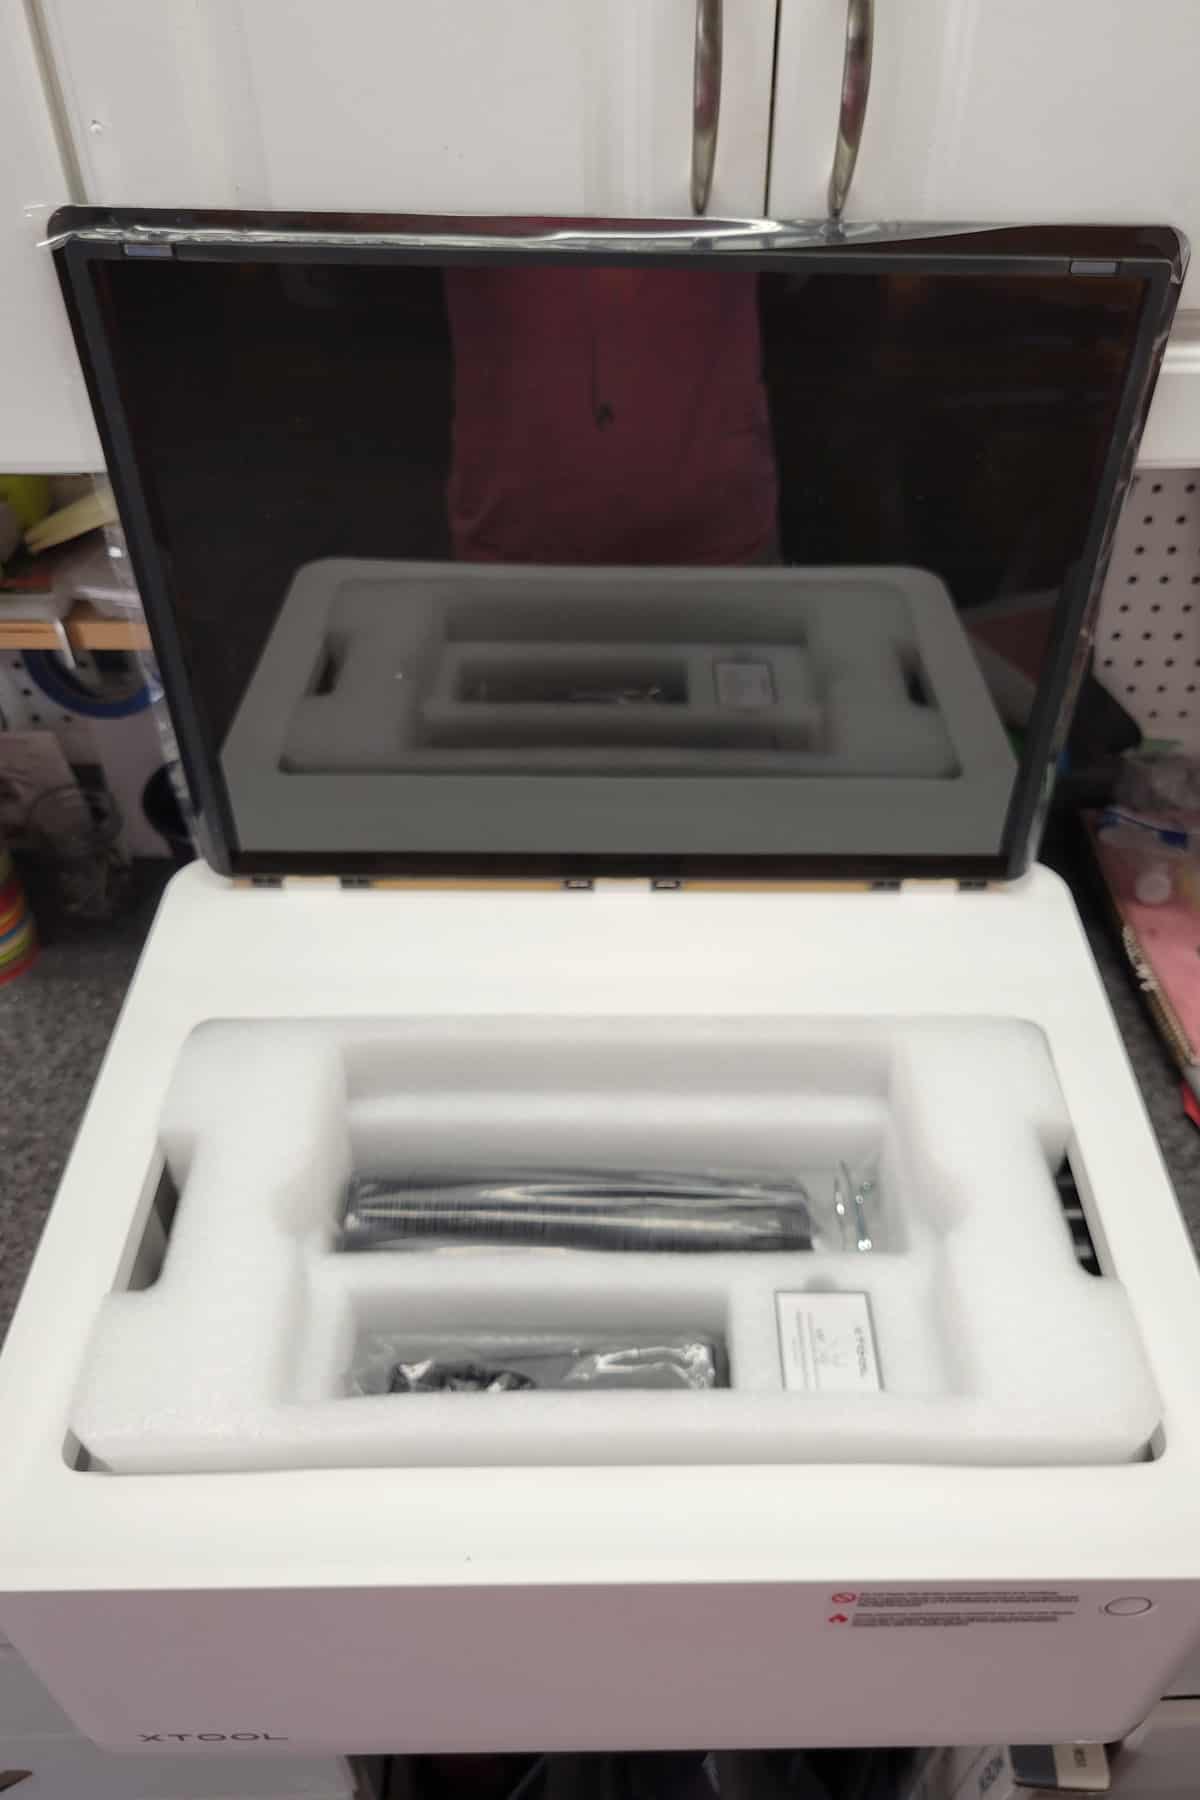
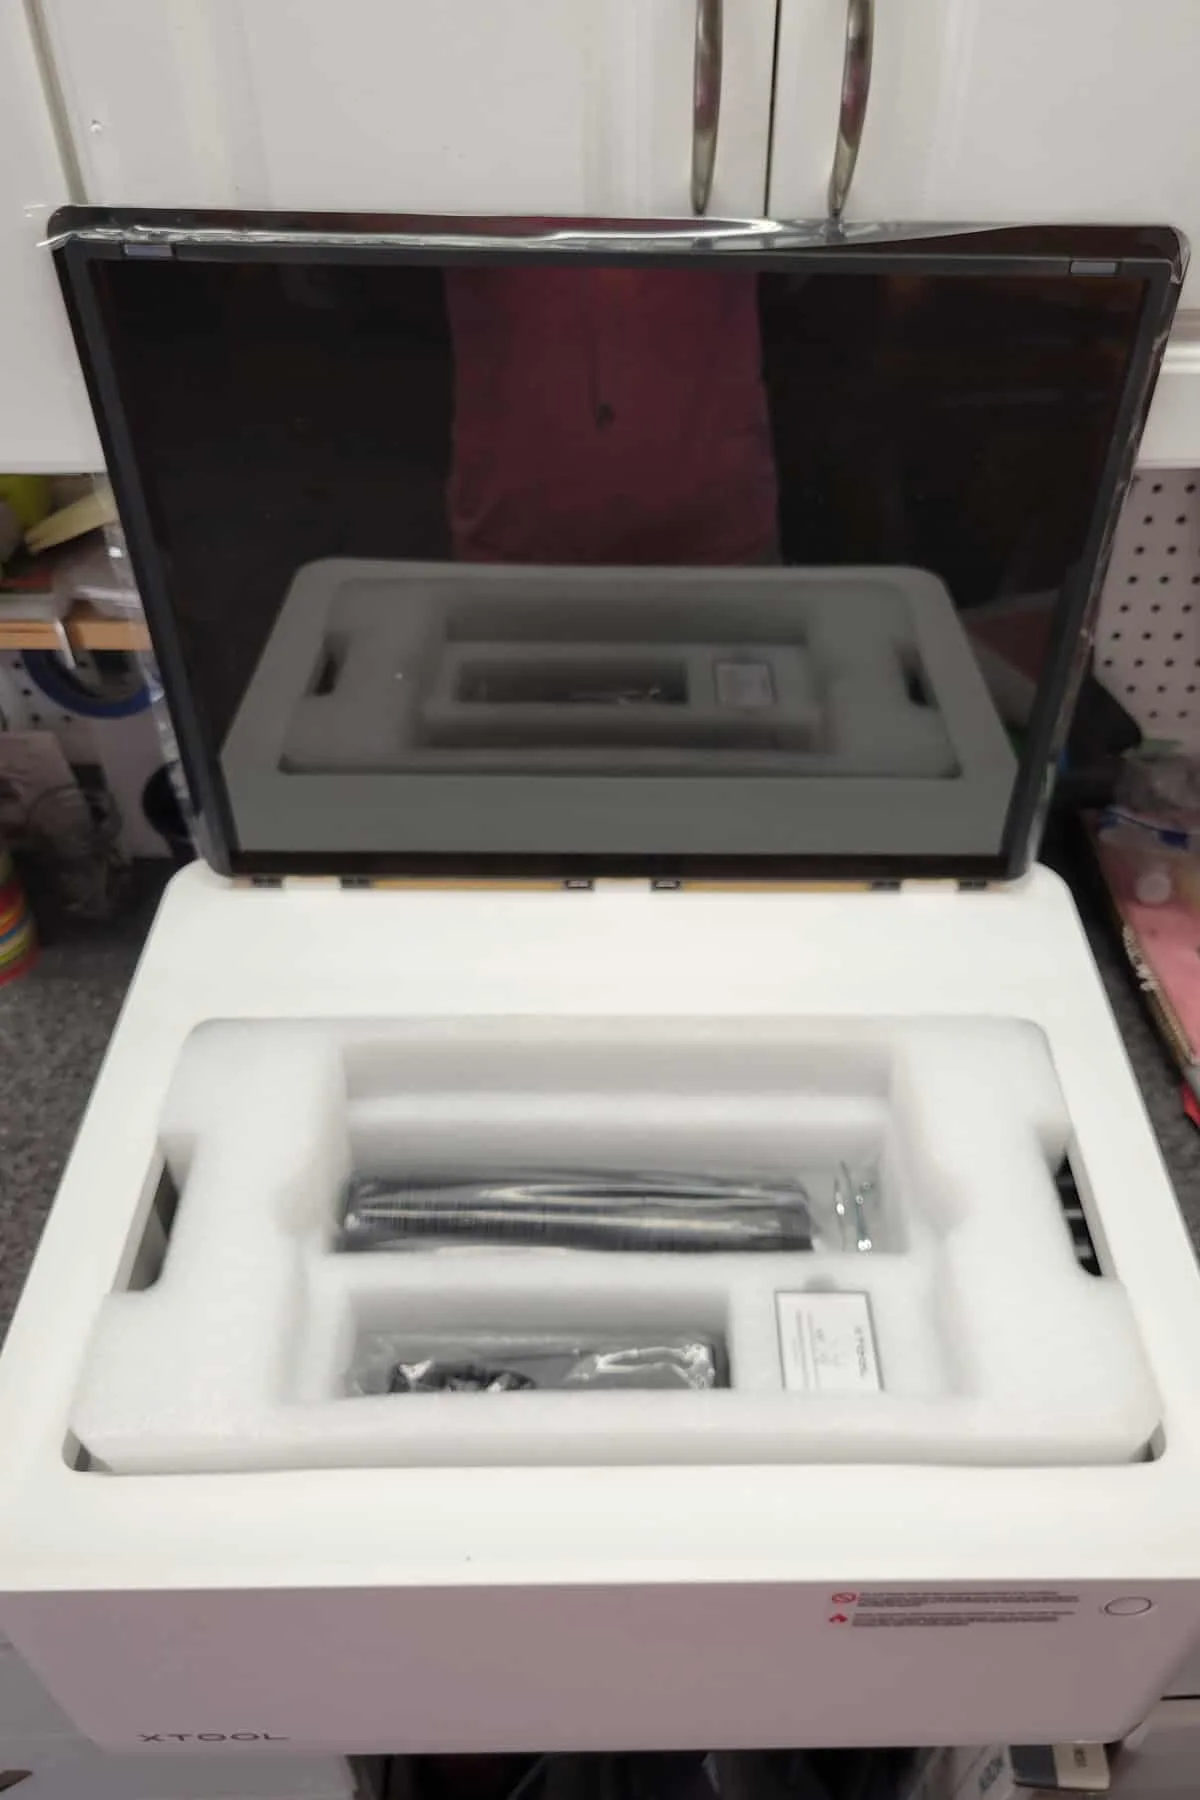
Remove all the parts, lay them out and install the exhaust outlet and exhaust pipe. You’ll need this when working indoors to vent out a window.
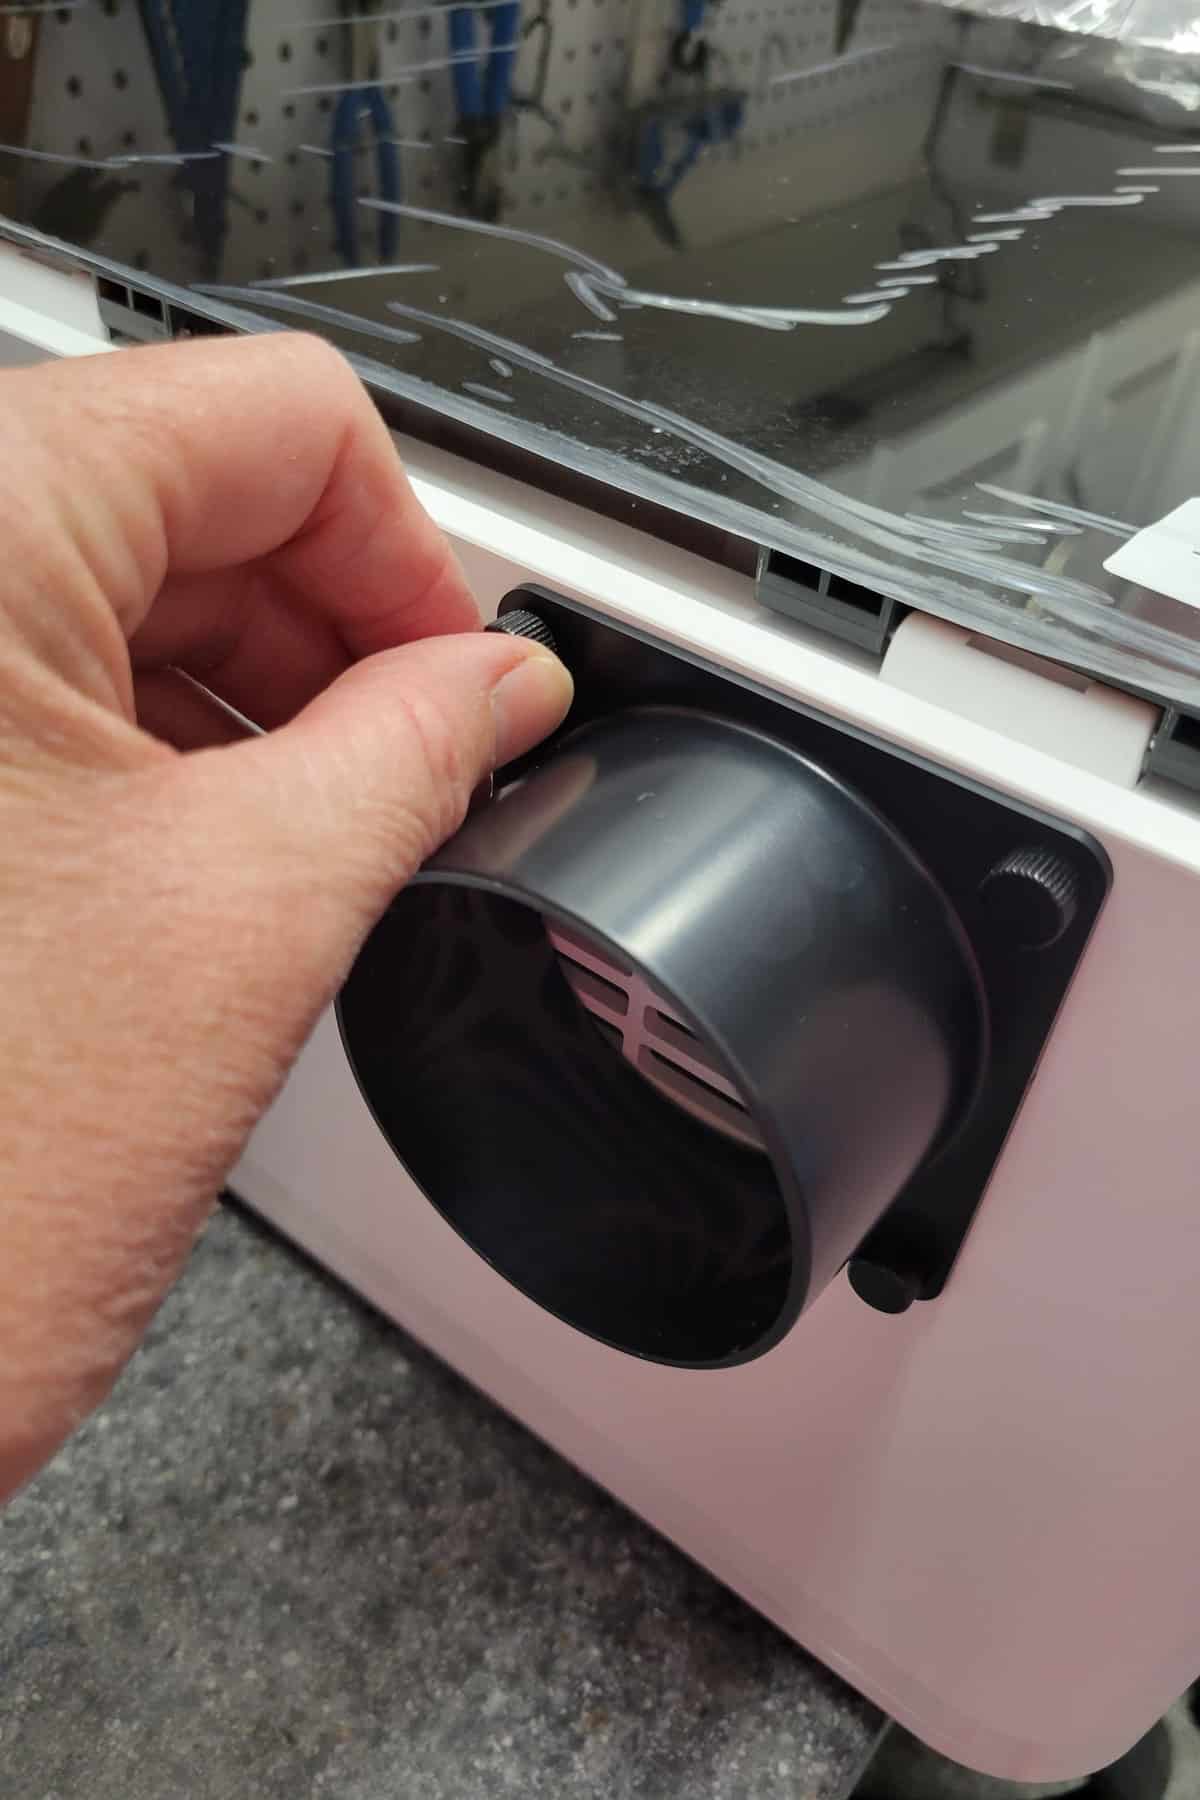

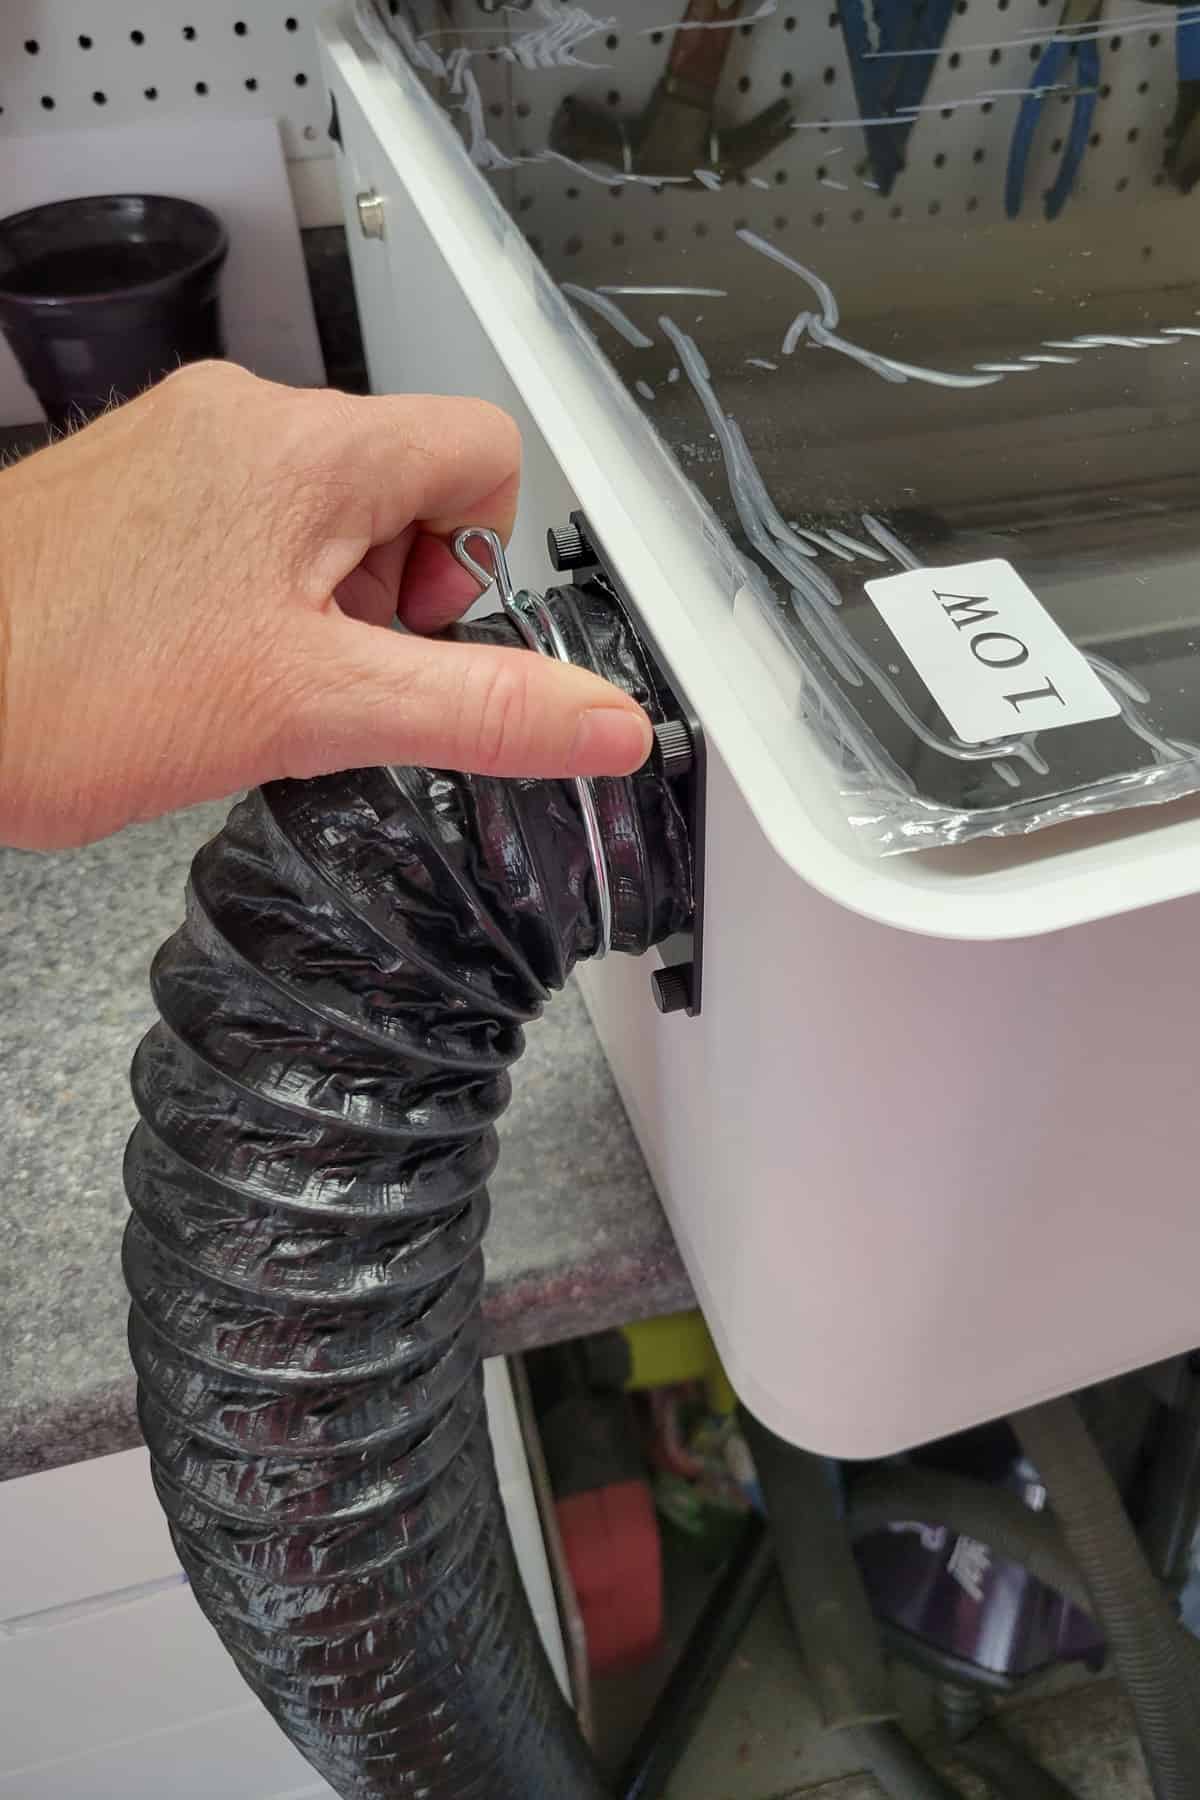

Even when working in a garage it’s a good idea to have the exhaust pipe attached so you can direct the smoke away from your work area, and yourself. Many people in the xTool Facebook group recommend getting an inline fan to assist with the airflow.
xTool also makes and sells a smoke purifier (huge sale as of 7/23) if you intend to work in an area without easy access to ventilation or a window.
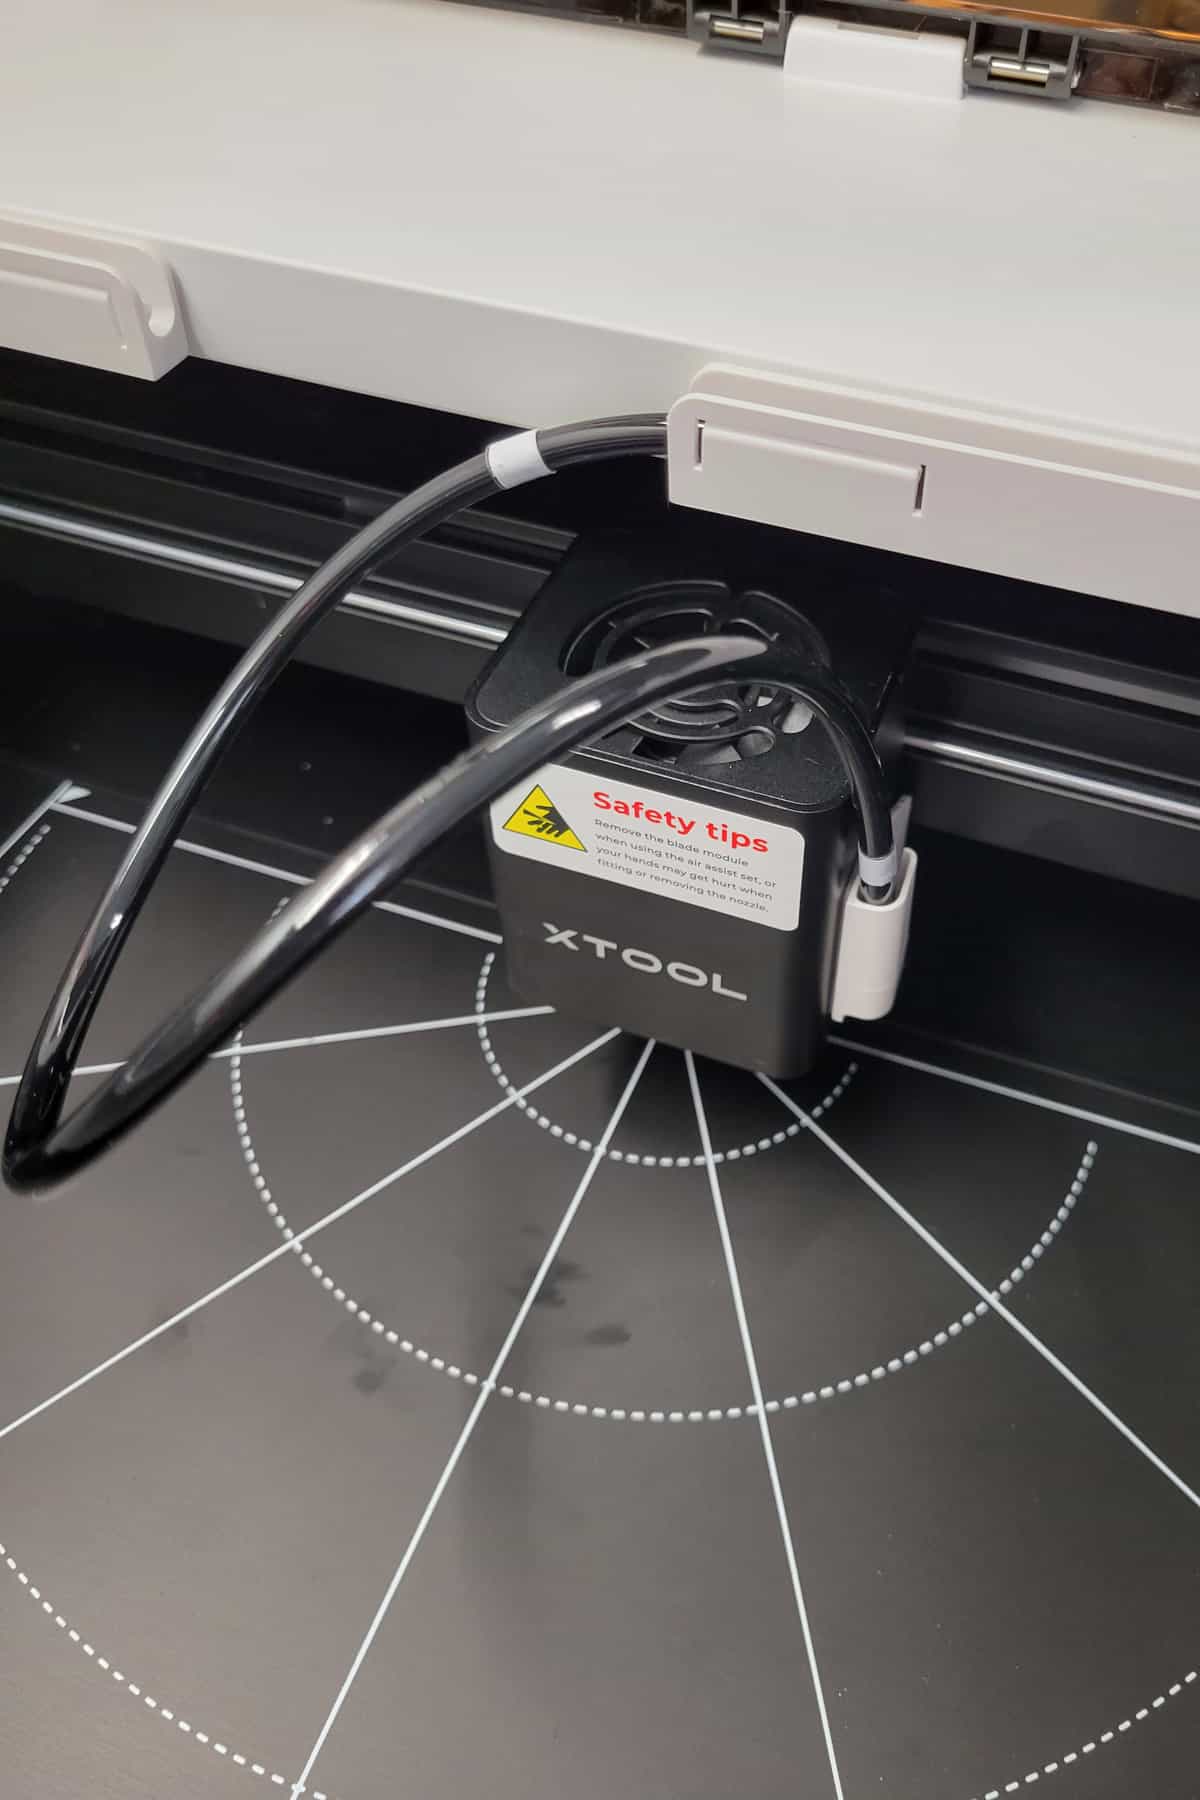
Inside the M1 Laser, at the back, you’ll see the Laser Module that rides on a moveable rail. While the power is off you can easily move the laser module.

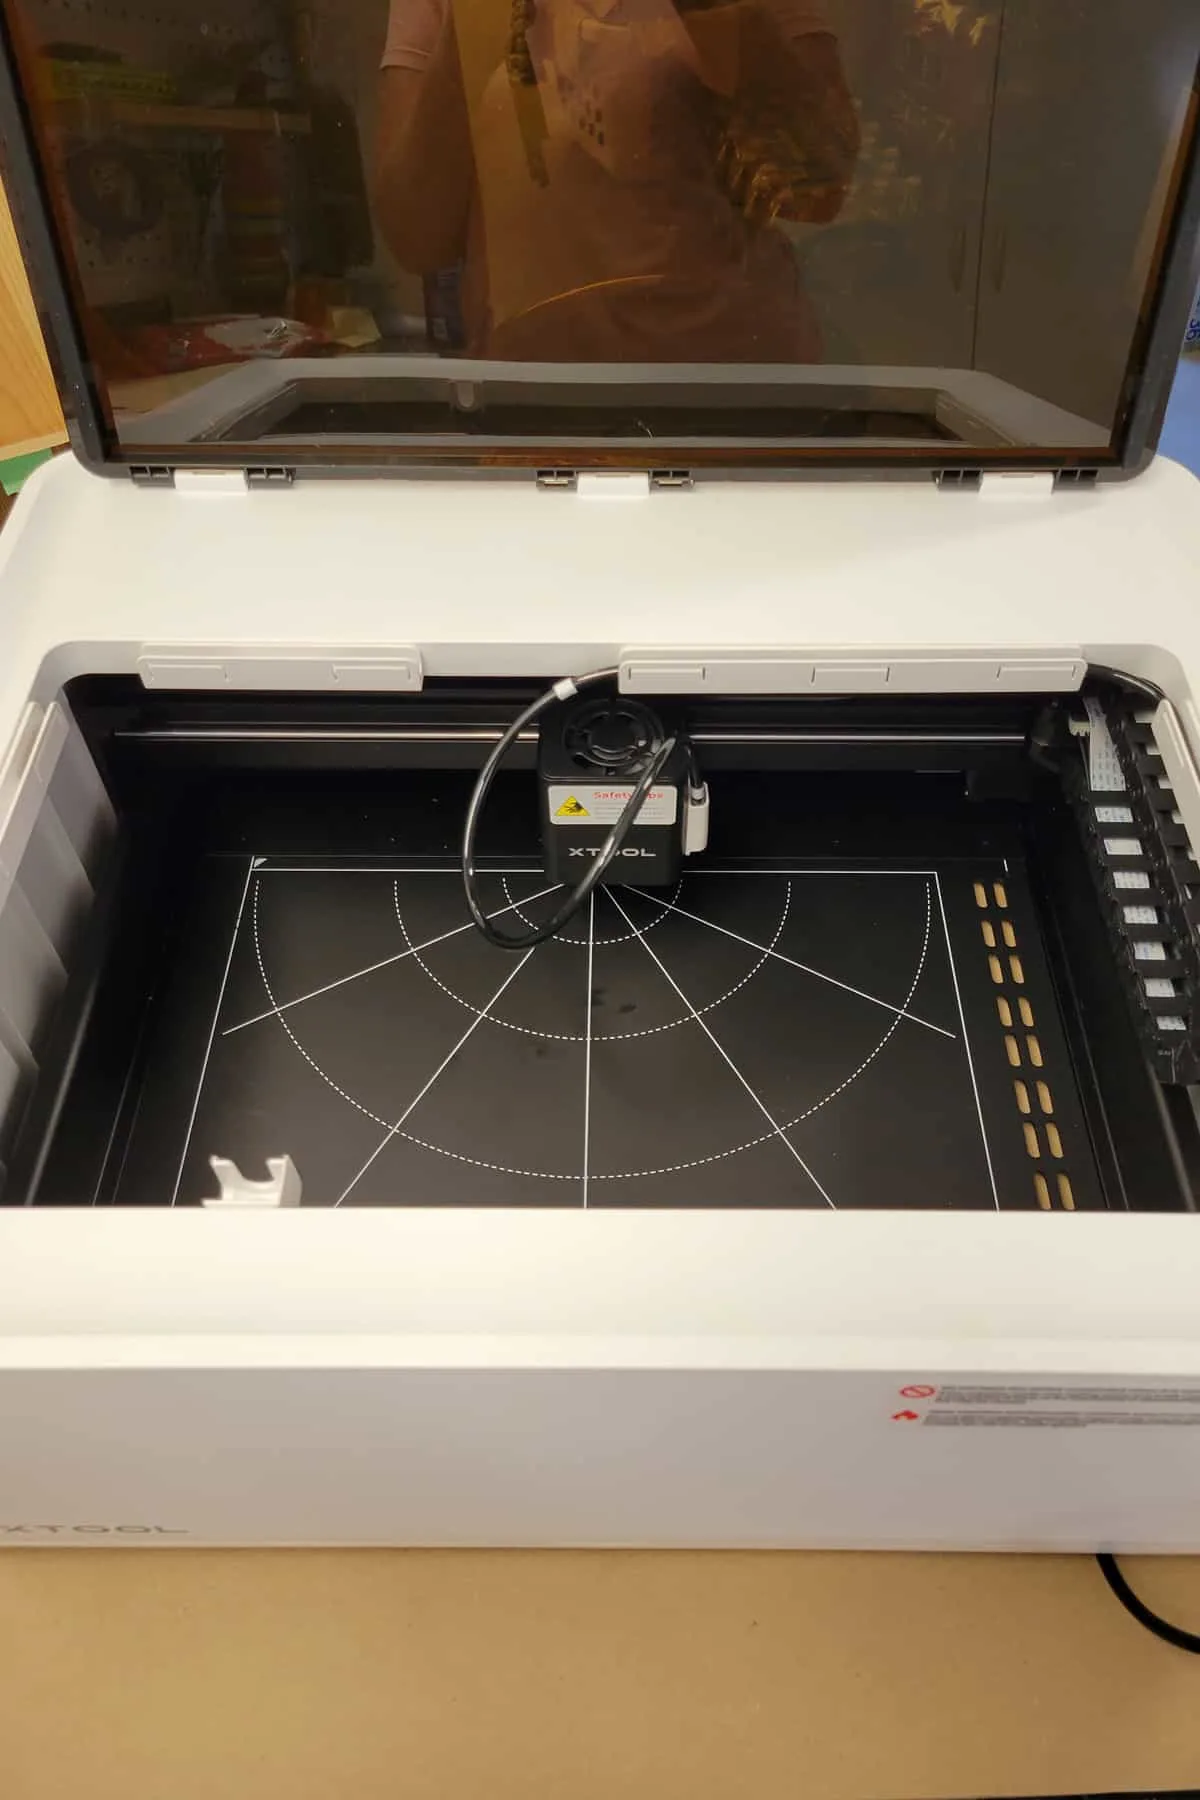
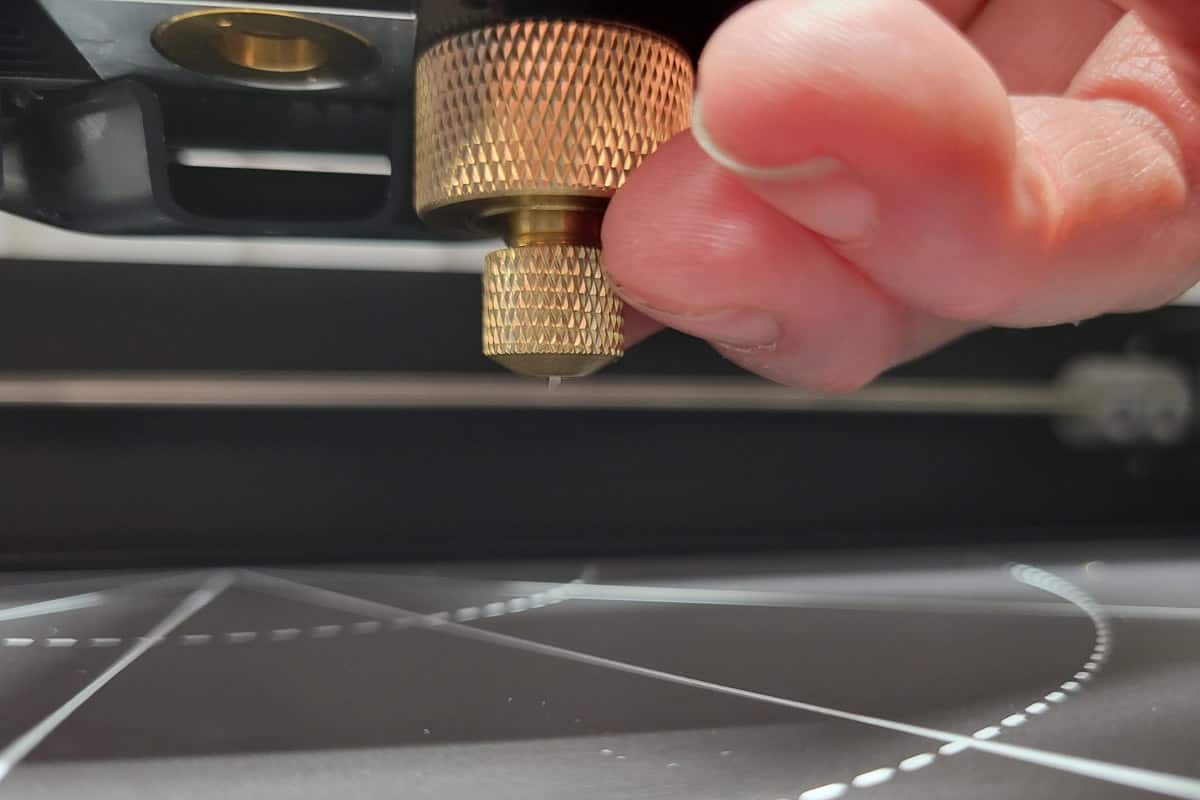
If you’re going to start with a cutting project you’ll want to insert one of the small blades into the blade housing. It easily snaps into the Laser Module and is held in place with magnets.

Connect the power cable and power on the M1. Next attached the provided USB cable from the M1 to your laptop.
You’ve now completed the initial setup and are nearly ready for your first project.
Install xTool Creative Space Software
After the initial setup is completed head to www.xtool.com/software and select your computer/device to download the Creative Space Software.
If you have a Cricut or similar cutting device this software will look somewhat familiar. I found a few videos by Poor Man’s DIY to be very helpful in getting started on my first project.
My First xTool M1 Project
Included with the M1 Laser is a small selection of materials to get you started. Here’s what’s included:
- 1 sheet of 3mm Basswood
- 1 sheet of vinyl
- 1 sheet of sticker material
- 1 sheet of faux leather
- 1 metal dog tag
- 2 different sticky mats for use when blade cutting
If you’re anything like I am, you’ll try to jump into the first project without much research. Well, that would be a mistake because I wasted some of the basswood provided in the box as you’ll read below.
So do some research, visit their website, and watch youtube videos. You’ll probably have some mistakes so I recommend starting on less expensive materials like those the starter pack they include.
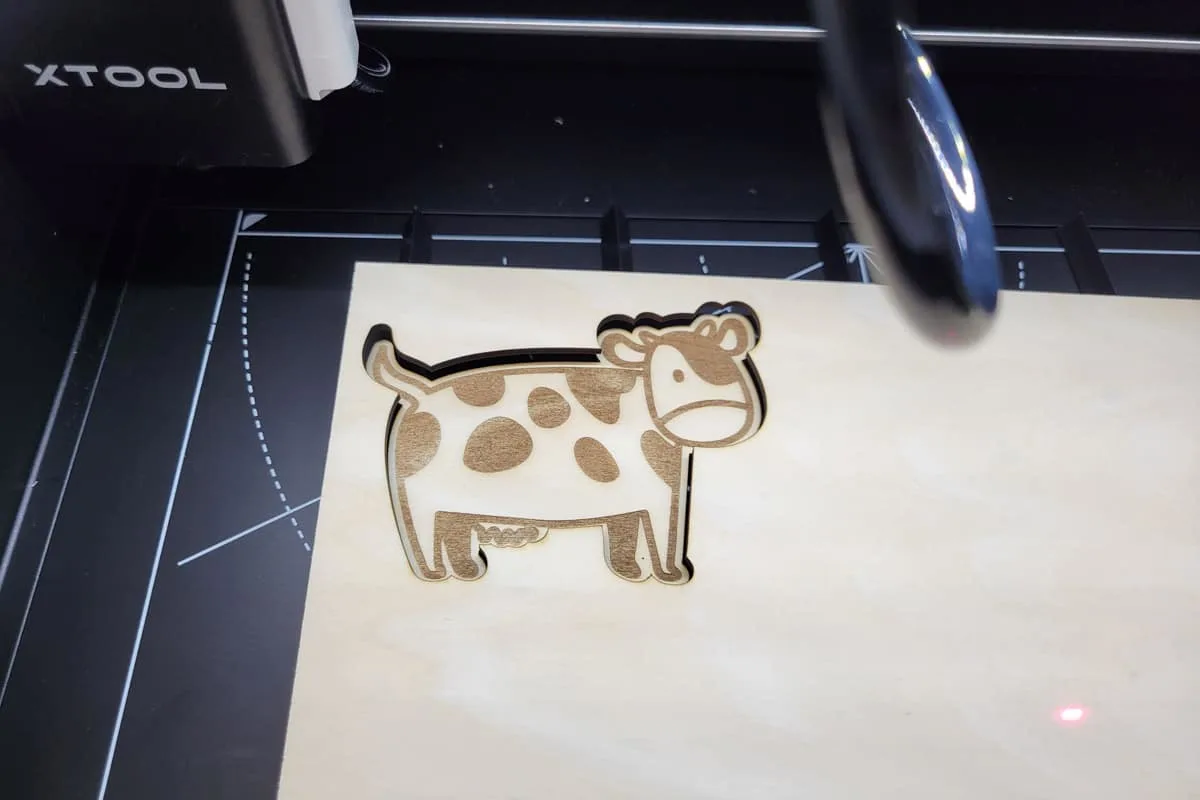
I wanted to start small so I chose an image from their library to cut out on the basswood. Because I’m now a grandma to the sweetest little girl I wanted to make something I could give to her.
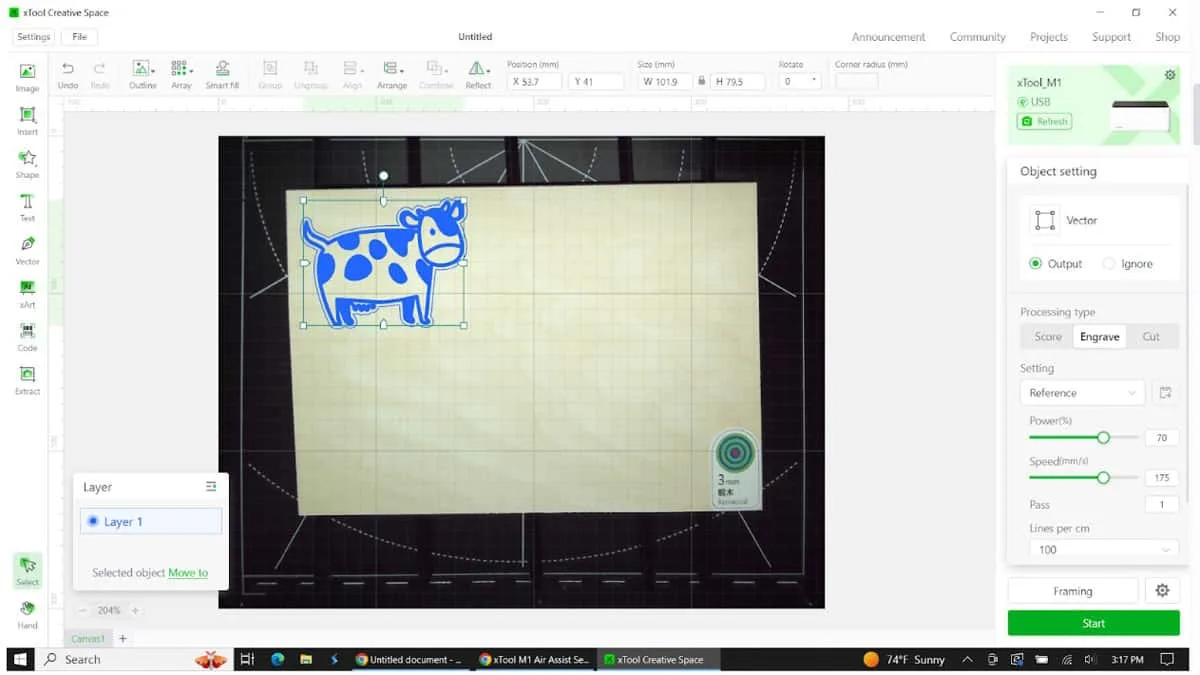
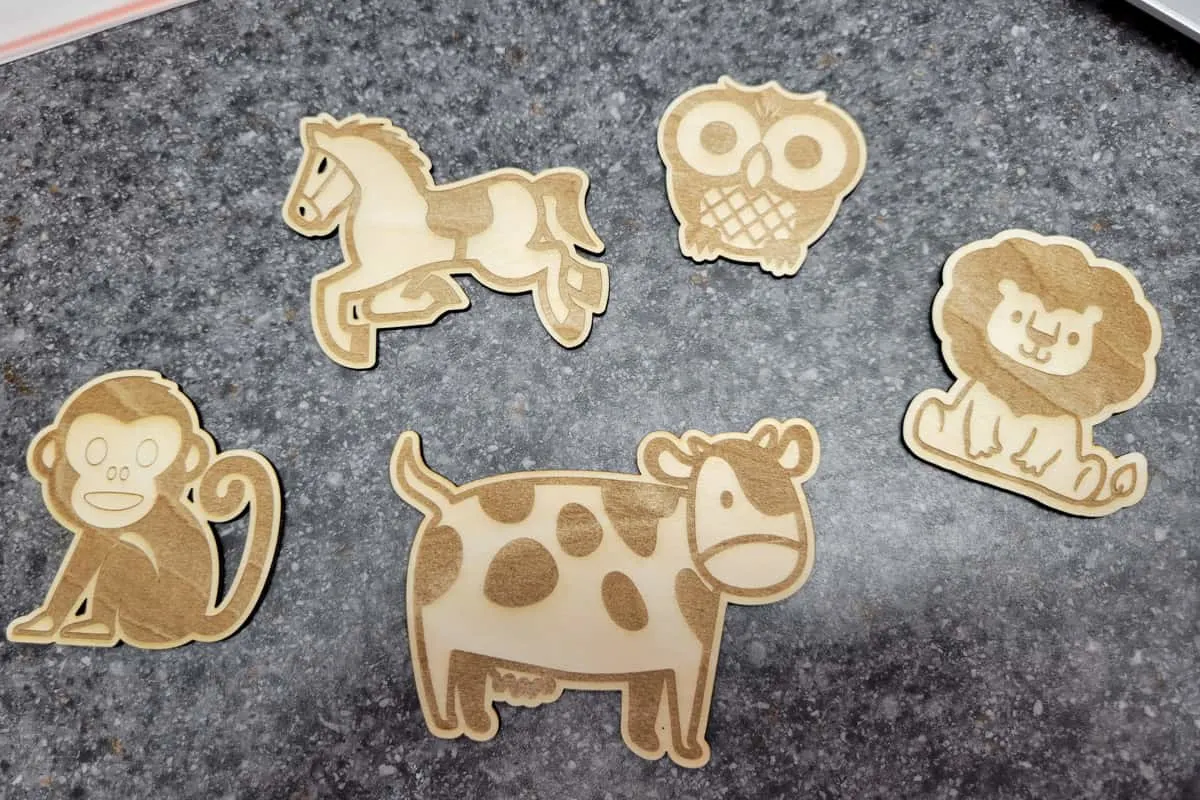
They have lots of images and even ready-to-use projects available in Creative Space to choose from. I chose the cute Cow and then added an outline. I fumbled my way through and got the cow to engrave and the outline to cut, by some miracle.
Creative Space Process
As soon as you insert your material and close the lid the M1 will take a picture of your material. You can then insert your images or files and drag them to the perfect spot.
After you have your project ready run the Framing option (bottom right) and watch the material to see where the laser will perform the task. The hit Start.

You’ll be prompted in the upper right of the image below to start the process. Then press the flashing light on the front of the M1 laser to begin.
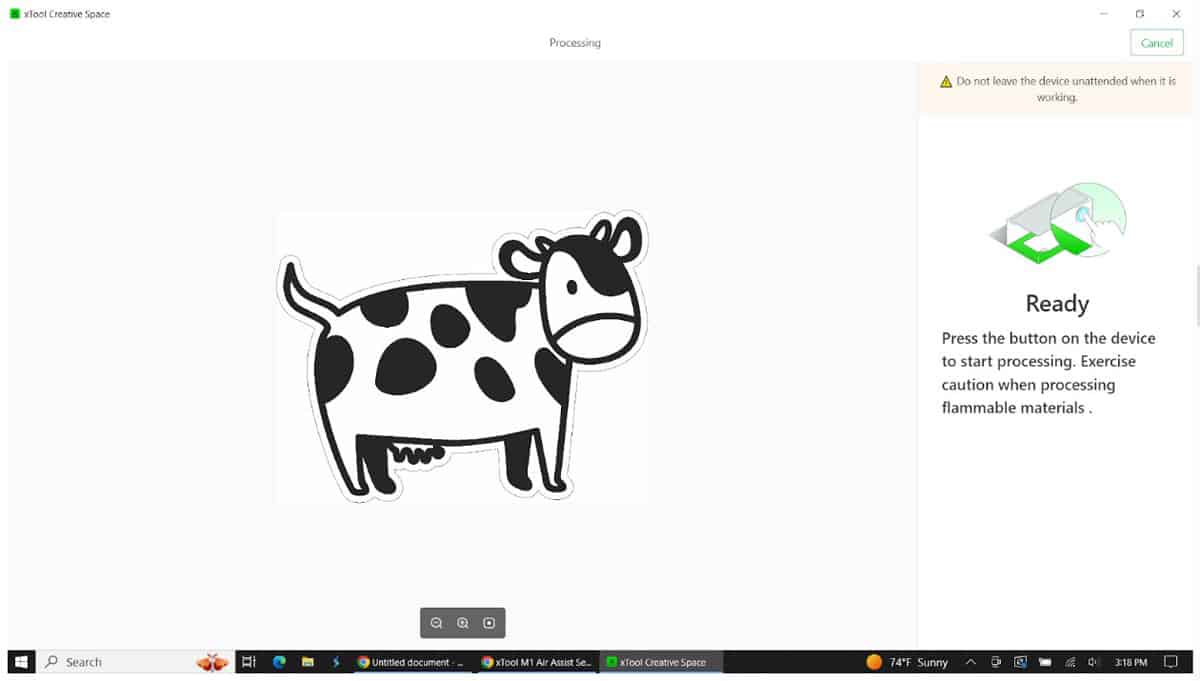


Whent it’s all done and ready you’ll see the screen below.
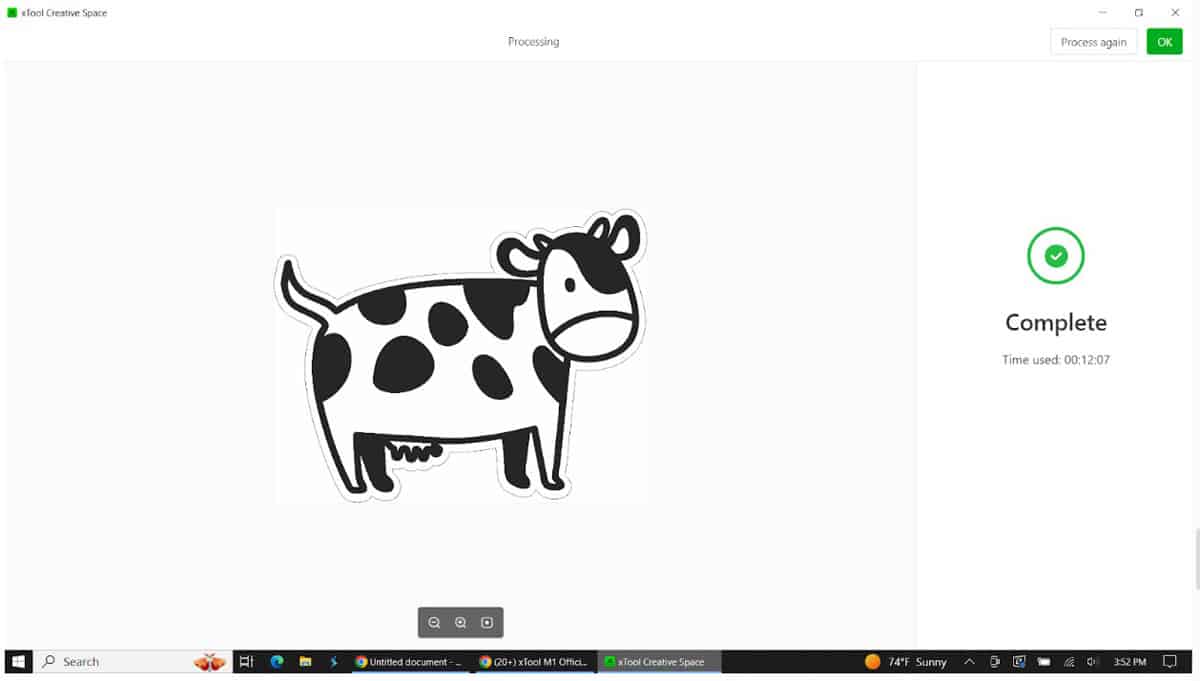
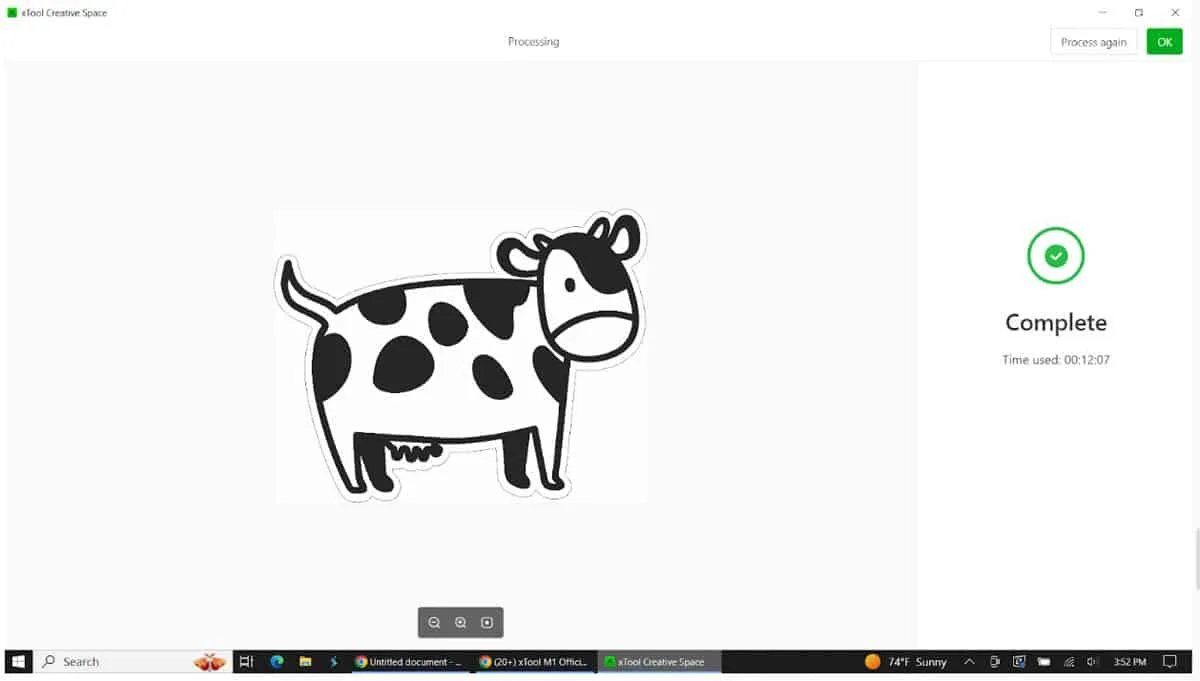
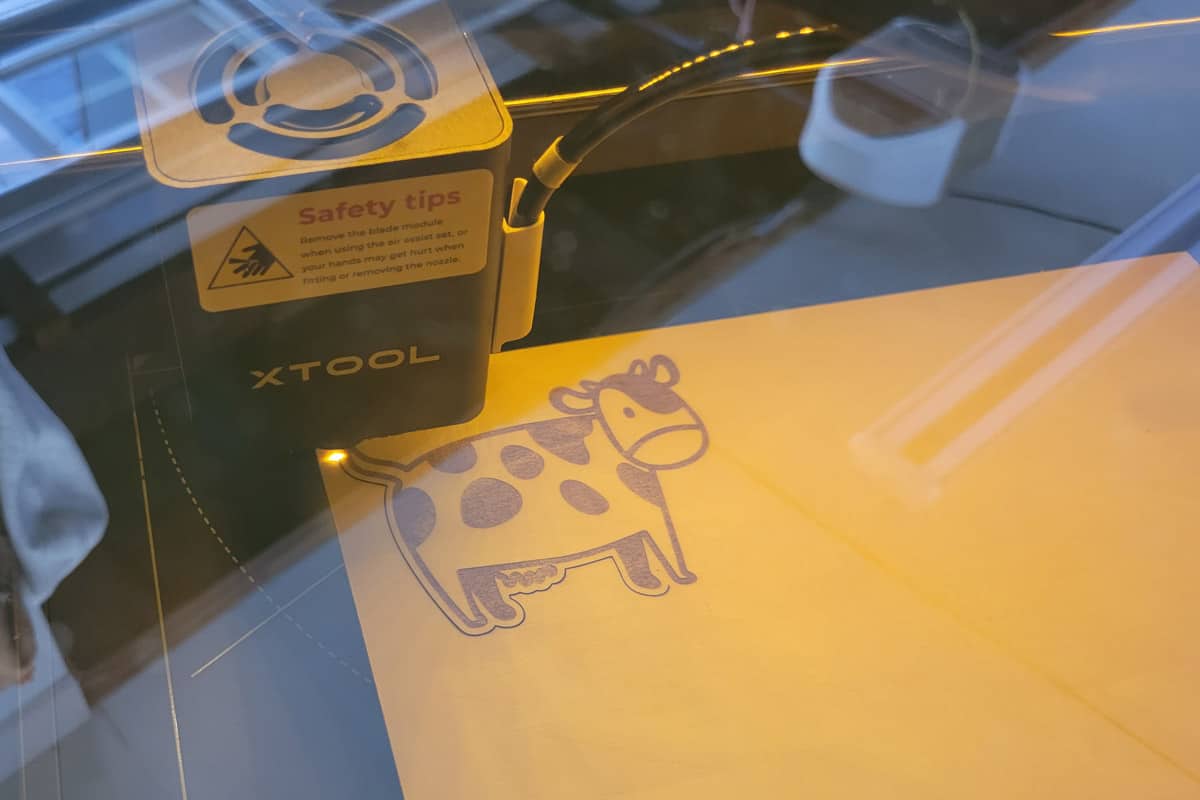
And it looks like this, Holy Cow that’s adorable! The cow is about 4″x3″ and took 12 minutes. You can adjust the engraving depth as well as the speed and laser intensity, but you’ll want to do some reading up on best practices.

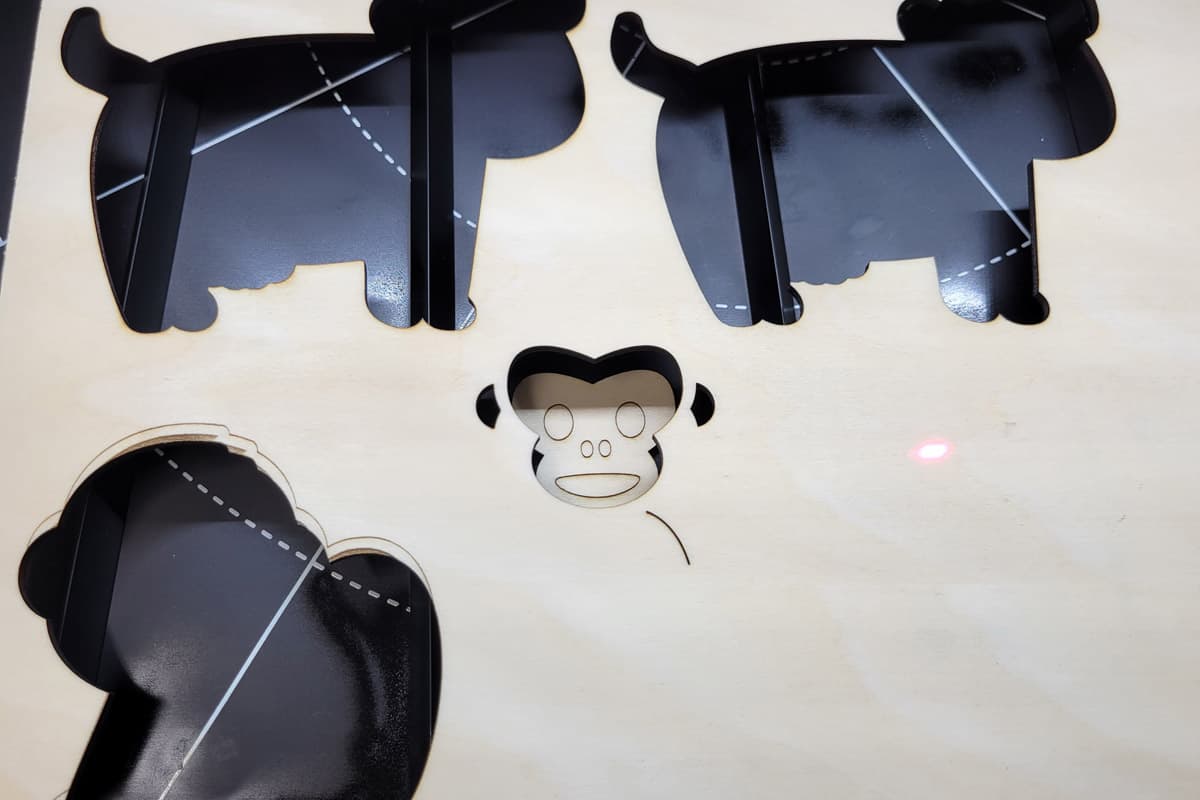
I wasn’t so lucky when I tried the monkey next. My first attempt it didn’t cut but scored the outline so I made the change and tried again but I’d opened and slighly moved the board so it didn’t cut correctly. Big fail, so I tried again and this time it started to cut out the face instead of scoring it. I cancelled the job to save time and materials.

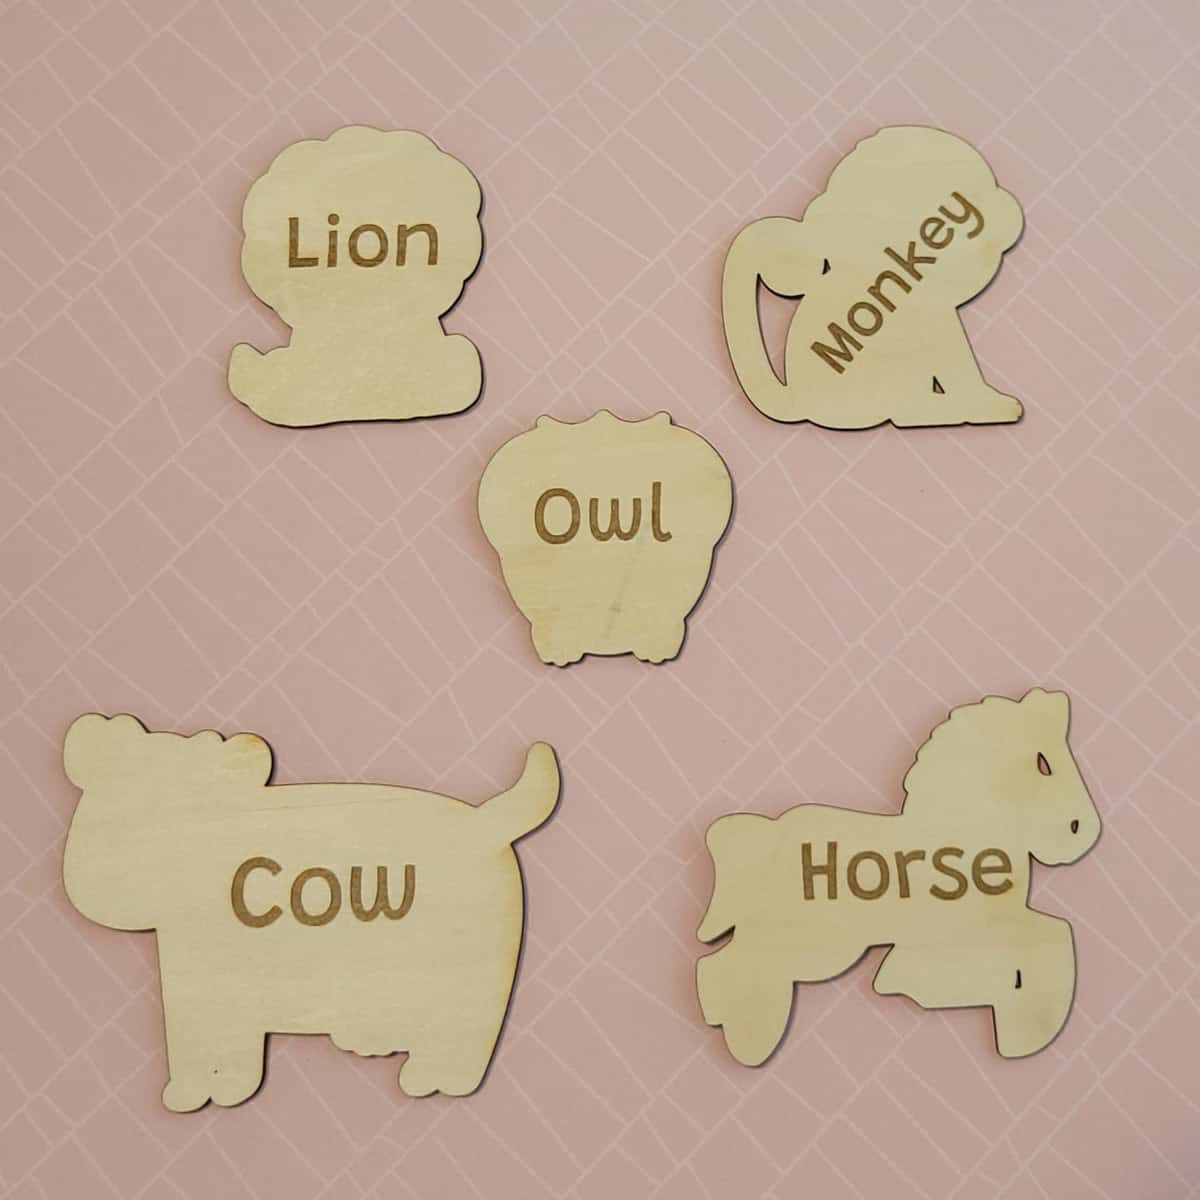
After watching this helpful video about using the layers I was able to quickly make this set of 5 cute little animals.

My grandaughter isn’t anywhere near ready to read yet, but you really can’t start too soon so I added the names of each animal to the back.


xTool M1 Cutting
I already own a vinyl cutting machine so it’s unlikely I’ll use the M1 for vinyl. But my cutter doesn’t cut felt or thicker matials so I’m sure I’ll use it for felt cutting for ornaments or similar projects for my granddaughter.
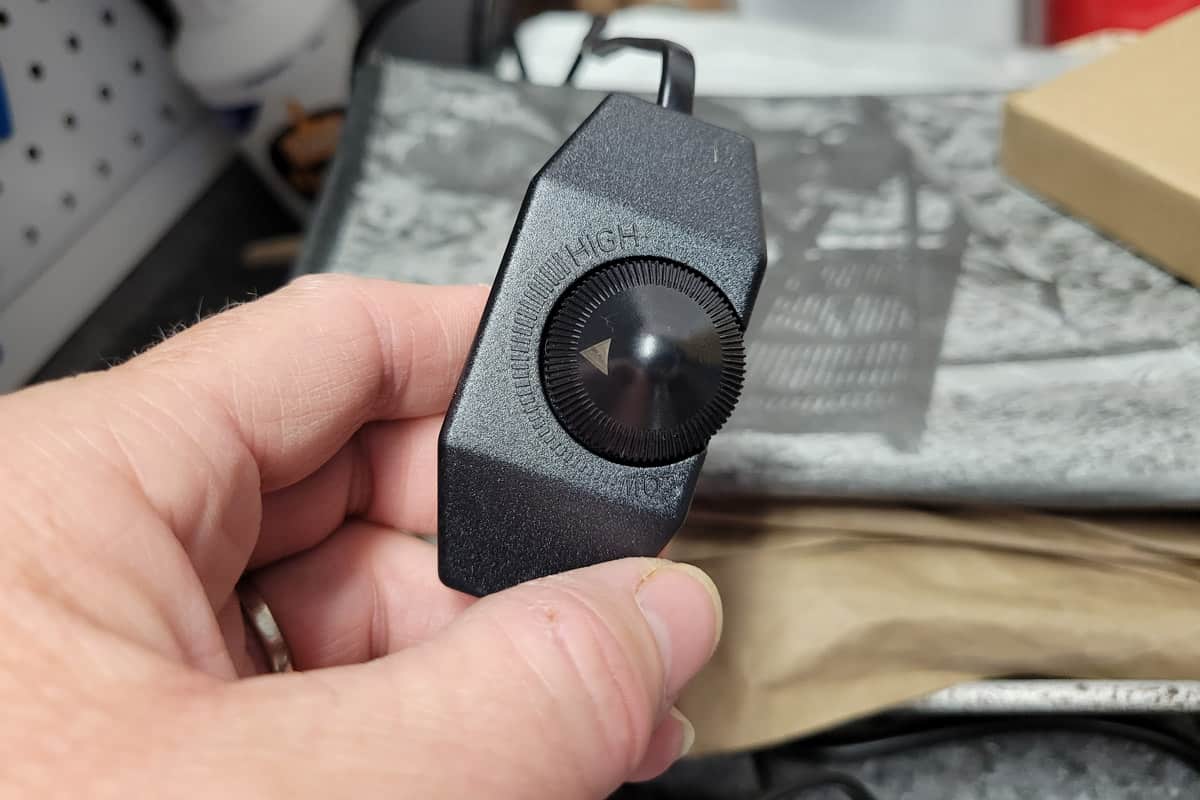
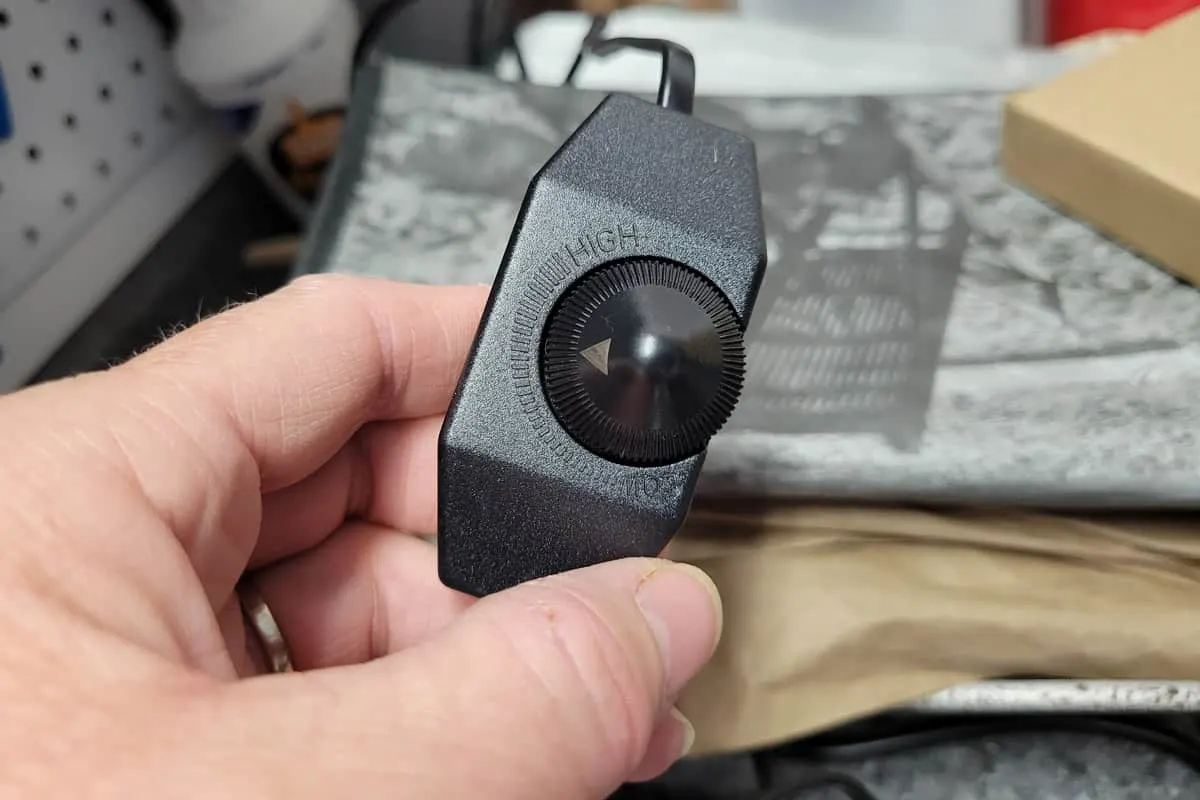
xTool M1 with Air Assist
I am a total beginner with lasers so I wasn’t familiar with Air Assist. After watching a few of the videos on xTool.com, and reading some other bloggers posts, it’s easy to see Air Assist is a game changer for quality of your finished projects.

This article comparing projects with and without Air Assist By Brittany Goldwyn is very helpful.

In a nutshell, when cutting wood and other materials with the laser, debris from the material can obscure the laser and char the edges and face of the material being cut. With Air Assist installed there is a down draft of air on the material’s surface which allows the laser to cut and engrave more precisely, and with minimal charring.
No charring means you’re not spending time sanding the surface of your finished projects.
While using Air Assist (connected with a magnet to the underside of the laser module) you have to remove the Blade Module. When you’re ready to do a cutting project the Air Assist module will pop off and rest in the hose supports around the edges of the M1. Simply reinsert the blade module.
If you aren’t going to purchase and install the Air Assist you can leave the blade module in place at all times.
The only negative I see with have Air Assist is the installation. The instructions are exclusively pictures, and honestly not that great. Thankfully I found this video tutorial on YouTube that walked through each step. It took less than 15 minutes for the installation. And they included duplicates of some pieces if necessary.
My xTool M1 Laser 3-in-1 Recommendation
I’m happy to say that I can fully recommend the xTool M1 Laser, and here’s why:
- It’s nearly plug and play
- It’s a great entry level laser for beginners like me
- The software is easy to learn
- Nearly 12×15″ working area
- Can cut up to 10mm thick wood and 3 mm thick acrylic
- Pre-designed project avalability
- It’s significantly cheaper than a similar size Gloforge
- Add-on components allow for engraving cylindrical or taller projects.
Even if I had purchased this for myself I would find it to be a great value. If you’ve been on the fence about getting a laser then this is the machine for you. I have so many projects in mind that I want to use this for. I better order some more of the basswood sheets to practice and hone my craft.
I’m also going to get some of these round wood ornaments blanks for the tree. They’d be cute as personalized gift tags from Santa. Here’s a different kind of wood ornament I made using wood rounds.
This is a perfect laser to see if opening an Etsy shop or other selling opportunity is right for you. A little side hustle money comes in handy.
Well, that’s my full and honest review on the xTool M1 Laser. I hope you’ve found his review helpful. Please drop me a comment and let me know if you decide to get one for yourself.
Dynele
Saturday 29th of July 2023
Thank you for the write up. Do they have machines that do larger sized projects?
Toni
Saturday 29th of July 2023
Hi Dynele, yes they do have larger machines. They have the P2 that has an add on of the F1 which has a larger work area. Here's my affiliate link to that product. That bundle is currently $1300 off with free shipping. https://shrsl.com/461lk I hope this information is helpful!!