Halloween is only a few days away and here I am just now sharing a project. Sorry you guys, but if you’re a Last Minute Crafter like I am you’ll appreciate this DIY Light Up Pumpkin. It goes together so quickly, you can literally make this in an hour.

Last year my last minute craft for Halloween was a Super Easy Bandana Wreath. But my other favorite pumpkin I’ve made is what just happened on this awesome Fall Pumpkin Wreath.
And you really need to see these cute and creative Non-Candy Halloween Treats for Kids
How to make a Stacked DIY Light Up Pumpkin
I’ll run you through the process to make one of these Light Up Pumpkins yourself if you’re a few days from Halloween and searching for an easy project.
The steps I list might be a little different than the photos because sometimes you figure out after you’ve made something how to make it more efficiently.
This post contains links to products, if you purchase something after clicking on my link I may earn a small commission (at no extra cost to you).
Supplies for DIY Light Up Pumpkins
- 3 (or more) Plastic Pumpkin Pails
- Micro LED String Lights (12′ 36 light)
- Hot Glue Gun
- 1x6x10″ Board
- Black Craft Paint
- Craft Knife
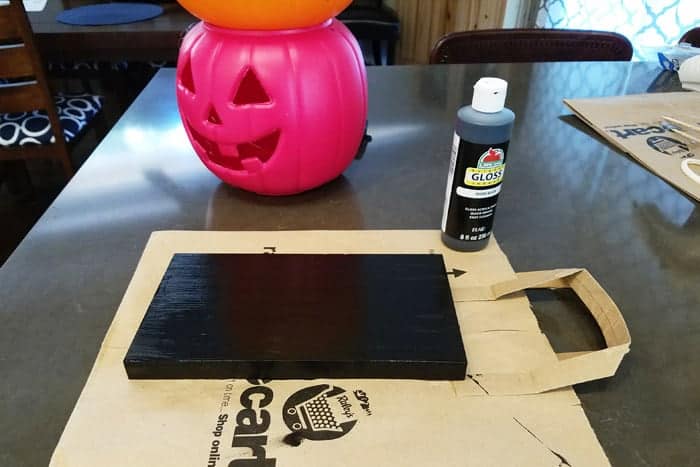
Step 1: Build the base
- Paint your 1x6x10″ board with the black craft paint. You could leave it natural if you like but I wanted mine to disappear on the porch.

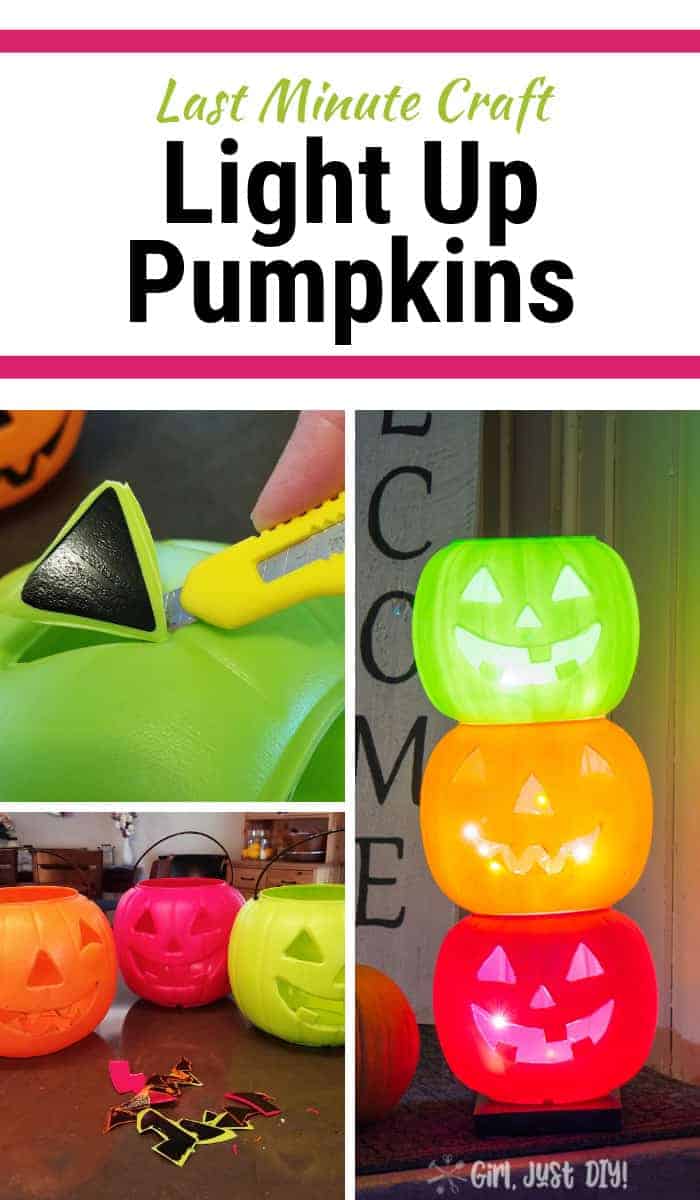
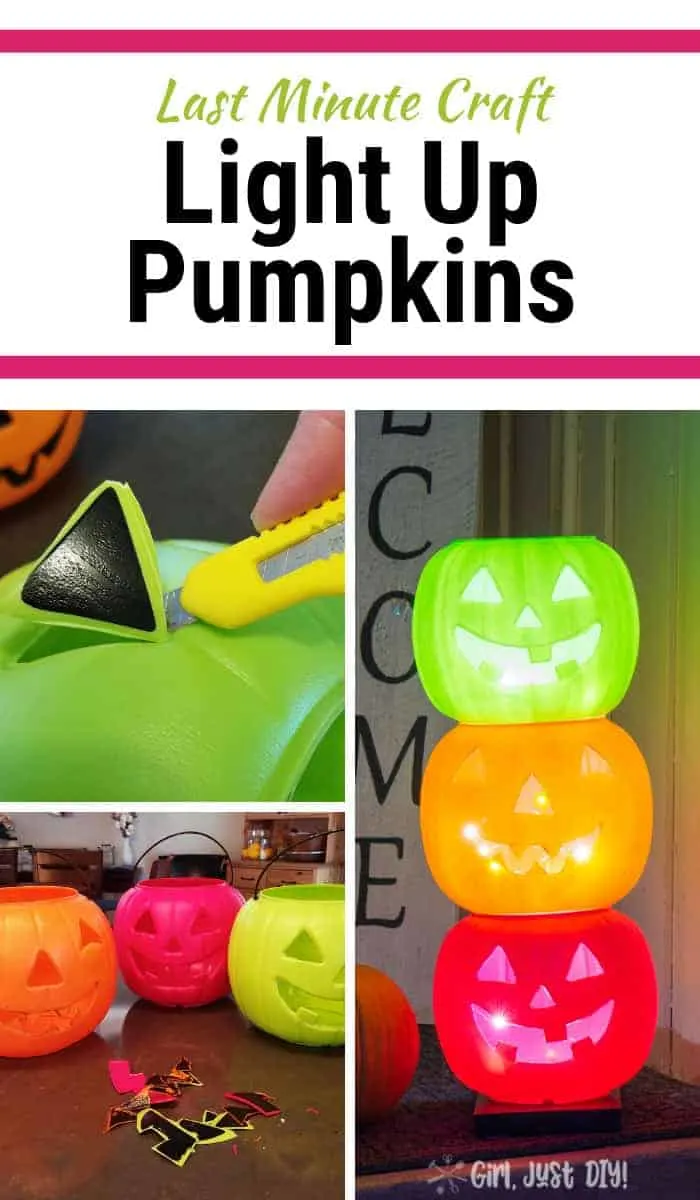
Step 2: Gouge out some eyes
While the base is drying we’re going to do a little surgery on the plastic pumpkins 🙂
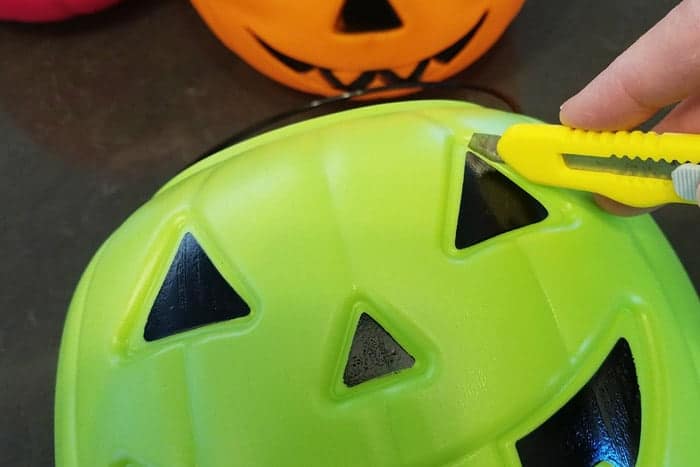

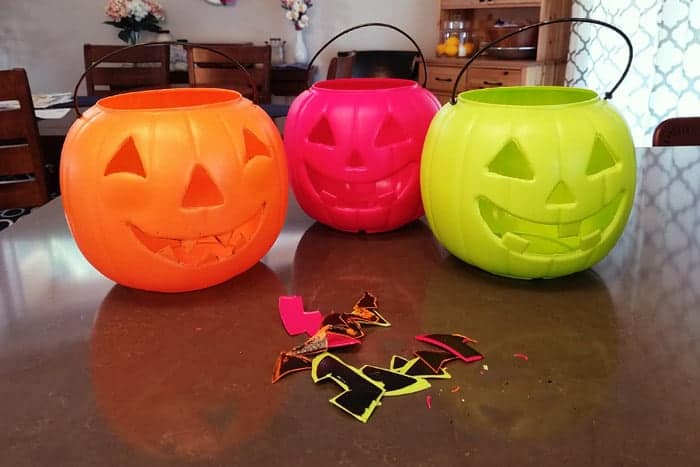
- Using a craft knife carefully cut the indented eyes, nose and mouth from the plastic pumpkins.
- This is not a craft for children. Be careful where you place your fingers inside the plastic pumpkin so you don’t accidentally cut yourself with the craft knife.
- Make all the straight cuts first.
- When you’re ready to cut the corners, tilt the knife and work it into the corner.
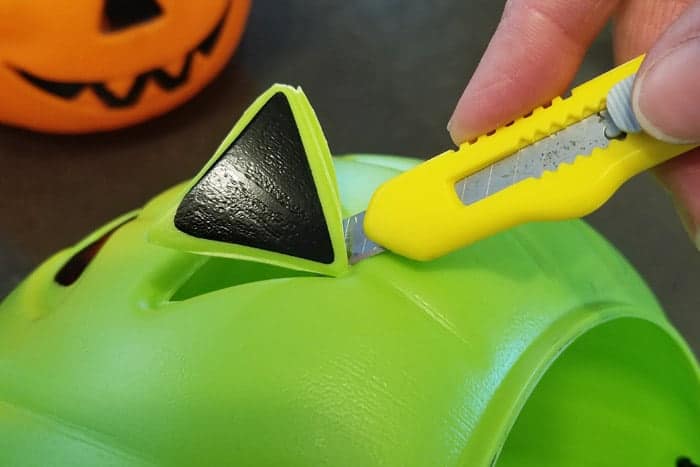

- You’re not looking for perfection. But if you want you can shave any rough edges.
Personally I think they look good a little rough, and at night no one will see them.

Check out these Lighted Blow Up Pumpkins
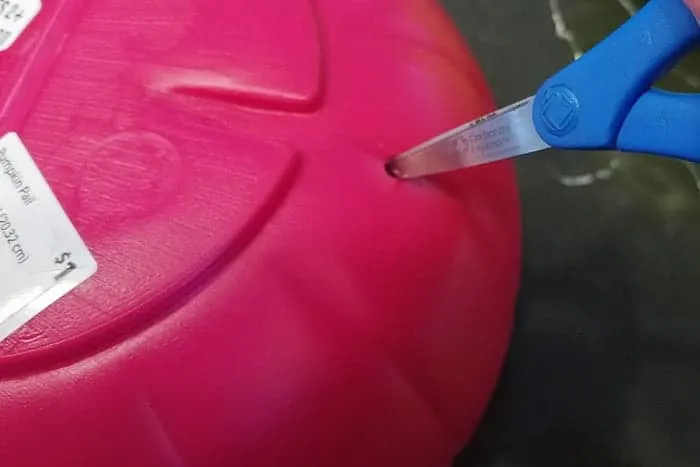
Step 3: Turning the lights on
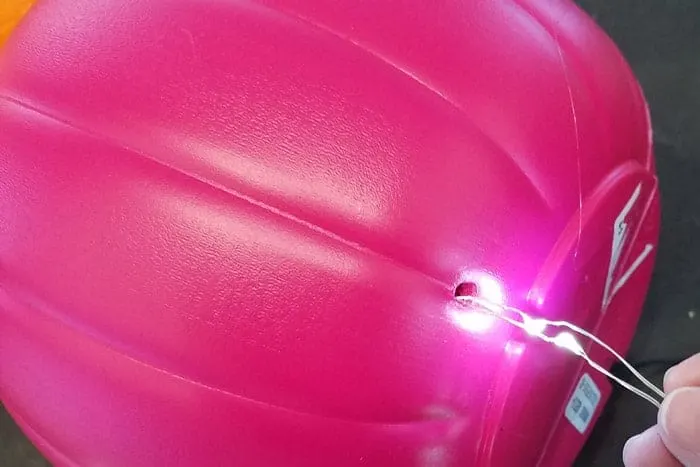
To make these plastic pumpkins into light up pumpkins we need to make a tiny hole of the lights.
- Turn the plastic pumpkins over and make a small hole at the bottom on the back of each one with sharp scissors or similar.

Step 4: Connecting the pumpkins
Sorry I missed getting pictures of a few steps. The pumpkins will be stacked up like a pumpkin topiary. Since they’re very light you can use glue to keep them together.
- Cut off the handles of the plastic pumpkins
- Set the bottom pumpkin on a solid surface and apply some hot glue to a few spots on the edge.
- Working quickly line up the face of the middle pumpkin with the bottom one and nest together. Or offset them however you wish.
- Repeat this process for the third/top pumpkin.
- Run a bead of hot glue along the back where the pumpkins meet for extra adhesion. Smooth with a craft stick if desired.
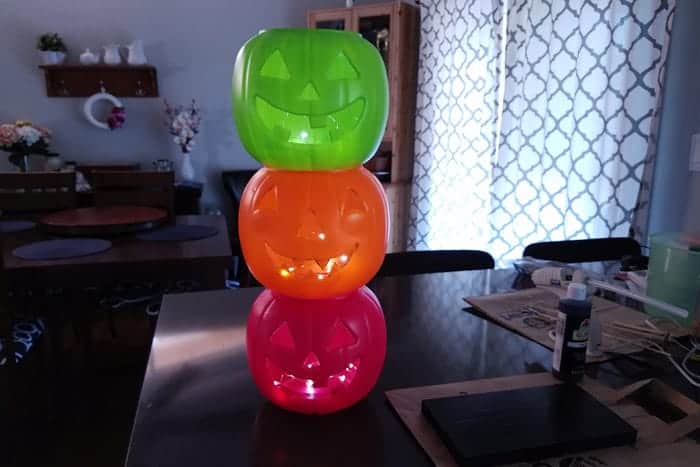
Time to Light Up Your DIY Stacked Pumpkins
Step 5: Stringing the lights
I used a 12ft 36 LED Daylight kit for my lighted pumpkins. You can use whatever type of lights you prefer. This is how I installed mine.
Since the pumpkins will be stacked work from the bottom up.
- Leave a few inches of wire near the battery pack and insert approximately 10 lights into the bottom pumpkin. I found the halfway point, gently folded the wire in half and insert into the hole.

- Put a little hot glue in the hole afterward to secure the light cord.
- Run the remaining wire up to the next plastic pumpkin (secure with a little dab of hot glue along the ridge in the back of the pumpkin).
- Insert approximately 10 LED lights into the middle pumpkin.
- Follow the bullets above to secure the lights into the middle and top pumpkin.
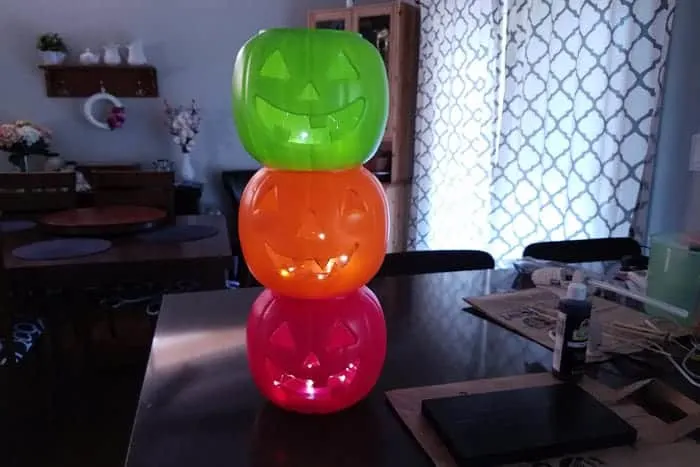
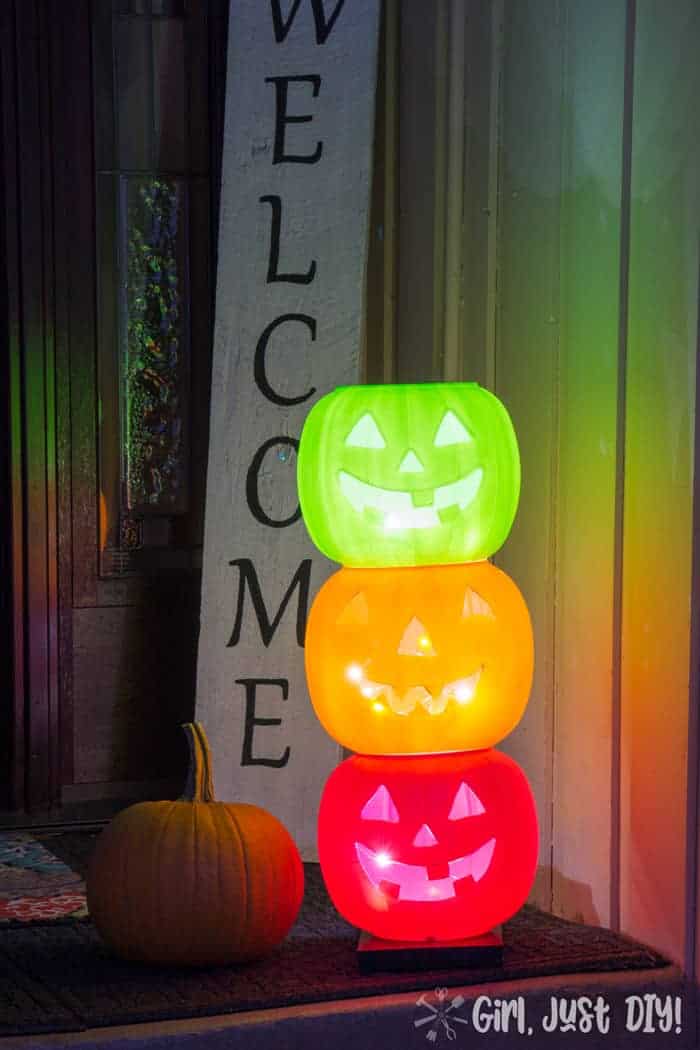
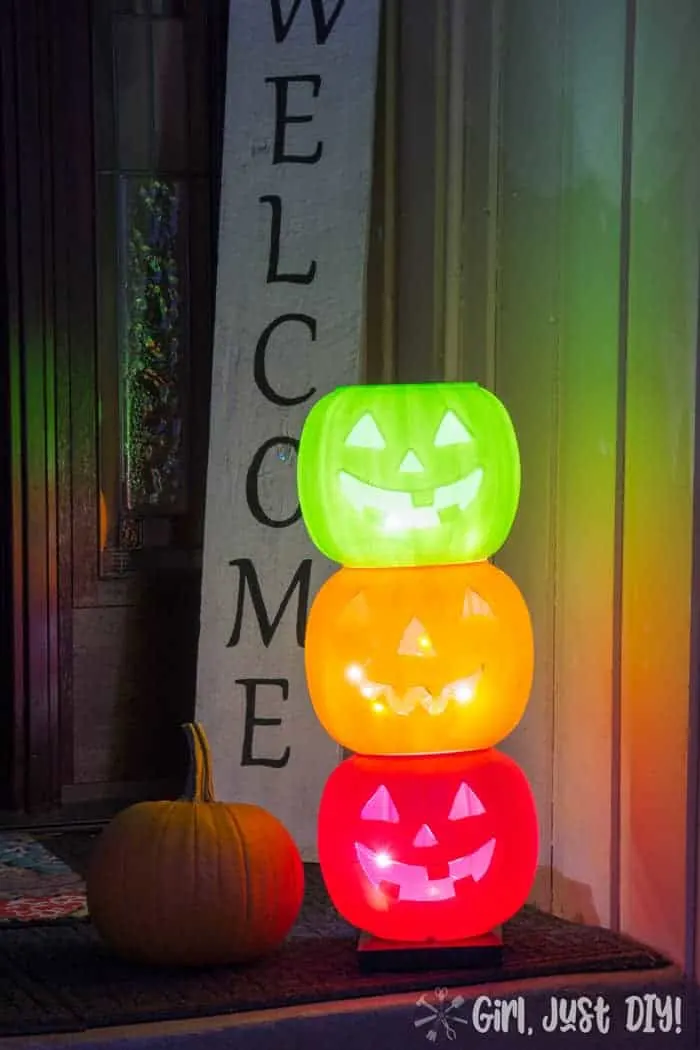
- Stand up your stacked pumpkins. If any of the lights are sticking out of the mouth tuck them back inside.
- Secure the stacked pumpkins to the 1×6 board with a heavy amount of hot glue. This will help it hold up to a windy day. (I painted my pine board with some black craft paint so it disappears at night)
- Attach the battery pack of the LED Lights to the pine board with a screw behind the bottom pumpkin.
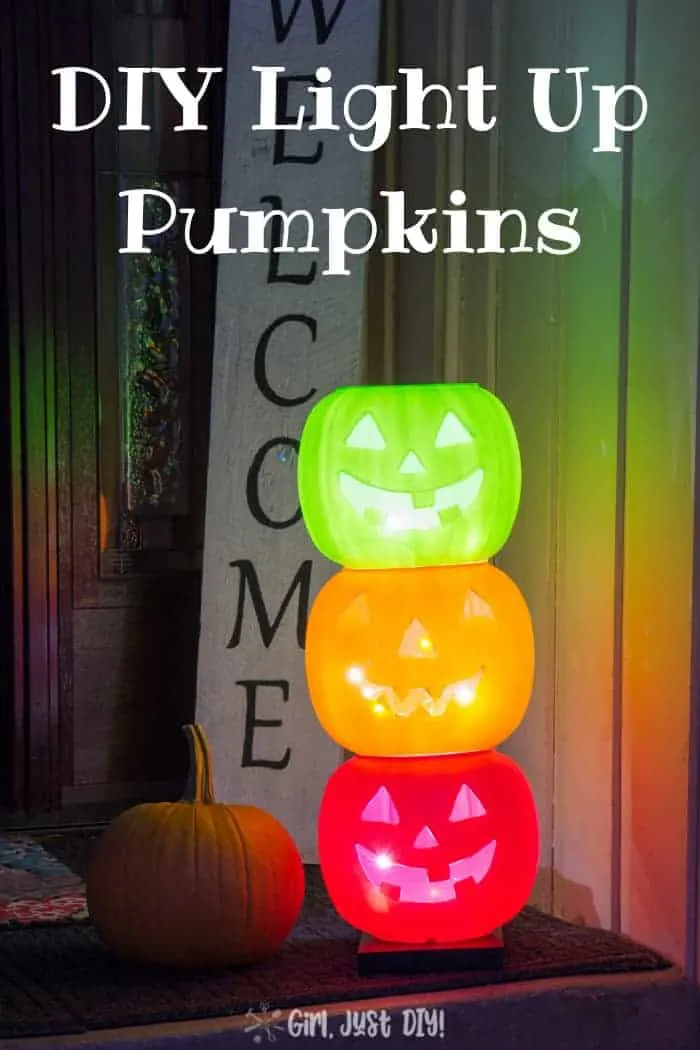
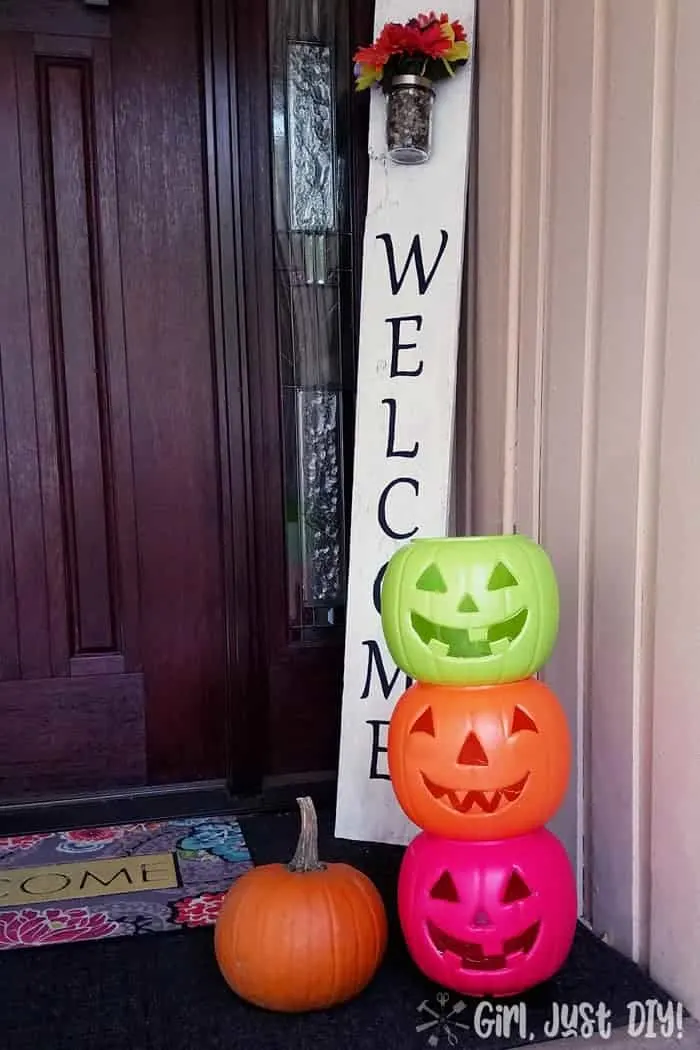
There, you’ve just made DIY Light Up Pumpkins and it’s ready for your porch. Your neighborhood kids will love this colorful Halloween decoration.

The black paint from the eyes really flaked off the orange pumpkin. I should have cleaned it off better, apparently 😉 But doesn’t it look great all lit up?
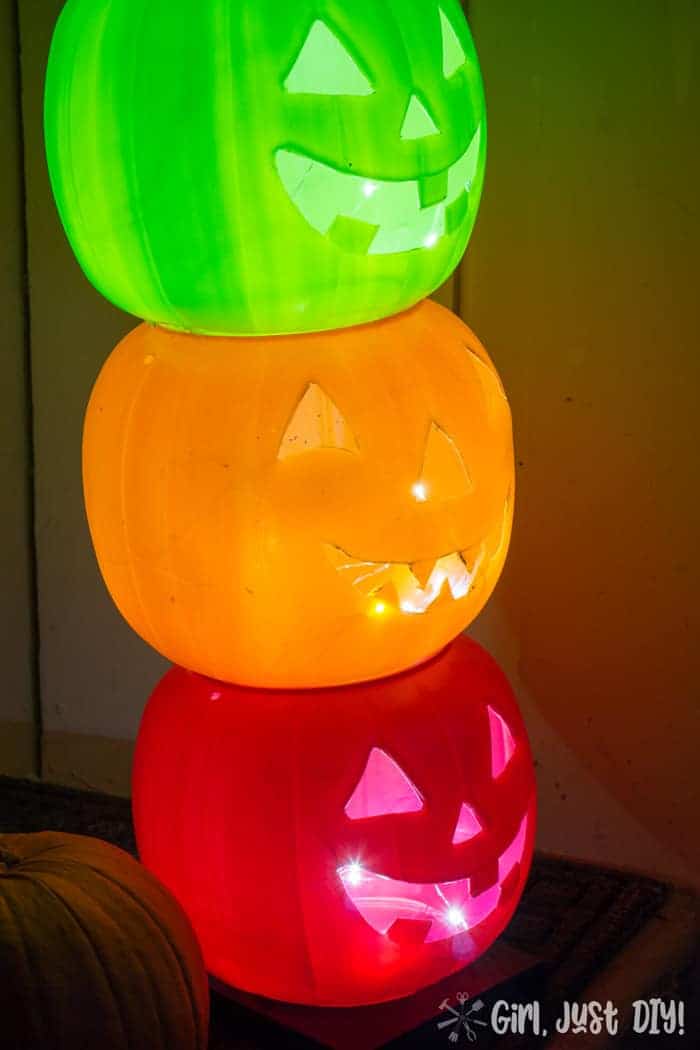
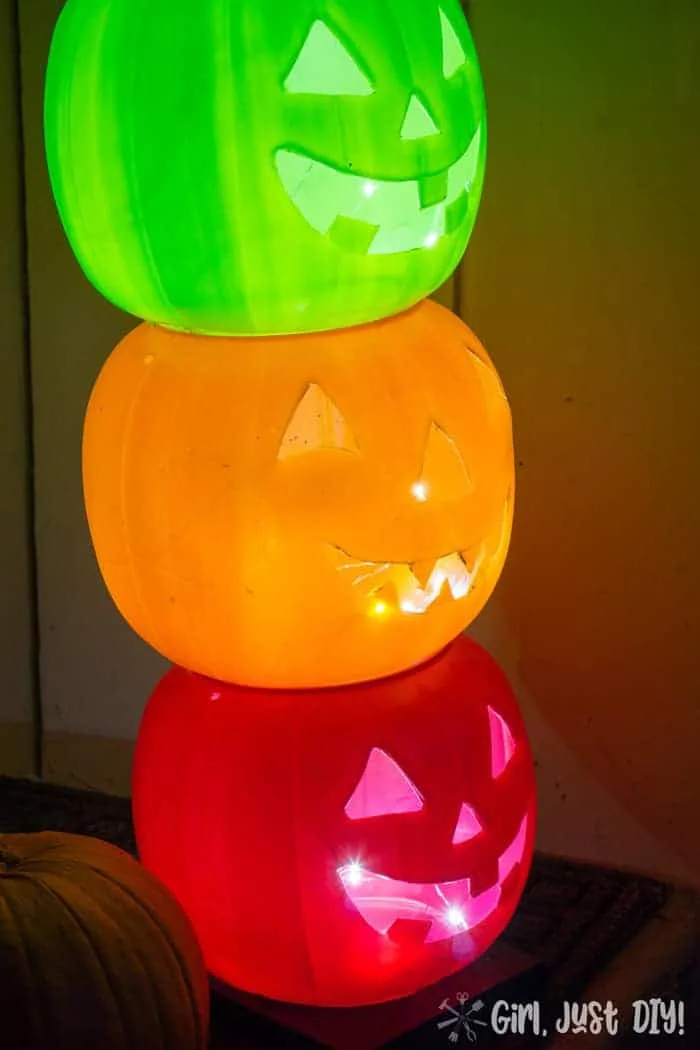
These cute Light Up Pumpkins really cast some cool shadows on the porch at night time.
Will you make or buy your light up pumpkins this year?
Pin it for Later!!