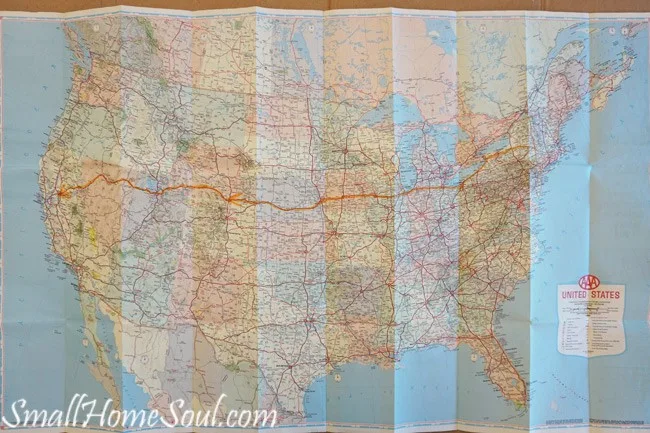
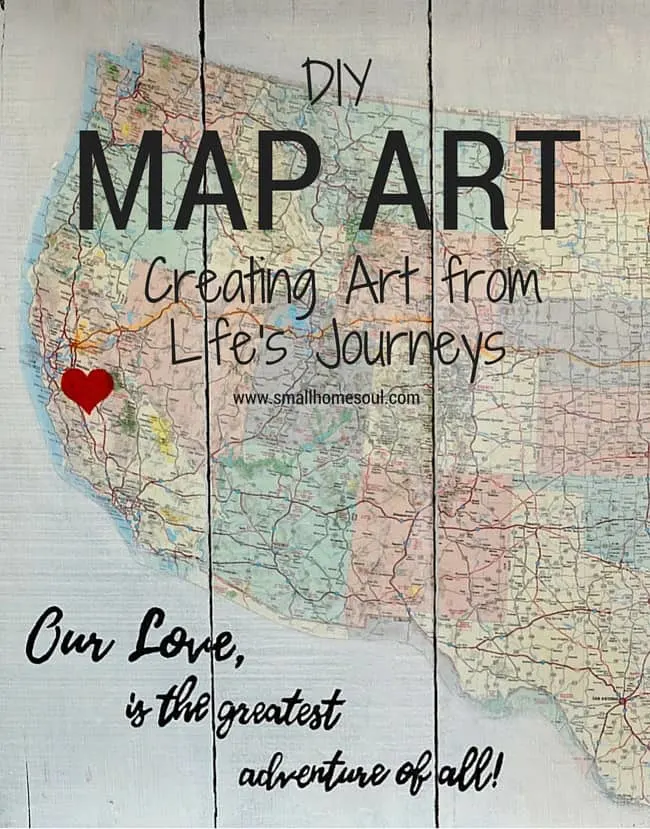
Hi friends, today I’m going to show you this awesome DIY Map Art that I created. My blogging group does a monthly challenge and this month the theme was maps or globes. After riffling through our plastic box of maps I ran across a map from 21 years ago that AAA gave us to chart our course when we moved back to California from NY state.
No GPS in those days, just good old maps and map books. Oh, how times have changed, the youngsters today have no idea the hardships we endured 🙂
This post contains some affiliate links for your convenience. If you make a purchase after clicking a link I may earn a small commission, at no extra cost to you.
DIY Map Art Supply List
- Map
- Frame or Board
- Spray Bottle with Vinegar/Water solution
- Putty Knife
- Box Cutter
- Frog Tape
- Paint
- Paint Brush (I have this Purdy Paint Brush and love it!)
- Foam Brush
- Mod Podge
- Sharpies
I knew immediately how I was going to display it. I had bought a rickety wood frame at a Teen Challenge Thrift Store. The picture is titled “The Painted Door” but it wasn’t anything I planned to hang in my house, I just wanted the frame.
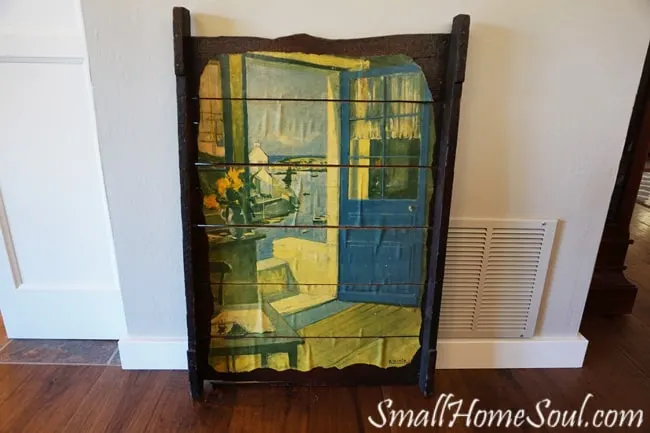
I’d already determined it wasn’t worth anything, lithographs by the French artist who died in 1956 are worth about $60 in great condition. This one had been cut and was cracked and peeling so it couldn’t have had any value. Plus I think it was just a poster that someone DIY’d. But I do check because you never know when you’ll run across a major score at a thrift store.
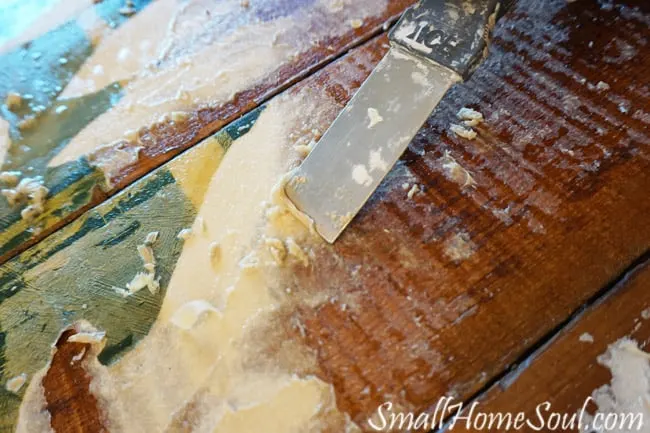
First step was to remove the picture. Um, glue from many years ago was some serious stuff. I had to pick and pull and then spray with vinegar and water to get as much off as possible. I didn’t need it to be perfect Since I was going to paint; but I wanted the edges to be free from glue and paper since they would show.
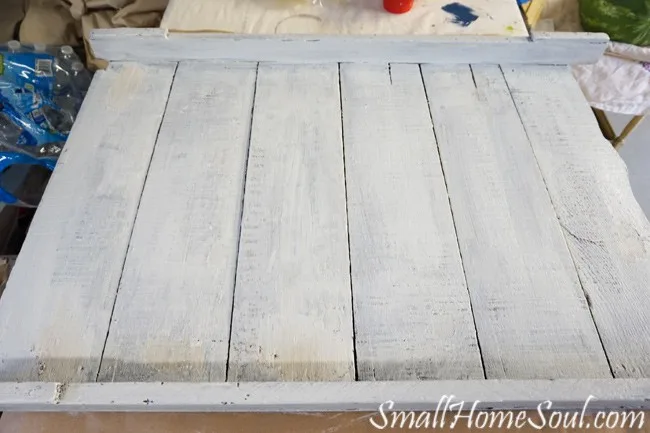
After I got it all stripped I slapped a few thin coats of white paint on it, leaving some areas where you can see the dark original finish. Now it’s ready for the map.
- First I carefully trimmed the map.
- Next I found the Longitudinal Line near the tip of Texas and followied it up through North Dakota.
- I measured to make sure those lines were centered on my frame.
- If I hadn’t taken this care my map could have turned out crooked.
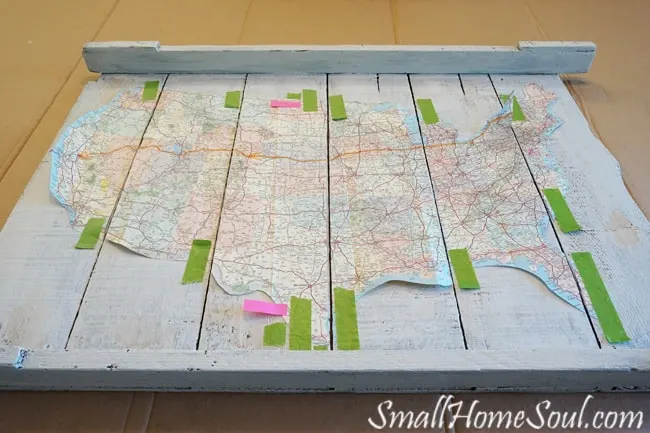
- With the map where I wanted it I taped it in place with some Frog Tape so it wouldn’t damage the map. Then I started in the middle and using a long straight board I cut the map on the edge of each board.
- I moved the cut edge over slightly to line it up on the edge of the next board, lined up the orange hightlighted freeway, taped it, and cut the other edge.
- I worked from the center East and when that half was done I moved West (just like we did 🙂 )
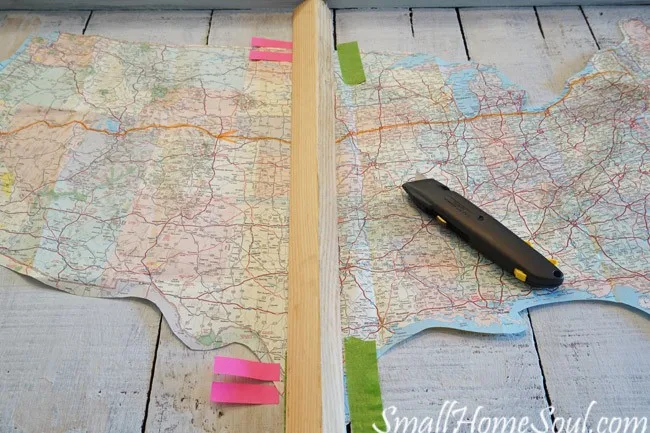
Here are all six sections cut and ready for the next step….Mod Podge.
Using your foam brush spread some Mod Podge on your surface and then on the back of the item you are affixing. Work from the center outward to get a smooth finish. I had some bumps from the fold and a few air bubbles in mine but that helps the map look old.
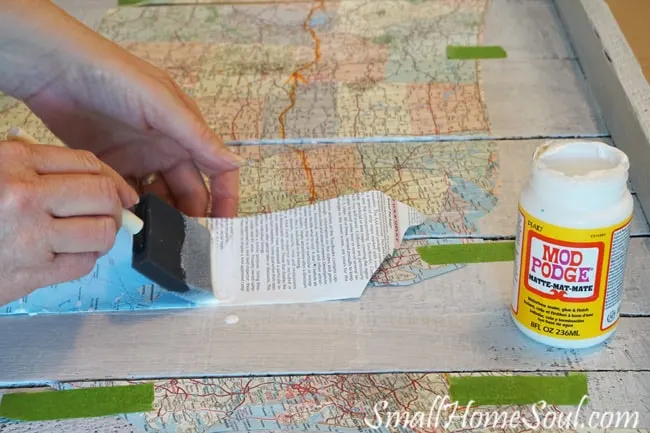
Almost done. Working with Mod Podge reminds me of being in school and using paste or plaster of paris. My fingers were covered 🙂
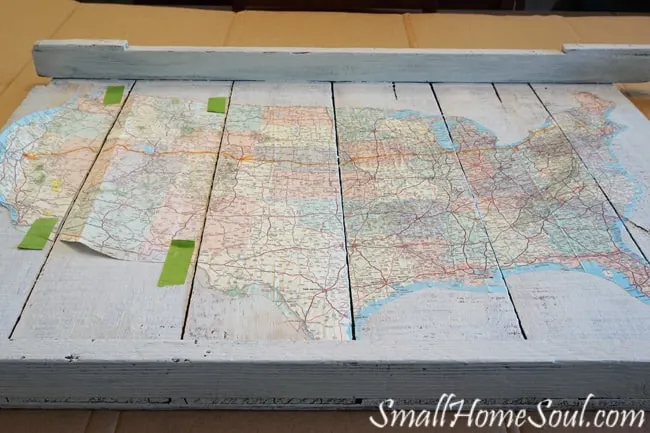
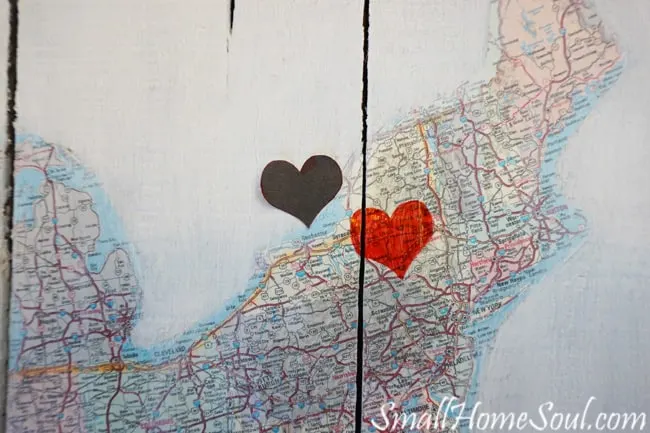
When I was done and it had dried it was time to add some personal touches. I printed off and trimmed a heart which I traced onto NY and CA and then filled in with a red sharpie and eventually a little bit of red paint.
Adding a Quote to your DIY Map Art
Next I applied a quote to my DIY Map Art. There are a few methods but here’s how I did mine:
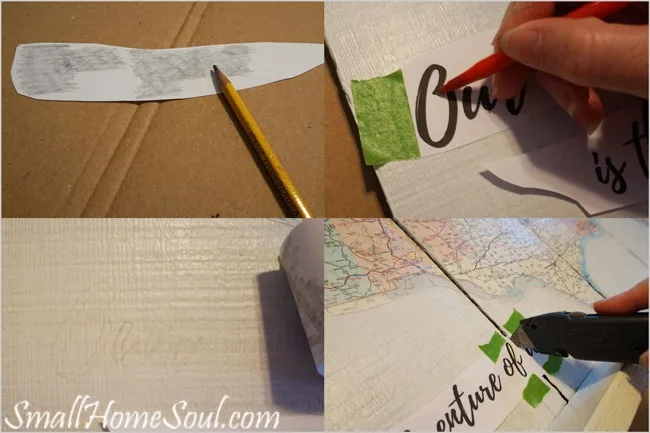
- I printed a quote on paper then cut it into sections and arranged it until I found a good placement.
- Using a pencil I covered the back of the words and put them back carefully on the frame and taped them in place with a little frog tape.
- I used a pen to trace the letters, pressing hard and being careful not to miss a line.
- You can see the outline transferred in the picture below left.
- Once you have your outlines down carefully trace and fill in the letters with a Sharpie; I used a black sharpie but you could use any color you want.
Here is my finished DIY Map Art project, it took longer than I wanted because I had to strip the poster but it turned out so great! I still need to hang a few things around it and fill up the wall a bit but this is a good start to change out how this wall looked when I shared my Reupholstered our Dining Chairs.
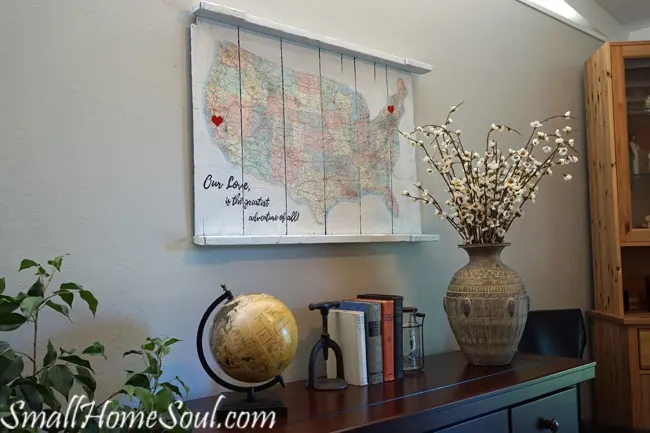
We only lived in NY state for one year, which is where my husband grew up. It’s hard to believe that was 21 years ago. Our love has only grown stronger over the years. I love seeing this map hanging on the wall representing a journey in our marriage that includes where we both come from.
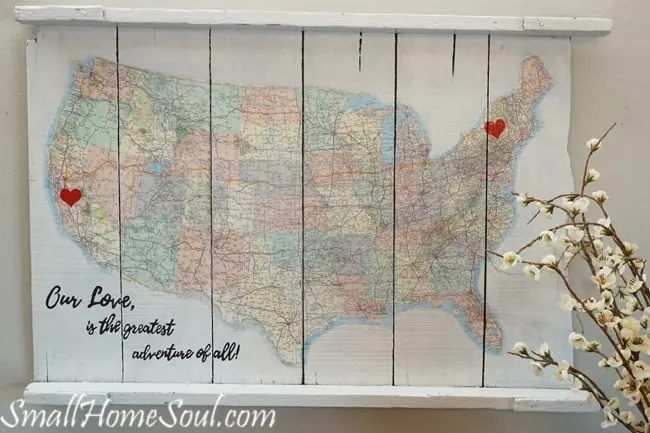
Don’t forget to pin this project for some inspiration when you’re ready to make your own DIY Map Art!
Check out all the other awesome DIY Map Art projects by my blogging buddies below:
Kimberly
Sunday 15th of July 2018
Toni, this is definitely my favorite project to date! I absolutely what to do this. Not sure if you remember, but when you were telling me about hanginging a map on your office wall, I mentioned that Scott has been wanting to hang on in his. Now I know how we will do it! Thanks so much for the inspiration you've given me with this!
Toni | Small Home Soul
Monday 16th of July 2018
Yay Kim!! I'm so glad I was able to inspire your project for Scott. It's going to turn out amazing. Please send me a picture when it's all done :D XOXO
Michelle
Monday 4th of June 2018
This is an awesome project. I want to do one of these. It turned out fabulous!!!
Toni | Small Home Soul
Monday 11th of June 2018
Thanks Michelle, it was a fun project to work on :)
JaneEllen Jones
Thursday 24th of November 2016
What a great and very well done project. How in heck did you figure out how to do that so well, looks so incredible on your wall. It's a good sized map project. I'd love to do one showing where hubs and I met and all the places we've lived, will need to think on it before I start. Hope mine turns out so nicely as yours.
Hope you and yours had fantastic Thanksgiving
Toni Harvey
Wednesday 30th of November 2016
Thank you JaneEllen! I lined up the longitudinal (latitudinal) lines on the map so they were level because no one wants their country map to be crooked. Your project sounds lovely, there are many inspiring projects you can find on Pinterest to give you some ideas too! My Thanksgiving was beautiful as I hope yours was also!
LydiaF
Tuesday 2nd of August 2016
So many great tips in this tutorial! I've shown it a lot of social media love :) Thanks for sharing with us at Creatively Crafty #ccbg (PS I will remember the tip for transferring the lettering...)
Toni Harvey
Tuesday 2nd of August 2016
Thank you so much Lydia, I appreciate the <3
janet trieschman
Monday 1st of August 2016
That is a really nice transformation. I love how you cut around the map instead of leaving it a rectangle. Thanks for sharing your post with us at @CCBG. http://tryit-likeit.com/link-party-it
Toni Harvey
Tuesday 2nd of August 2016
Thank you Janet! Cutting out the map took me down memory lane of being in the 5th grade and drawing the United States outline :)