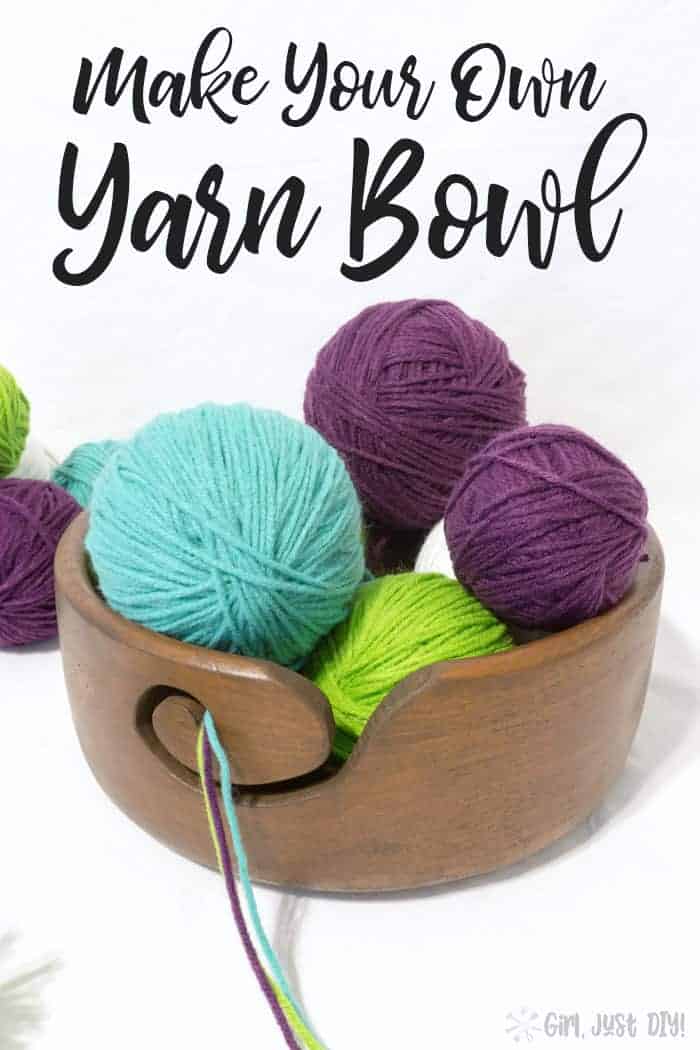
Have you seen all those cute yarn bowls for sale? But the price to buy one always makes me pause since I’m not a knitter. So I decided I could try my hand at making a DIY Yarn Bowl.


They’re a great idea for keeping yarn balls under control.
I wanted to get one for my mom but I knew she wouldn’t like the ones I saw originally where the string came out through the nose.
They were cute but kind of creepy and remind me of the faces people put on their trees. Then I started seeing pretty ceramic ones and even bowls made from wood.
I’m not a knitter or crocheter (yet) but I’ve made my own Pom Poms for this Pom Pom Pillow and this DIY Yarn Bowl would have come in so handy.
Since my mom’s a yarn artist I’m giving this one to her.
The timing is perfect because this is Week 4 of the Deck the Home Blog Hop and this week’s theme is DIY Gift.
Be sure to check out the other Gift Ideas from the other talented bloggers linked up at the bottom of this post.
This post contains links to products, if you purchase something after clicking on my link I may earn a small commission (at no extra cost to you).
DIY Yarn Bowl Supplies
- Wood bowl, bigger than at least one ball of yarn
- Paper and Pencil
- Transfer Paper
- Jigsaw Tool
- Bar Clamp
- Sandpaper (60 Grit and 120 Grit)
- Bamboo Skewer(s)
- General Finishes Gel Stain
- High Performance Top Coat
- 2″ Foam brushes
- Tack cloth
Making a DIY Yarn Bowl
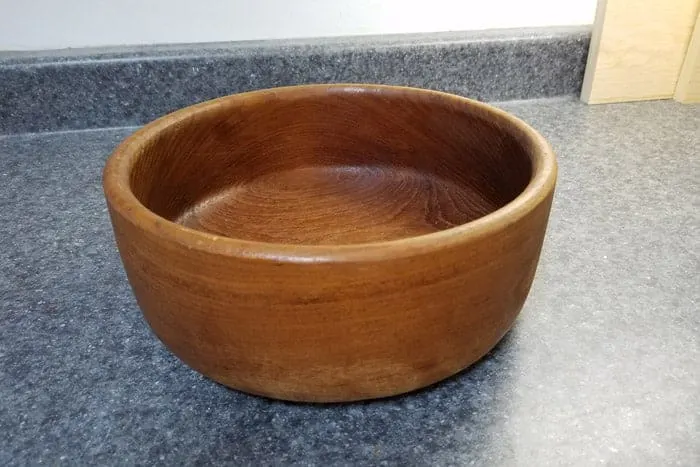
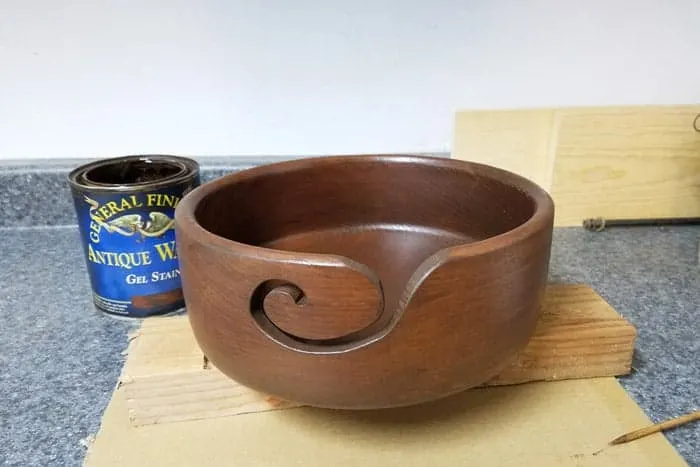
I went to an estate sale in my neighborhood and found a lot of cool stuff and picked up a few wooden bowls. One of them was big, like for salad, and the other was smaller, maybe for rolls.
It was in rough shape, not cared for properly, but I grabbed it anyway. Seeing that it needed a little love it was the perfect candidate for a DIY Yarn Bowl.
It was either going to flop or it was going to be fabulous 😀

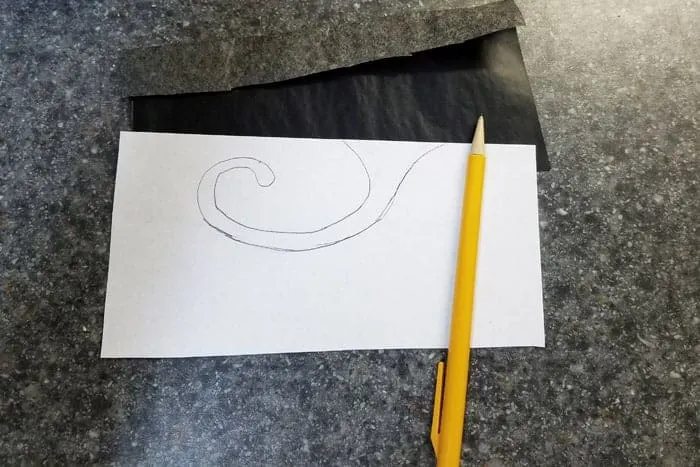
Step 1: Create your design cutout
Create a design you like on paper first. There should a loop or angle that will keep the yarn in place.
Remember, your jigsaw blade should be able to follow your pattern. Don’t try to make your swirl pattern turns too sharp and narrow
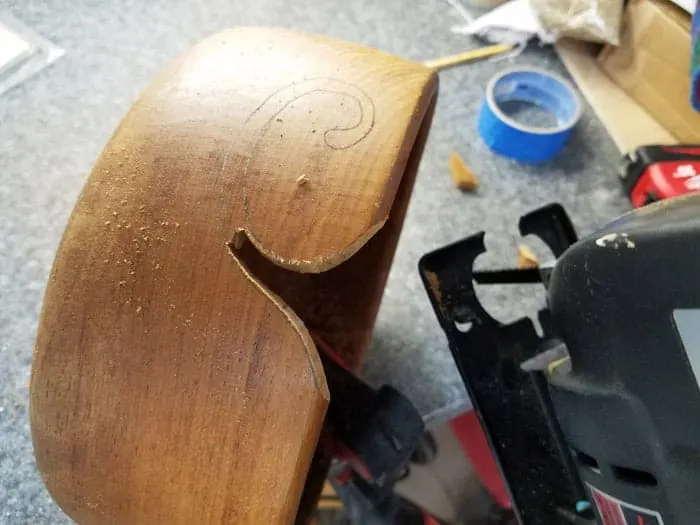
This is the design I came up with.

Step 2: Transfer your design to the bowl
- Tape or hold the design onto your bowl with a piece of transfer paper between the design and the bowl.

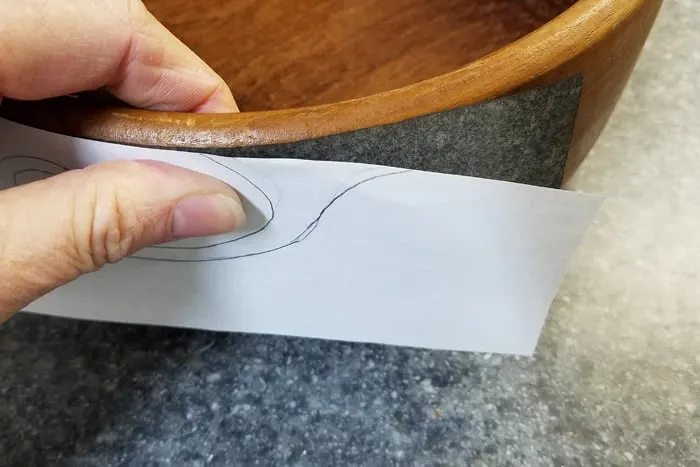
- Trace your design with the end of a closed pen or similar. I like to use a closed mechanical pencil.
- Lift up the transfer paper slightly while holding it in place on the other end. Check to ensure the design transferred.
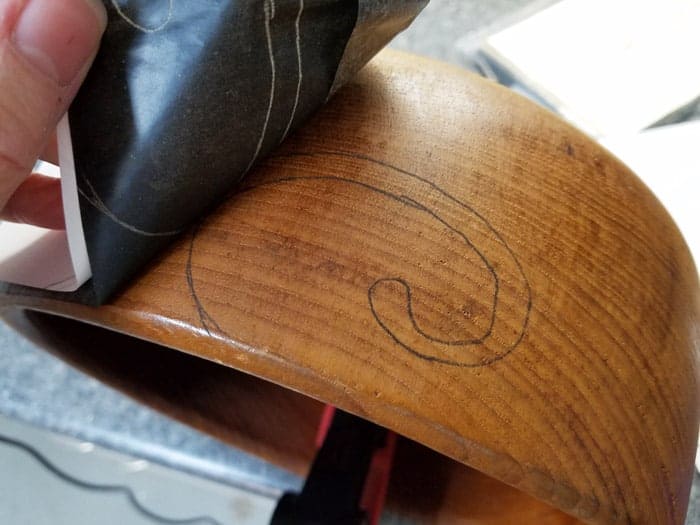

If it didn’t lay the design back down and trace over it again.
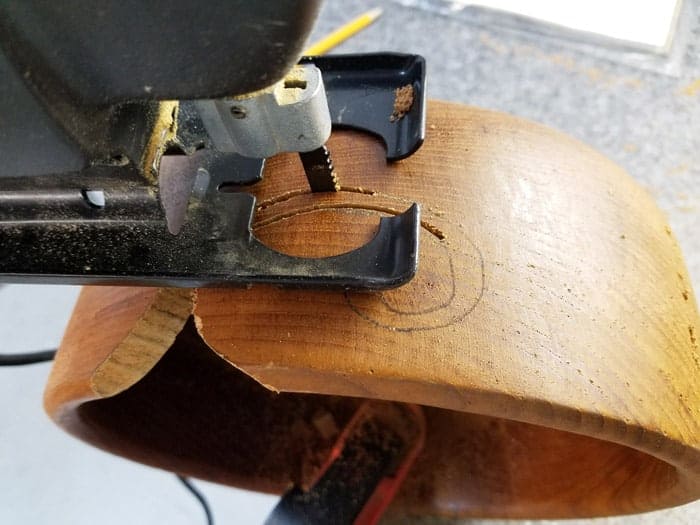
Step 3: Cut out the swirl pattern
Let’s start cutting the design. You’ll probably have to be a bit ambidextrous, just go slowly.
Also, I find that starting the jigsaw at a high speed and moving the blade slowly works better than a slow moving blade giving you more control.
- Clamp the bowl to a solid surface. If the bowl shakes hold it with your opposite hand.
- Using the jigsaw cut a little ways into your design on one side, then cut away that small section.
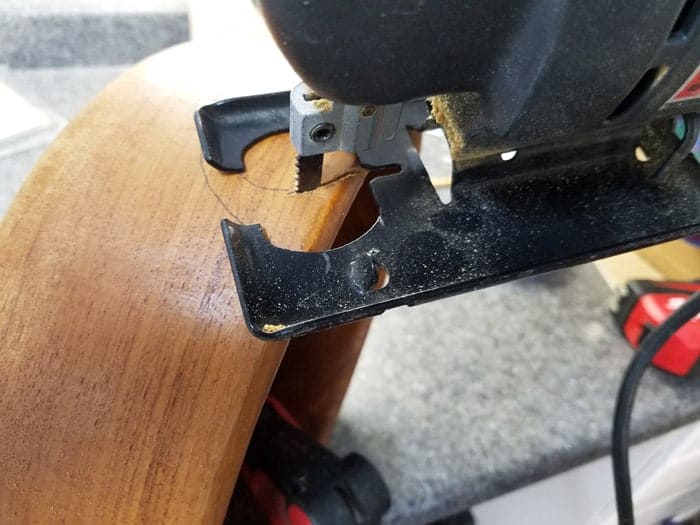
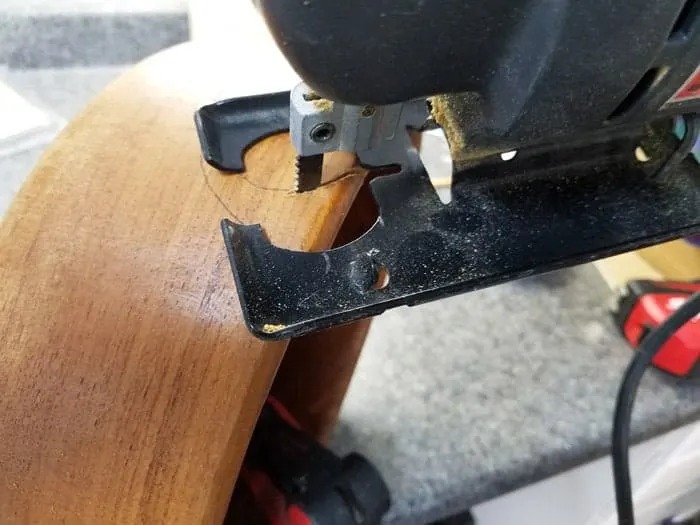

- Continue alternating the sides on which you cut. If the section you’ve cut doesn’t break off on it’s own (at a wood grain) you can maneuver the blade of the jigsaw to cut that section away.
- Keep using the same technique as you maneuver into the swoop.

- When cutting deep into the swoop you may have to cut into or through the middle area before you can smooth the outer edges with your blade. The wood on this bowl was pretty soft so cutting wasn’t too difficult.

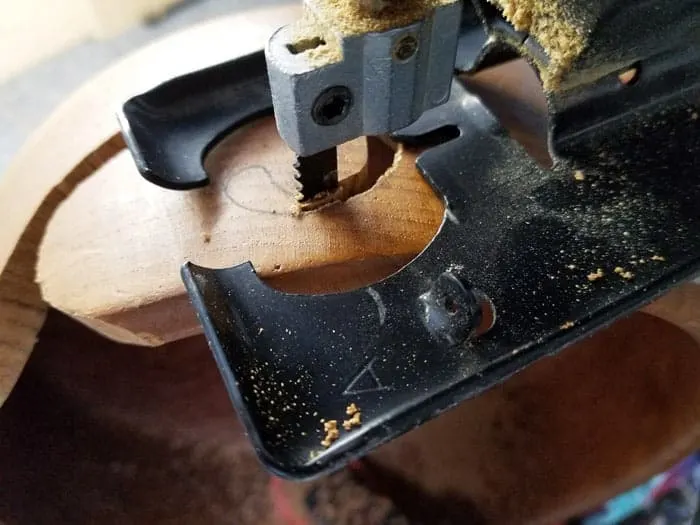
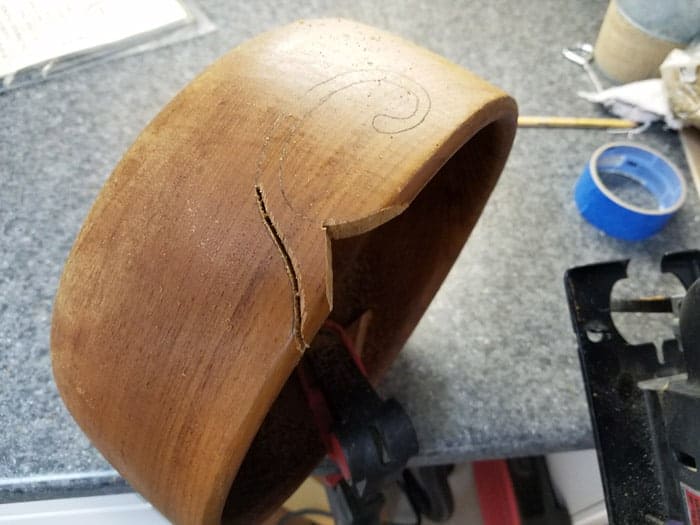
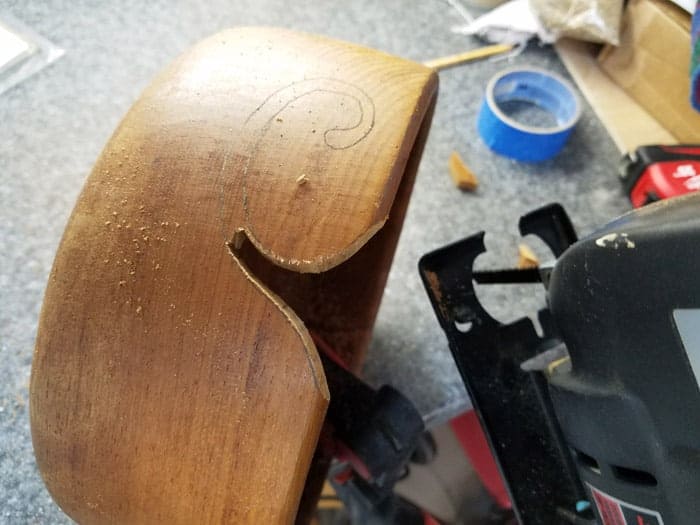
- Be careful, however, that you don’t put pressure on the now suspended section of wood. (I was so nervous I was going to break it off and have a flop project.)
Don’t worry if your cut looks rough like mine does.
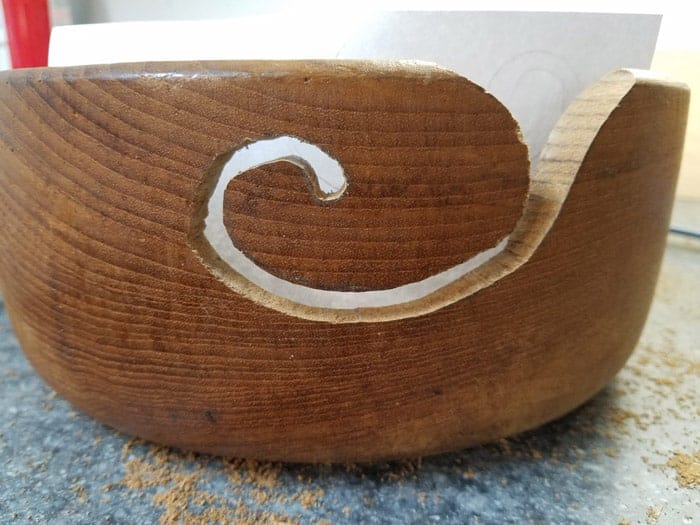

It will clean up with a little sanding.
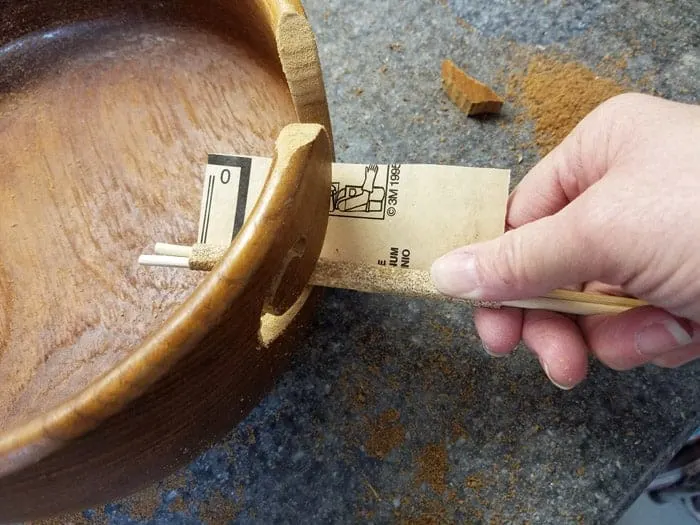
- Take two few bamboo skewers and wrap a skinny section of 60 grit sandpaper around them.
- Insert them into the cut design and begin sanding.
- Take a few passes and then check, you may have to use more or less pressure to smooth out all the edges.

- If necessary remove one skewer to get into the tighter swirl.

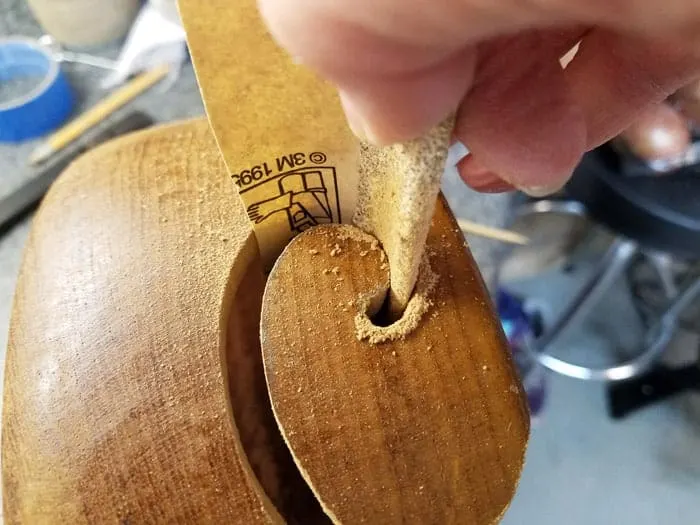
- Repeat the process with the firer grit sandpaper (I think I used 150 grit) to really smooth the cuts.
- Using course and then higher grit sandpaper, give the inside and outside of the bowl a good sanding to prep for stain. Wipe it down with tack cloth to remove all the sanding dust.
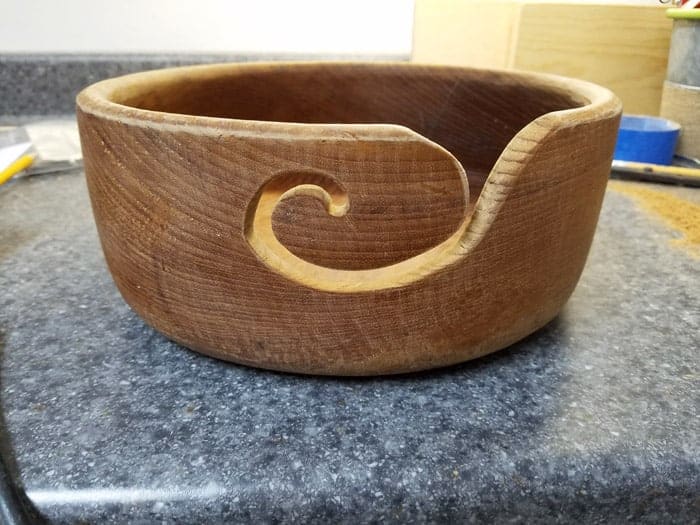

See, all those rough edges are gone now 🙂
Since I decided to use Gel Stain I didn’t need to completely remove the old finish (the best part about this awesome stuff). But I did want to remove the cracked varnish or whatever they put on originally that was damaged from improper cleaning over the years.
You can see how easy it was for me to cover the old finish on the Floating Shelves in my Office. The gel stain really is amazing!
Protect your DIY Yarn Bowl
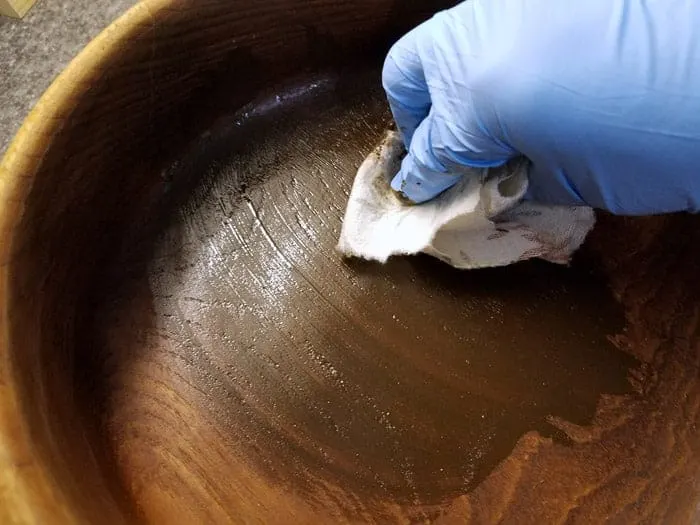
- Open and stir the Gel Stain
- Use a foam brush or an old rag and apply Gel Stain in an even coat to first the inside, the rim, and then the outside.
- Fold the rag and slip it into the cut out swoop to stain that section also.

- Work quickly get even coverage being certain to gently wipe away any overlap or blobs.
- Rest the bowl on a piece of scrap wood or an inverted blow until it is completely dry.

If applying Gel Stain over another finish you should let it dry for 72 hours before applying the Top Coat. And if you’re using the High Performance Top Coat versus their oil-based top coat you have to let them dry for 3 days anyway.
That’s because Gel Stain is oil-based and the top coat is water-based and requires that 72 hour dry time.
Don’t rush it, you don’t want all your hard work ruined because you were impatient.
After the 72 hours apply the High Performance topcoat and wait at least 2 hours between coats (as I did when I updated the floating shelves in my office). I like to use 3 coats (as they recommend).
- Working quickly apply the top coat to bowl.
- Be sure to cover the cut out swoosh as well. You do not want gel stain rubbing off onto the yarn as it’s pulled through the bowl.
- Apply a liberal amount but you don’t want it to pool.
- Resist the urge to over brush using light pressure or you could disturb the gel finish.
- Light lap marks are fine, they will tighten down as the finish dries.
- Sand between coats with a fine-grade (220-320) foam sanding will improve smoothness and adhesion. Clean sanding dust thoroughly between coats with tack cloth.
After the top coat application is complete your beautiful new DIY Yarn Bowl will be fully cured in a week or so. It’s best to allow for the full cure time for any finish. Just in time for Mom to use it with her next yarn project.
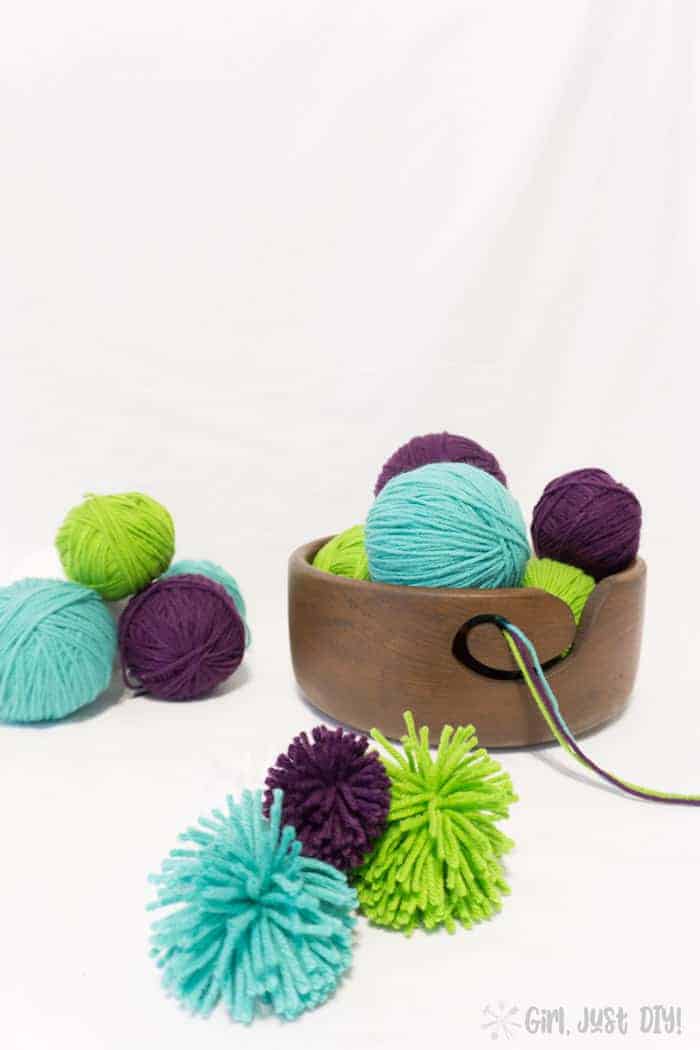
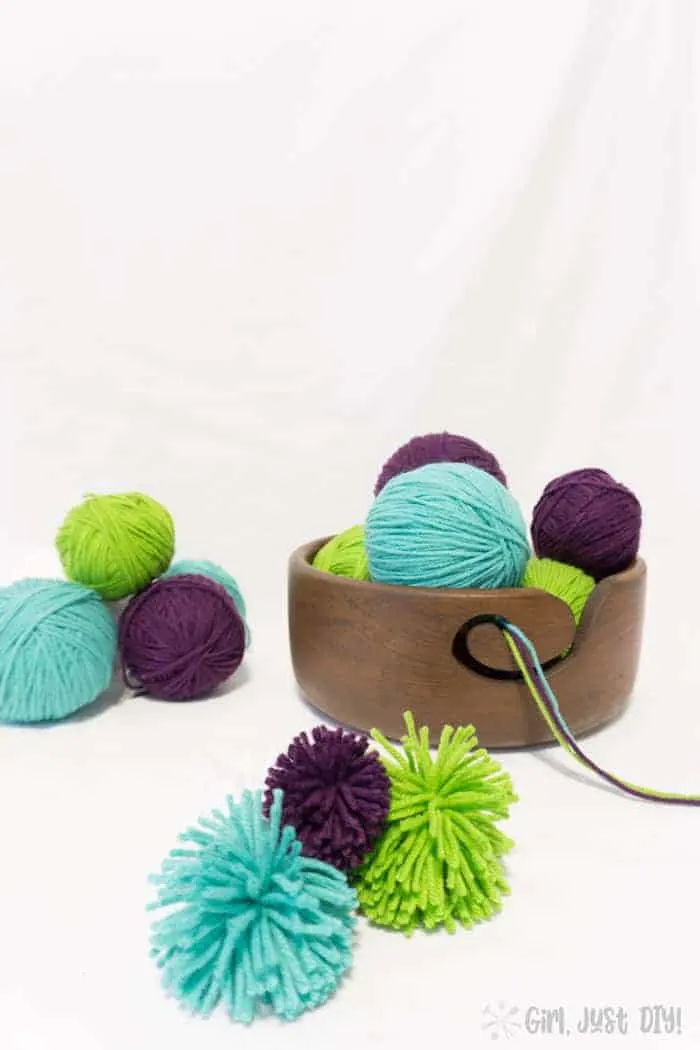
I know you can’t put this many yarn balls in at once but it looks so pretty this way.
And when she’s not using it the DIY Yarn Bowl stacked with colorful yarn balls will be a cute display on her end table.
I tested it with a few yarn balls at once and it worked pretty good. Two balls of yard worked better and of course one ball of yarn worked the best.


But I really love it with all the colorful yarn in it. I even used those colors and a few more to make a Bright and Colorful DIY Pompom Wreath 🙂
PIN IT FOR LATER!!

Deborah
Thursday 30th of April 2026
Hi I love your boards and admire your creativity. On one of your boards you had a list of bloggers and creators to follow, unfortunately the link was broken. I wonder if you could redo and update that list of suggested colleagues to follow? Thank you so much.
Squirrel Bennett
Monday 5th of January 2026
My best friend crochets and I’m a woodworker. I’m wanting to make a wooden yarn bowl for her. I’m impressed with your workmanship! Thank for the idea and tips!
Toni
Thursday 29th of January 2026
Thank you so much! My mom loved it and it worked great for her. Keep your eye open for those wooden bowls at the thrift stores.
blog
Sunday 17th of March 2019
Very good information. Lucky me I recently found your website by chance (stumbleupon). I've bookmarked it for later!
Wood Coffee Filter Holder - Easy DIY - Girl, Just DIY!
Tuesday 12th of March 2019
[…] Woodworking ProjectsDIY Yarn Bowl – Rolling Printer […]
Easy DIY Welcome Sign - You Can Make This! - Girl, Just DIY!
Friday 8th of March 2019
[…] Transfer Paper ProjectsDIY Yarn Bowl | Beginner Wood Burning | Rolling Pin […]