I love free stuff! Who doesn’t? That’s why I’ve shared at least a few stories of getting cheap or free stuff using the Facebook Buy/Sell groups. It’s the easiest way to get good quality new stuff for your house. I don’t always have a plan when I find stuff, like with these floating wood shelves. And they didn’t start out exactly like this.

I partnered with General Finishes to bring you this project.
All opinions expressed are my own.
I had these for a long time before I actually installed them. I can’t wait to show you how easy they were to modify a little bit and update and install with a secret ingredient.
When I was working on my Office for the One Room Challenge last Spring we were encouraged to reach out to some of the sponsors who love working with bloggers. One of the sponsors that go round was General Finishes. I just happened to be in need of some stain for my floating wood shelves so it couldn’t have been better timing.
You might recall from my posts about My Office Reveal that I jumped in at the very last minute. The contact at General Finishes was wonderful to work with and after helping me decide on exact products for my project she got the shipment out to me right away. What a blessing that was.
This post contains links to products, if you purchase something after clicking on my link I may earn
a small commission (at no extra cost to you).
General Finishes was much faster getting me the product than I have been about getting this post up; apologies all around for my delays. It was a busy Summer and then I started the rebrand of my blog. I work at a turtle’s pace sometimes.
Floating Wood Shelves Supply List
- Floating shelves or other wood shelves
- General Finishes Gel Stain (I used Antique Walnut)
- General Finishes High Performance Topcoat (I used water-based)
- Latex or non-latex paint gloves
- Painter’s drop cloth
- Saw Horses or work table
- Foam Paint Brushes
- Lint-free rags or old t-shirts or rags
- Sand paper or sanding block
- Palm Sander (if cutting down your shelves)
- Tack cloth
- Miter Saw
- 4′ Level
- Cordless Drill
- Drill Bits
- 2.5″ Wood Screws
- Stud Finder
When I saw the shelves come up in the Buy/Sell feed I knew I wanted them. One of the wall brackets was cracked a bit but I took all six anyway because the rest were in great shape, although a bit dated. I didn’t know where/how I was going to use them but they tucked neatly beside a cabinet in the garage. Shhh, I sort of hid them from my hubby 😉
I’m sorry I didn’t get a before picture but you’ll see what I’m working with in the pics below. They’re really display shelves, like for Beer Steins maybe? But the smaller depth would be perfect over the desk.
Planning the Wood Shelf Layout
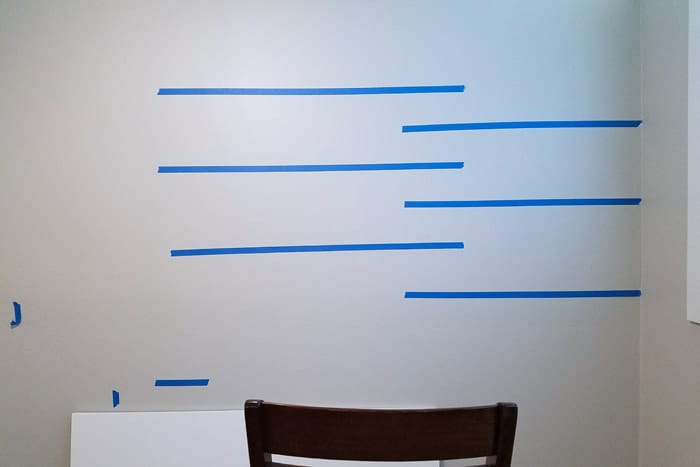
After I joined the One Room Challenge I had to make a plan, and quick. We used to have a TV hanging over the old desk that was never used so I knew the shelves would be perfect. They’d been in my stash for at least 2 years and I’d forgotten the sizes.
One was 6 foot, two were 4 foot, and three were 3 foot. How was I going to make it work AND have them look right? Using painter’s tape I tried multiple configurations on the wall and nothing looked good. Thankfully I had a light bulb moment and decided to cut down the 6′ shelf to make a third 4 footer.
Phew, that gave me the balance I was looking for and here’s the configuration I finally settled on.
Prepping and Sanding
With the Miter Saw I cut down the longest board and got to work sanding it. It didn’t take long to realize my favorite little sanding tool ($0.50 score) wasn’t going to work quickly on oak so I broke out the palm sander.
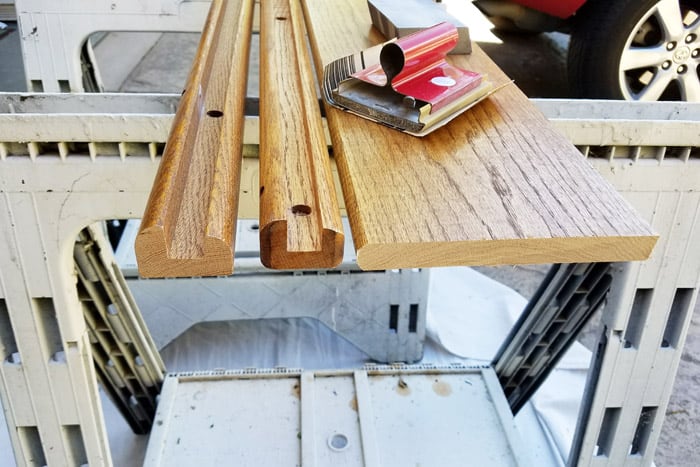
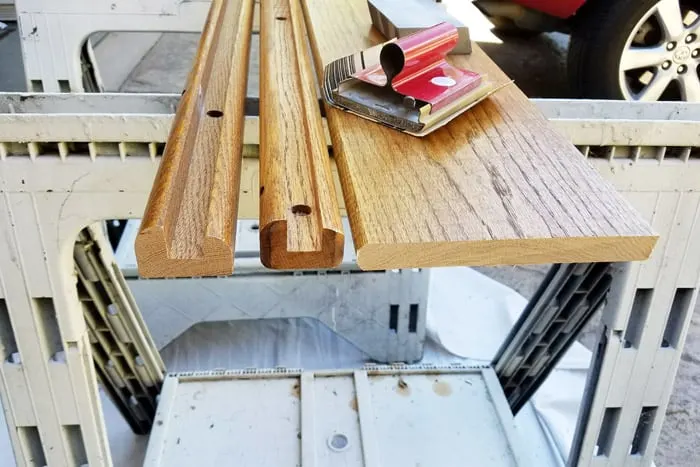
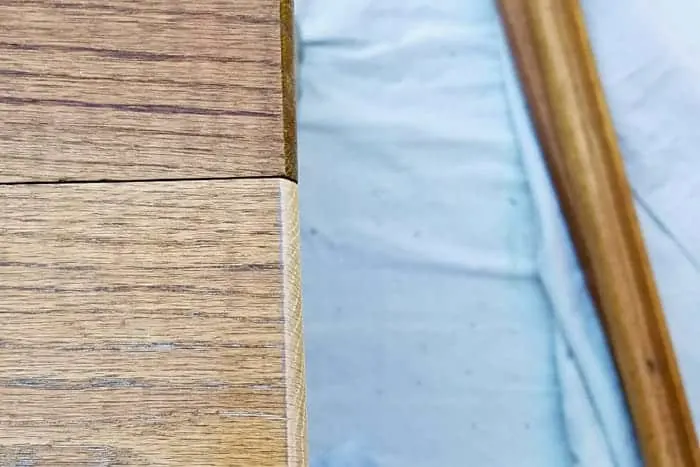
If you look closely you can see the pencil mark I made on the top of the cut board to follow and match the curve of the other shelf. It turned out pretty darn good and now I can’t tell which shelf had been trimmed.

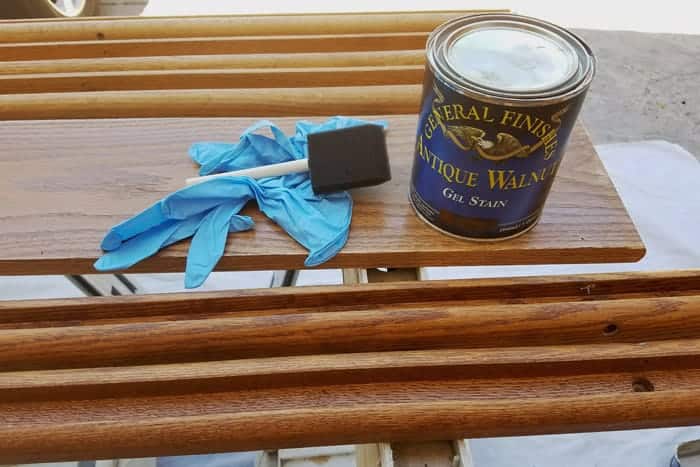
To get ready for staining it’s important to prep your shelves, and read all the instructions on the can. Since I used General Finishes Gel Stain I didn’t need to get down to bare wood. What a time saver and a real bonus of using this product.

- Give all the boards and brackets a light sanding.
- Use a tack cloth or slightly damp rag to remove any sanding dust.
- Lay out a drop cloth under your saw horses or work table to protect the ground.
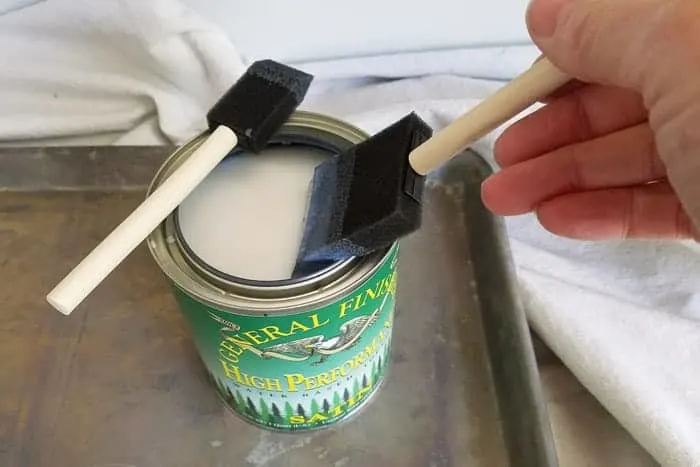
Staining your Floating Wood Shelves
- Read the directions carefully before opening the can of Gel Stain.
- Stir gently until it’s fully blended.
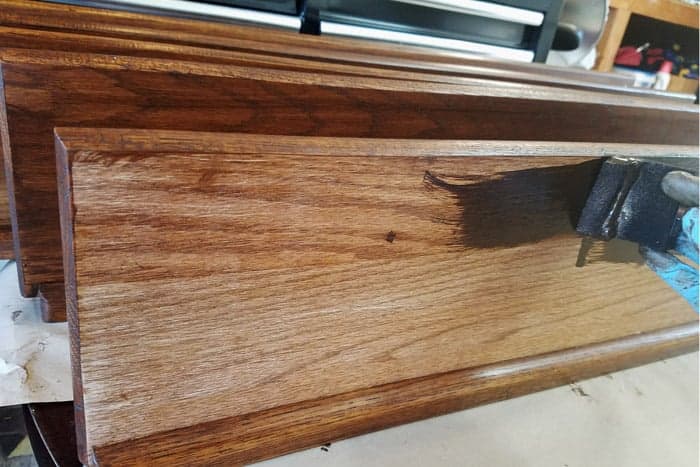
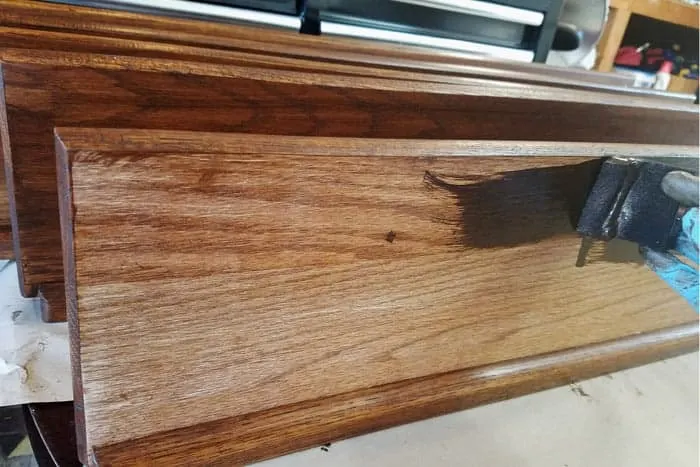
- Apply the Gel Stain with a paint brush or foam brush in the direction of the grain and make sure the entire surface and edges are covered evenly.


The brackets were stained first so they’d be dry enough when I was ready to stain the underside of the shelves. More on that in a minute.
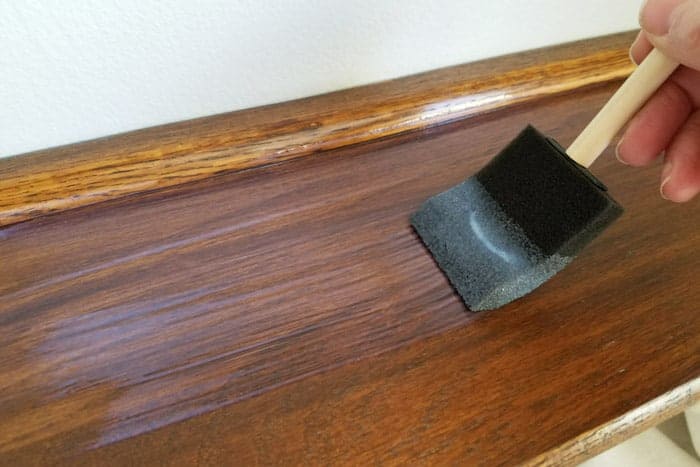
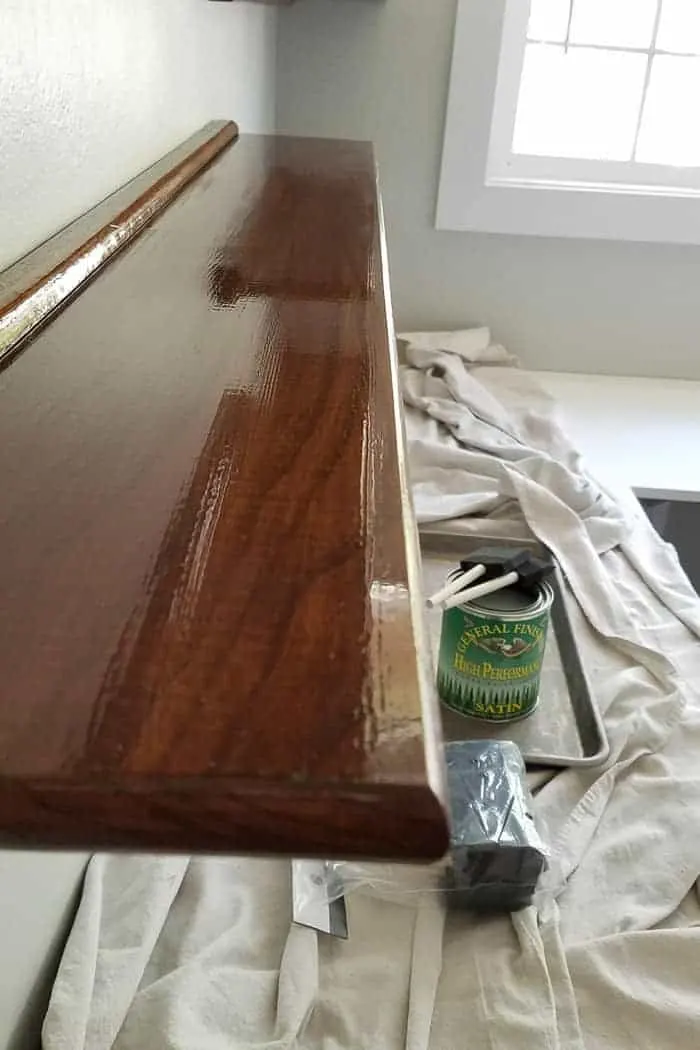
I missed taking a few pictures during the process but you can see how the stain applies above and how it looks after you wipe off the excess below.

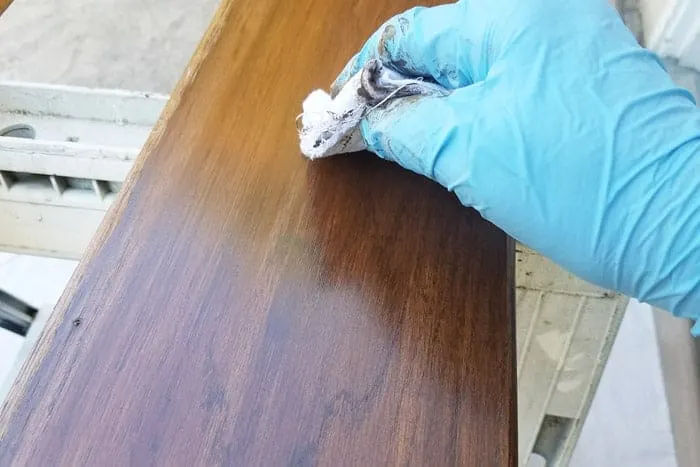
- Let the Gel Stain sit for a minute and using some old absorbent cloths carefully wipe away any excess, being sure no lap marks remain.
- Let it dry fully to the touch before handling.
You can see in this picture below what a dramatic difference, and that’s just one coat. You can add extra layers for even darker coverage. I stopped at one coat.

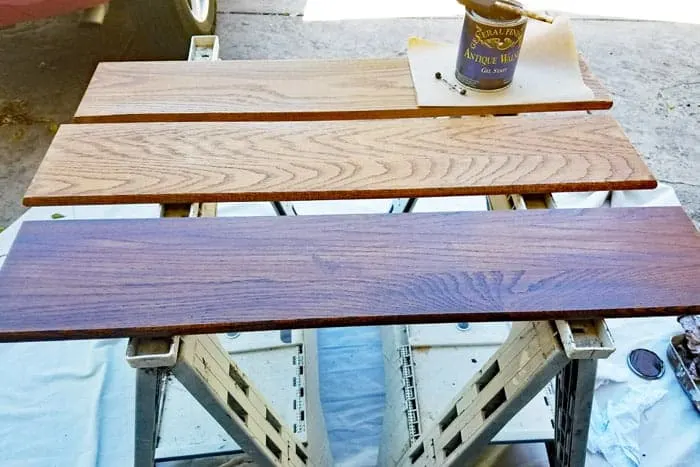
Since I jumped into this office makeover at the last minute, time wasn’t on my side. I rushed things along just a bit but I was careful not to risk the finish on the wood shelves.
The stain should dry for 72 hours when applied over another finish, and I did, eventually. But I needed to get the underside stained too, and I didn’t have 3 days to wait. Once the tops of the shelves were dry to the touch I very carefully slid one into the wall bracket on a small table in the garage. I painted the undersides of each shelf this way, very very carefully.
Installing Floating Wood Shelves
I didn’t photo document each of the steps necessary to install the shelves so I’ll give it to you mostly in bullet points. The brackets for these floating shelves came pre-drilled but I knew I wouldn’t be lucky enough for them all to line up perfectly. Here’s how it worked for me.
- Determine where you want your shelves to hang and the spacing and mark the location clearly.
- Remember, initially I used painter’s tape to find the perfect layout and spacing.
- Mark the wall where the underside of each shelf bracket will rest with a few light pencil lines along the length of each shelf.
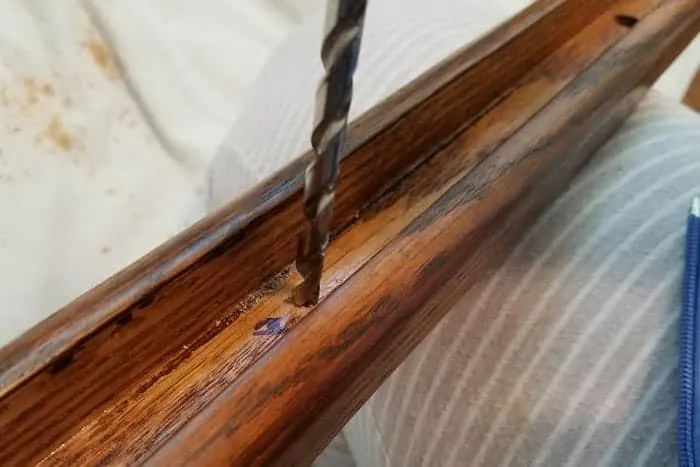
- Using a stud finder locate the studs in your walls. Mark the location either with pencil on the wall, or on a pieces of painter’s tape on the wall. Be sure to mark the stud for each shelf.
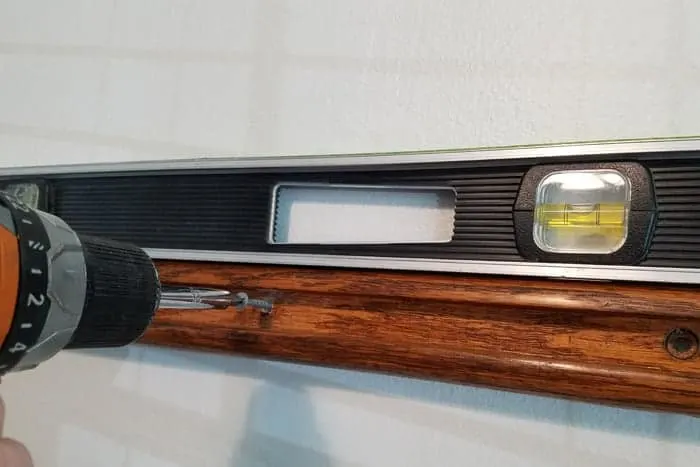
- Line up the first shelf bracket on the pencil line and determine if the studs line up with any pre-drilled holes. I was in luck and at least one hole lined up with the stud. That gave me a good start.
- If necessary mark and pre-drill holes where the shelf bracket crosses the stud(s).
- Drill holes with your cordless drill and a drill bit that is slightly bigger than the screw.
Yes, those are my jammie pants and yes, I’m drilling right next to my thigh 🙂 Yikes, not smart so “don’t try this at home.” I love being so motivated by a project that I just get to work as soon as the coffee kicks in.

- With all the holes drilled line up your shelf over the mark on the wall and using the cordless drill and screw attach one end to the wall.
- Using the level make sure the shelf bracket is level and attach the bracket to the wall through the remaining holes.

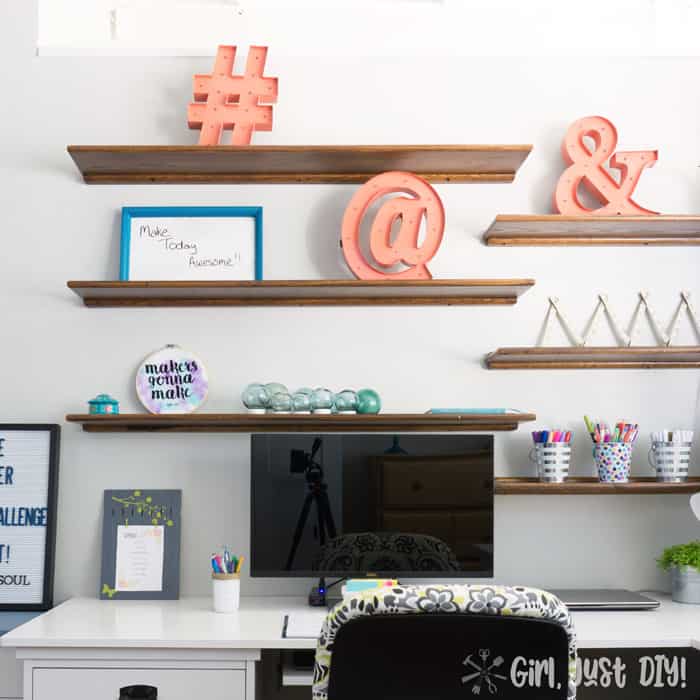
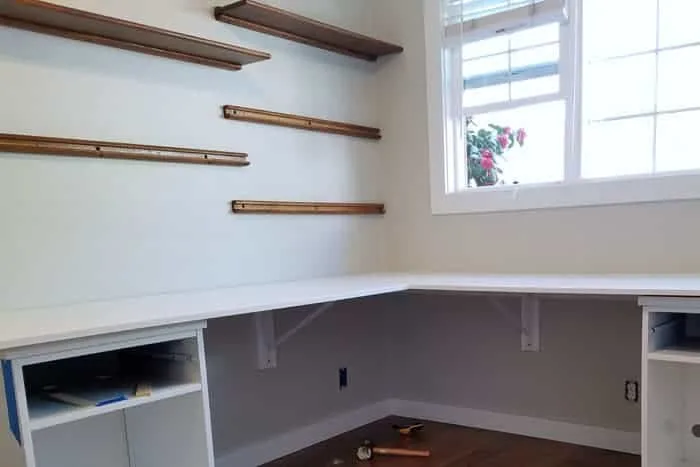
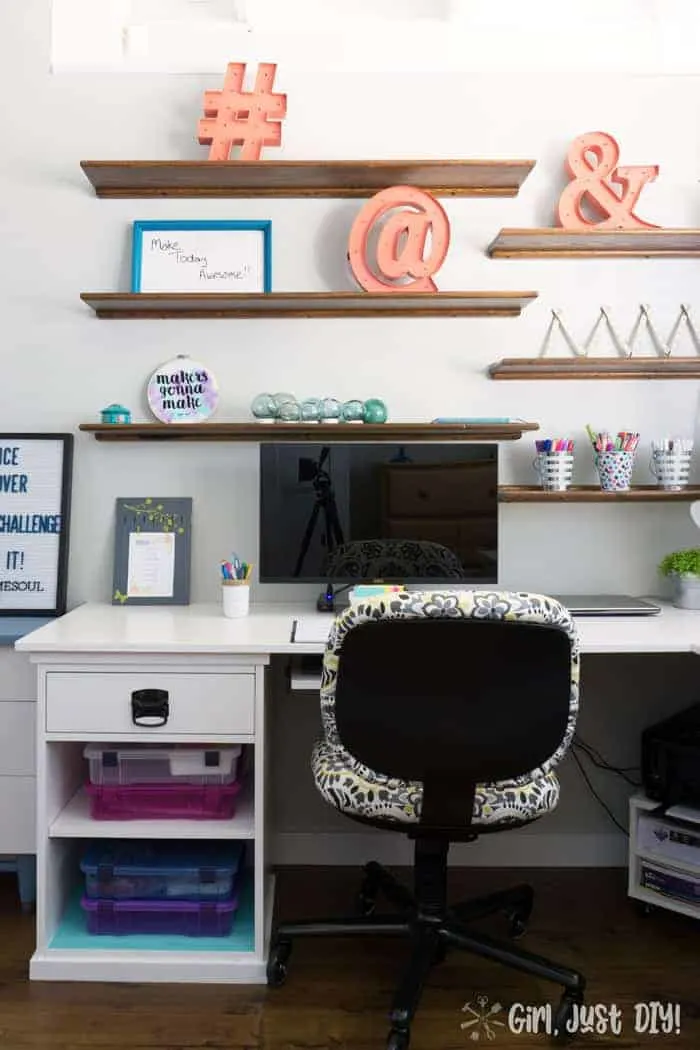
You can see all the brackets installed below, and a few of the higher shelves. The shelves are attached to the brackets with smaller screws from the underside. I waited to install the lower shelves until the desk was fully installed so we didn’t crack our skulls while we worked.

Protecting Your New Shelves
The last step is to give your new gel stained floating wall shelves a good protective coating. The shelves were left to cure for a full 72 hours since I used the water-based version of the High Performance Top Coat. I chose this over oil-based which can turn amber over time. I had the time to wait since we were busy installing the desk. But once that was completed it was time to finish these new beautiful wood shelves.
- Follow the instruction on the can and stir well.
- Lay out a drop cloth to protect your surface.

- Working quickly apply the top coat to the floating shelves.
- Apply a liberal amount but you don’t want it to pool.
- Resist the urge to over brush using light pressure or you could disturb the gel finish.

- Apply a 2nd and a 3rd coat at 2 hour intervals (depending on conditions).
I applied the 3rd and final recommended layer of Top Coat and I was d-o-n-e!

I couldn’t wait to get the office finished so I could put pretty stuff on these beautiful shelves. Can you believe they were free? The gel stain makes them look like new. If only my pretty new shelves were still this organized 🙂
You need to try General Finishes Gel Stain and add it to your DIY toolkit. It’s so easy to work with and you will LOVE it!!

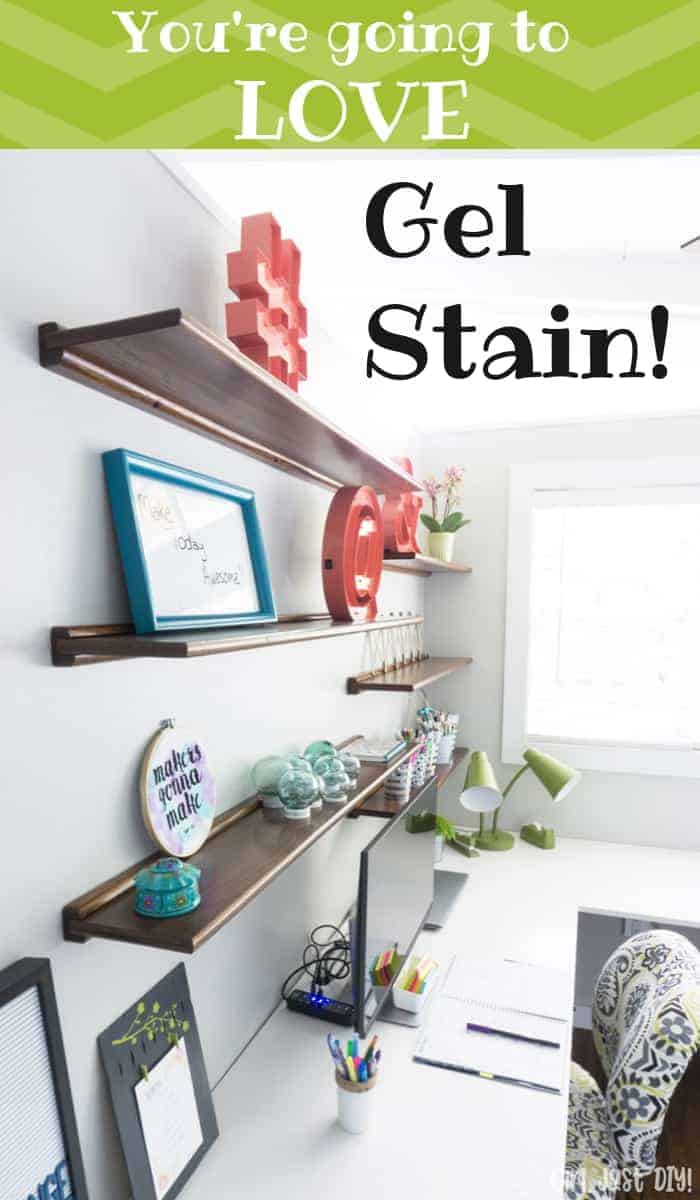
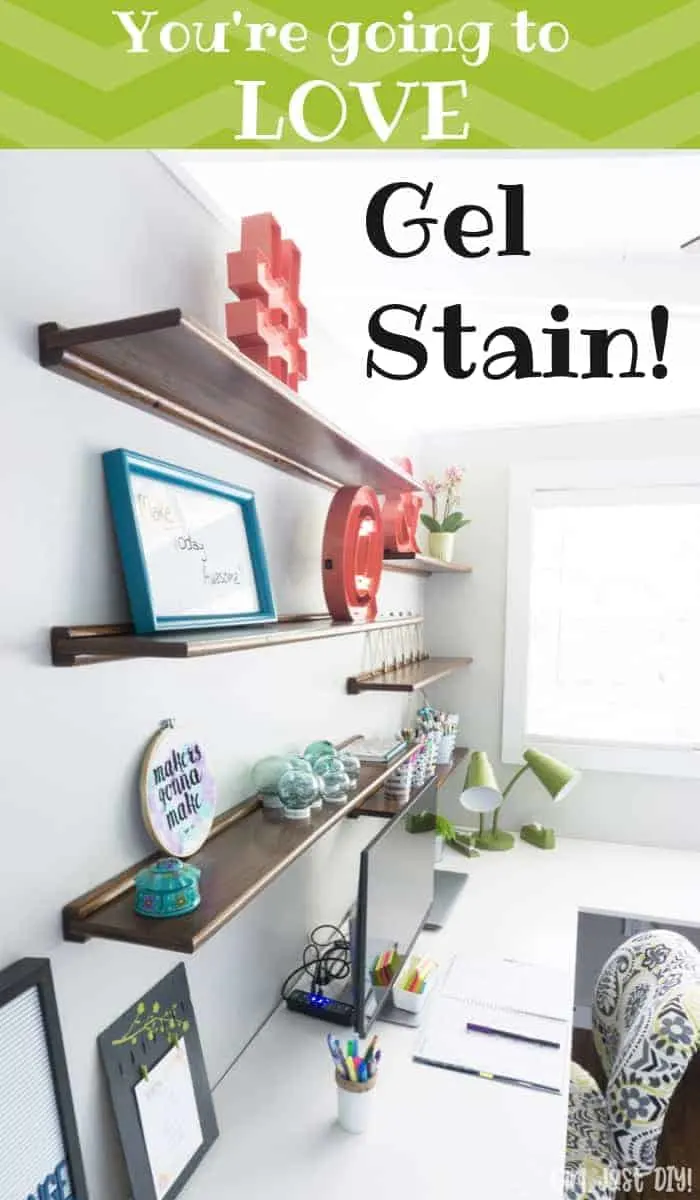
PINT IT FOR LATER!
I hope you love this little DIY project of mine and are inspired to Gel Stain something yourself very soon.
Go on now Girl (or guy), just DIY!
Toni
DIY Yarn Bowl - a Perfect Gift for Knitters - Girl, Just DIY!
Thursday 7th of March 2019
[…] can see how easy it was for me to cover the old finish on the Floating Shelves in my Office. The gel stain really is […]
Claire
Saturday 13th of October 2018
Both the rebrand and your office look great! Well done ?
Toni | Girl Just DIY
Monday 15th of October 2018
Thank you Claire ❤