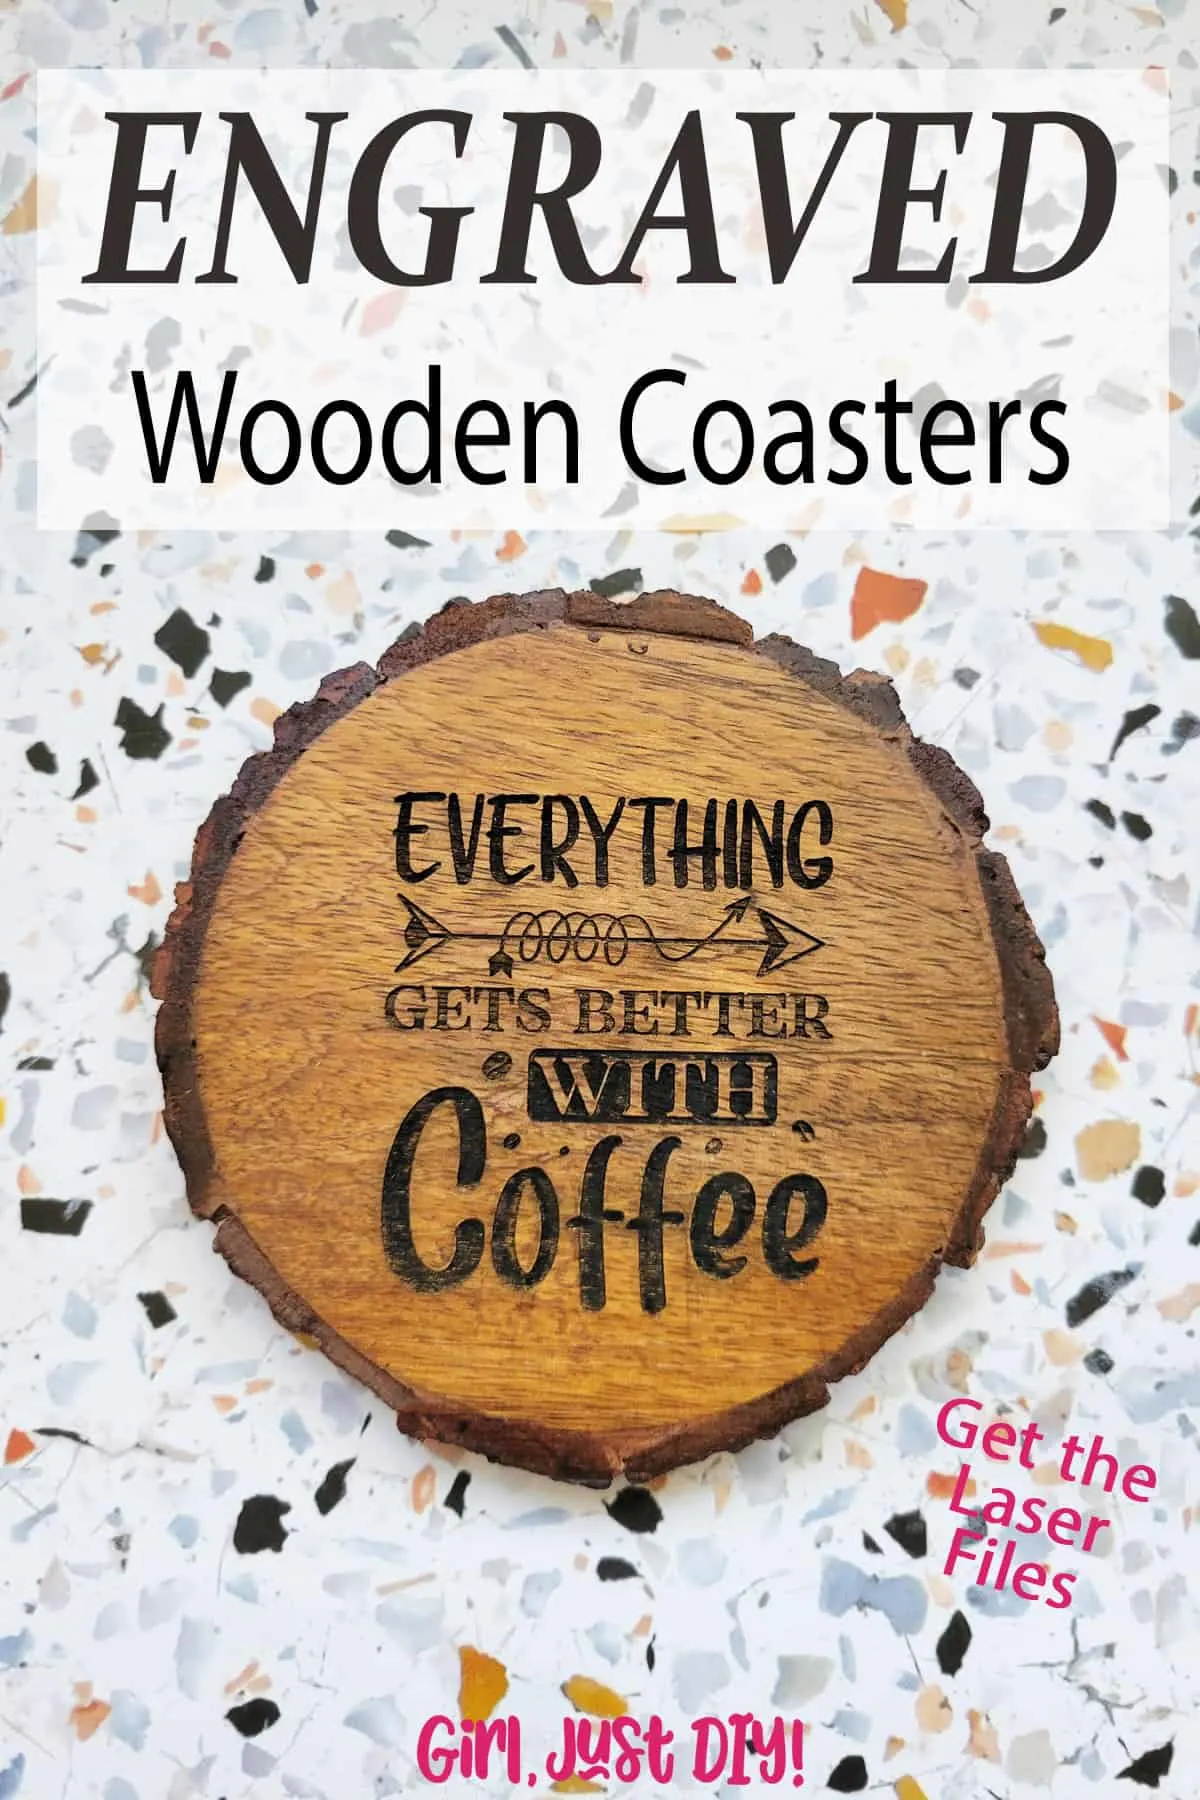
I have a fun new project to share today. Engraved Wood Coasters and they’re very easy to make. Especially when I’ve done the hard part and put together a cute set of files you can use to make your own. Look for those below.
Recently I shared my xTool M1 Laser review after receiving mine a month or so ago. Today I’m back with a full project tutorial to share with you.


This page contains links to products, if you purchase something after clicking on a link I may earn a small commission (at no cost to you). If you do make a purchase, thank you!
You can read about affiliate links here.
Supplies to make Engraved Wood Coasters
- Wood Slice Coaster Set
- xTool M1 Laser
- Black Marker
- Butcher Block Oil
SPACER
I love to shop at discount stores like Ross, TJ Maxx and Home Goods and I’ve had this set of wooden coasters (I think they’re Acacia) for a few years.
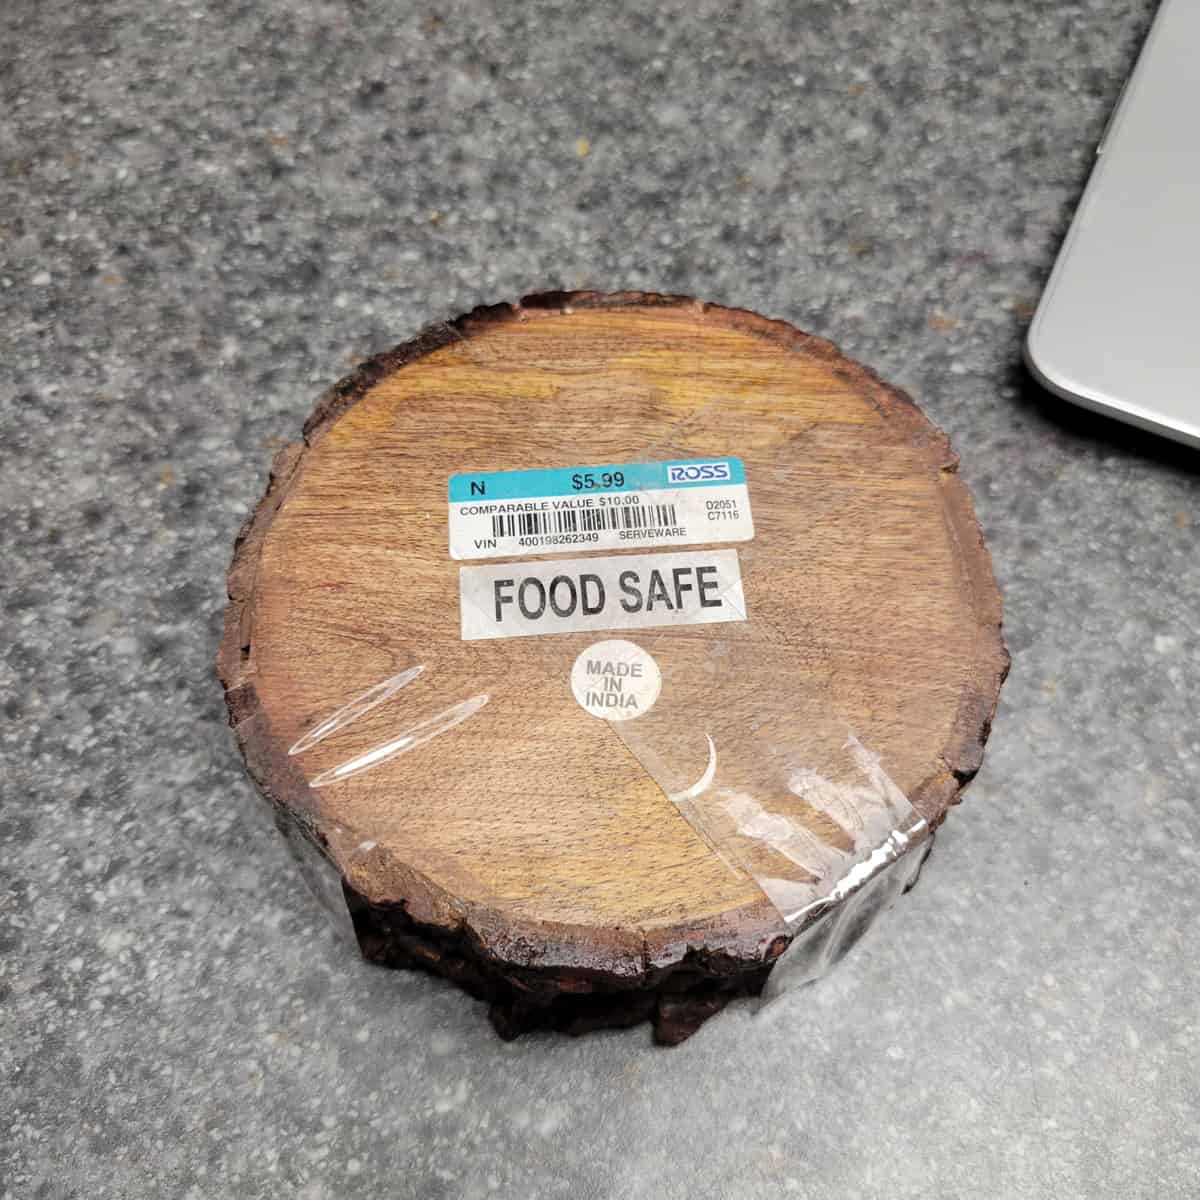
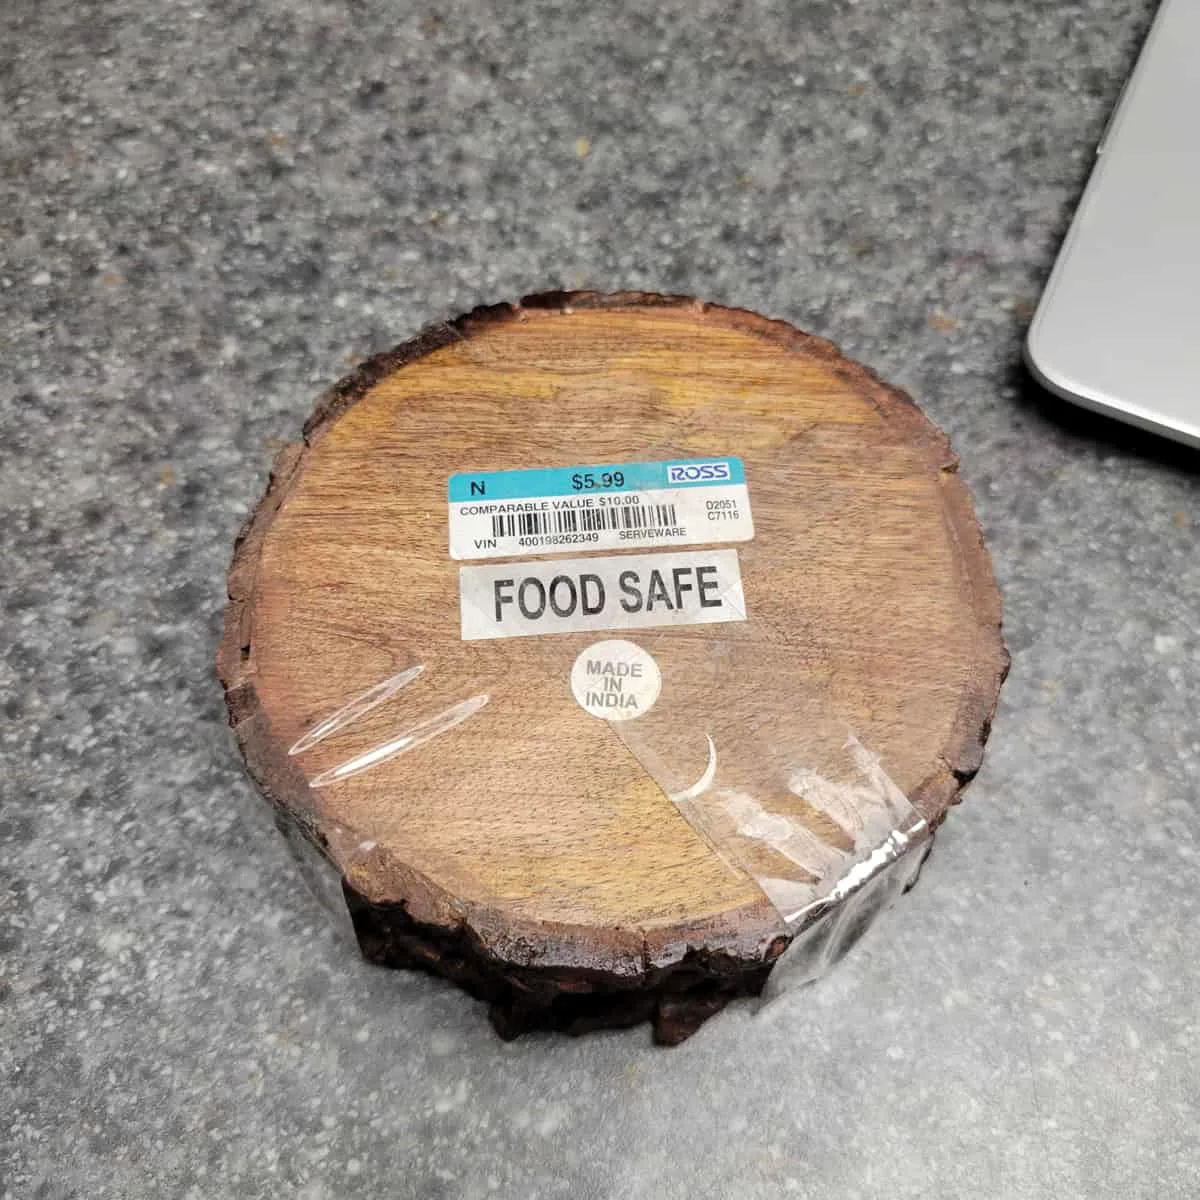
The label said they’re ‘food safe’ but they’re much too small for any food display. But they are the perfect size to use as coasters.
Preparing for your Laser Project
I’d bought a graphic file bundle with a commercial license a while back. I scoured it for the perfect coffee-themed sayings, and I only had to make a few small edits to make them perfect for engraving with my M1 Laser.
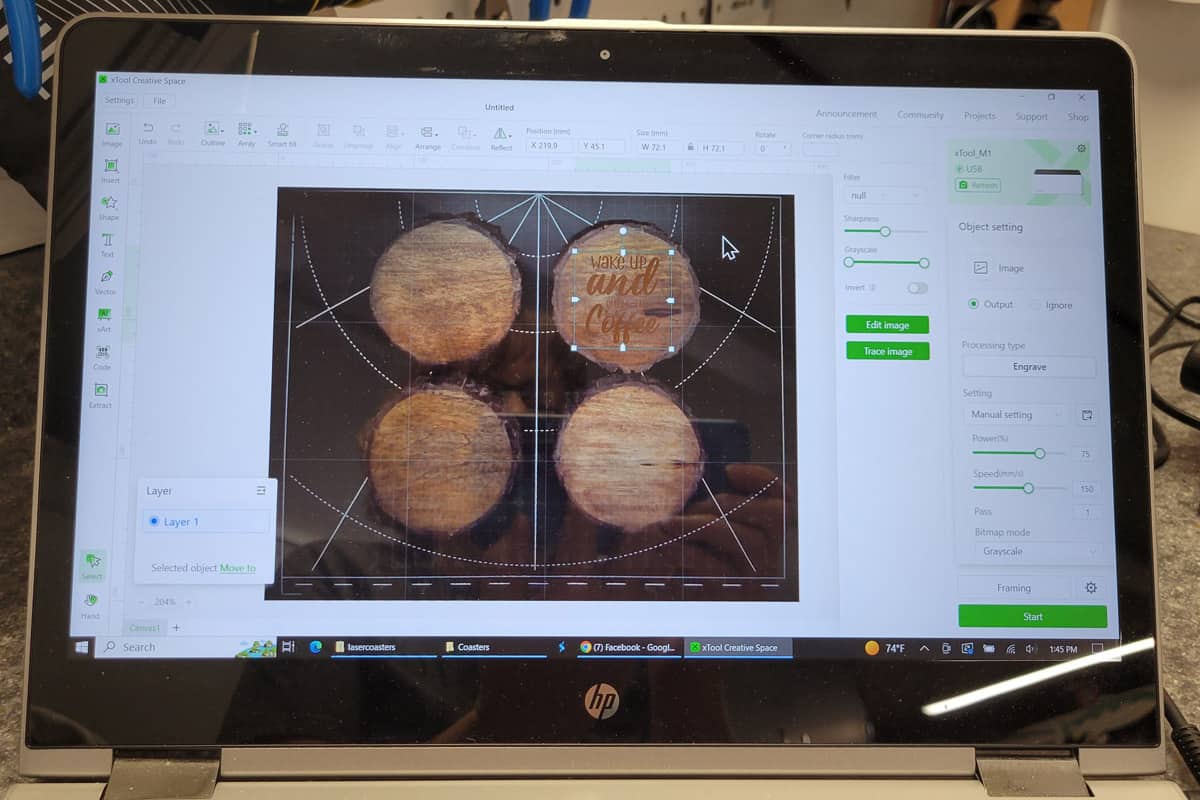
The really nice thing about working in the xTool Creative Space app is that you can import .jpg files, .png files, or .svg files for your projects. For this simple job I imported mine from .png files with a transparent background.
When you work with two or more of the following: Engrave, Score, or Cut you must use the layer feature so the laser knows how to perform each step, and in what order. I needed only one layer this time for Engraving.
With my designs choice made I was ready to get started.
Perform a Pre-Test
But I needed to know the proper settings to get the best result. Ideally at some point I’ll make a test grid for Acacia and other woods I’ll want to work with.
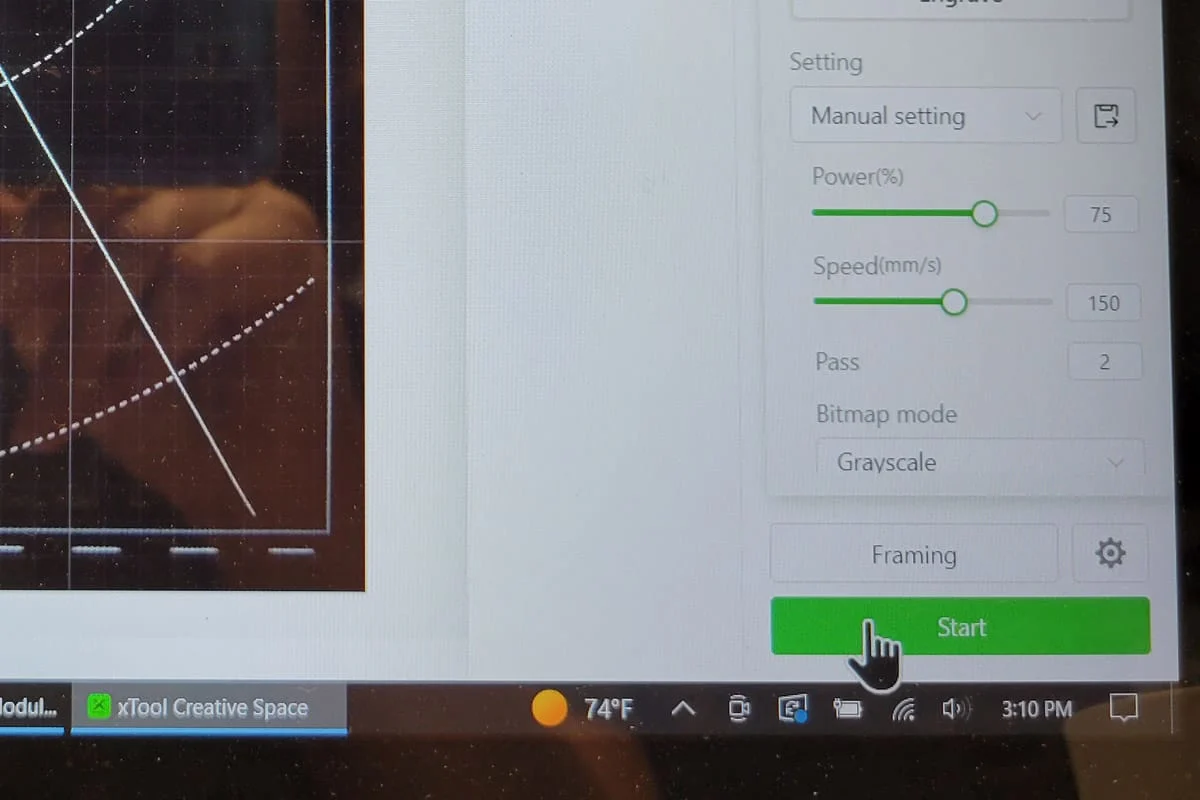
I learned this tip in the official xTool FB group. After reviewing someone else’s posted test grid I decided to go with Power=75, Speed=150, Passes=2, Lines per cm=100.
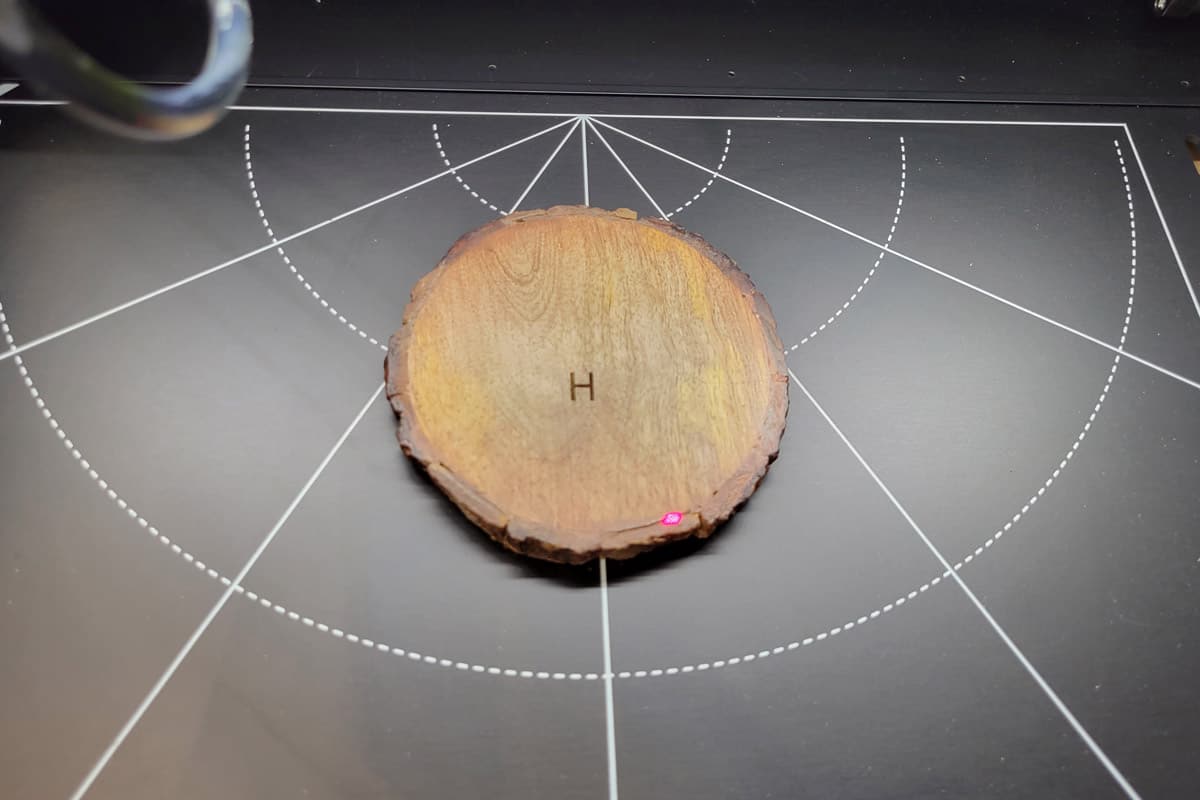
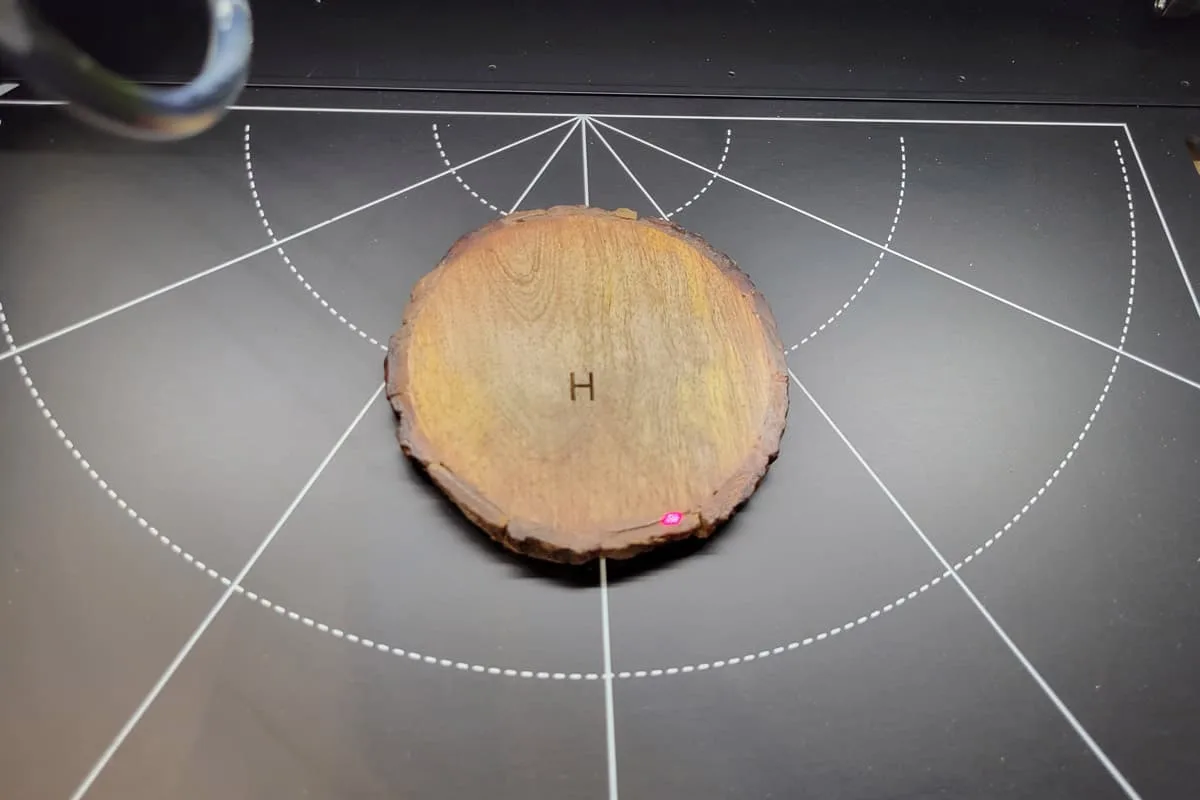
Having no sacrificial pieces to test on I did a small test on the back of one of the coasters with a single letter just to be certain this is what I wanted.
Engraved Wood Coaster Job
I was happy with the test so I placed the wood coasters inside the laser. Here are the steps you’ll follow. I did only onepass on my first run.
- Import the .png or .svg file
- Drag it into position over the coaster and resized it.
- Input the job settings, I used:
- Power=75
- Speed=150
- Passes=2
- Lines per cm=100
- Run a Frame Test (a light on the laser will show you the outline area of your project)
- Turn on Air Assist (if you have it, this reduces charring beyond the engraved area)
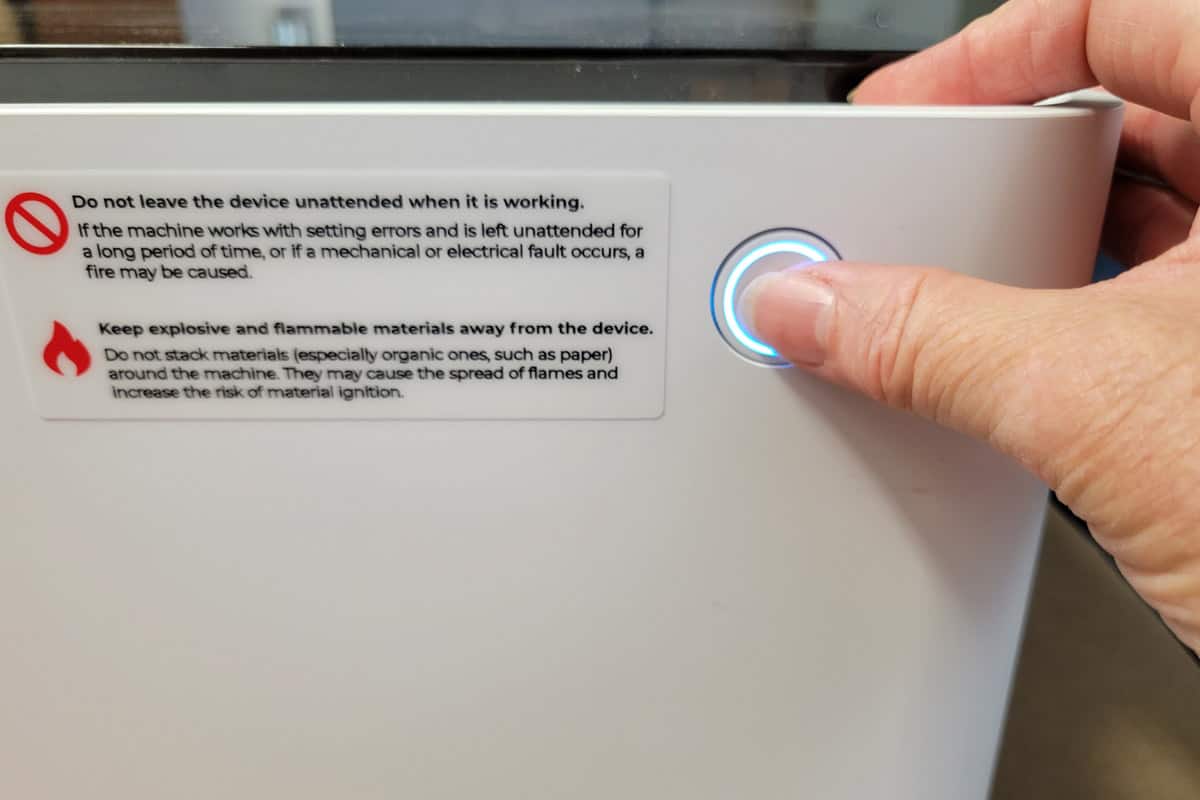
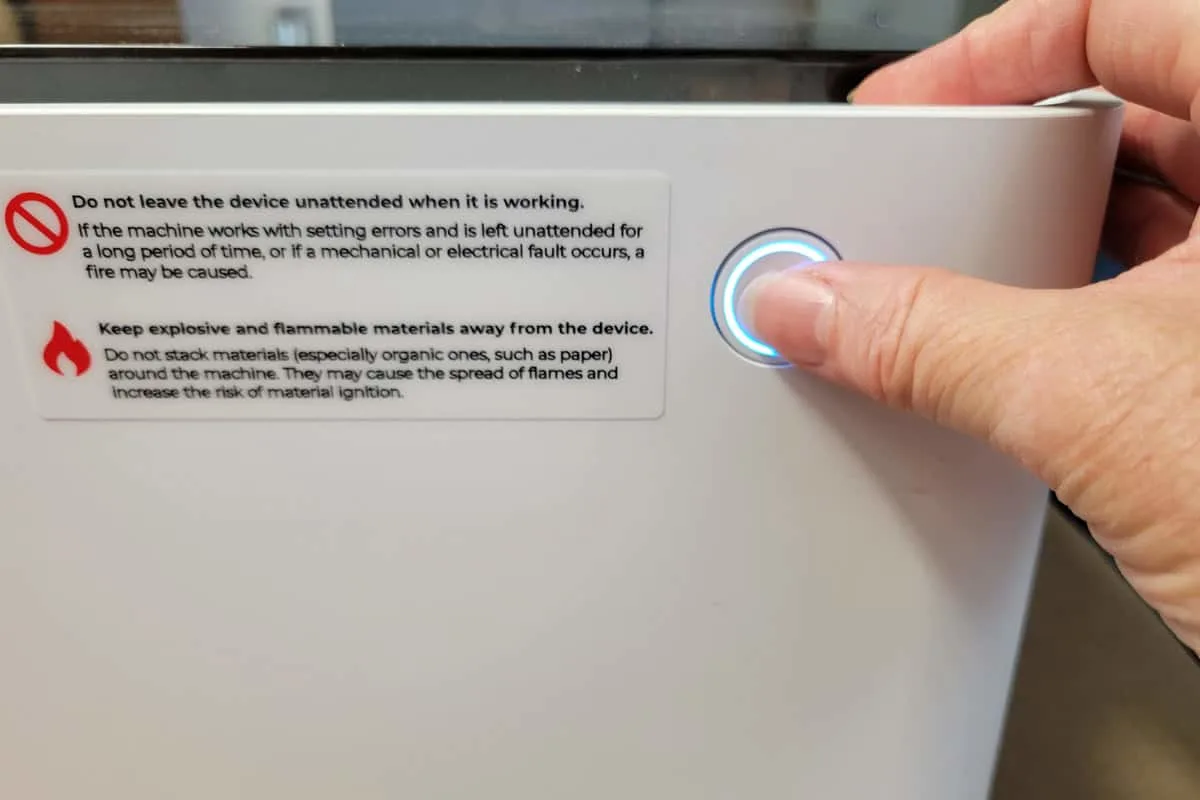
- Press Start

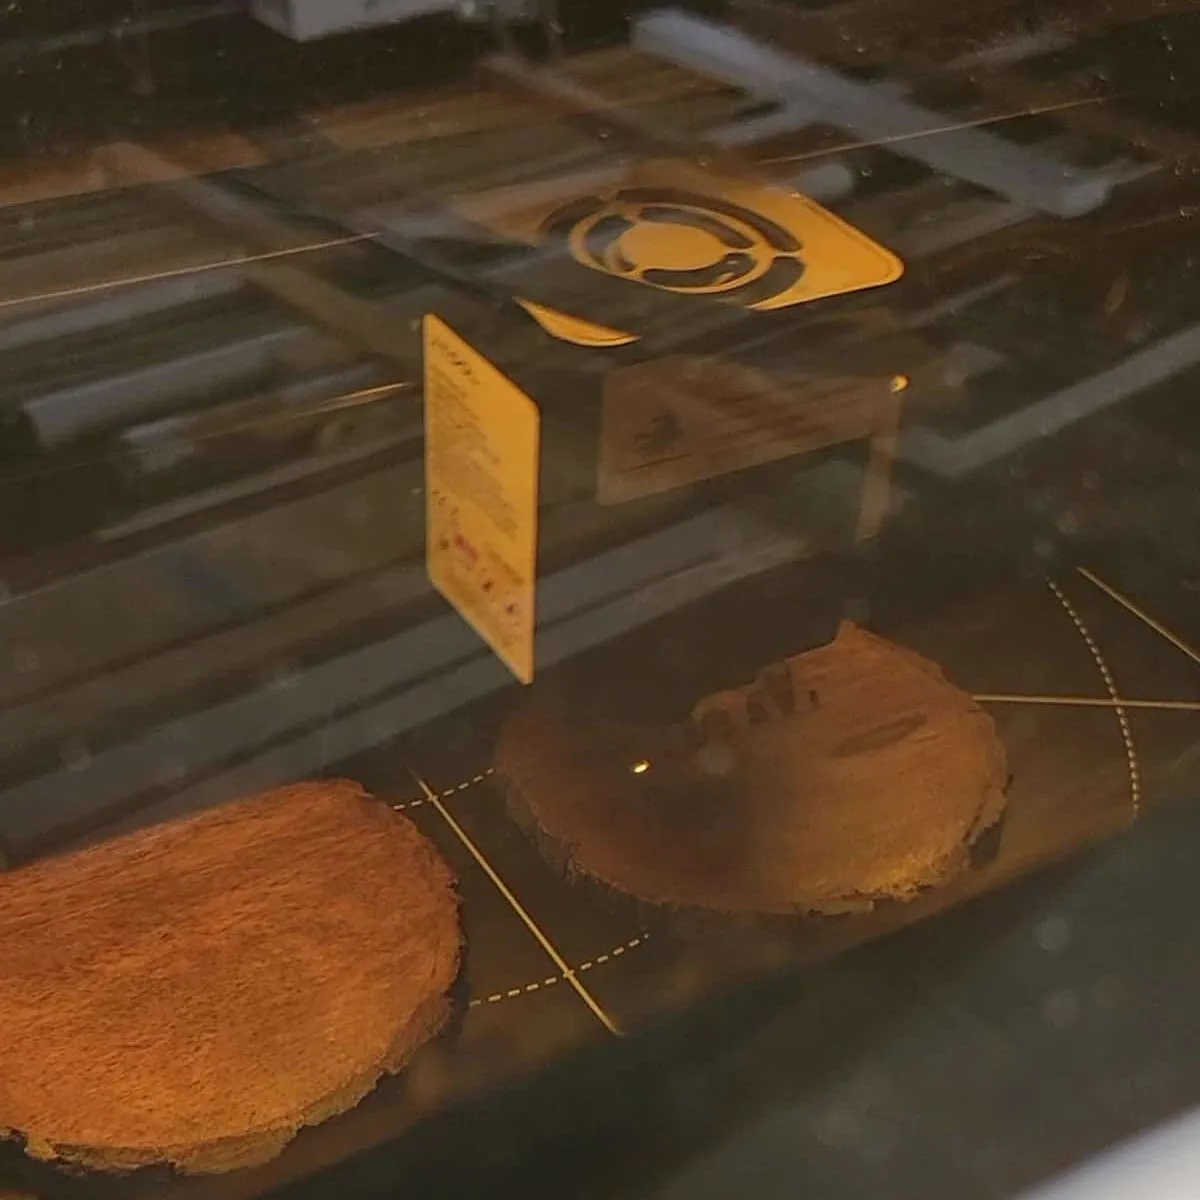
Below you can see the laser head light tracing around the perimeter of the job to verify the location.

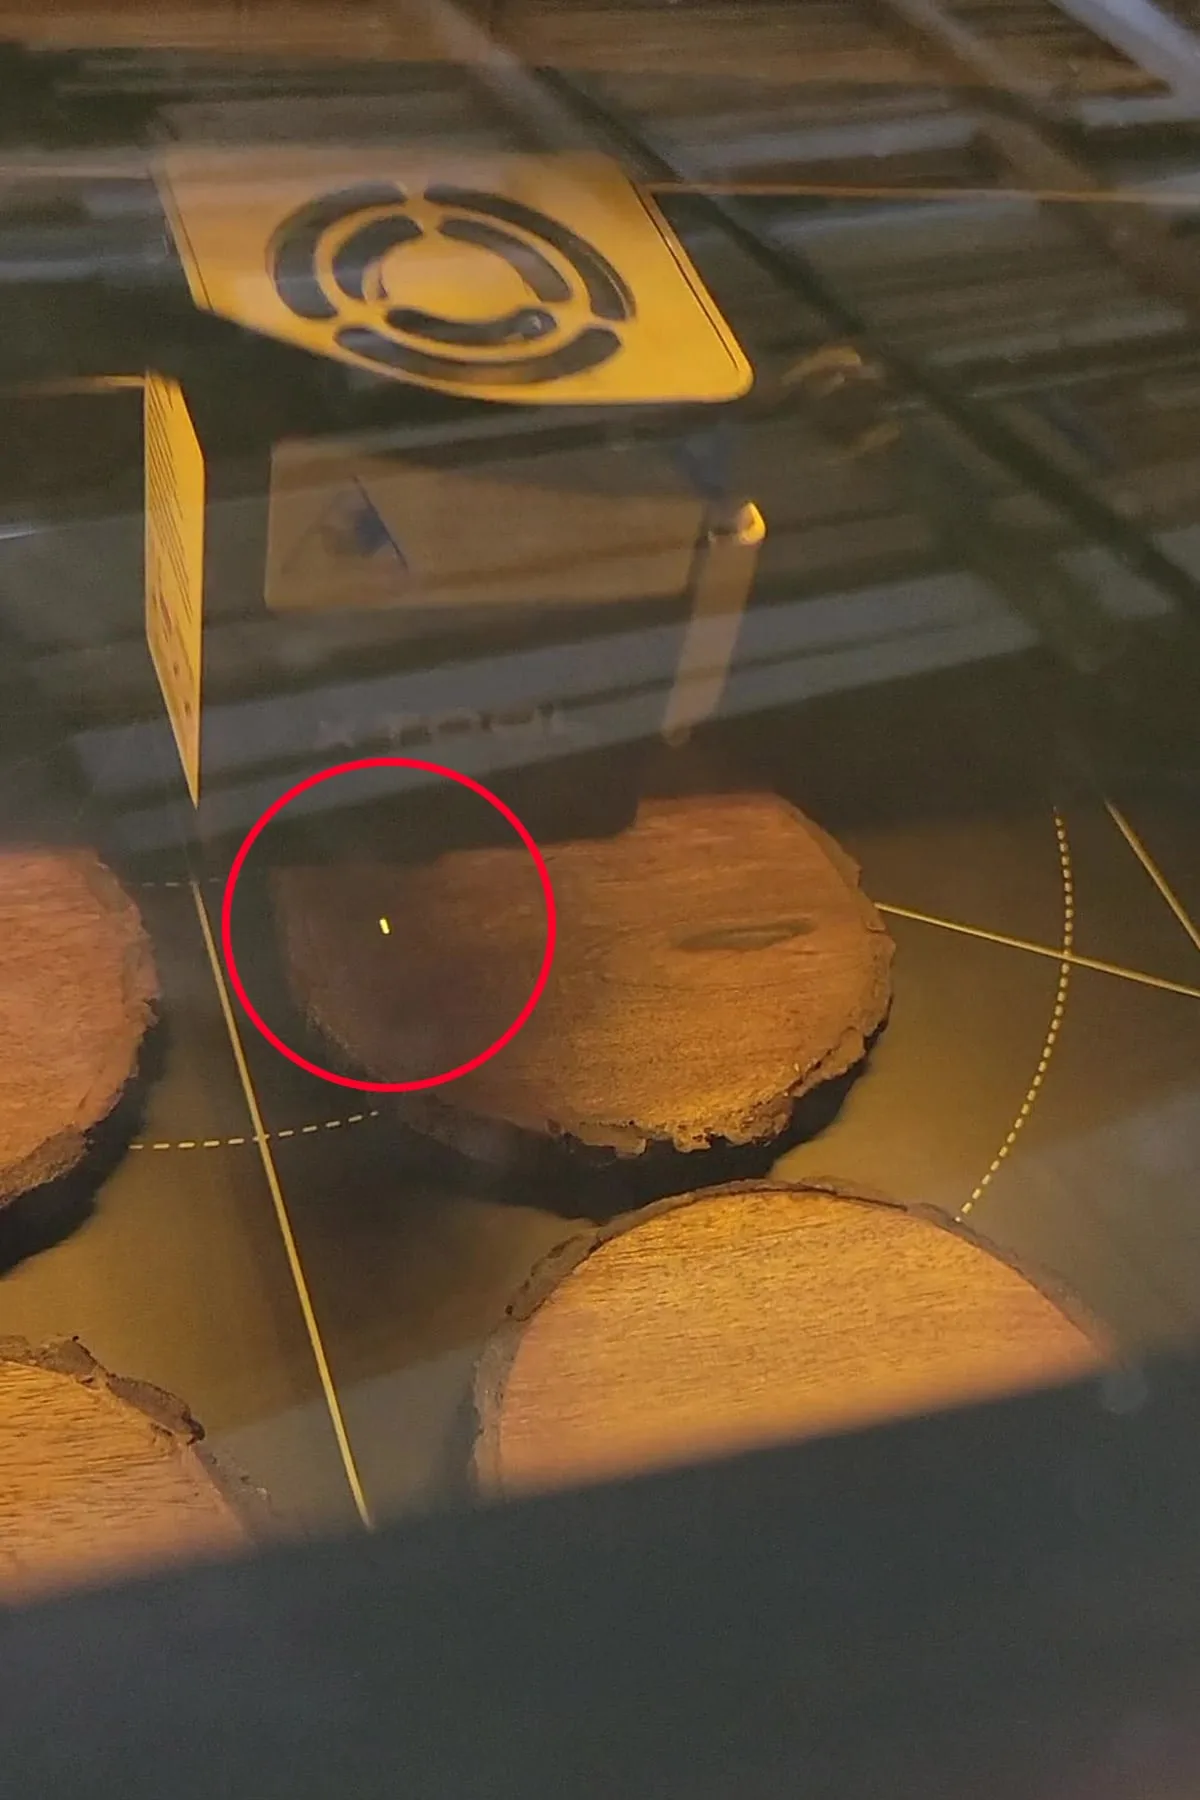
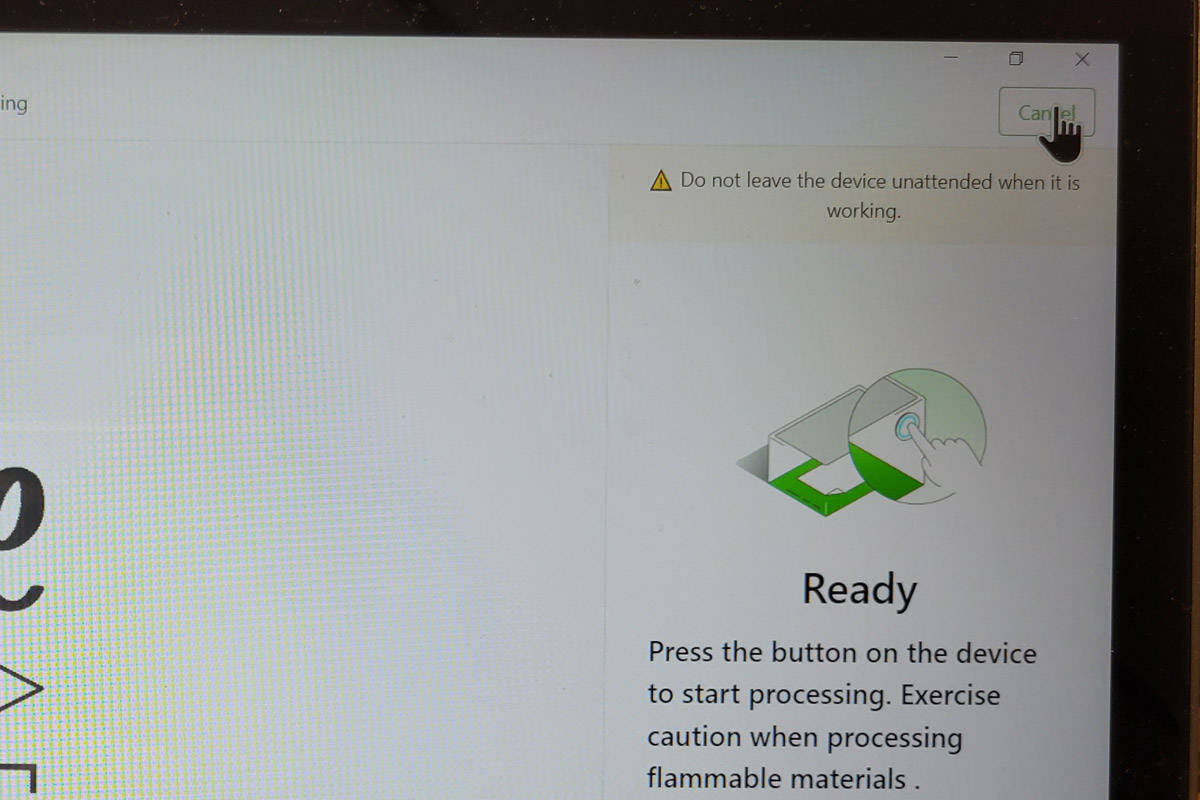
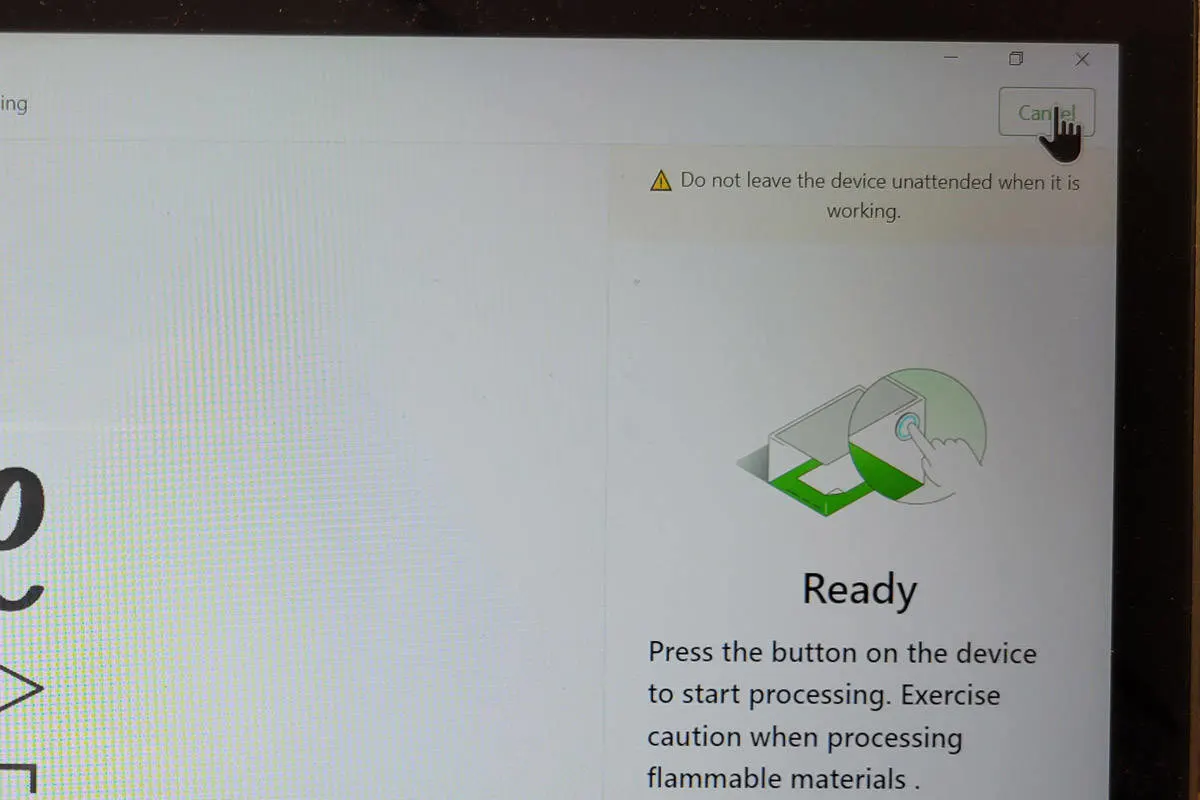
It’s cool to watch your project as the laser does the work. Plus, you’re supposed to keep an eye out for safety. Sorry about all the glare from the garage lighting…

After it finishes, lift the lid and check it out without touching the coaster. If the first pass has the results you want, you’re done.
Mine wasn’t dark enough so I did a 2nd pass. Because I hadn’t moved or touched the coaster I closed the lid and reran the job. This time I was happy with the result of the 2nd pass.

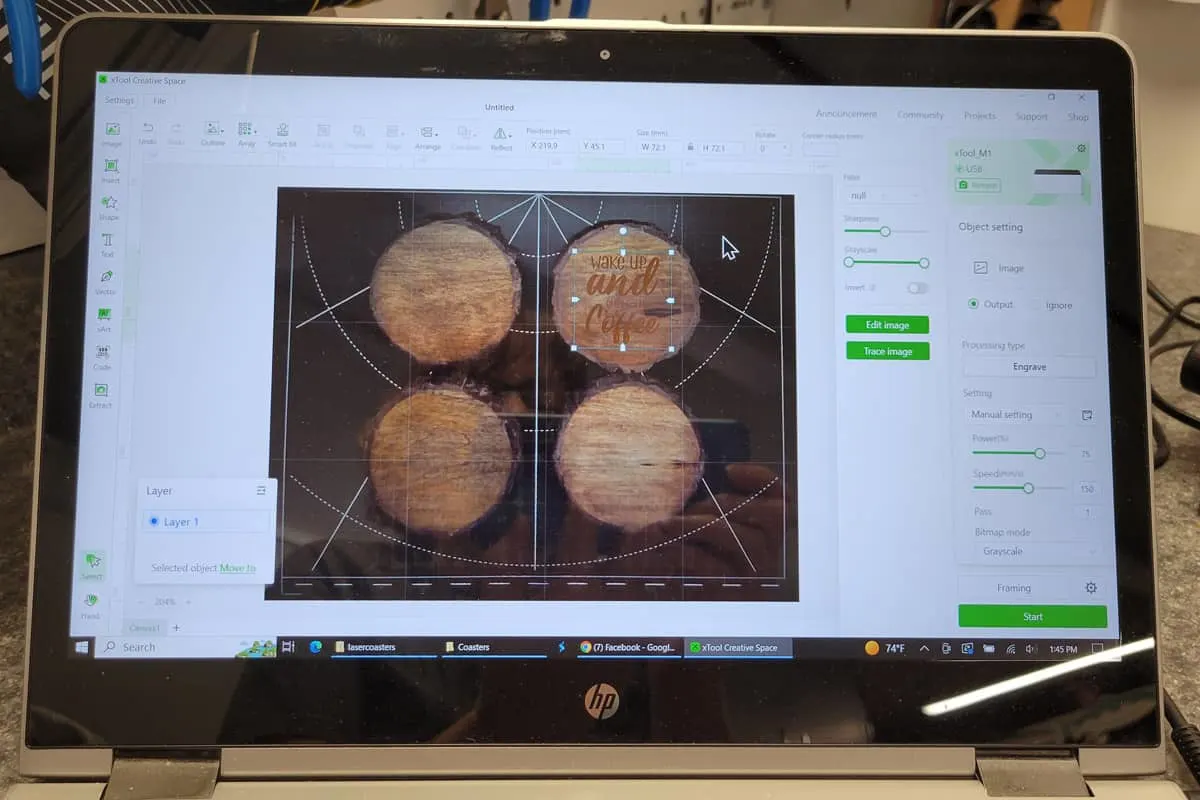
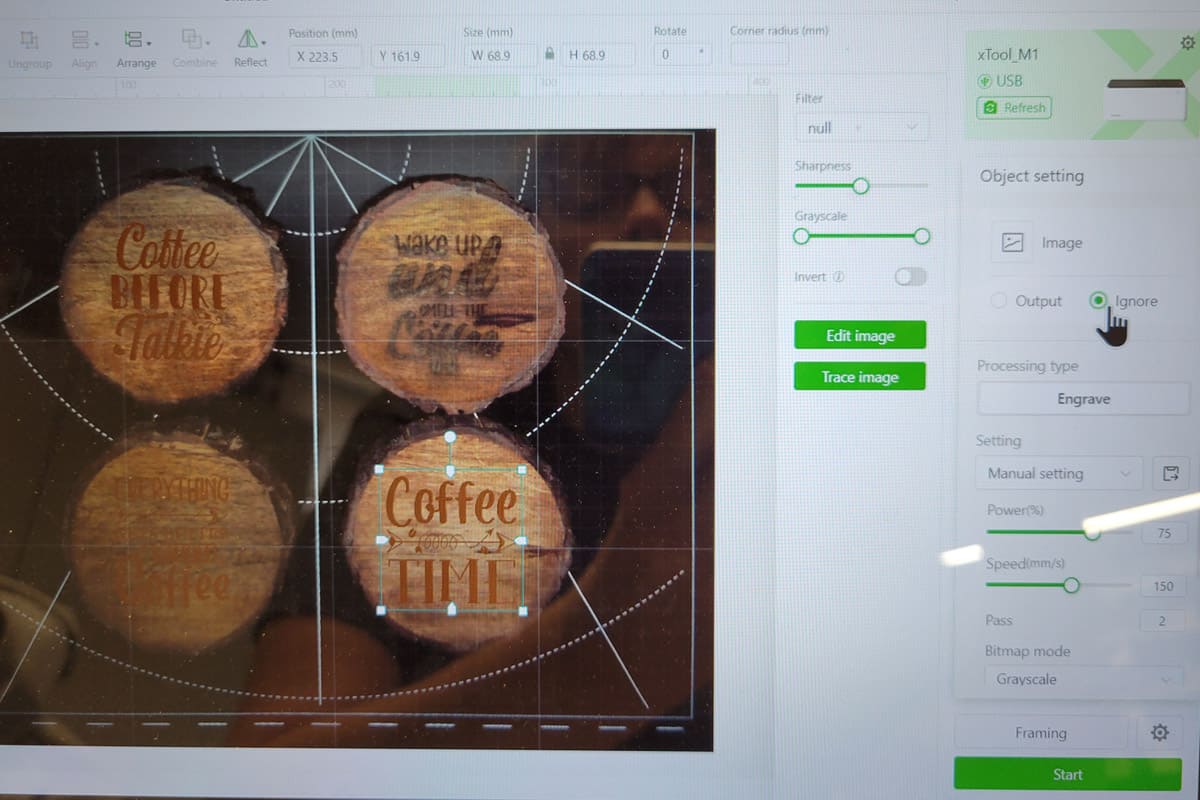
I loaded the rest of the images into Creative Space, deleted the first image, and ran a Frame Test. It made a big square around all the coasters which seemed fine but still being a newbie I wanted a bit more control.
I started to delete all but one of the images, then I noticed an option called “Ignore.” Thank you xTool for adding that amazing feature. When you select “ignore” on an uploaded picture Creative Space won’t process it.

As I set up the job for each of the coasters I set them to do two passes. Watching them carefully I realized one pass might be enough on some. As the first pass was finishing and about to start again I hit the pause button on the app.
You can also lift the lid (which immediately stops the laser for eye safety. If it looked like it needed another pass I hit continue. If it looked good I canceled the job and moved to the next one.
I decided to move the last two remaining coasters to the back of the laser bed so I could more easily keep an eye on them during engraving.
Each coaster took about 5-ish minutes to complete, more if it needed a second pass.
Solving Engraving Problems
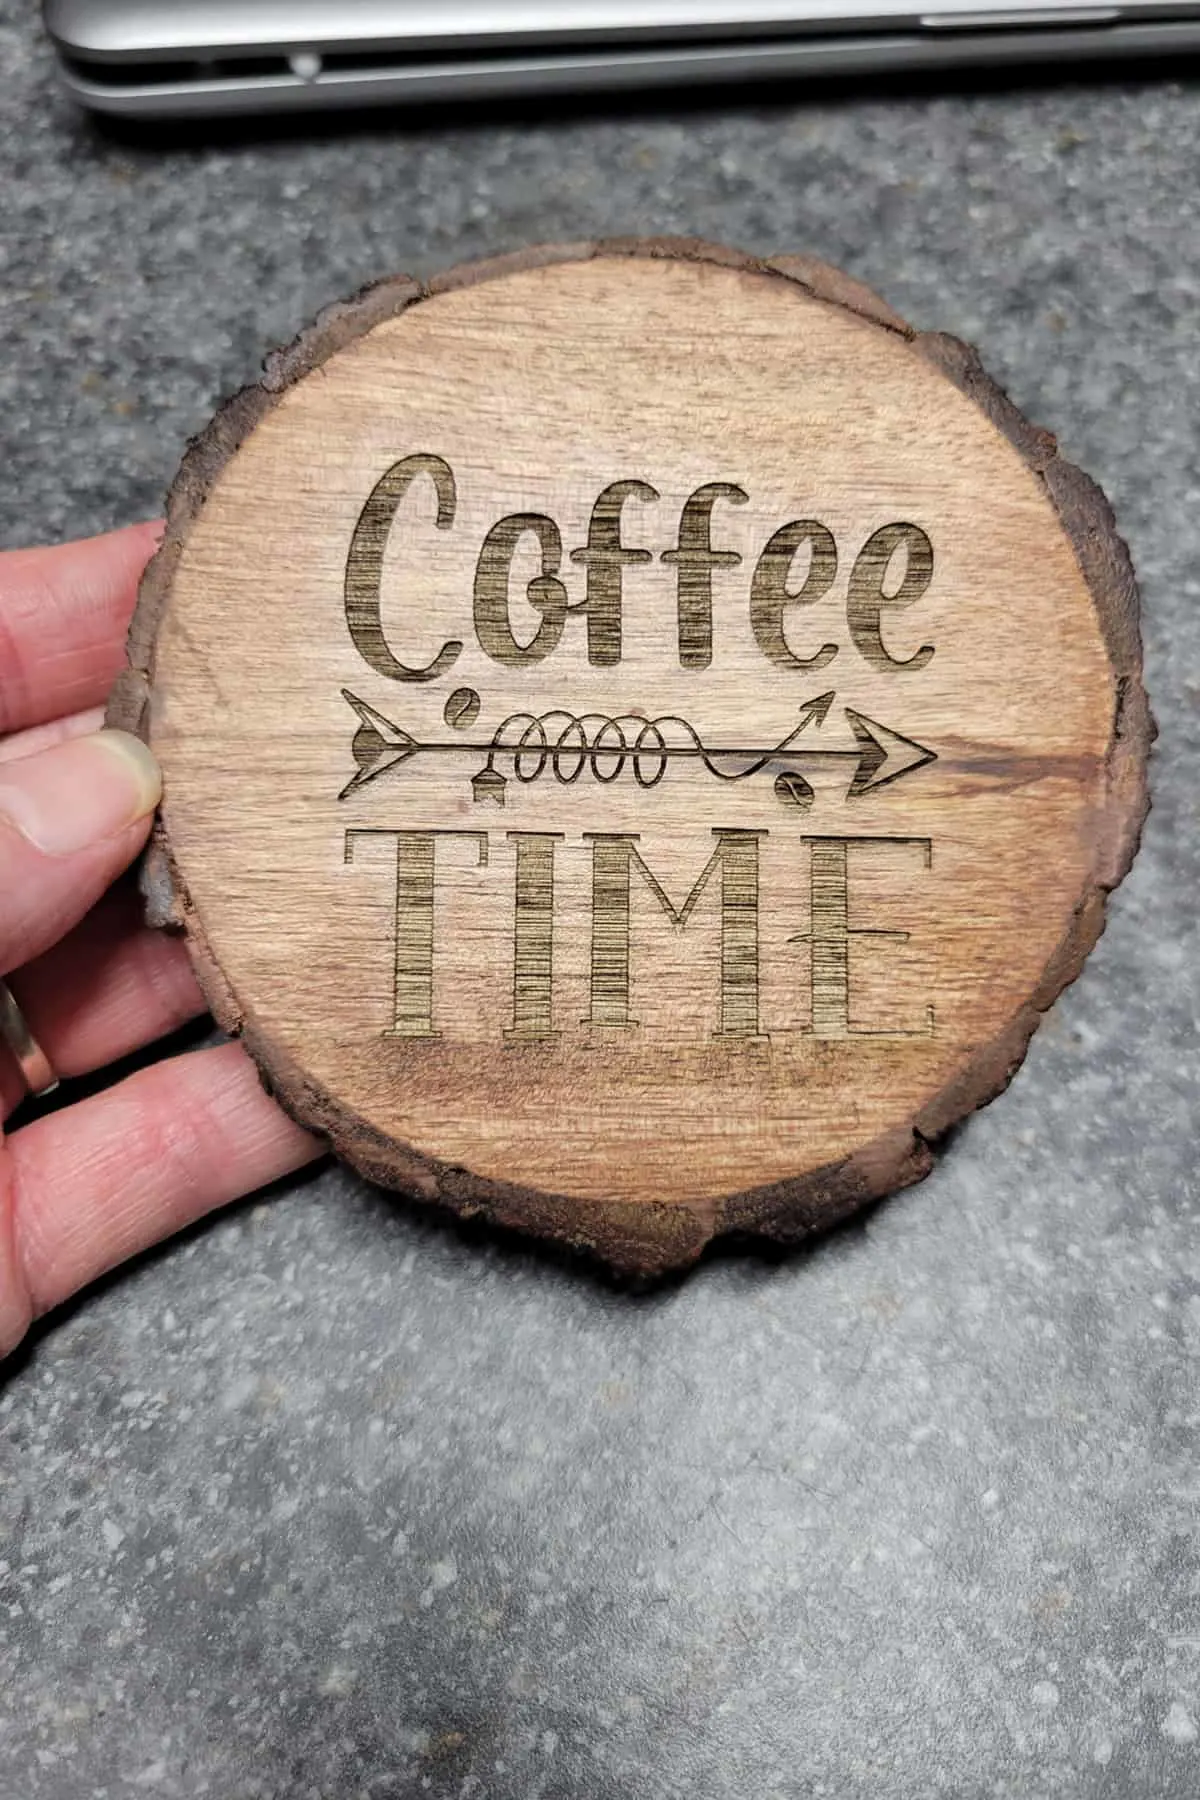
On my last coaster “Coffee Time” I ran two passes but it didn’t turn out as nice as the others. I’ve come to learn that some of it has to do with the wood, and some of it could have been buildup on the laser.

The laser module gets dirty with the residue from running multiple jobs. I got a message to clean the laser head between my 2nd and 3rd engraved wood coaster. However, never having done it before I’m not sure I cleaned it sufficiently. Gunk on the laser lense can affect perfomance.
It could also have been the lines per cm. The more lines per cm the smoother the engraving. Or it could have been the wood grain. These are all things you learn as you go and can glean from members in the Facebook Group.
Finishing your Engraved Wood Coasters
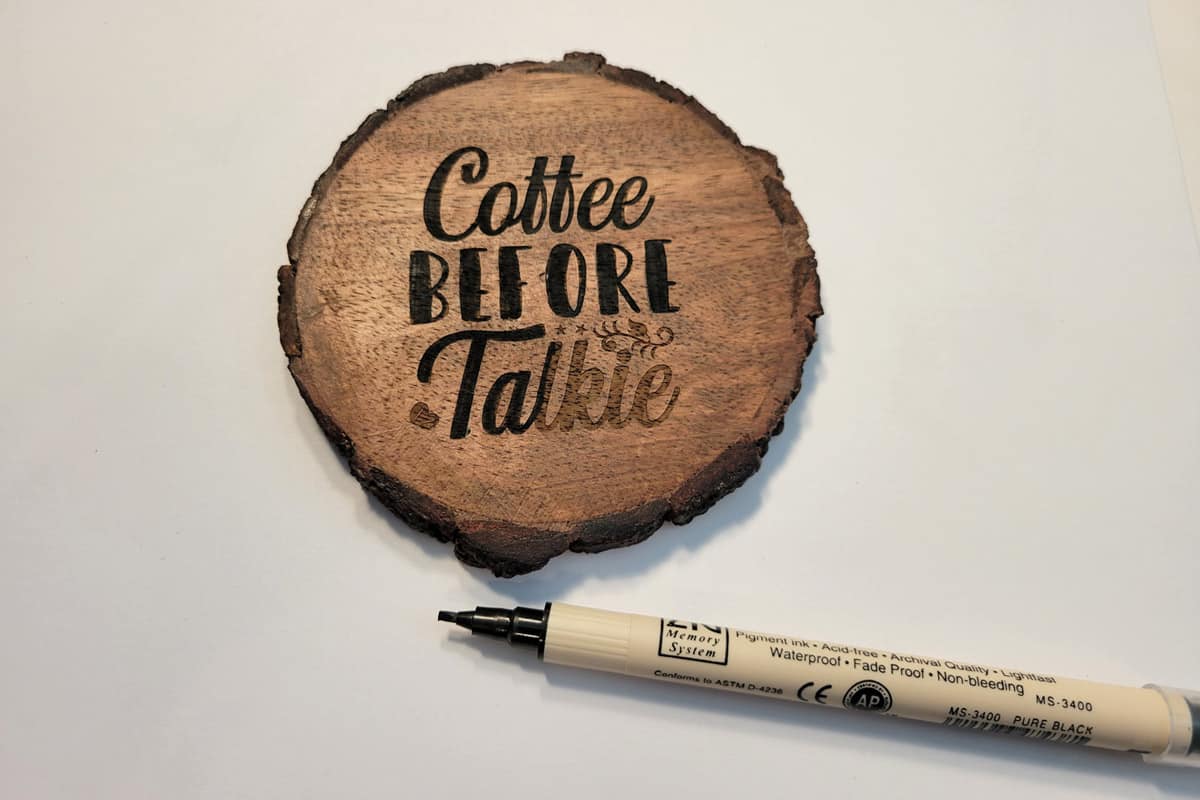
After all the wood coasters were done I wiped them down with a cloth to remove some of the residue. Because acacia wood is dark I wasn’t as happy with the contrast of the words against the wood.
I decided to darken the words and found that an unused calligraphy pen worked perfectly. Thankfully the narrow end of the pin fit into the finer details of the font.
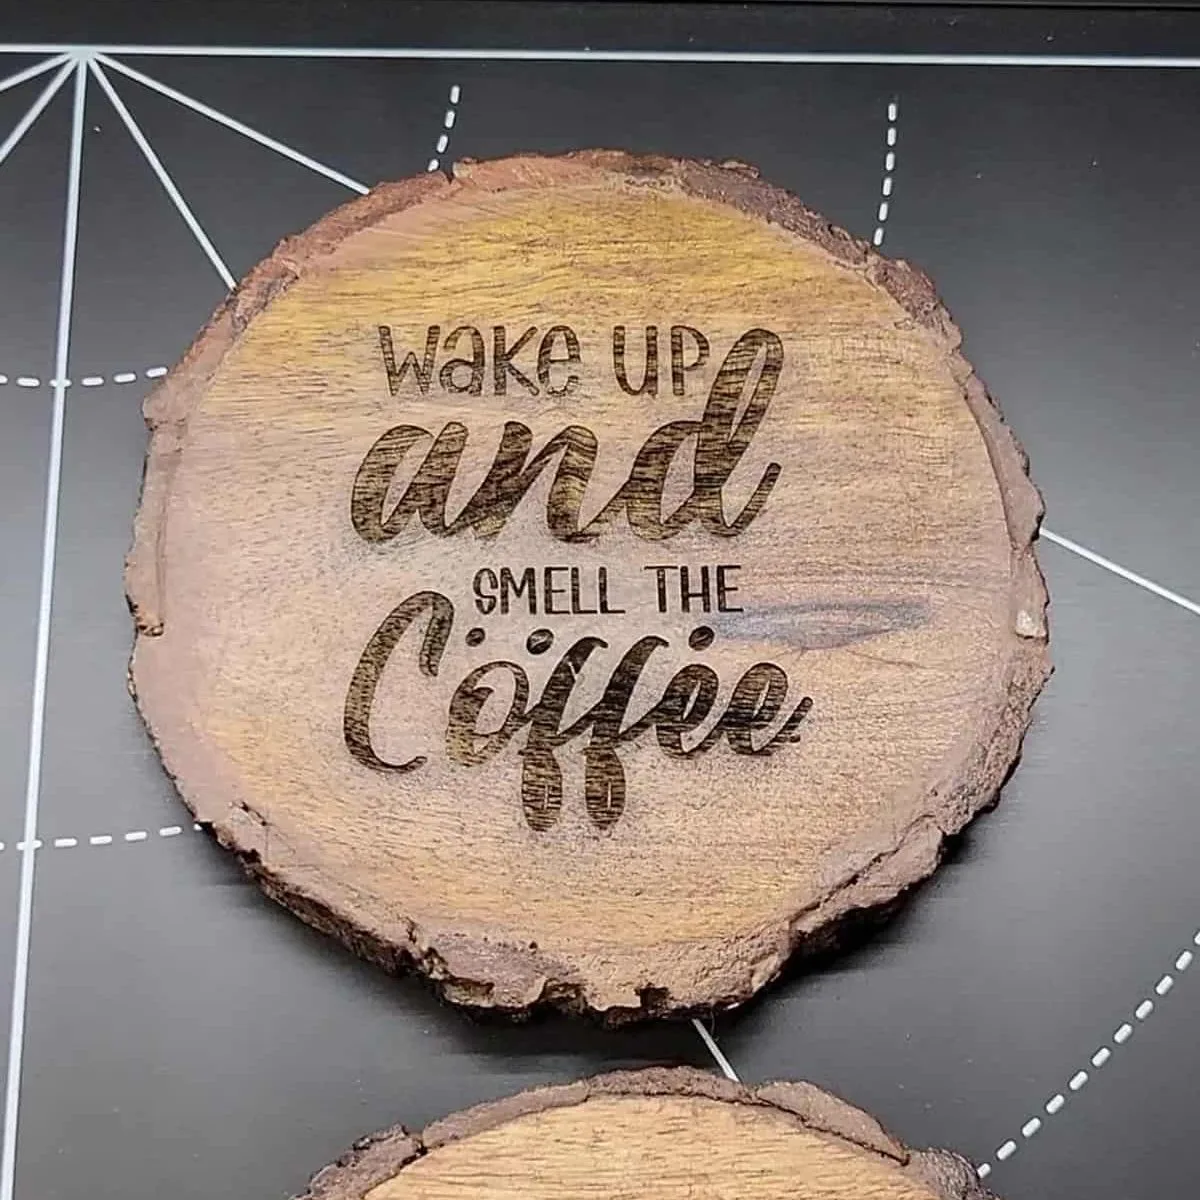
Here’s the before:

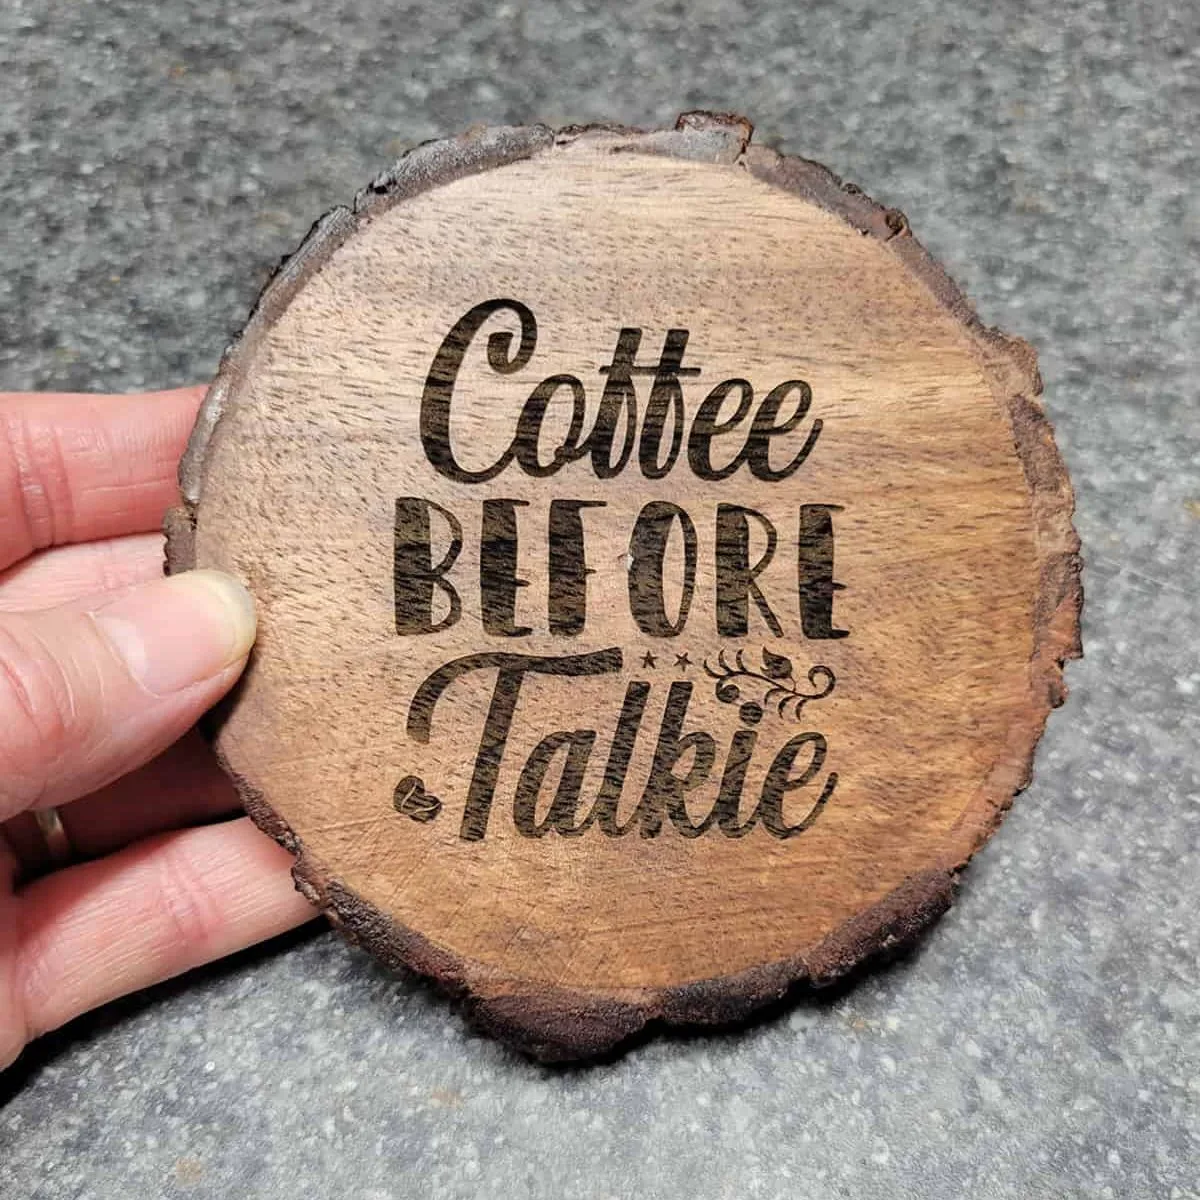
This one is so me, and the darker color is a much better contrast.
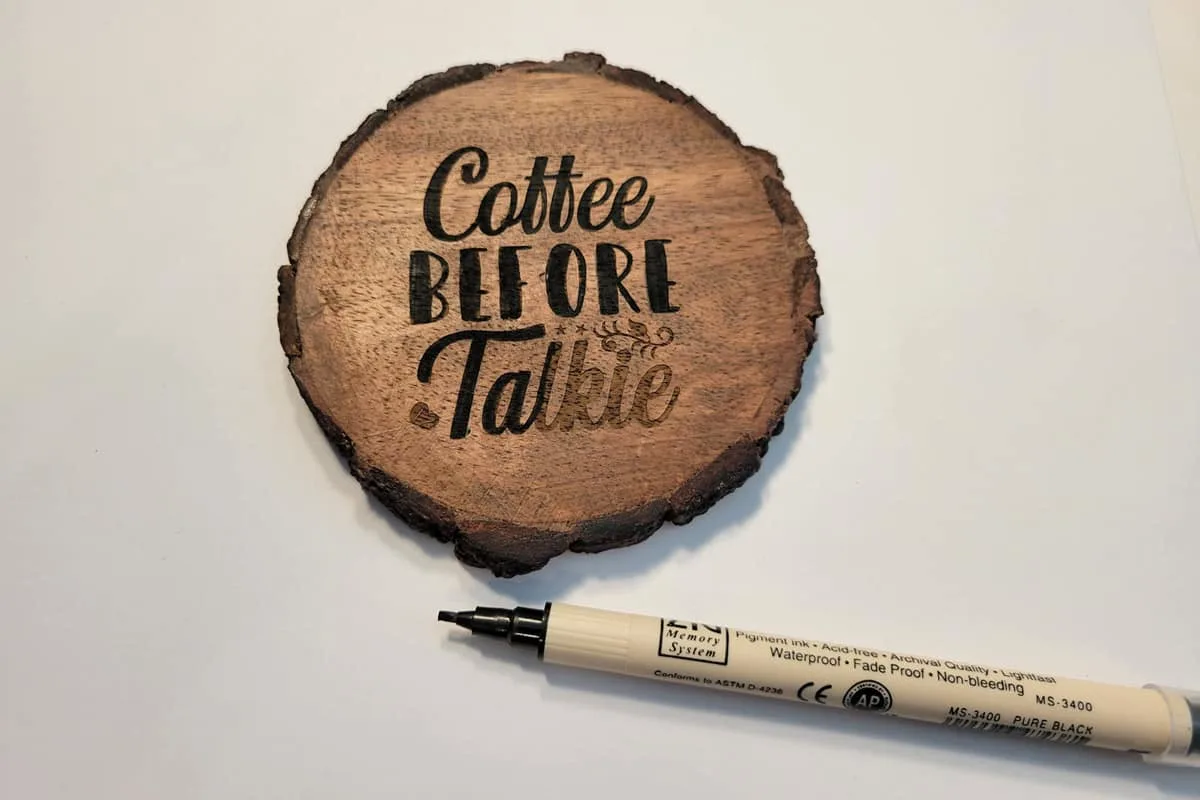
The pen says it’s waterproof so once they set for a bit they were good to go.
You can oil the top of the engraved wooden coasters with a bit of butcher block oil if you want. Then they’ll be ready for your favorite cup of hot or iced coffee.
If you have ever wanted to get a Laser for yourself, I think you’ll love the xTool M1 10w Laser!
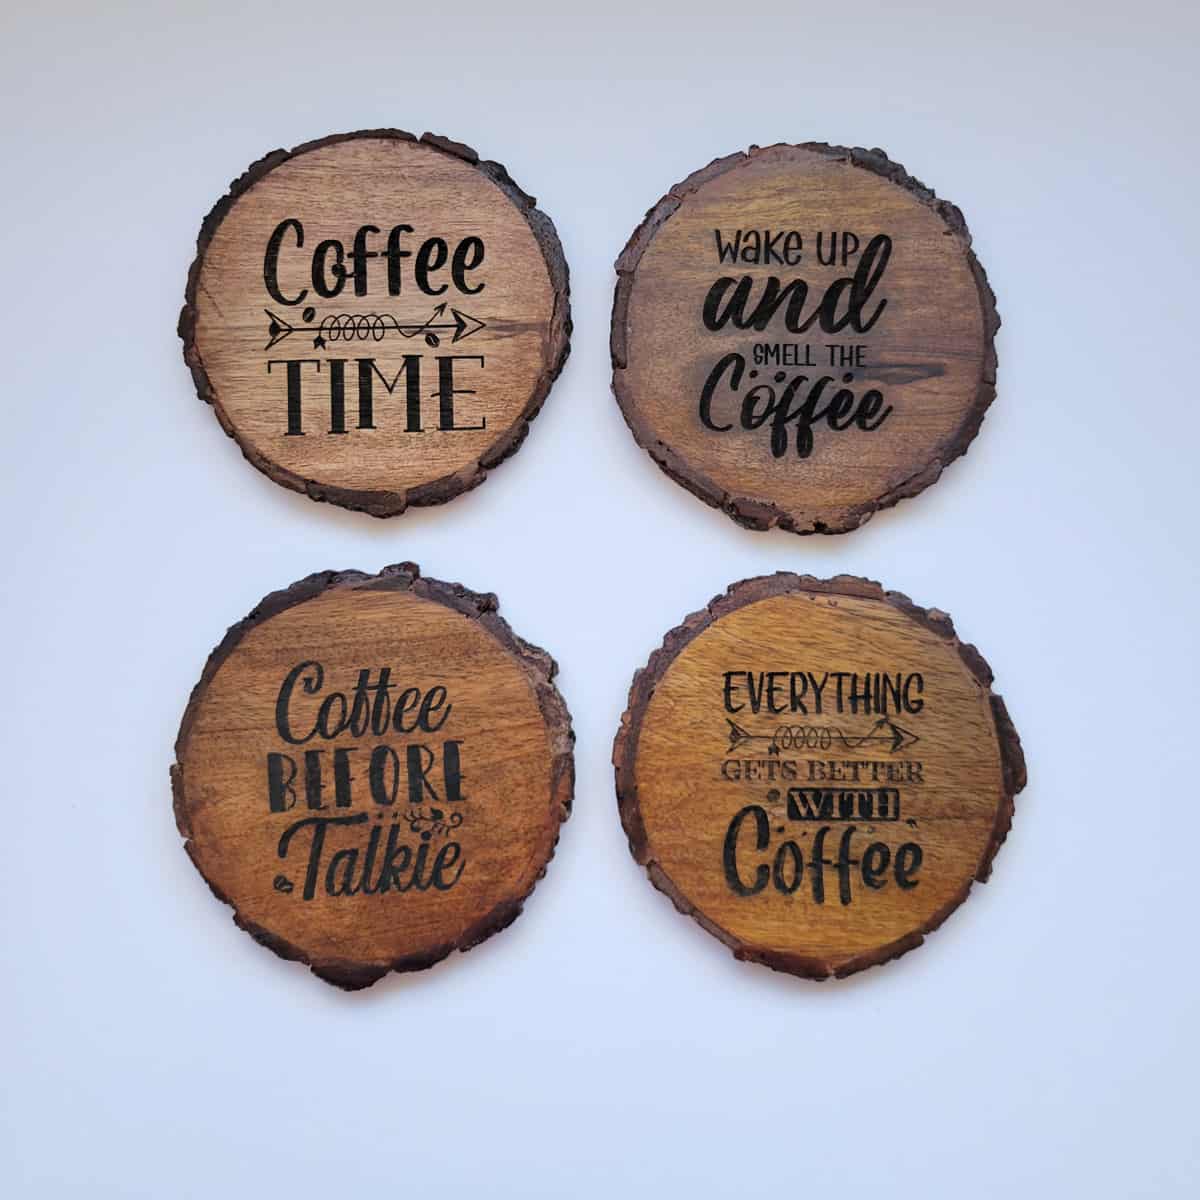

As promised, click the link below to be redirected to a zipped folder with the .png and .svg versions of the engraved wood Coffee coaster designs.
Cute Coffee Sayings for Engraved Wood Coasters
–

Michelle
Wednesday 14th of May 2025
Thank you very much for sharing this information. Very Helpful. :)
Toni
Thursday 29th of January 2026
I'm so glad you found it helpful!