I’ve seen them all over FB and Instagram and been dying to try engraving my own cutting board. However, larger or thicker cutting boards wouldn’t work in my xTool M1 laser.
At least not without a little help.
Thankfully xTool graciously agreed to provide me the necessary parts to accommodate thicker materials, in exchange for this post.


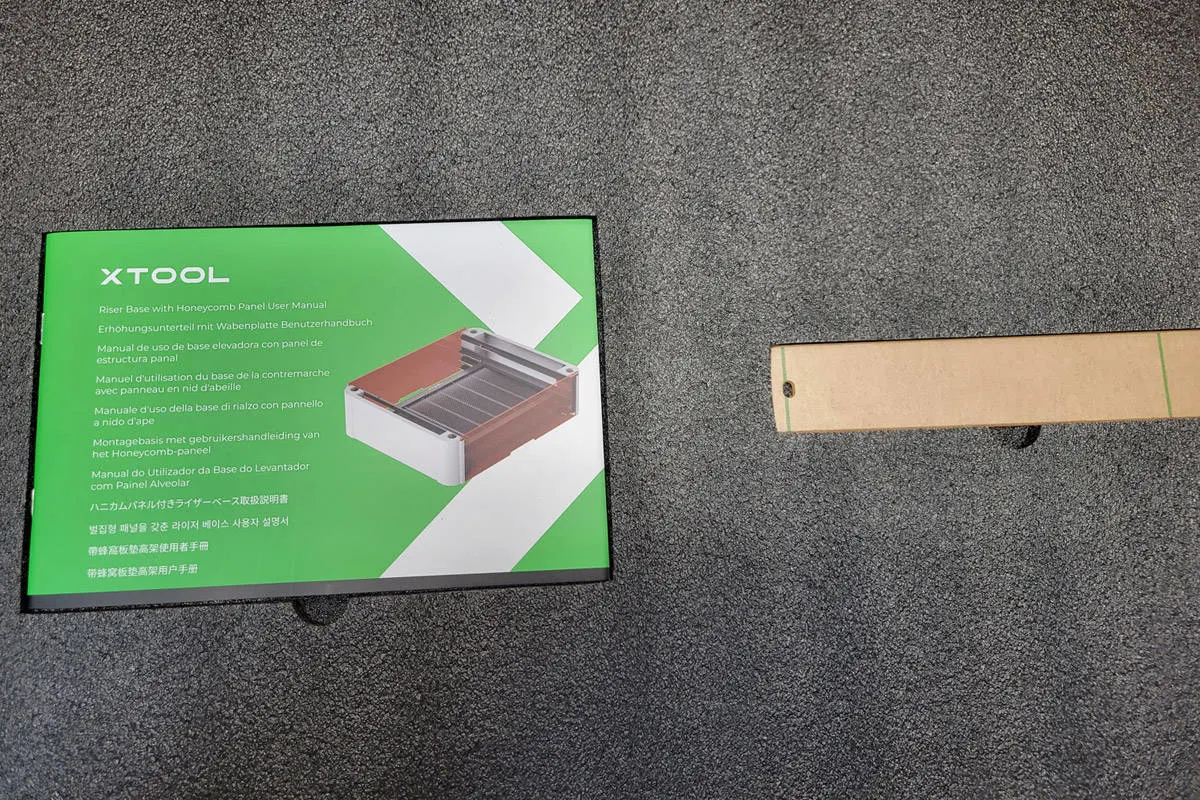
The part I needed for the very thick cutting board I wanted to use is the xTool M1 Riser Base with Honeycomb Panel. The honeycomb grid which will come in very handy for many future projects.
Before I get to engraving the cutting board I’ll show you quickly how to set up the riser. It really couldn’t be any simpler.

This page contains links to products, if you purchase something after clicking on my link I may earn a small commission (no extra cost to you). You can read about affiliate links here.
Supplies to make an Engraved Cutting Board
Now until 12/31/23 Save 15% on xTool Selected Materials
Currently $400 off – xTool M1 Laser
Look for even more Holiday savings at the bottom of this post.
SPACER
If you’re new to lasers you can read my xTool M1 Laser review.
Setting up the xTool M1 Riser Base
Carefully remove all parts from the packaging. There will be two long white side pieces and two long parts that appear to be cardboard. Those are actually acrylic panels for the front and back of the riser base.

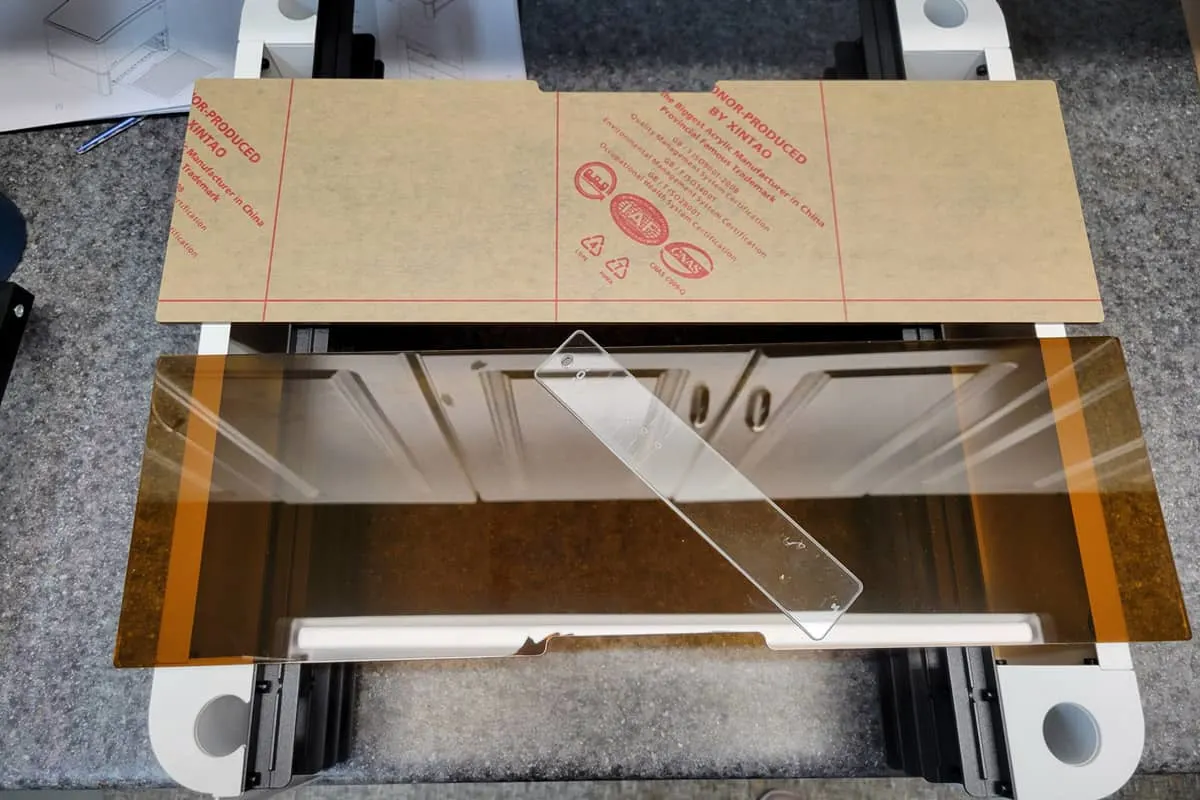
Carefully peel the paper off both sides of the acrylic panels and the small clear ruler and follow these steps:
- Remove the bottom plate from inside the xTool M1 laser. (for regular project you can easily reinsert the bottom plate while still on the riser.
- Place the white left and right sides of the riser base on your table.
- Insert the acrylic panels into the slots at the front and the back with the open notch near the table.
- Now carefully place the xTool M1 ontop of the riser base, aligning the feet into the holes.
- If you have the Air Assist unit, you’ll have to feed the hose through the hole in the right side riser panel and reconnect it to the air assist unit.
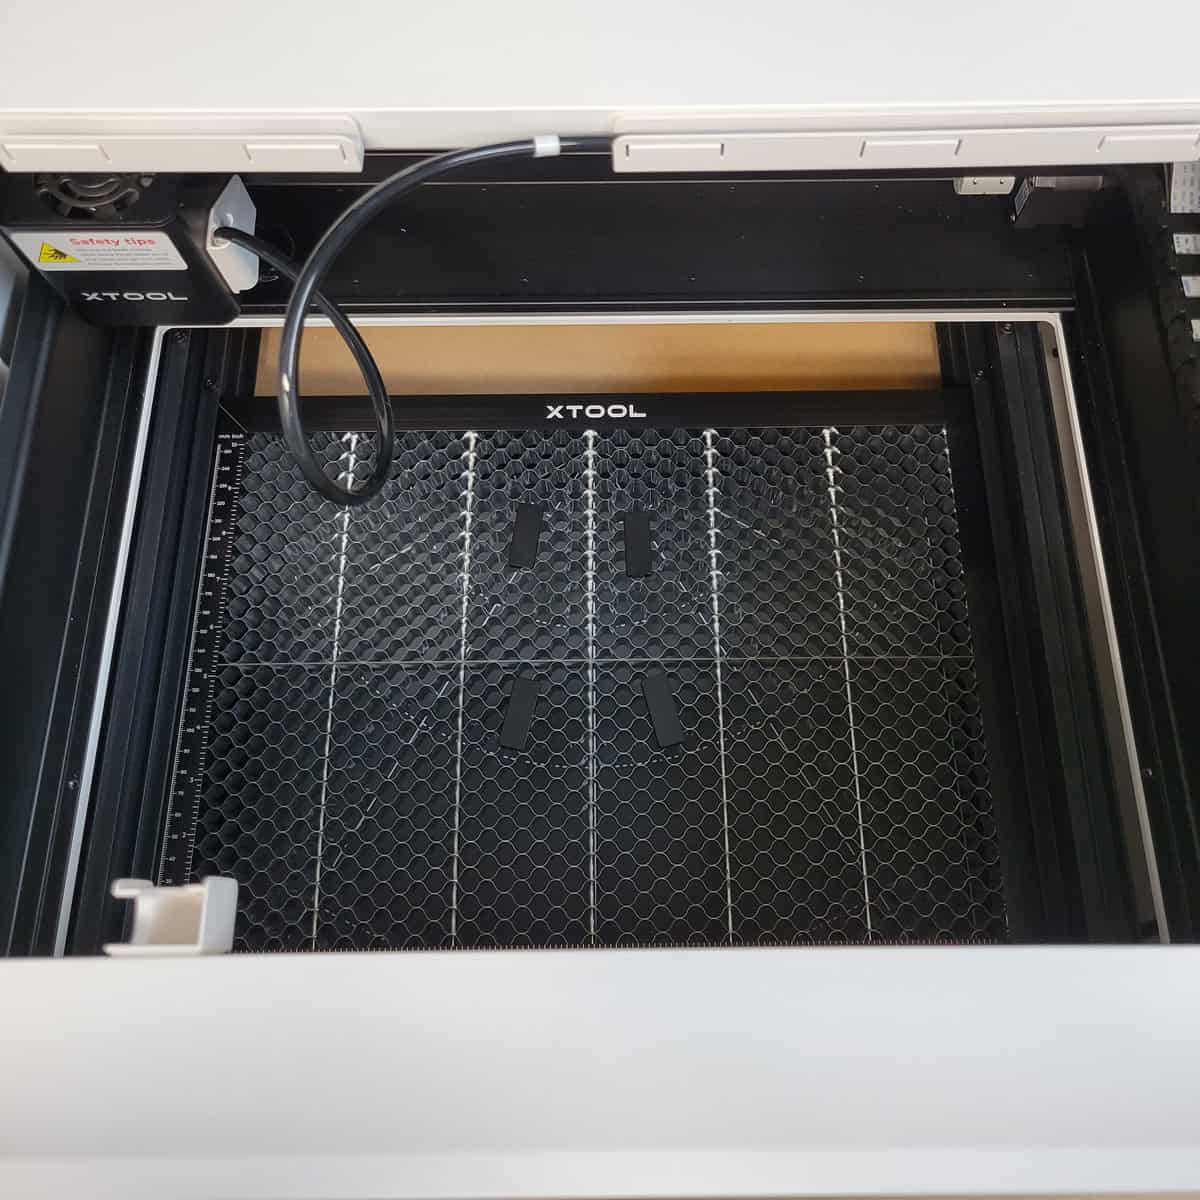
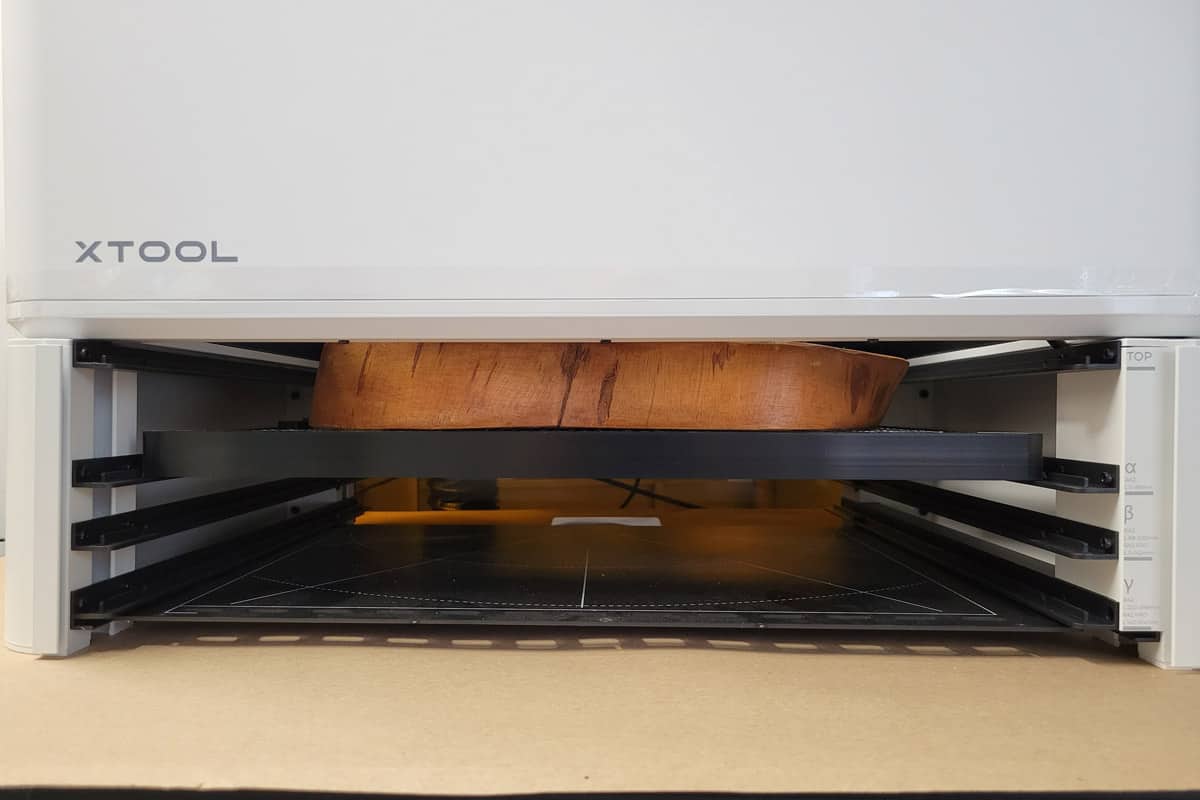
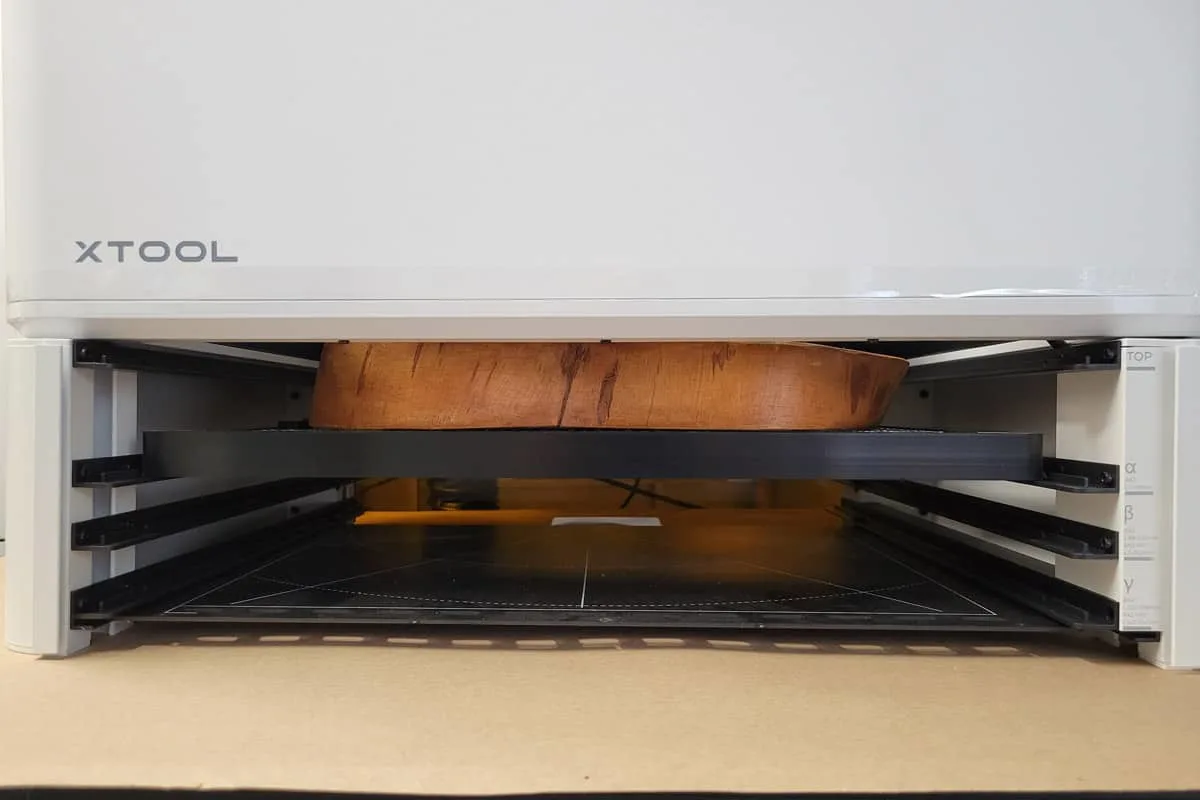
- Slide the bottom plate into the slot at the very bottom of the riser base to store for future use as shown in the image below.

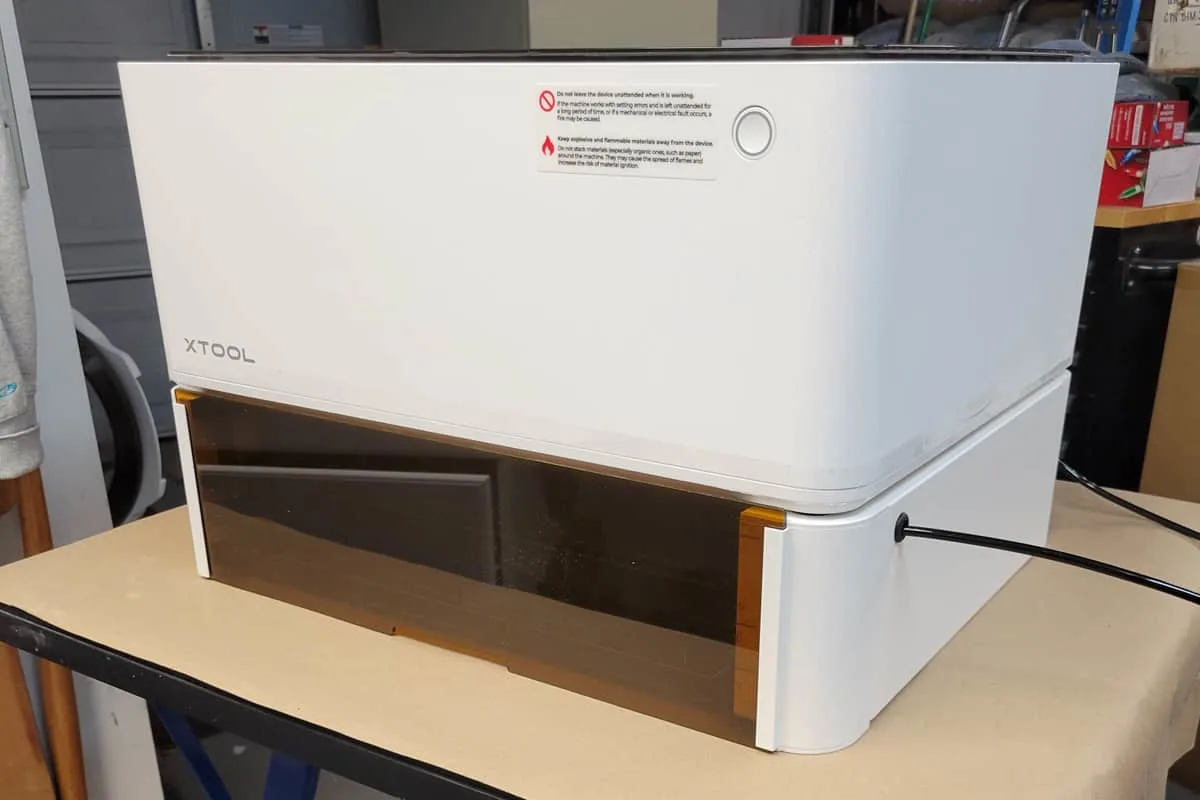
You will want to be careful if you need to move or reposition the xTool M1 because none of the parts lock securely together.
The honeycomb panel also came with some magnetic pins that are helpful for holding down smaller pieces of wood. For now I moved them to the edge out of the way.

Now onto the fun part of working on my project.
Choosing graphic for engraved cutting board
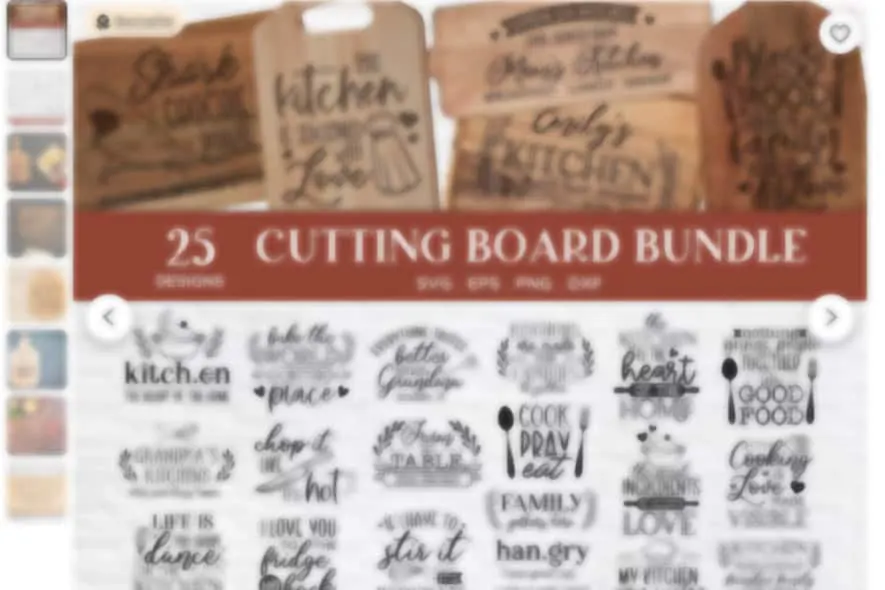
For this project, and wanting to get it done quickly, I decided to purchase some SVG files specifically designed for cutting boards. I haven’t dabbled with graphic designs much so I’m happy to pay a few dollars to support another small business.
There are so many options out there but I finally settled on this bundle from Etsy. The price was amazing at less than $3 for 25 designs. If you want to make and sell engraved cutting boards, be sure to check the commercial licensing in the details.
This image doesn’t belong to me, so I’ve blurred it. But the link above will take you right to this seller’s bundle.

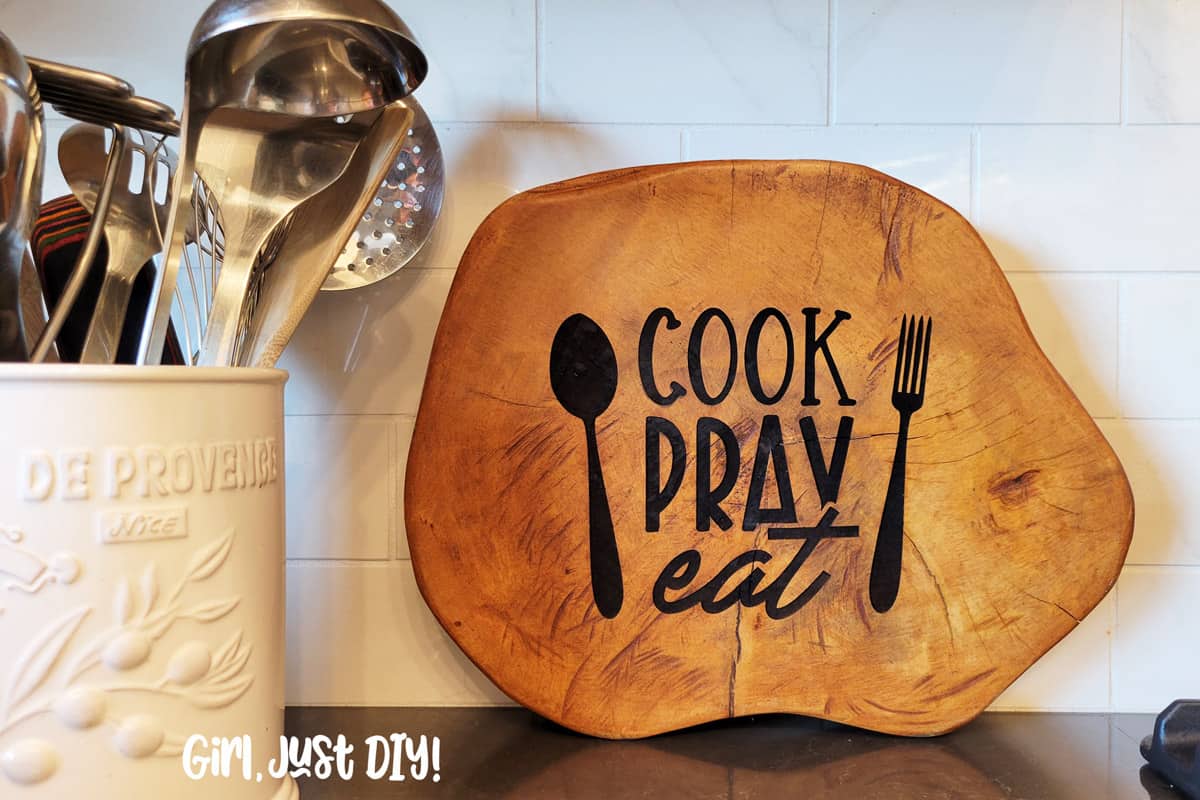
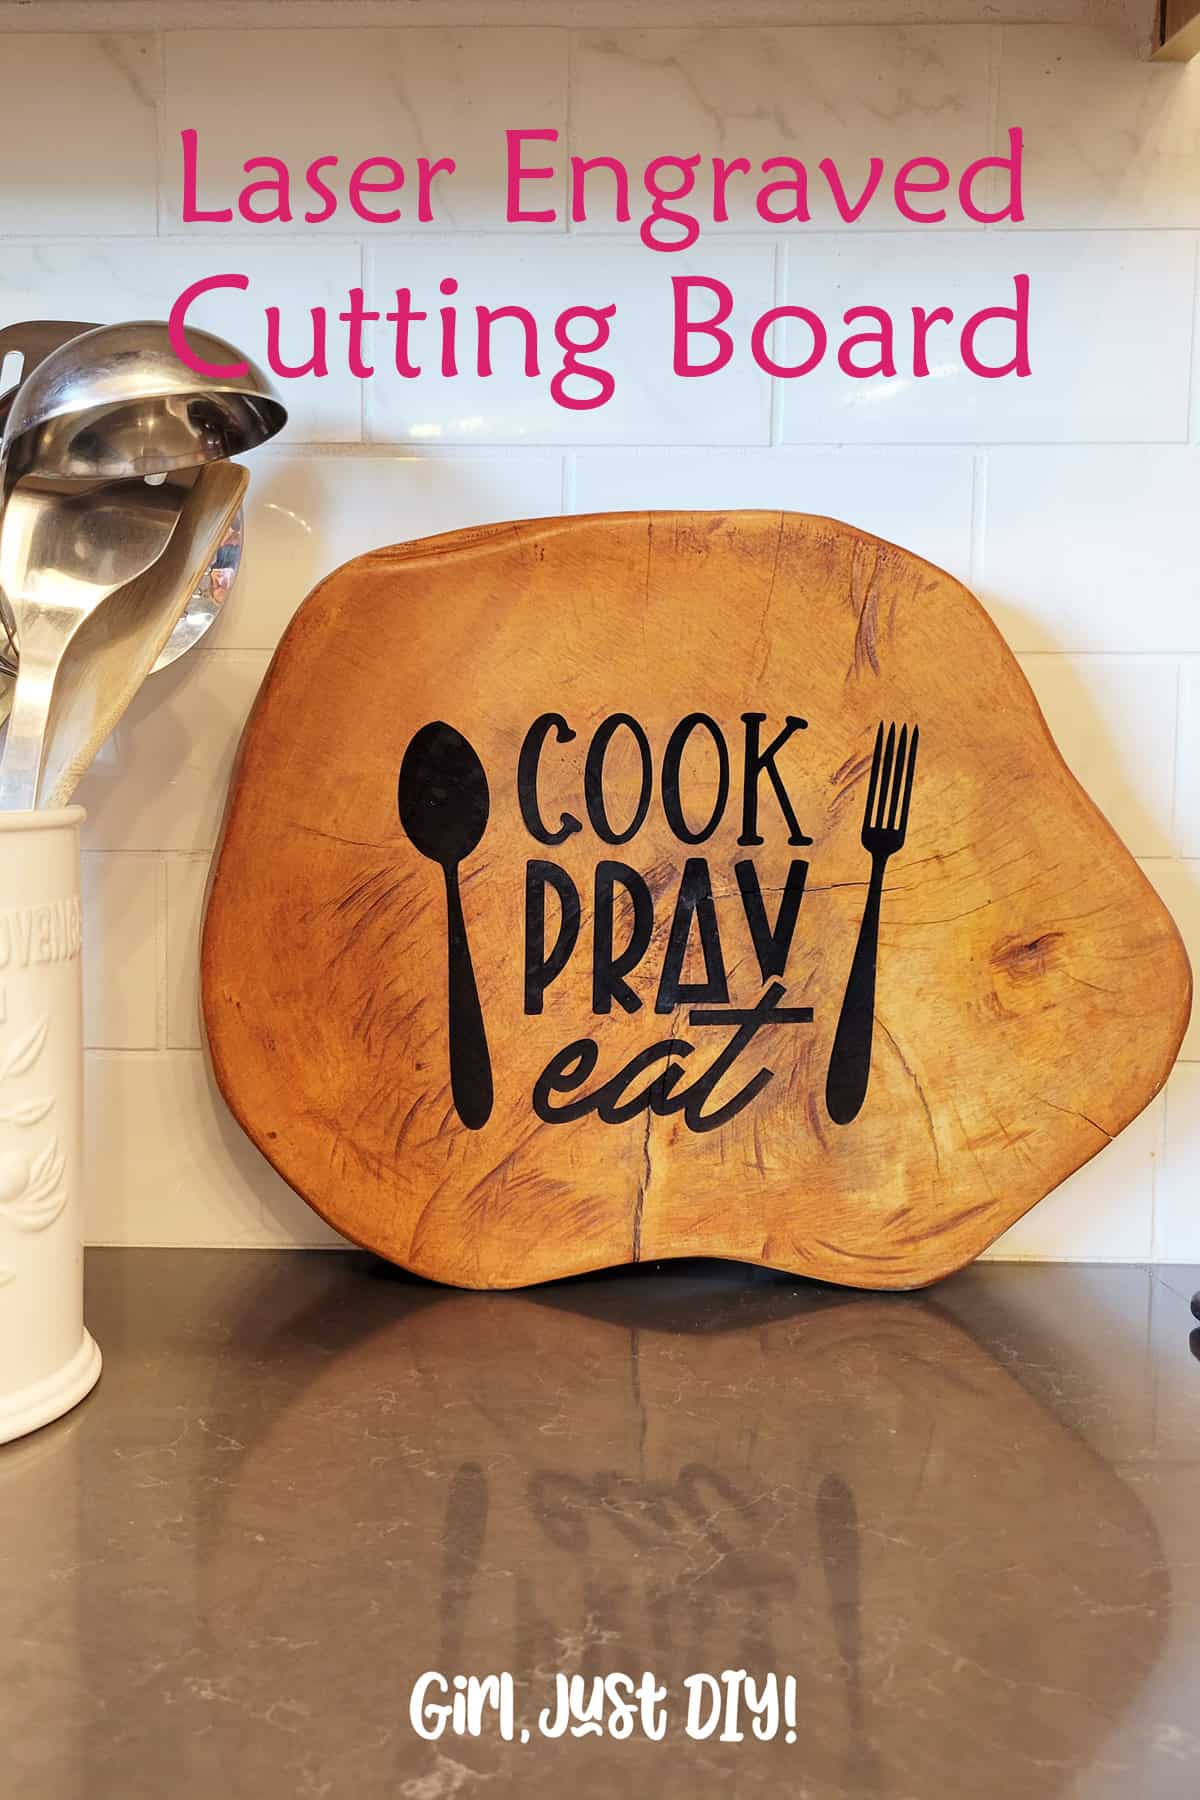
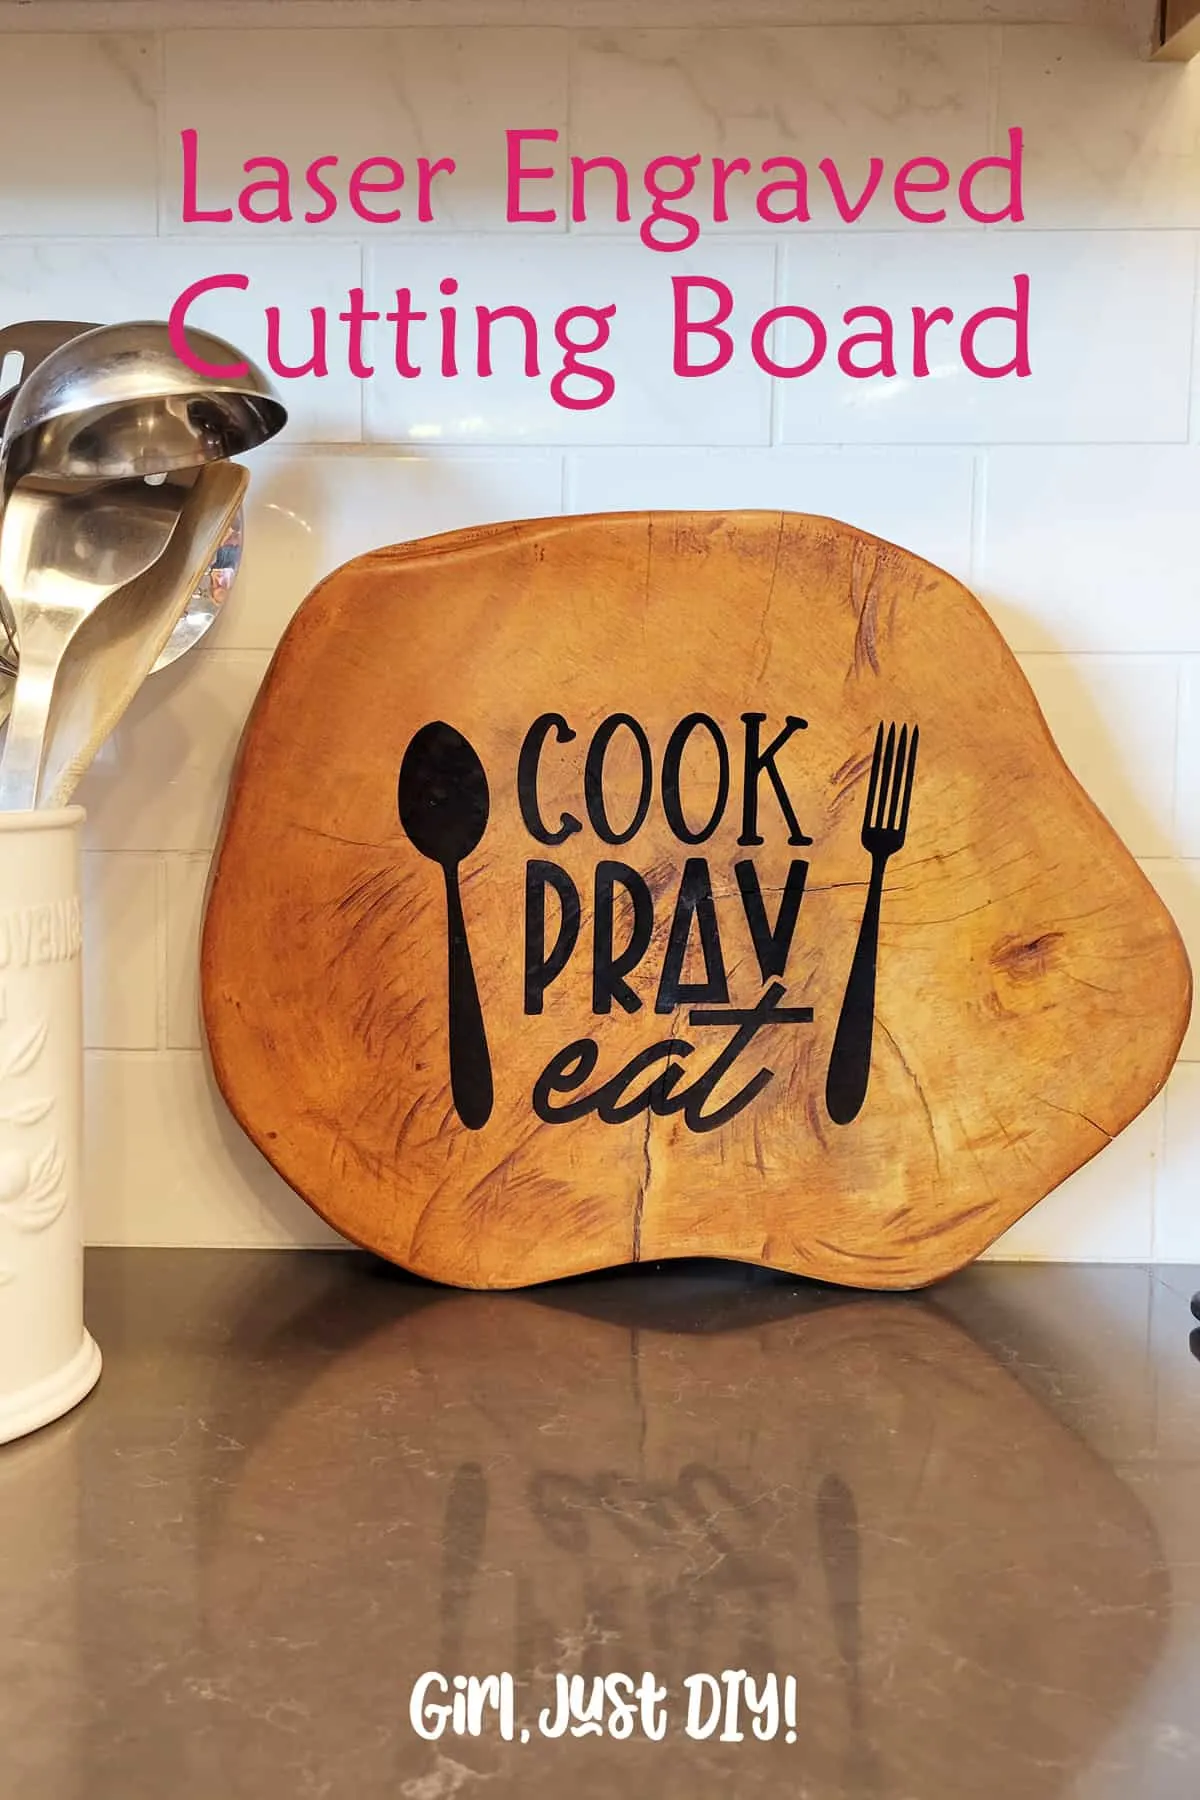
Laser Engraved Cutting Board
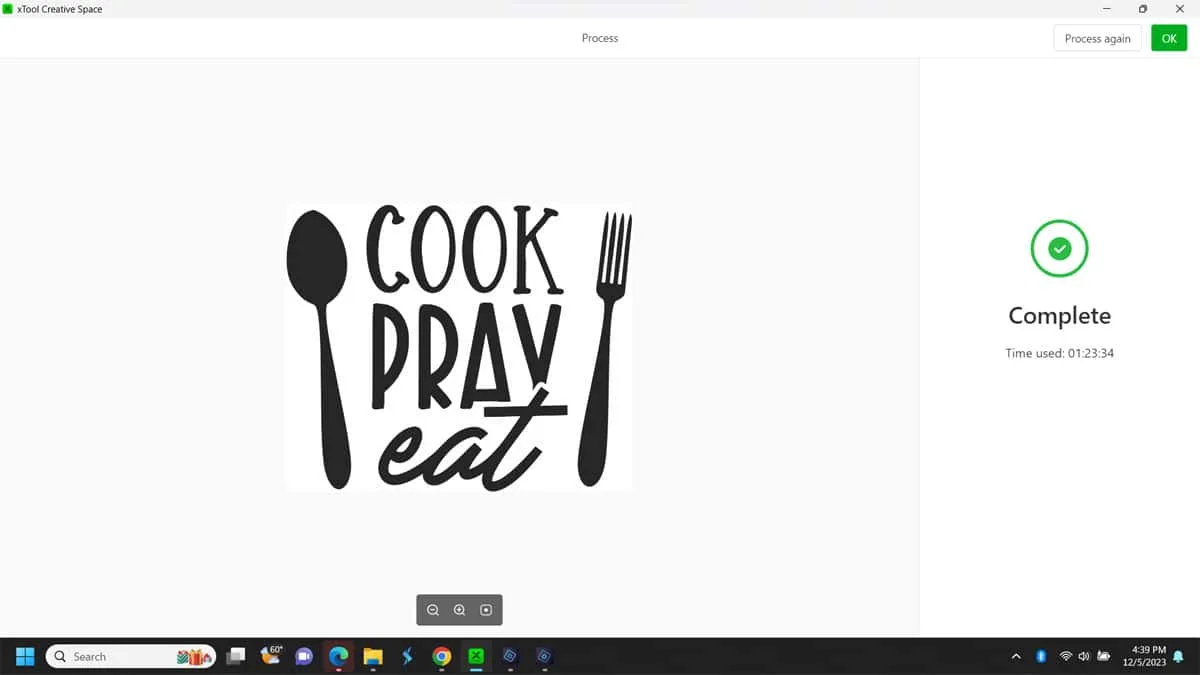
After purchasing and downloading my design I was ready to get started. I’m sorry but somehow I lost the screenshots I took of the app and settings. So I’ll just list below the steps I took to get the engraving started.
You can also review my recent project Engraved Wooden Coasters to see the process if you’re new to using lasers.
The riser base comes with an acrylic ruler that you’ll need to use because the laser head needs to be within a certain measurement from the object to be engraved. This has to do with the power of the laser beam to ensure the best result.
- Slide the honeycomb panel into one of the slots and place your cutting board inside.
- With the power to the laser off, slide the laser head over the cutting board.
- Use the acrylic ruler and make a note of the measurement at the top of the laser head.
- If the top of the laser head is above 30mm or below 0mm move the cutting board up or down as necessary.


- Turn on your xTool M1 and open the XCS app on your laptop.
- Connect your app to the xTool Device.
- Line up your cutting board inside the M1 to prepare for engraving.
- On the right menu-side menu:
- Change Laser flat to Open Plane
- Change Material to User-defined material
- Enter the measurement you took of the distance between the cutting board and the laser head.
- Import your graphic file, align and resize the image to fit on your cutting board.
- With the image selected in the app:
- Change Processing Type to Engrave.
- Set the Power/Speed/Pass/Lines per mm
- Because my cutting board is a wood slice with harder end grain, here are the settings I used. 100/80/1/140. Yours might be different.
- Perform a Framing test and adjust the location of the graphic as needed.
- When you’re ready press start to begin processing.
This design took 1 hr 23 min to engrave. Not bad considering the settings I used on this hard wood.

Cleaning up the engraved cutting board
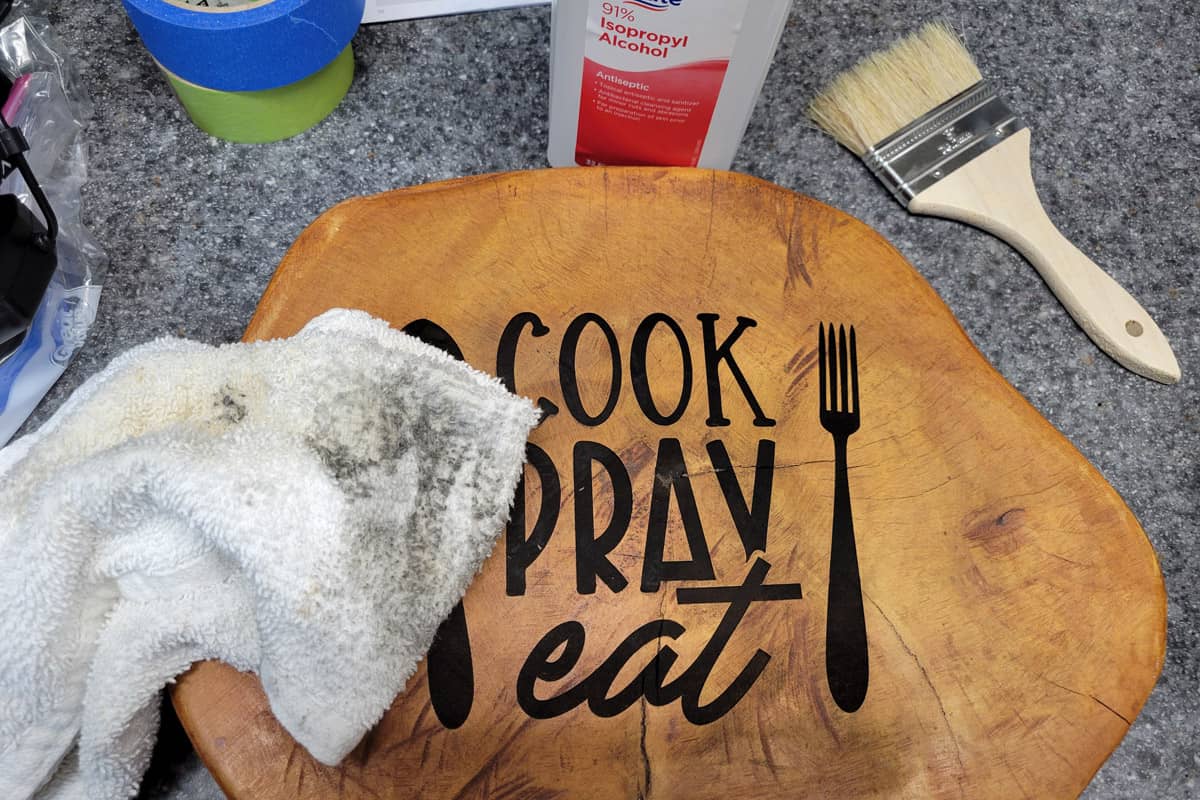
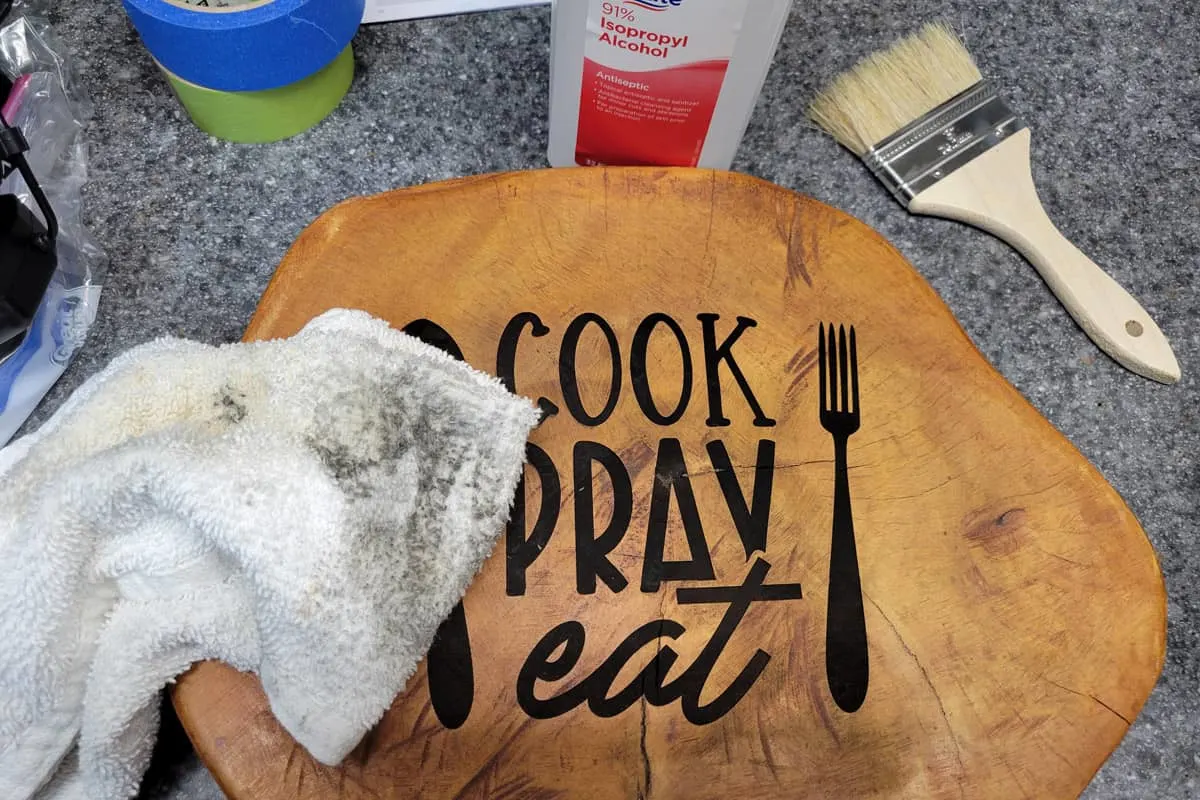
Because of the settings I used, even with the Air Assist turned, there was quite a bit of soot. There are different methods for cleaning up the soot. I used a combination of painters tape and alcohol rags to get all the soot off of my laser engraved cutting board.
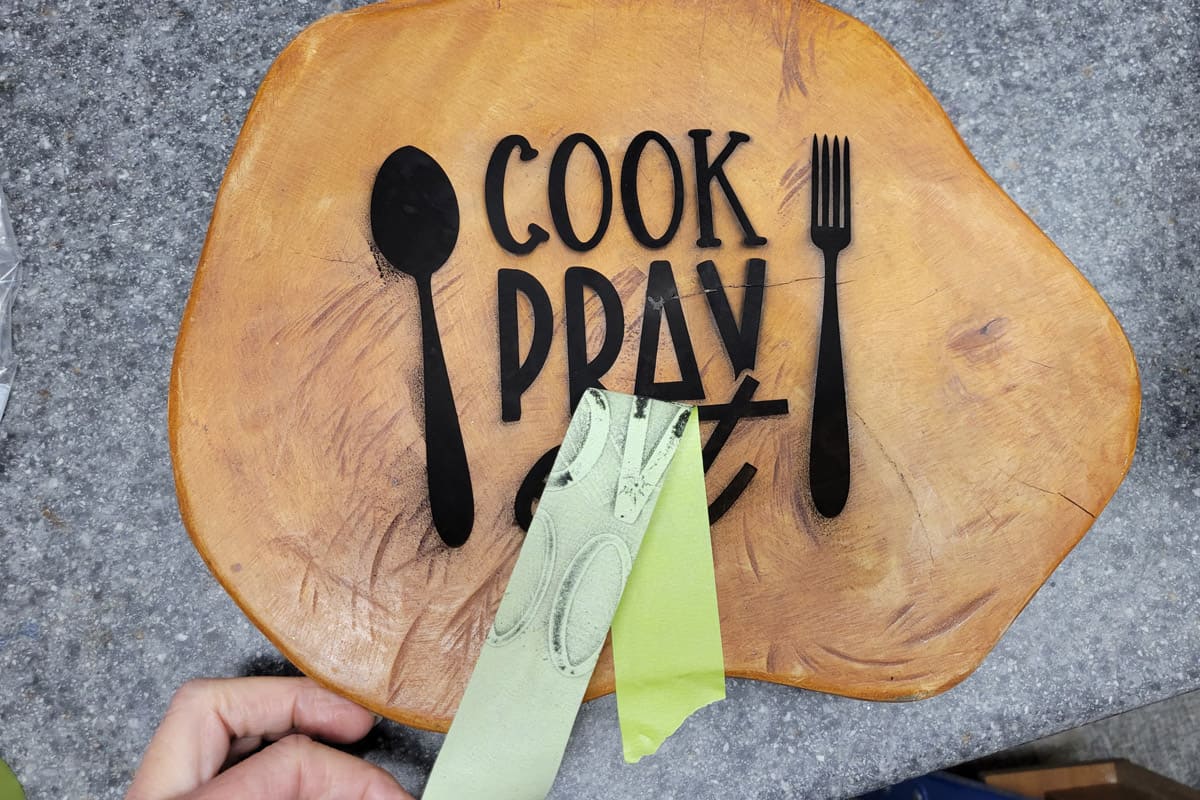

You could also use a chip brush to brush away the soot so it doesn’t get into any wood grain.
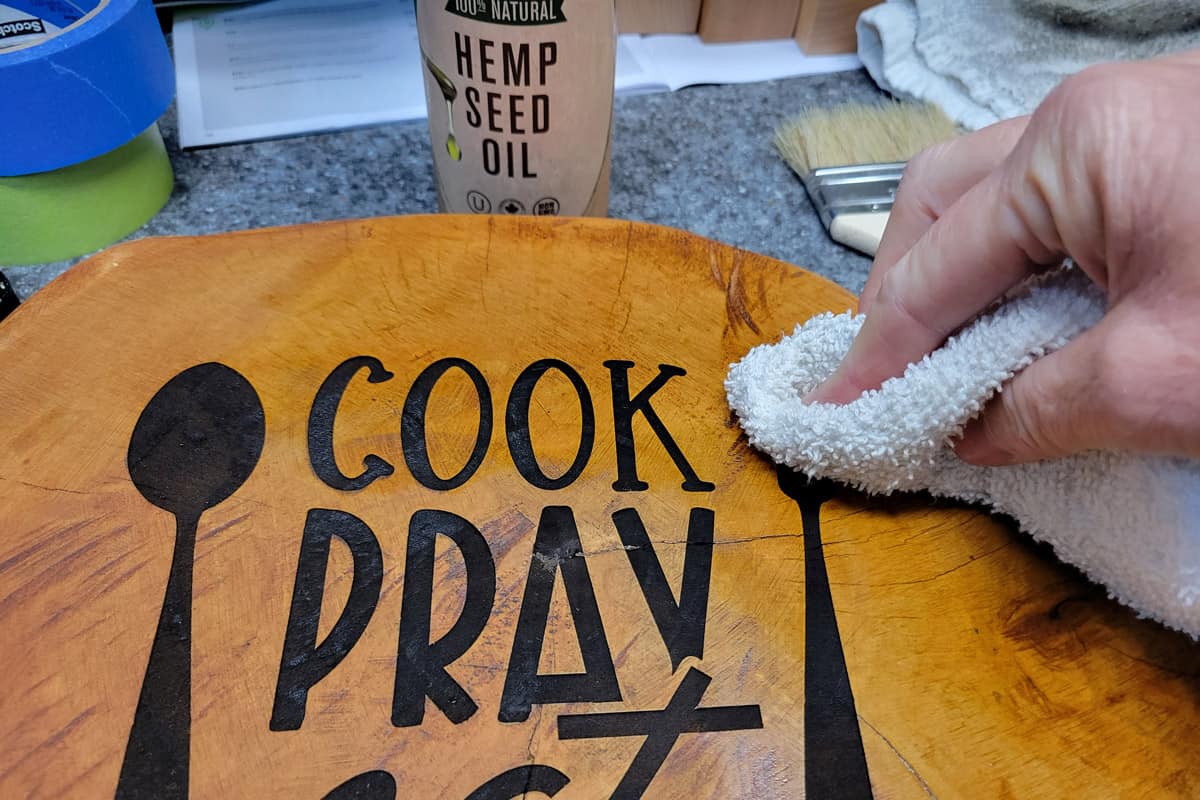
Lastly, I oiled the cutting board with some Hemp Seed Oil applied with a rag. This really shined it up. And Hemp Seed oil is food grade so you could use this if you plan to serve food on your cutting board.

And you’re done! These would make great gifts for the cooks in your life. But this one is just for me. I’m going to leave it right here behind my stove.

I have a few more laser project to share with you too. So watch for those in the next week or so.
LOVE IT!! PIN IT!!
EVEN MORE XTOOL SAVINGS
Machines up to $1728 off and Free Santa Gift (worth up to $100) Accessories up to 12% off
Buy 2 get 10% off. Code: CHRISTMAS10 – Buy ≥3 get 12% off. Code: CHRISTMAS12
xTool P2 CO2 Laser: Up to $ 1700 off – Fulfill All Inspirations
xTool S1 Diode Laser: Up to $ 1014 off – Entertain with Family & Friends
xTool F1 Portable Laser: Up to $ 1365 off – Everyone Could Be a Santa
xTool D1 Pro Laser: Up to $ 1052 off – Have Fun with DIY from the Start
xTool M1 Smart Bundle: Up to $ 1462 off – Minimum Budget Big Satisfaction