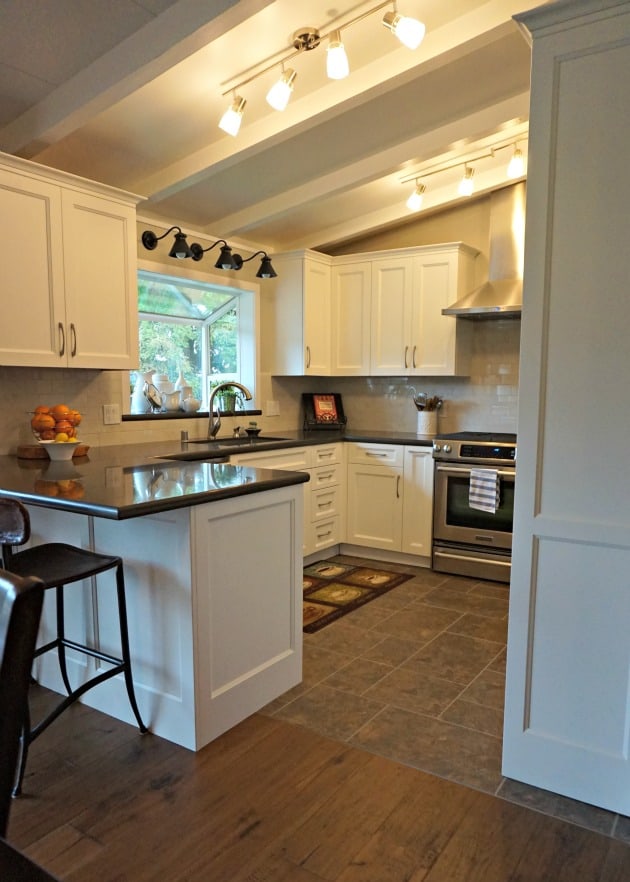
Hey Friends, I want to share with you today our new kitchen renovation. I’d been waiting a long time and I was happy and nervous last year when my hubby said let’s just do it. Happy for obvious reasons but nervous because I was being laid off from my management job after 14 years. We’d worked hard on our finances and saved for a long time so I jumped at it. I’d be crazy not to, right?
From a quick glance (look past the clutter please) everyone said we had great kitchen but I knew we needed a complete kitchen renovation. The wood cabinets had a nice stain, the Pergo floor appeared flawless, and the counter tops had beautiful granite, tile. I was very happy with it when we moved in, and it was much nicer than what we had when we rented. But after living with it a while you start to see what I missed during the open house.
The cabinets were installed the year I was born and had been painted and stripped at least once. There were water stains along the trim, and lots of veneer was missing from the edges of the door and drawer fronts exposing the plywood edges. Also, the low profile hinges were pulling out of the cabinets and the magnetic closures were breaking. Then there were chipped edges of the granite tiles because they didn’t bull-nose them. Just to name a few.
This page contains links to products, if you purchase something after clicking on my link I may earn a small commission (at no extra cost to you). You can read about affiliate links here.
Before the Kitchen Renovation (oh the horror)
I’ll show what it looked like before the kitchen renovation began. I’m sorry for the poor-quality photos; and, the messy cabinets, my maid forgot to clean up before I got out the camera 😉
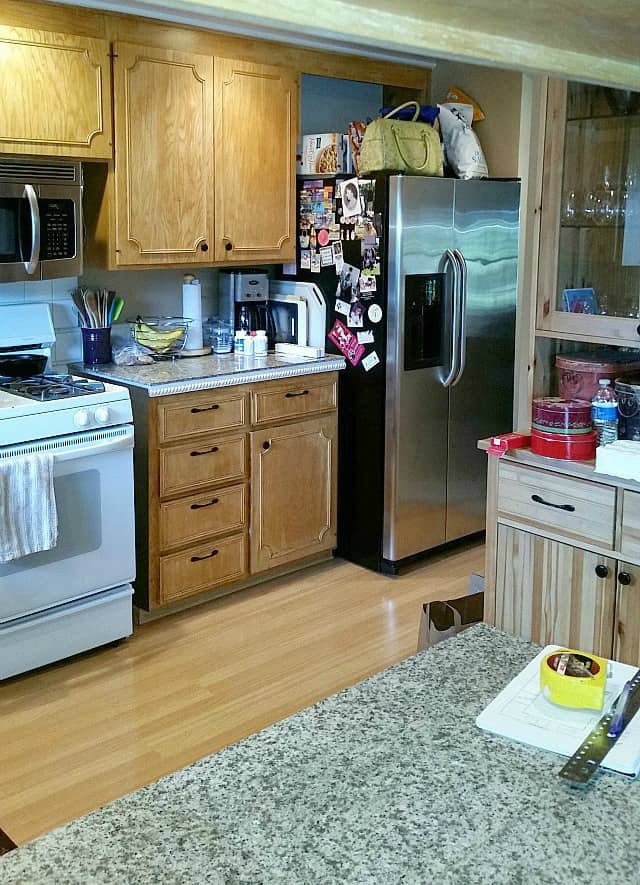
See those huge gaps on either side the stove? What spill magnets they were. I think there was a built-in stove and oven that was removed at some point to make room for an updated range. Then there was the corner of the hanging cabinet. So many people smacked their heads on that cabinet I finally started taping stuff to the corner to soften the blow.
I’m not sure why they thought it was a good idea to angle the corner of the counter top but the cabinet hung over that edge and we were regularly hitting our heads. Those fake flowers that hung there for many years looked funky but it saved our taller guests from a goose egg.
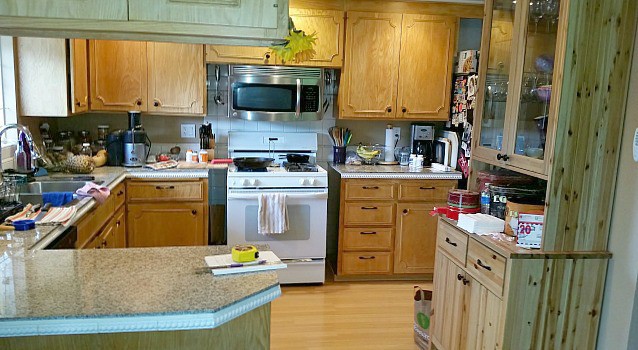
From this angle you can see the big hole above the refrigerator. That’s our own handiwork to get our “modern” refrigerator installed under the old cabinets. We removed the doors and cut away the shelf and that’s as far as we went knowing it wasn’t permanent.
But I was constantly trying to figure out ways to redesign my kitchen (you can see my sketch on the countertop in this photo). In the end we left the kitchen renovation plans in the hands of a designer.
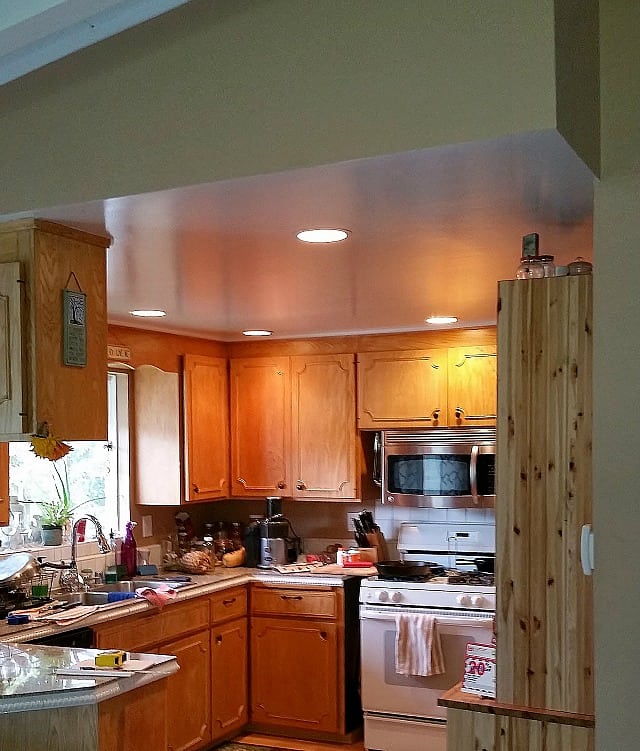
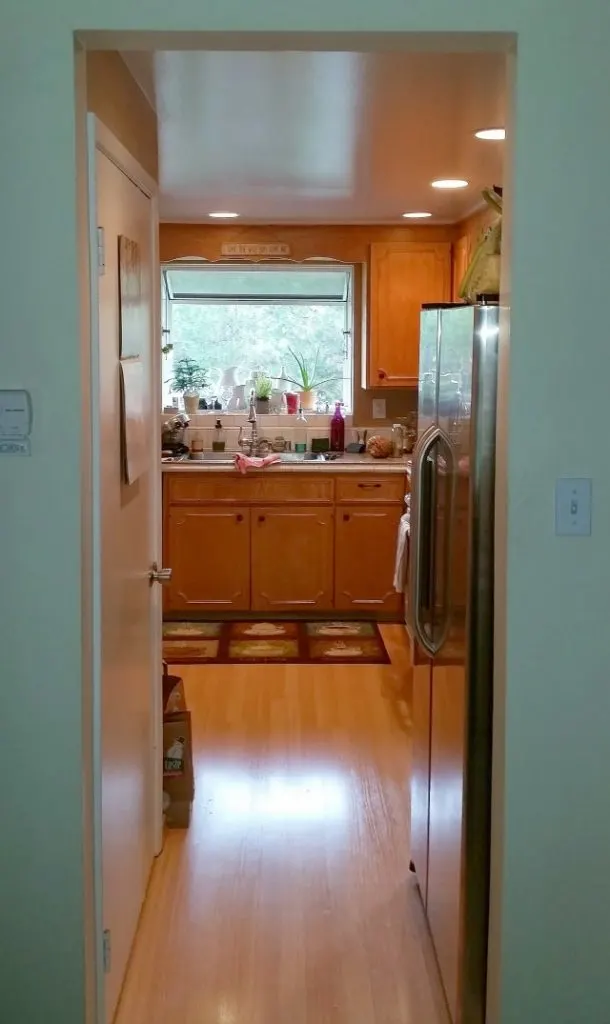
The view from the dining room shows the drop ceiling that has bugged me for a very long time. We have vaulted ceilings in the rest of the house but when the 1965 kitchen renovation happened they dropped the ceiling to add a cabinet over the peninsula. The lowered ceiling made the kitchen feel that much smaller. (keeping it real and showing a messy kitchen, bloggers are human and our houses get messy too 🙂 )
Looking into the kitchen from the living room you just see a narrow doorway with no trim that didn’t make much of an impact at all. When the house was built this doorway was the kitchen entry from the hallway. A previous owner took down the walls of the 3rd bedroom to make the living room larger but they missed an opportunity to case the opening.
Kitchen Renovation – Demo Day (demo weeks?)
We started the demo gradually at first and then finally borrowed my brother’s trailer for dump runs. The cabinets were built in place and had to be taken apart which required crow bars, a saws-all, and some good muscle. You can see the outline of the original 1950’s cabinets and the puke-green paint.
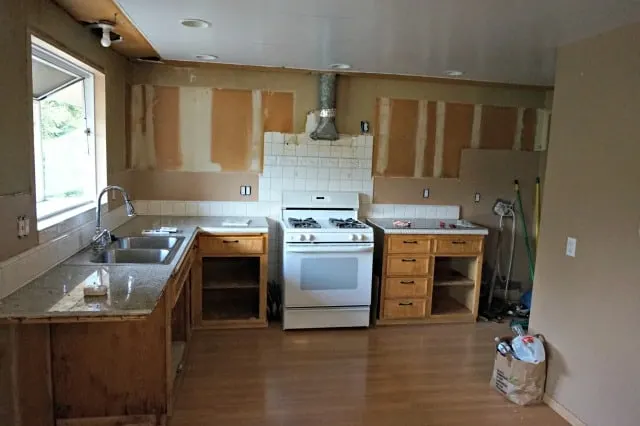
When we were closer to the start date with the contractor we went all in on the demo. The fridge was already in the dining room (my temporary kitchen) I’d cooked and frozen as many dinners as I could so we weren’t eating out. And the the bathtub was already stocked with buckets, dish soap and the dish drainer for washing dishes. When the cabinets were all removed we were ready to tear out the drop ceiling.
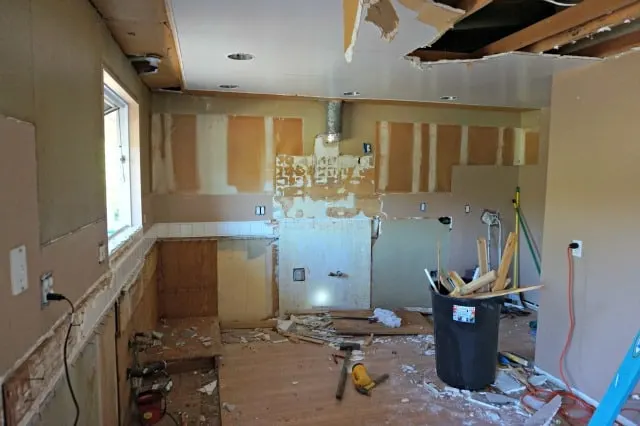
We put up plastic to contain the mess and got busy pulling down the drywall. We didn’t know what we would find but yuck, look at the paint on those beams. I guess that was a mid-century modern color? I was so glad to see that ceiling g-o go!
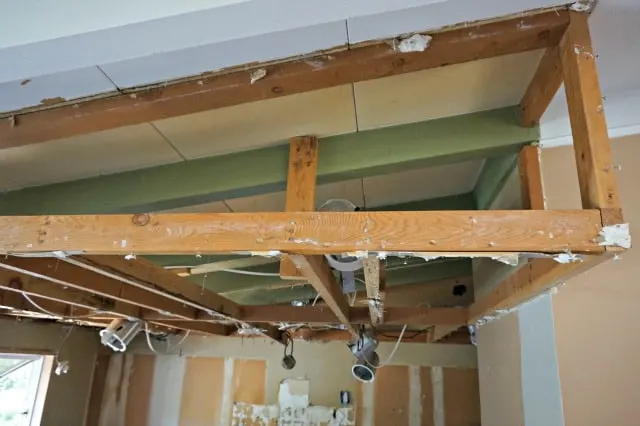
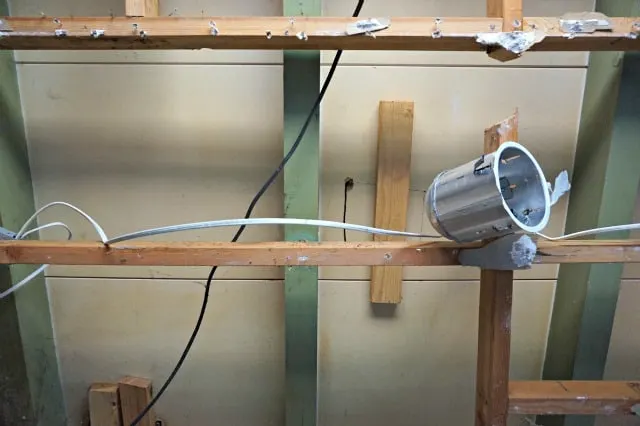
We were hoping the ceiling were in good shape but unfortunately we found six holes cut in the ceiling and patched from above with screws and 2x4s which created a problem. The ceiling material is a thick pressed fiber board and removing the 2x4s pulled out big chunks that we couldn’t patch easily so we had to find a solution.
Kitchen Renovation – Let the Fun Begin
With the drop ceiling removed the kitchen already felt so much bigger. Our contractor and the drywall guy found a way to fix/hide the damaged ceiling. They used J channel to drop the ceiling slightly between the beams and covered it with drywall. This made space to add two pancake boxes for ceiling lights but keep the exposed beams in the kitchen.
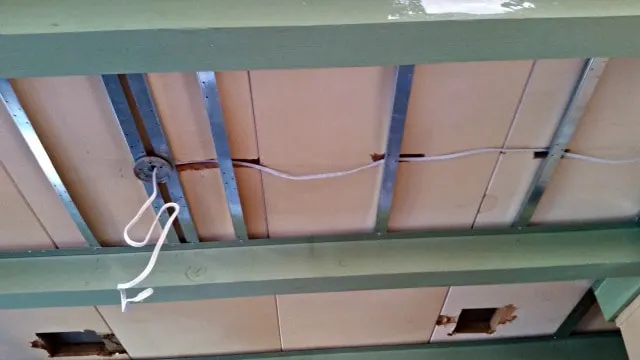
After the drywall was finished we painted the ceiling and walls to save money. I painted the areas that weren’t going to be covered with Sherwin-Williams Repose Gray in 130% and for fun painted our initial onto the wall.
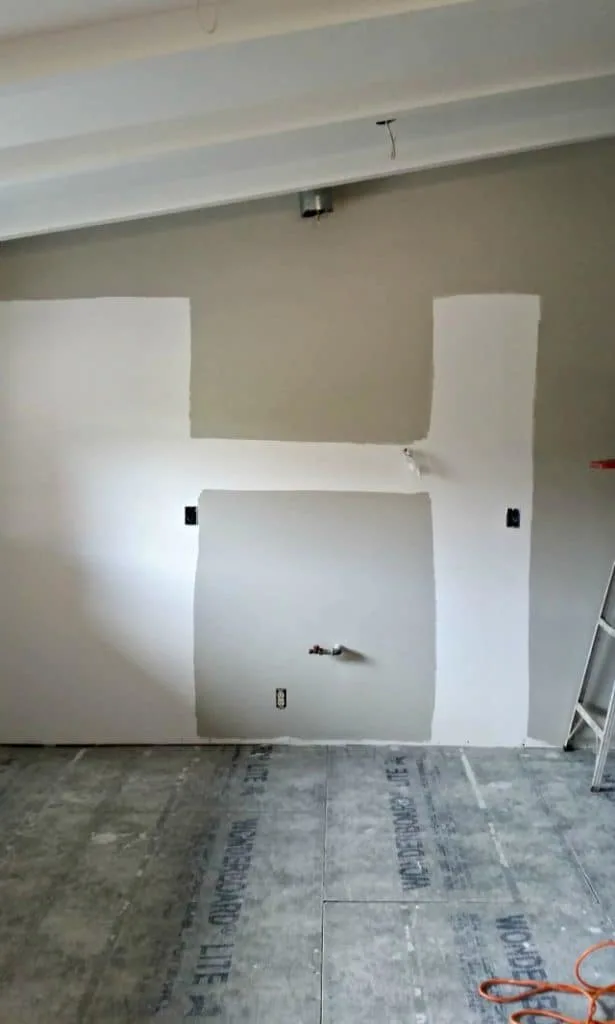
I knew I’d only get to do this once and after reviewing my Pinterest Kitchen Board over and over I decided I wanted a very timeless look. I’ve always loved the simplicity of Shaker-style so we chose a door with a slight bevel on the panel to eliminate dust catchers, because I’m all about less maintenance.
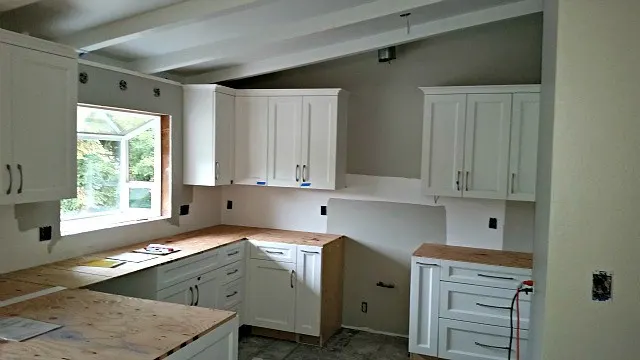
We installed the same tile in the kitchen that we used in our entryway and finally the countertops came. We chose Calypso by Silestone because I love the look of soapstone and I love how they contrast the white cabinets. To be honest, if I had it to do over again I would choose granite. Quartz might be harder than granite and not require sealing but quartz can chip, which happened to me before I ever got to use it. Thankfully they are small, but still, annoying right?
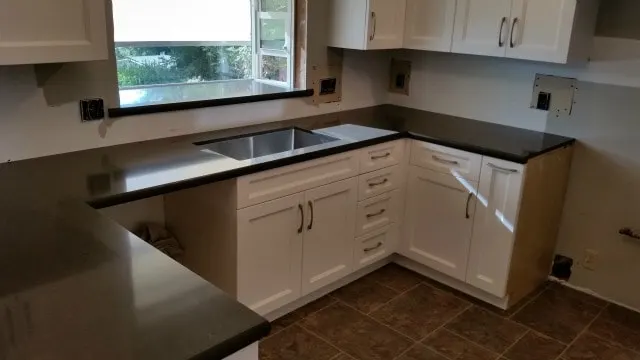
I really wanted Carrera for the back splash but when I read it can discolor behind the stove from oils and such I knew that wouldn’t work for me. I found a good substitute in Emser Tile’s Paladino that comes in subway tile.
Carrera actually would have been cheaper (surprising right?) but no maintenance again is a plus. I got mine at a local tile store but they were the only one’s local who carry it; you can order Emser’s Paladino tile online for your kitchen or bath.
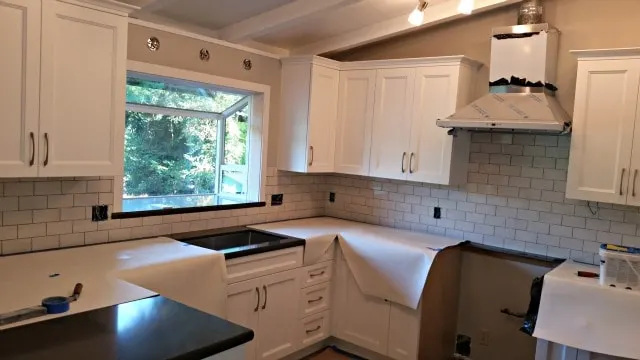
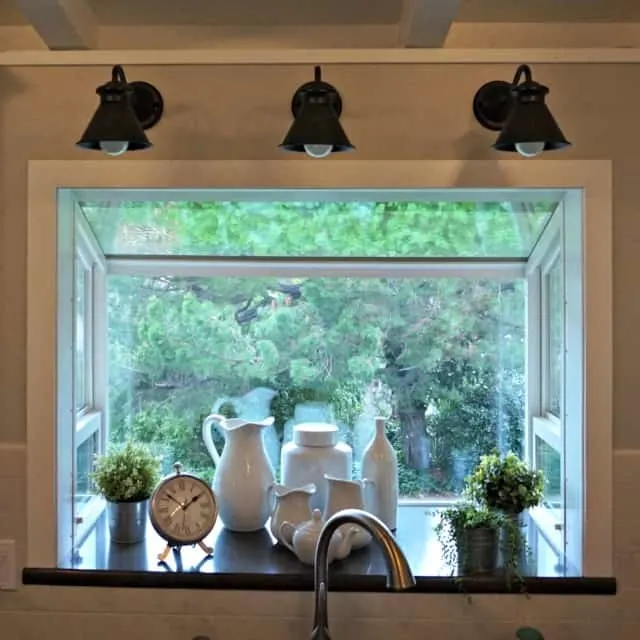
I love love love the Goose-neck lights I found and ordered from Wayfair, they’re just how I imagined them. I searched for what seemed like weeks and even my hubby was trying to help me. When I found these I ordered them immediately but then they were backordered. I was starting to get nervous they wouldn’t arrive in time but thankfully they came the day before the appliances were set to be installed.
The finish is called rust” but they are actually black. I read a lot of reviews to be certain before I ordered because I really wanted black. Go ahead and order yours, you can thank me later 🙂 [Update as of 06/18: the gooseneck lights are no longer available on Wayfair but I found them online at Home Depot, and they’re even cheaper than what I paid 🙂 ]
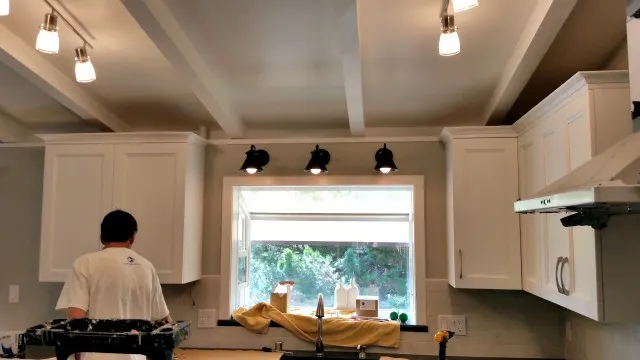
We ran into a few problems with the manufacturing of the pantry cabinet we added to our one empty wall. It caused a bit of a delay but thankfully Columbia corrected all the issues and the kitchen renovation was finally completed roughly 3.5 months after we started.
Kitchen Renovation – Oh the Joy!
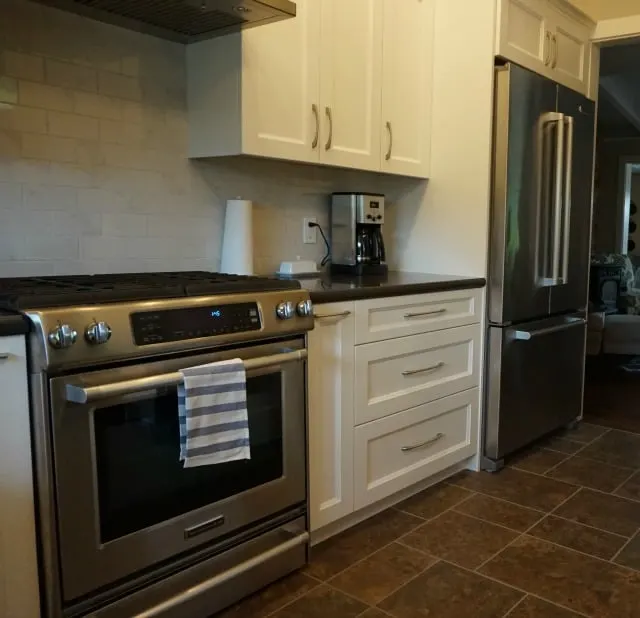
We couldn’t change the layout but it functions so much better than before and exposing the beams makes it feel bigger. I’m so happy with how it all turned out and those goose-neck lights still make me swoon!

The newly added and much needed pantry cabinet stores a ton of food and it houses our new microwave.
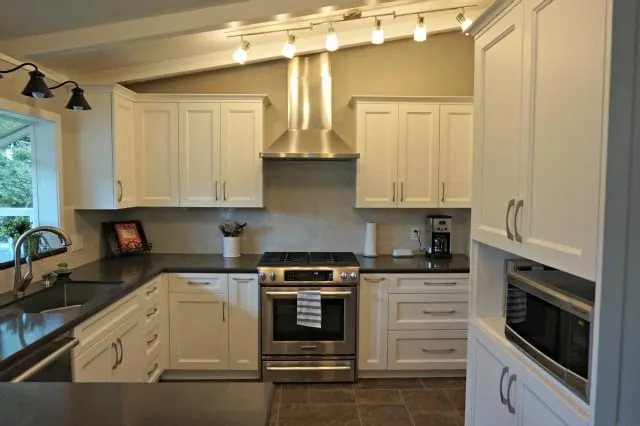
I’m so happy the huge hole above the refrigerator is gone, yay, plus we gained more clearance in the doorway because we replaced our old fridge with a Kitchenaid Counter-Depth Refrigerator. If only my kitchen could have more of the lower cabinet drawers. They’re so much more convenient than traditional lower cabinets.
I’m loving my new single sink! The old one was a small double sink that didn’t work well for me. I’m so happy with the Kraus sink I ordered. I was nervous about ordering something like this online but it came well packed and in perfect condition. I got the biggest one I could fit in the cabinet and I love how deep it is and the grate in the bottom. Thankfully there was still enough space under the counter to create a mini Kitchen Recycling Center.
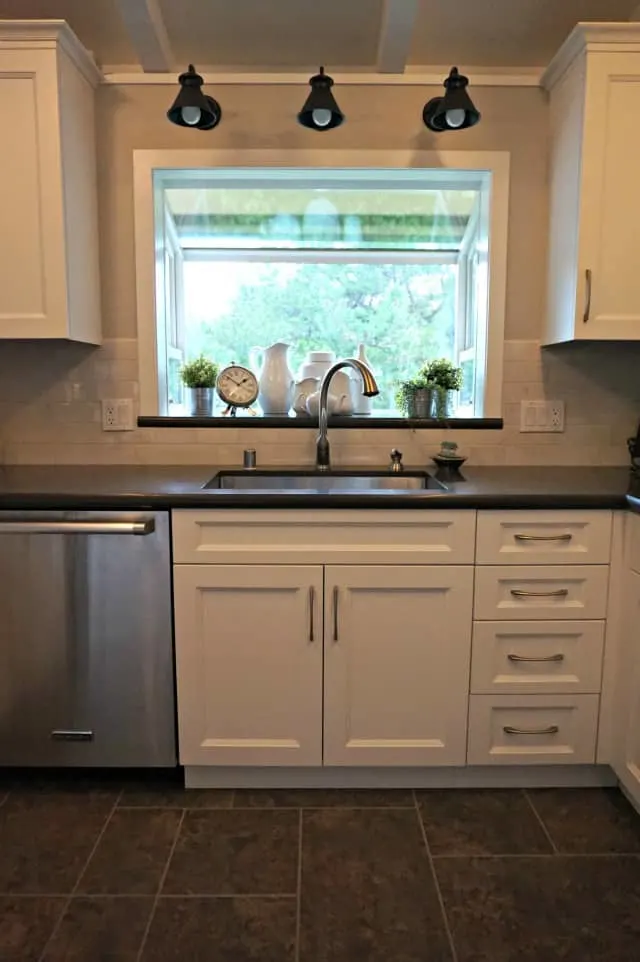
We replaced the garden window over the sink and cased it for a more finished look. I’m glad we spent a little extra and added the counter top material to the window, it really makes my small ironstone collection pop.
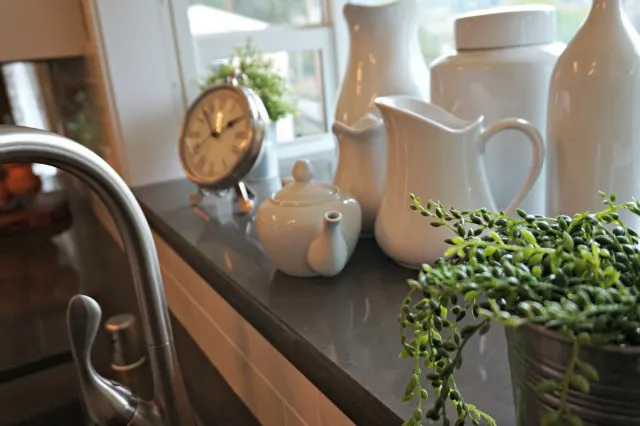
Don’t you love the galvanized pots and faux plants I got at IKEA? No watering require and they always look great! If you don’t have an IKEA close to you no worries, Amazon carries the Galvanized pots and the faux succulents.
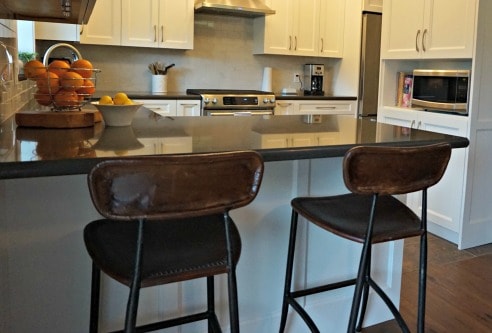
We also deepened and widened the breakfast bar as much as we could. Now I can use that area for more prep space or for party snacks when we have company. I love the leather and iron bar stools. I got them at the Napa Style warehouse sale at a deep deep discount. Sadly, they’ve since moved their warehouse back east 🙁
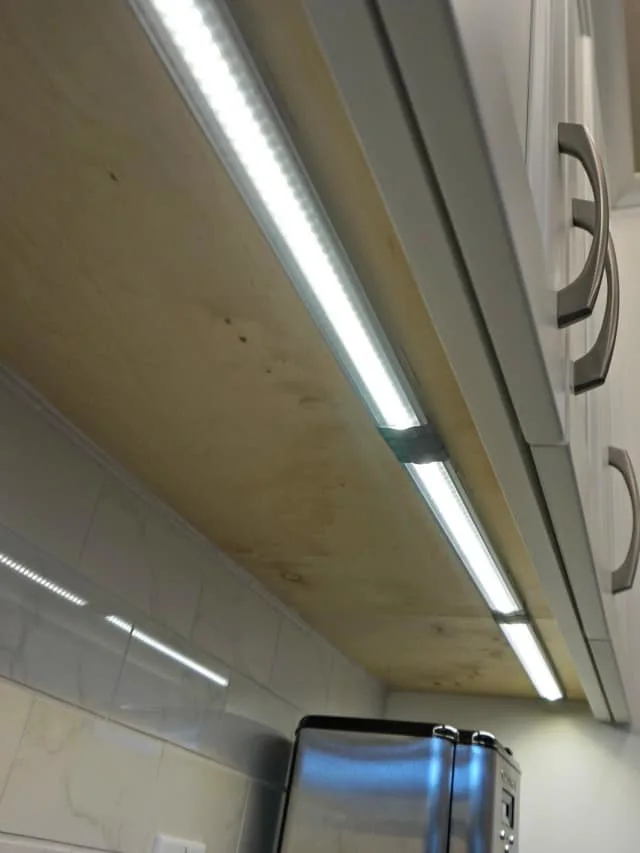
Early in the planning stages I knew I had to include under-cabinet lighting and these LightKiwi Under-Cabinet Lights are perfect and were pretty easy to install. We had to order a few kits to get the coverage we needed and an optional master dimmer. I chose LightKiwi because their competitive price, the included moisture covers, and the great ratings they receive. You can mix and match sizes to get the perfect configuration for your kitchen.
Taking on a kitchen renovation isn’t easy. Whether you do it all yourself, partially, or let the professionals handle it all it’s a major disruption. Washing dishes in the bathtub is a pain, literally. But with a little planning, and some good meals in the freezer it will be manageable, and so worth it!
Until next time!
Toni
B
Friday 1st of April 2022
We just had pergo floors put in our kitchen. Did u not like ur pergo floors or just wanted new look?
Toni
Thursday 12th of May 2022
The pergo floors that were in our kitchen were some of the very first ones made. They weren't waterproof nor were they durable. And they didn't really look like wood at all. Good for their time but not a look I wanted.
Wine Cork Board - an Easy DIY Project to get Organized - Girl, Just DIY!
Monday 25th of February 2019
[…] Now find the perfect to hang it and organize your notes, or display your favorite pictures. The door to the utility closet in our kitchen has been blank since we finished our Kitchen Renovation. […]
Ali Alpern
Friday 20th of January 2017
This is just gorgeous! How lucky that you had those tall ceilings hidden behind the awful '65 remodel. Nice choices. I love a nice big single basin sink, too.
Toni Harvey
Thursday 26th of January 2017
Thank you Ali, yes we are lucky and I was so thankful that they weren't in horrible shape. It would have killed me, it really adds to the look. Yes, I love my big sink now, it hides so many dirty dishes when I'm lazy ;)
Rebecca
Wednesday 11th of January 2017
What a beautiful kitchen! I love it. We are planning on doing the same thing this year, replacing old wood cabinets for something more updating. We're even planning on putting in white cabinets with black countertops and a single bowl sink. Your kitchen is wonderful inspiration for me. Thank you!
Toni Harvey
Thursday 12th of January 2017
Rebecca, how exciting that you get to renovate your kitchen. I love having a single bowl sink now, I can finally wash large pots without getting water all over the counter. You'll have fun but it's kind of stressful so prepare yourself mentally :)
Angie ~ ambient wares
Sunday 20th of November 2016
Stuuuuuuunning! The ceiling is insane! I can't stop yelling! Seriously, this kitchen is incredible :D Thanks for sharing it with us at Funtastic Friday
Toni Harvey
Thursday 12th of January 2017
Thank you Angie, it's hard to believe that it ever looked like the before pictures. They still make me cringe when I look at them.