Hey friends, today I’m sharing with you my new kitchen curtains that were pretty easy to make, and they’re lined too. And the best part is they cost me less than $10 to make. I got the fabric at a discount fabric store for $2/yd and the muslin was $1.99/yd. The most expensive thing was the thread I bought to match the fabric because I couldn’t remember if I had the right shade. But seriously this project cost way less than $10 if you consider how little of each item I used.
I started to make these kitchen curtains a few months ago but hit a design road block. I finally just got back to them today. I made them this morning, took photos, and I’m writing this post all on the same day. I don’t normally work that fast but I wanted to participate in a link up party with another blogger so there was no time to waste. I’m a major procrastinator but when the pressure is on I can get some serious stuff done in a short amount of time (shh, don’t tell my hubby). I even cleaned up the dining room where I was working and cleaned a bathroom. My hubby will be so impressed when he gets home in a few hours. But I digress; let’s move on to what you need to make your own easy lined kitchen curtains.
This post contains some affiliate links for your convenience. You can read my full disclosure here.
Easy Lined Kitchen Curtains Supply List:
To make these easy kitchen curtains you will need the following:
- Fabric of your choice (total amount depends on the width and height of your window
- Bleached or Unbleached muslin in similar measurement to your fabric
- Sewing Machine (a basic model will work for this job)
- Thread
- Scissors
- Sewing Gauge
- Straight Edge
- Electric Staple Gun
- Drill & Screws
- Cardboard Sewing Cutting Board
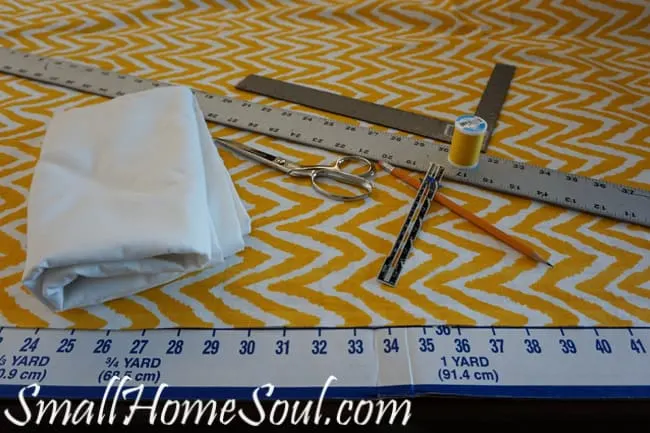
Before I could start I needed to do some calculations so my kitchen curtains would be the right size to mount inside the window casing. My window is 46 5/8″ wide and I wanted the drop to be approx 12″. Since I was going to line them I had a bit more work to do but it wasn’t too complicated.
Working on the width and knowing a standard seam is 5/8″ I doubled that to get 1-1/4″ and added 1″ for each side (2″ total) to be folded around the back that would also be attached to the lining. Adding those three measurements came to 49-7/8″ which I rounded up to 50″ for simple math and 1/8″ shouldn’t make a difference in this case.
Next for the drop of 12″ I added 1″ which would be folded over the board I would use to mount them and another 2-1/2″ for the hem for a total of 15-1/2″.
Figuring the lining was similar in process. From the window width I subtracted 2″ for the side seam that would wrap from the fabric to the back; and added 5/8″ twice for the side seams for a total of 45-7/8″ or 46″ simplified. To the 12″ drop I added 1″ for the top mount allowance for a total of 13″. It was time to start cutting.
I unfolded my cardboard cutting board on my dining table so I had a nice work area. These things are great because they have straight lines and measurements in 1″ increments which act as a handy guide. And they fold up nicely and store out of the way. You can also poke pins into them to hold your fabric in place, just be careful not to poke or scratch the table underneath. I line up the selvage edge along the bottom of the cutting board and used a straight edge and a pencil to make a line on my fabric. I cut the fabric on the mark to get a nice straight starting point.
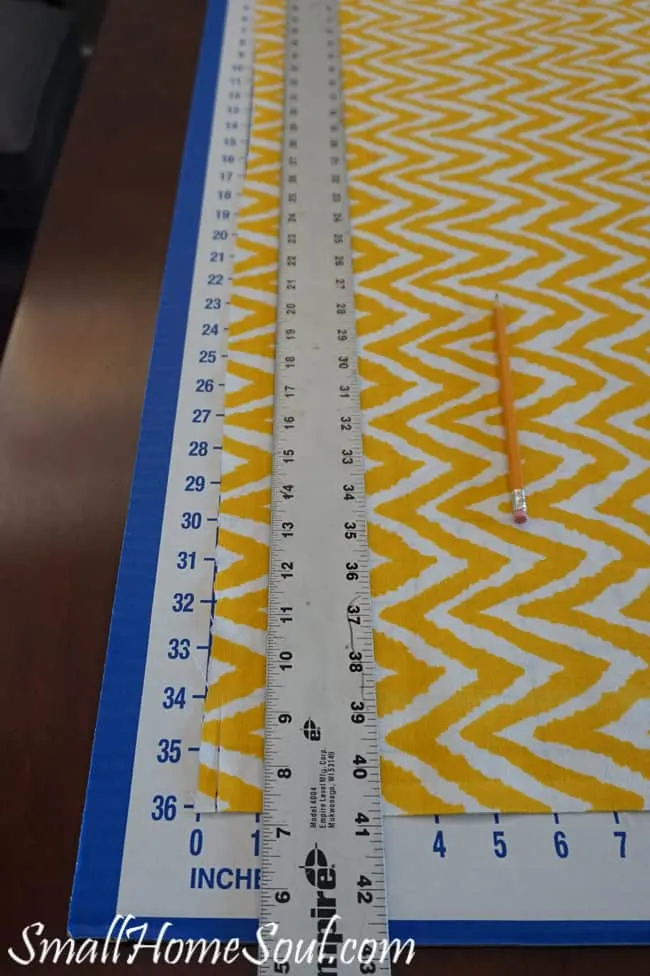
I lined the fabric up on the left 0″ line and repeated the process at the 50″ mark. I only cut up to 17″ because I wanted to keep as much of the excess fabric in one piece as possible for future use. I actually made the kitchen curtains sideways on the fabric (vertically) instead of horizontally how it comes off the fabric bolt. When I started to make these before I held the fabric up to the window and even folded it into the approximate height and tacked it with staples to see what it would look like. It didn’t look good at all, the horizontal pattern and the short drop made the window look very wide and the curtains would look squatty. Yuck, I was discouraged and put it away.
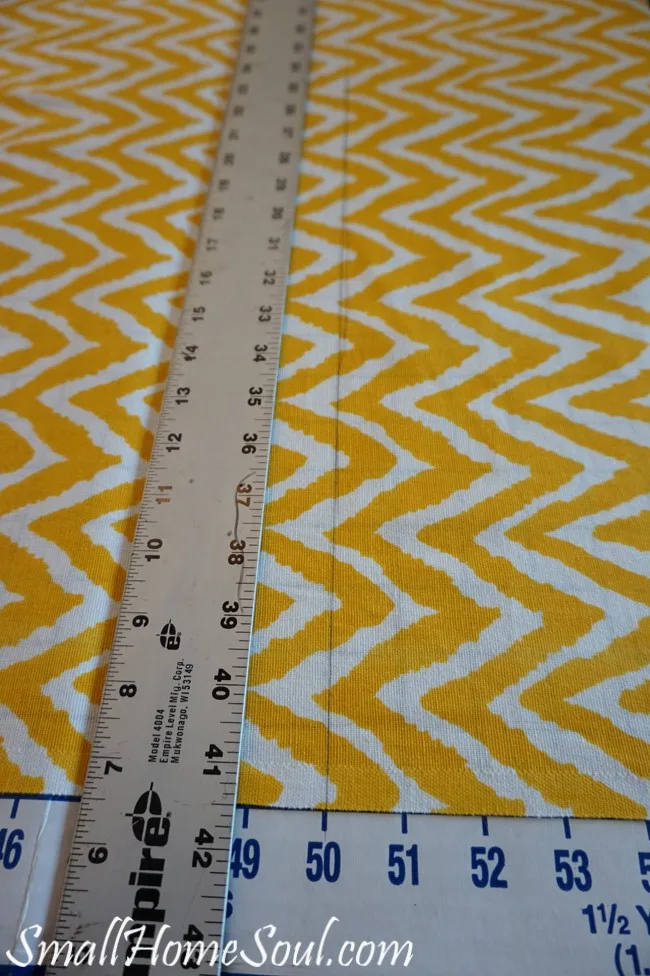
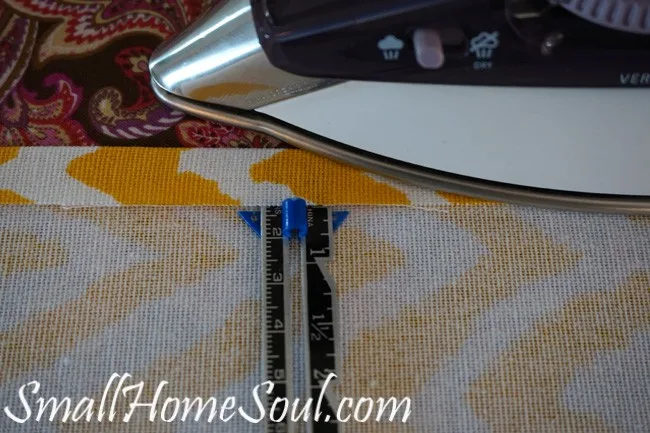
This morning as I was getting started and trying to determine if I wanted a pleat or some detail I was handling the fabric and it dawned on me I could use it sideways. Having the pattern hang differently changed everything and off I went. Anyway, back to the process of making these kitchen curtains. Once I got my piece of fabric cut out at 50″ wide and 15-1/2″ tall I ironed it and used my sewing gauge to turn over and iron down 1/2″ along the bottom edge in preparation for the hem.
Next I laid the fabric face up and pinned the lining to either side. You can see in the picture below there is more fabric than lining. That’s ok because it will all work out as planned. I promise, I did the math like three times. Off to the sewing machine to sew a standard 5/8″ seam on both sides. The bottom hem comes in a bit.
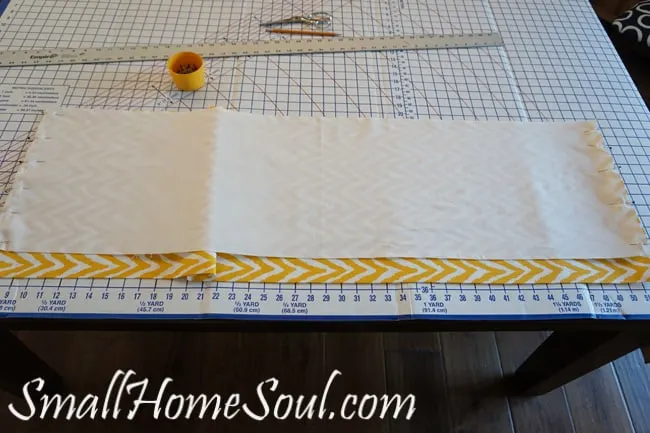
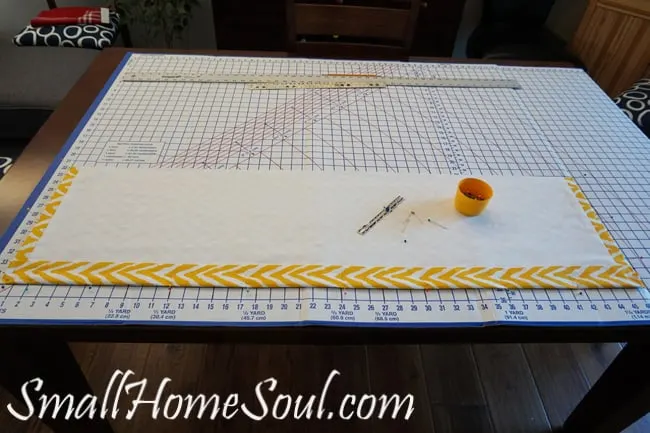
Turning it right side out you can see below how the fabric has wrapped around to the back. For the hem I used my sewing gauge again set for 2″ this time and pinned my bottom hem up over the lining. Because these kitchen curtains can’t really be seen by anyone from the outside I didn’t do anything fancy and just squared the corners and ironed it real quick. Then off to the sewing machine for the final stitch of the hem.
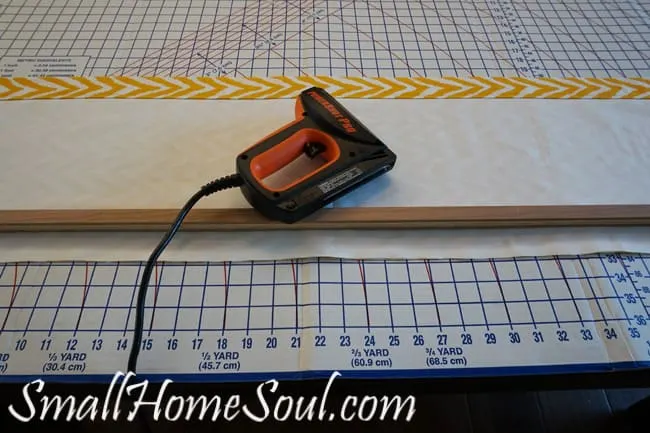
I had a scrap piece of plywood in the garage and cut it at 46-1/2″ to make sure it would fit inside the window casing. It would be ok if the fabric hung over a tiny bit on each side. Then I used the staple gun to attach the kitchen curtain to the wood and attached it to the kitchen window casing with 5 screws since the window is so wide. Make sure you read my tips below which includes what NOT to do, ya I almost had an epic fail moment.
More Staple Gun Projects
ReUpholstered Dining Chairs – Office Chair Makeover – ReUpholstered Dining Chairs
All done and they turned out great! It’s so much better than an empty window. You can see how it looked before in my recent ReUpholstered Dining Chairs post. With all the white and gray my kitchen was in desperate need of some color and I think this bright yellow was just the touch it needed. And it really highlights the goose neck lights I love. I love farmhouse style and love Fixer Upper and all my friends who create beautiful farmhouse stuff. My house isn’t really farmhouse but my kitchen definitely has some good farmhouse vibe with the white cabinets, the ironstone in the window, and those lights 🙂 Maybe I can find some other projects to inject a little more farmhouse here and there.
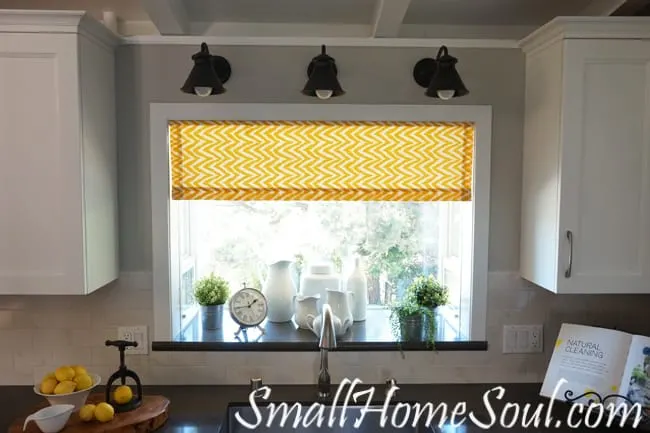
Here’s another angle of my new kitchen curtains that shows off my lights a little better, just because I love them.
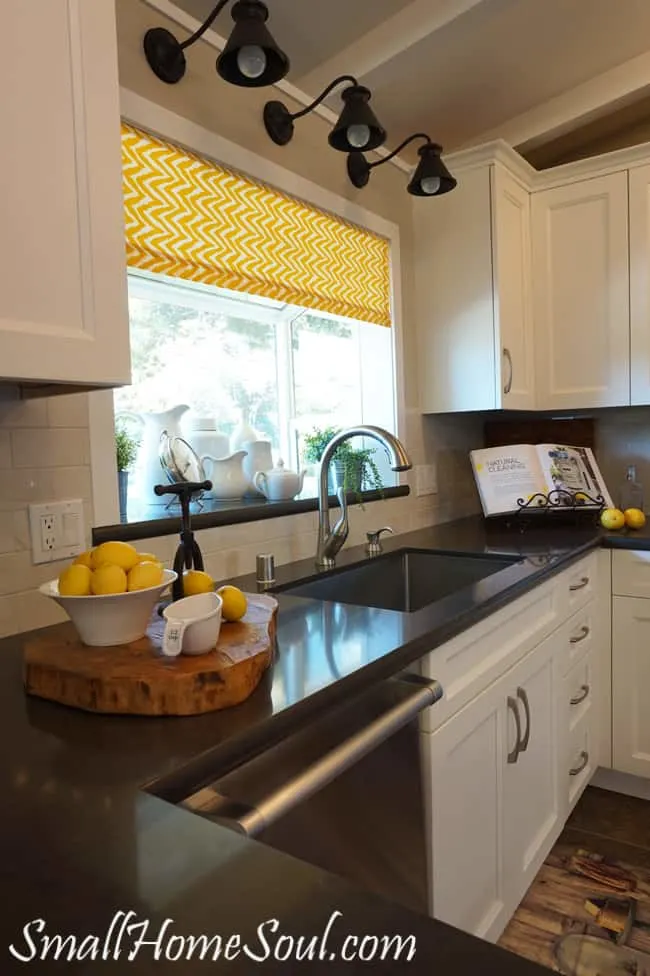
At first I wasn’t sure I was happy with the way they turned out. They aren’t perfect but we are all our own worst critics and the more I look at them and see these pictures the happier I am. It’s like a little bit of sunshine has been added to my kitchen today.

Toni’s Easy Kitchen Curtain Tips:
As promised, here are my tips:
- Measure twice, cut once
- Do the math two or three times, just like me
- Use good scissors, it makes your job easier
- Pre-drill the holes for mounting your kitchen curtains
- Pre-drill “before” you attach the curtains to the board!!! I’ll just say that again… “before” you attach the kitchen curtains to the mounting board. Even though I drilled from the opposite side of the fabric I nearly ruined my entire project when the drill poked through and twirled the fabric around the drill bit. I almost had a heart attack until I realized it didn’t tear anything, except for my nerves LOL
- Have someone help you mount the board to the window casing. I was very careful but it’s hard to safely straddle the kitchen sink
That’s all for today, I’m exhausted from all the excitement and near tragedy of this project. Please share my new kitchen curtains on Pinterest, FaceBook and whatever other social medias you love the most.
Until next time,
Toni
Simple French Door Curtains Easy to Make and Hang - Girl, Just DIY!
Tuesday 12th of March 2019
[…] the years. Other times I sewed simple valances to cover tab top curtains. And recently I made lined curtains for my kitchen because the size I wanted wasn’t easily purchased. Non were as easy as the Drop Cloth […]
Our Kitchen Renovation - How we Saved Money and Survived the Process - Girl, Just DIY!
Tuesday 5th of March 2019
[…] Easy Lined Kitchen Curtains […]
Kathleen
Saturday 19th of May 2018
Love your kitchen renovation. Love those lights above the sink too! You did great with all your pictures of the process. Every single thing is so clean and bright. Did your garden window come with a shelf? I was also wondering if you considered putting the quartz countertop material where your microwave sits? I'm surprised to learn quartz chips (I guess anything could) as quartz seems to be what is recommended now over granite (because of staining). We did our kitchen ten years ago and made lots of mistakes. I'm stuck with tile with too big of a grout line. I also like how you point out near tragedies to avoid (curtains and your beautiful backsplash in the bathroom--although the backsplash wasn't really a tragedy just something to think about when laying out the gems). Any hoo, love your creativity!
Toni | Small Home Soul
Tuesday 29th of May 2018
Hi Kathleen, the garden window didn't come with the shelf, that was our contractors idea. But he narrowly escaped having to pay for a new piece because the piece he signed off on with the measurer required us to go with a much thinner and narrower piece of window trim than we use in the rest of the house. No one else would notice it, but it still kind of bugs me.
I would consider using putting the counter top under the microwave but because we ordered that unit with a finished (painted) opening they built the entire thing out of 5/8" plywood instead of 3/4" which required us to force the cabinet manufacturer to send us painted 3/4" shelves since ours were starting to bow with the weight of pantry items. I then used one of the 5/8" shelves under the microwave to stop that section from bowing under the weight of the microwave.
Thanks for your nice comments on my projects, that really makes my day!
Diana
Friday 2nd of June 2017
These kitchen curtains are so beautiful. Kitchen curtains are important things to be considered for good interior design of our kitchen. It was easy to make by following your instructions. Thanks for sharing.
janet trieschman
Wednesday 27th of July 2016
They turned out great and I love that kitchen! Thanks for sharing with #CCBG
Toni Harvey
Friday 29th of July 2016
Thank you Janet, I love my new kitchen too. If only I could keep it as neat as in this picture :D Thanks for hosting such a great party!