Hey friends, are you tired of the paper bags filled with sticky soda cans or too small plastic shopping bags that hang from a cabinet knob. You know the ones that can’t stand up on their own and they can’t contain your recyclables. And they often come with holes in the bag so any liquids on your recyclables drip out onto your floor. What if I old you you could have and out of sight recycling center in just a few minutes without giving up an entire kitchen cabinet.
I didn’t have a kitchen recycling center and there was no extra space to squeeze one of those awesome pull out jobs when we did our Kitchen Renovation. Before that we used a paper grocery bag sitting by the hutch for cans and bottles. I was often in the way and messy. After the new pantry cabinet was added we had no extra floor space at all. When we had double sinks I barely had room for one trash can; which is why the recycling sat out on the floor. I wanted a big single-sink and I knew with less plumbing I’d finally be able to house the recycling and trash and have a real kitchen recycling center. Thankfully trash cans come in all sizes to this can work for any kitchen.
**This post contains some affiliate links for your convenience. You can read my full disclosure here.
Kitchen Recycling Center Supplies List
- Trash Cans
- 3M Blue Painter’s Tape
- Tape Measure
- ArtSkills Vinyl Labels
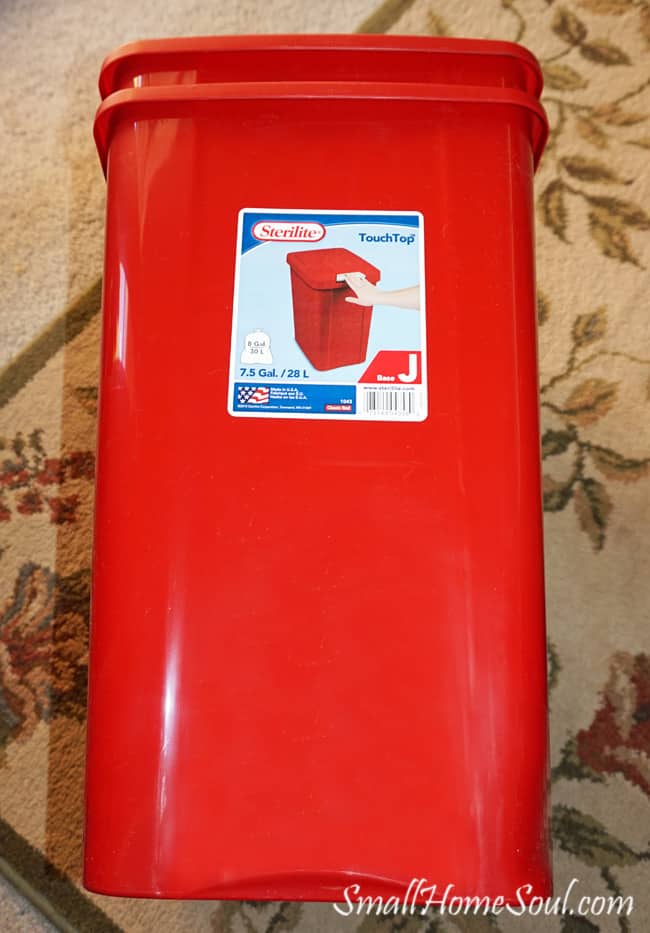
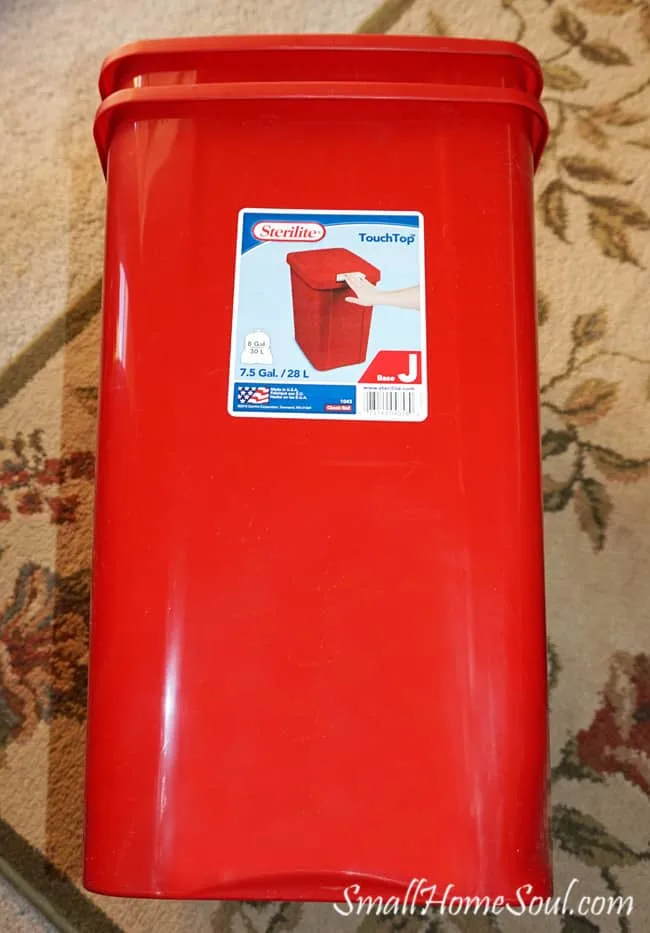
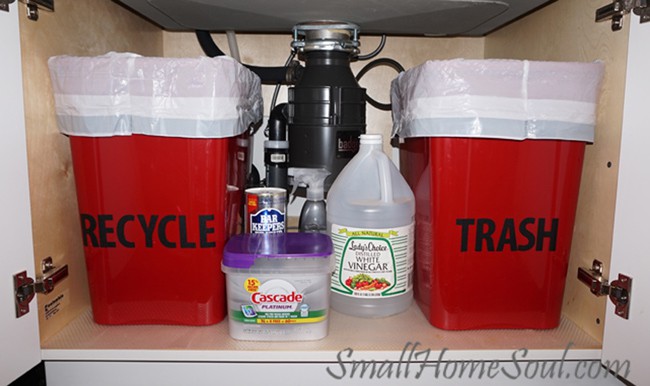
After measuring the space under my new sink I went on the hunt for the biggest cans that would fit. No one likes taking out the trash so a bigger bin means less trips. Sterlite’s 7.5 Gallon Touch Top can is the one that fit perfectly. The cans come with lids but the lid didn’t work and wasn’t needed so I left them behind. The only colors I could find in the size I wanted at my local stores were red and white. I like red, and they’re mostly hidden so I went with bright. White shows everything and even the most careful people still get drips and gunk on their garbage cans.
I knew I needed to label them; but not for us as much as visitors. No one wants to pick trash out of the recycling. I thought about stenciling them but one day while I was shopping and looking at stencils I ran across these awesome precut vinyl labels by ArtSkills! I made sure one set would give me all the letters I needed for both cans and headed home to get started.
Labeling Your Kitchen Recycling Center
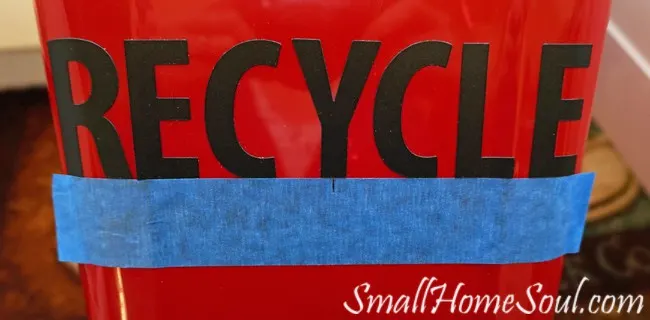
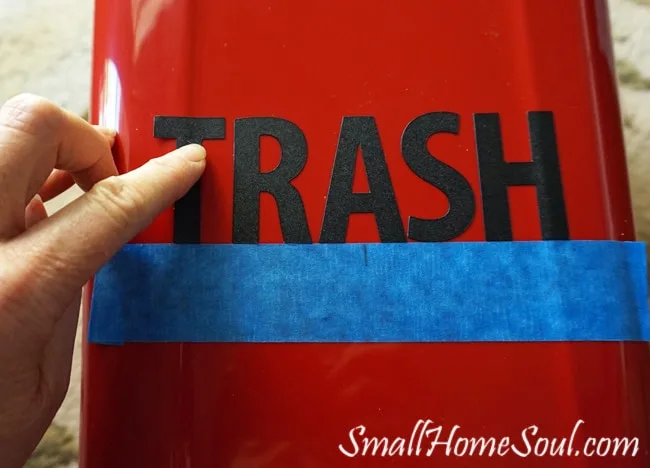
I have a bit of OCD and knew I had to get them on straight and spaced well or it would drive me crazy. Once I figured where to place them I measured up from the bottom and made two tiny lines on either side. This make them easy to get level. I put painter’s tape just under those two lines so I could line up my letters perfectly. Next I measured the width of the front and made a hash mark at the center. Then I worked my way from the center outward applying the letters one at a time. You just peel them off the plastic sheet and press them in place. Thankfully they are removable and reusable so I could move them until the spacing looked right.

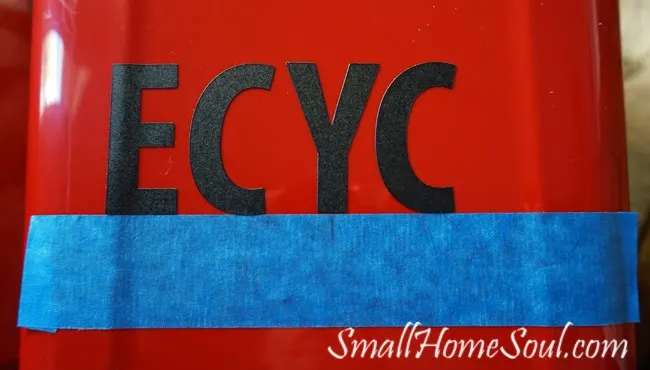
I had to work at it a bit to get all the letters in “recycle” to fit without it looking cramped. I had to fuss with the C’s a bit because they have a funky shape. Finally I just moved on because even us folks with OCD know when to give up 🙂

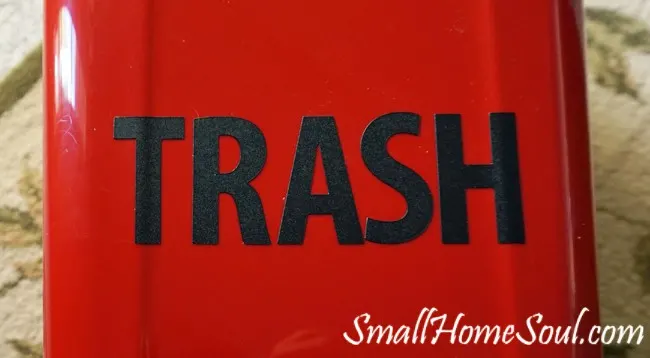
I used the same method for the Trash bin. Seriously, these reusable letters are a must for this type of labeling because I wanted the end product to look good. If they weren’t reusable I would have thrown a bunch in the trash. See what I did there? Working on the “trash” bin and throwing stuff in the “trash” 🙂


Our kitchen recycling center looks great now with both bins nicely labeled. It’s easy for guests to see where to discard their trash or recyclables.

I have lots of those vinyl letters left, I’ll have to figure out what I can label next.


Until next time,
Toni
Our Kitchen Renovation - How we Saved Money and Survived the Process - Girl, Just DIY!
Tuesday 5th of March 2019
[…] Kitchen Recycling Center […]
Heidi
Sunday 1st of January 2017
Great way to organize your trash/recycling. Love the bin labels! Thanks for sharing at Funtastic Friday!
Toni Harvey
Tuesday 3rd of January 2017
Thanks Heidi, and thanks for hosting an awesome link party :) !
Susie
Thursday 29th of December 2016
Super idea, Toni. So organized under the sink!
Toni Harvey
Friday 30th of December 2016
I love having the recycle under there now, and it keeps me from shoving every bottle and jar under the sink like I used to.
Carolann
Thursday 29th of December 2016
I love these Toni. What a great idea! Lettering is so cute! Great job thx for sharing :)
Toni Harvey
Friday 30th of December 2016
Thanks Carolann, I'm so glad they were peel and stick and can be relocated.
Michelle James
Wednesday 28th of December 2016
This is awesome! I love the letters and you did a great job getting them on the containers. It looks perfect!
Toni Harvey
Friday 30th of December 2016
Thanks Michelle, I knew they had to be straight or it would drive me nuts. Even behind the doors sometimes they sit out when we have parties and I wanted them to look good.