Hi Friends, I’m working on a few refresh projects for my patio to brighten it up a bit and I’m happy to share them with you. Part 1 of my refresh I’m sharing how I Painted a Seagrass Rug.
I got the original idea from a blog I read years ago where the woman painted their initial on her rug. I had bought a seagrass rug for our entryway and wanted to do the same thing but the years got away from me and finally the rug was rolled up and sat in our shed for a few more years.
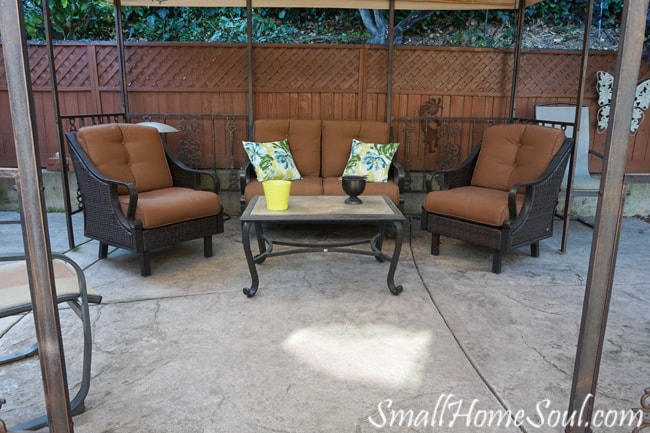
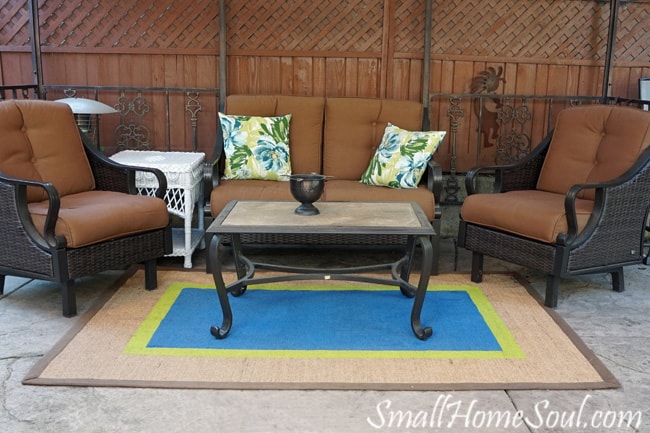
This is our patio before. It looks nice enough; the arbor gives us shade, our furniture is attractive and comfy, and the pillows I got from Lowe’s last summer still look great. But overall the patio is boring. The fence behind our arbor blends in with the furniture cushions. But that’s all about to change, thankfully.
This post contains some affiliate links for your convenience. If you make a purchase after clicking a link I may earn a small commission, at no extra cost to you.
Painted Seagrass Rug Supplies List
- 5×7 Seagrass or other natural fiber rug
- Painters Drop Cloth
- Paint
- 2″ Chip Brush
- Foam Paint Brush for touch-ups
- Frog Tape
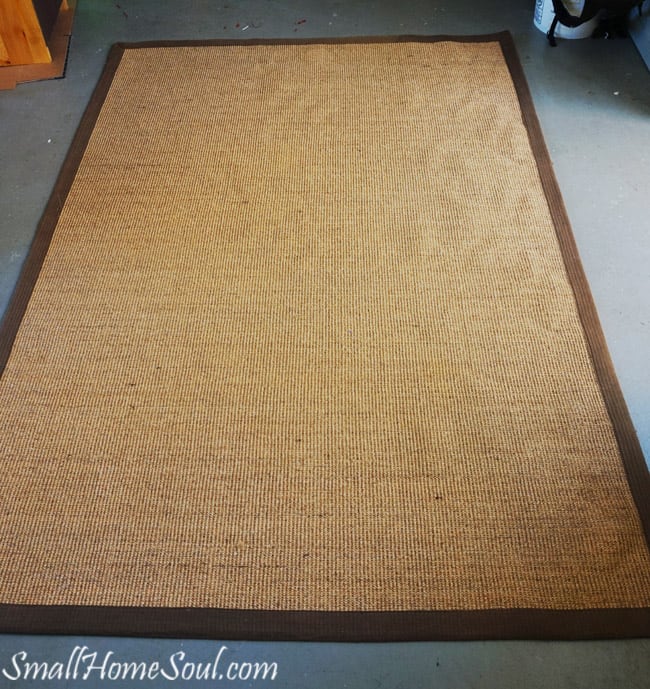
Since we’re currently a one-income family I need to use as much of our own stuff as possible to save money. Well, I like to save money all the time by doing my own projects, but you get the idea. So I went to the shed and pulled out the rug and unrolled in on the garage floor to flatten while I pondered design options. My husband had suggested using it on the patio before but I thought it was too boring. It won’t be boring for long.
I busted out the Frog Tape and was going to add stripes and even got a few down. But seriously, the border section was off just enough that no matter where I measured I got a different number. Talk about headaches and OCD at its finest. I have a hard time just eyeballing stuff and going with it. If I could loosen up on such small details I think my life would be easier 🙂 But it didn’t feel right so I moved on to another project for a bit.
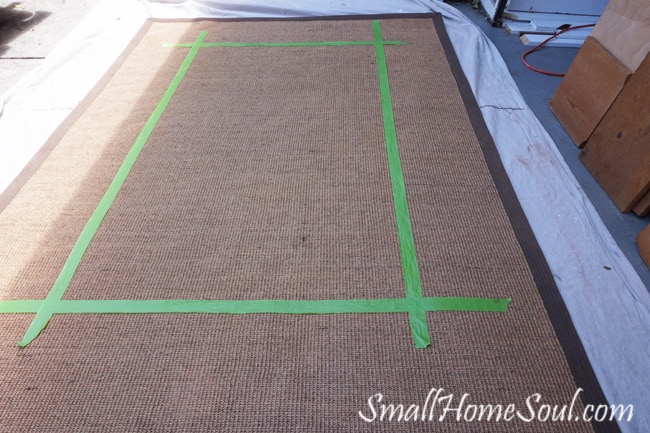
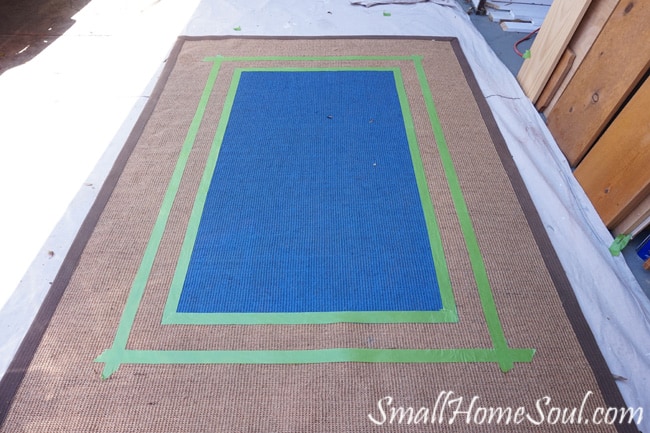
Then one day I thought I should just create a rectangle in the middle where the coffee table would sit. I pulled the seagrass rug out onto the driveway and onto the doubled-up drop cloth. Depending on the backing you might be able to get away without one but I wasn’t willing to risk it.
To deal with those swerving edges I laid out a long board and got it as close to square as I could and used that as the guide to apply the Frog Tape.
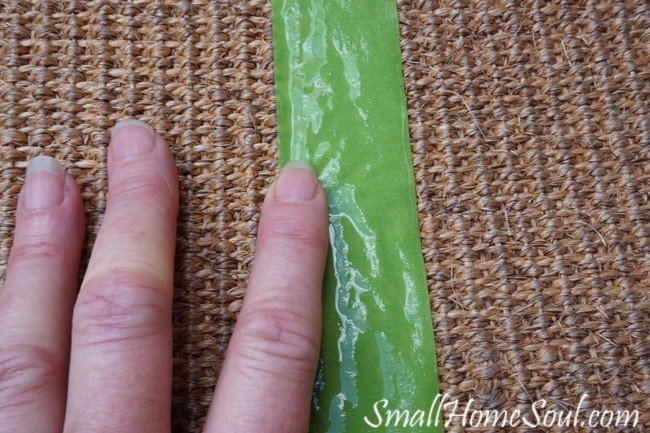
Frog Tape is so awesome because it has a moisture activated edge to help create a better seal. Before I started painting with the chip brush I decided to spray the edges with a little water and then I rubbed my fingers along the edge to press it down. I’m not sure if this was necessary but I really didn’t want the paint wicking into the fibers under the tape.
I created a short video that I included below. It’s easier for you to watch how I applied the paint than for me to try and explain it here. I’m a visual learner which is why I love watching video demos. It’s my first of what I hope are many more to come. You can also see the consistency of the paint I used; it needs to be really watery so it can absorb into the fibers of the rug. If it’s too thick it will just sit on the surface and it will be hard to distribute.
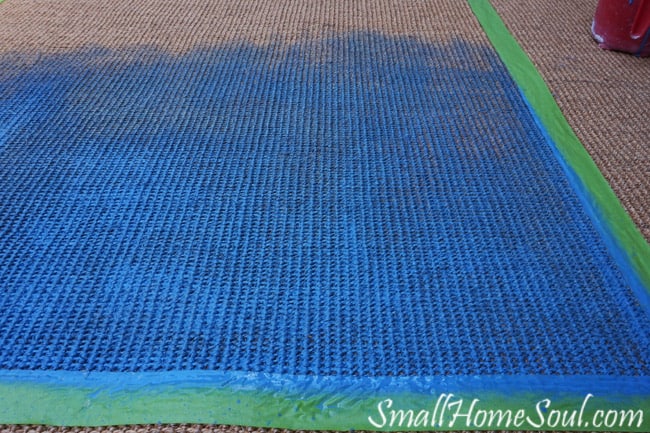
Thanks to Frog Tape and how I applied the paint the edges were nice and crisp. The next day after it was fully dry I decided to add a bit more color and interest with a border pulling another color from the pillows. You can learn more about the border paint in the video below.
There were a few places where the border bled onto the blue. It was just a tiny bit and I was able to touch up with the blue paint and the tip of a foam brush. Make sure you keep that watery paint in a mason jar until you know you’re all done. Especially if it’s a custom color mix like mine was. Not that I went and had it custom mixed, I combined two colors I already had until I was happy with the shade.
Oh, and in the blue square I think I used about 3 cups of watery paint. Your project might require more or less.
It turned out pretty awesome and it ties in nicely with the pillows. Oh, and apparently I’m giving you a sneak peak of that updated white side table…. you’re welcome 🙂
Ok, I know you’re so excited to see my very first video. Not perfect but not bad for a total novice.
Please leave me a comment and let me know what you think and if you’ve ever tried painting a rug. If you like this post you might also like my planting a succulent garden post.
Mary Ellen
Wednesday 11th of June 2025
Hi Toni, I think the seagrass rug you painted looks great! I never would have guessed it was a DYI! I was hoping you might provide me with a couple of tips on how I might paint the 3” vinyl border on our natural sisal rug. One estimate I got from a rug repair company, to replace the entire border with new fabric, was way over my budget. I think the sun and vacuum ate off bits of the vinyl border over the years. Some parts of the border are fine, but other parts look terrible. I would like to try and paint the entire border using the same color. Do you think I need to sand the vinyl down first? What type of paint would you suggest? Any suggestions you have would be greatly appreciated! Thank you! Mary Ellen
Toni
Thursday 29th of January 2026
You could try scuffing it a bit first and then use a good exterior primer followed by an exterior latex paint. It might take a few coats but it's worth a shot to not have to throw out the rug.
Leanne
Wednesday 15th of June 2016
Don't you love how quick and easy paint transformations are! This is a great one! I love the bright colors! Thank you for linking up with us at Talk DIY to Me Toni! I hope you enjoy the party and come back next week!
Toni Harvey
Wednesday 15th of June 2016
Thanks Leanne, my poor patio needed a color lift and this was just the thing. I'll be back to your party for sure :)
Heather
Tuesday 14th of June 2016
This rug totally took your patio from blah to beautiful!! Such a great tutorial too. I wish I had a rug to paint now! I will have to be on the look out now. Love the pops of color from the pillows! Thanks for the inspiration Toni!
Toni Harvey
Wednesday 15th of June 2016
Heather, it's like night and day out there now. Let me know if you find one and send me some pics of yours. It's a fun project and makes a huge change.
Susanne
Wednesday 8th of June 2016
I need a rug to paint!! I love it!
Toni Harvey
Thursday 9th of June 2016
You should try some thrift stores or some of those FB Treasure sites. Last resort, you can get some on Amazon using the links at the bottom of the post ;)
kellie
Wednesday 8th of June 2016
You are so talented! I am so glad to have met you on FB and to be working with you. I'm learning so much from you! I love your blog!!!
Toni Harvey
Wednesday 8th of June 2016
Kellie, you are so sweet, thank you so much. I love your home, your style is so inviting and lovely!