Hey friends, this post was a long time coming but I’m happy to show you this quick Painted Wicker Basket that I made for my guest bath from an old CD holder.
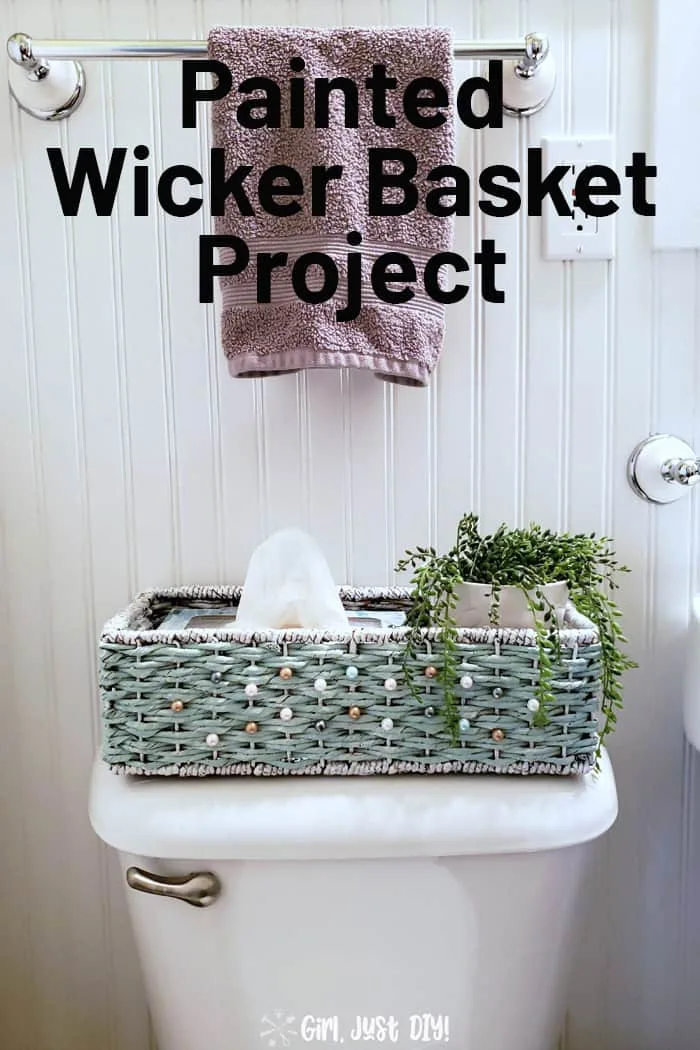
Ok, full disclosure, mine wasn’t very quick but I know yours will be. I wasn’t loving my original paint choice and was working on it right before I left for a conference and not giving it my full attention.
I’ve had the same small basket on the back of the toilet in the guest bathroom for more than a few years. It was time for a change, and something a little larger than before.
This month I’m back participating with my friends in the At Home DIY challenges. Don’t forget to click the links at the bottom of this post to see all the other great paint update projects from the group.
I was able to Megan from Two Feet First, one of the group’s hosts, at a conference recently. She’s lovely and it was so great to meet up with a fellow DIY blogger!
This month’s theme is to transform something with paint. I love challenges like this because you can really make something look completely new with a simple paint job.
This page contains links to products, if you purchase something after clicking on my link I may earn a small commission (at no extra cost to you). You can read about affiliate links here.
Painted Wicker Basket Supplies
- Craft Paint – I used this shade
- White Latex Paint
- Craft Brush
- Short Angle Paint Brush – I love one like this
- Craft Paint Pallette
- 8 mm Beads – my colors came from a mix like this
- Blue Nitrile Gloves
- Hot Glue Gun
I’ve had a tiny basket on the back of the toilet for way too long. I was sick of it but hadn’t found anything yet. My husband threatened to just buy something so I had to act quickly. (no control issues in this house, nothing to see here).
When this challenge came up I remembered I had an old CD storage basket that probably never held CDs up in the closet of the office. I had been using it to hold my travel toiletry pouches. It would be perfect!
Prepping your basket
Step 1: Clean your basket
If your basket has been around a while it might be pretty dusty. Take some time to wash or brush off any dust. Set it aside to dry completely.
Even if you bought it new at the store you should still give it at least a dusting so that the paint will stick. Here’s what I started with.
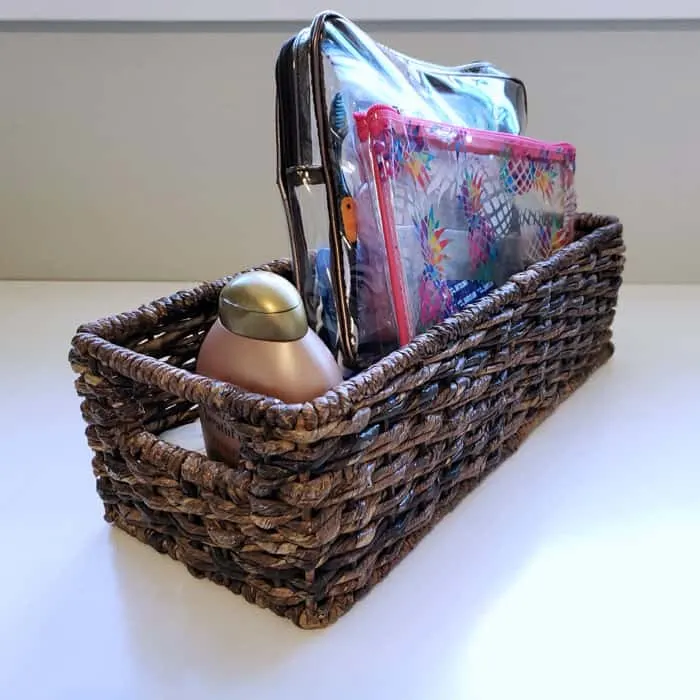
Step 2: Choose your paint color(s)
Initially I really wanted to use this Metallic Rose Gold craft paint that I bought for another project. I love the shimmer and thought it would be perfect.
Step 3: Paint your wicker basket
After I decided on the color I poured some into the round paint pallet and got started with a pointed craft brush.
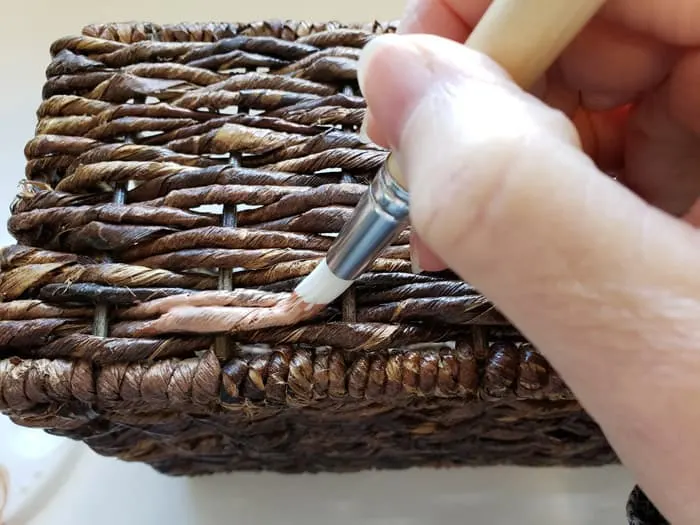
I could see it but it was only a subtle change to the original brown of the wicker basket. I wasn’t convinced it was going to work out, but I kept going and painted 2/3 of one entire side.
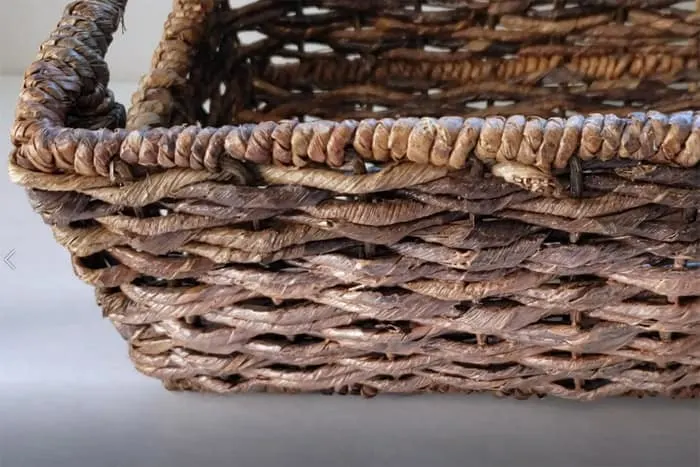
Yeah, that’s wasn’t working. I hate when that happens but sometimes you don’t get it right the first time. I wanted the basket to be bright so I give the entire basket a white wash. The outside got a little heavier coat than the inside.
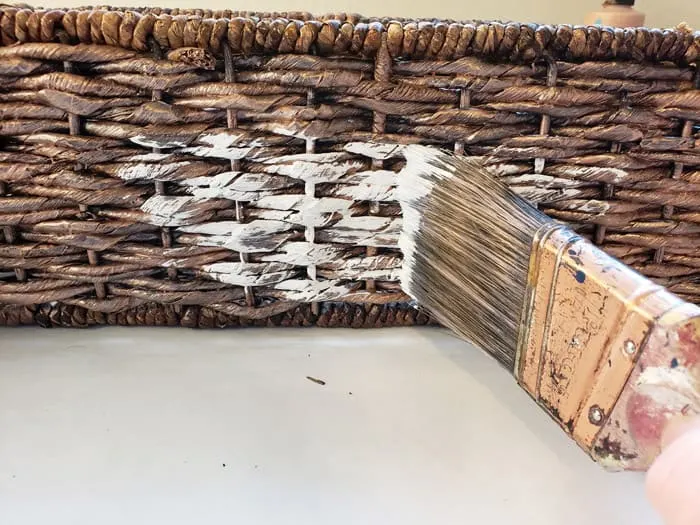
Work with a little paint on the brush at a time. This will keep it from being too heavy in one spot and decrease chances of drips forming.
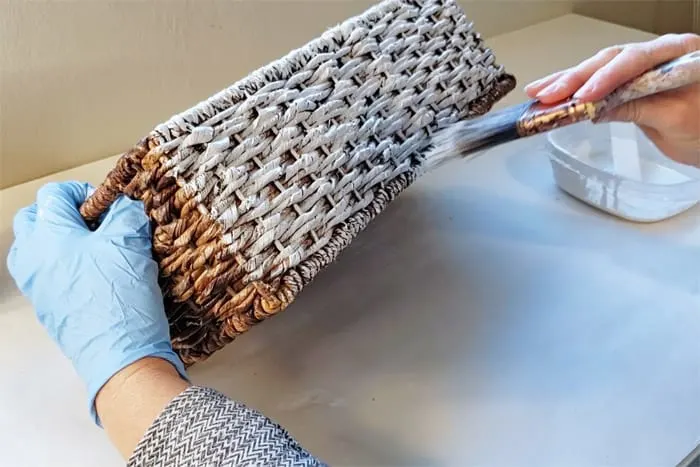
While the whitewash was drying I started pulling colors from my craft paint shelf to consider. I gave myself analysis paralysis and had a hard time picking.
To keep moving forward I tried out a few colors to see which I liked best.
- Navy Blue
- Frosted Glass
- Ceramcoat Wedding Gold
- Trigger Metallic Cream
- Green Flash
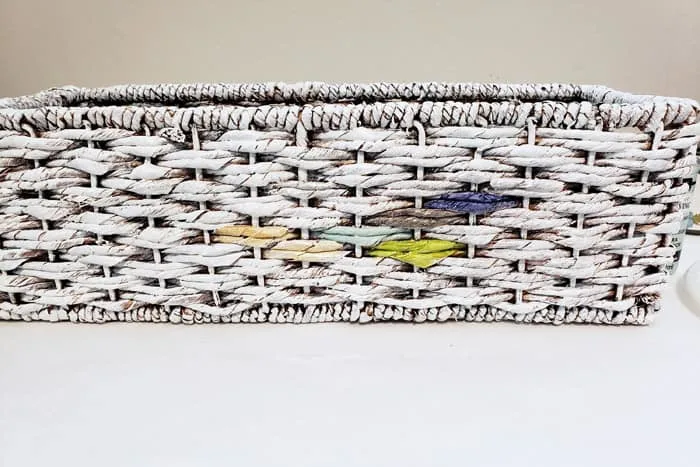
After they dried I knew immediately which were out. I really love the color I decided upon. Frosted Glass is a so pretty and I had some other craft supplies that matched beautifully.
Should I paint a Wicker Basket by Hand?
You could spray paint your wicker basket if you wish. It will go faster and spray paint dries pretty fast. I wanted a bit of the dark to still show so I chose to paint my basket by hand.
Now that I was finally headed in the right direction I loaded up my little paint palette again and grabbed my craft brush and got to work.
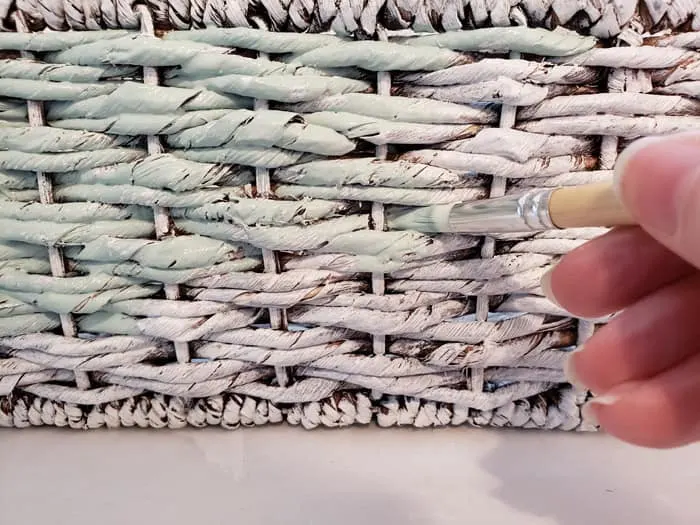
- Put on some gloves and squirt some paint onto the paint wheel.
- Dip the tip of the craft brush into the paint and make sure you get paint into the crevices. Don’t paint the vertical sections.
- Paint only the horizontal pieces. Leave the trim around the top and bottom, the verticals and the handles white. We’ll do something special with those in a bit.
- Use a hair dryer after you’re done with each side to speed the drying time.
When all the paint is dry it’s time to paint the top, bottom and around the handles.
I finished mine off by painting the trim with a shimmering Metallic Pearl White craft paint.
Step 4: Dress it up
Even with the new paint job my painted wicker basket needed something else. I remembered that I’d bought a mix of pearlized beads that might be perfect.
I picked through them and pulled out the colors that would complement the Frosted Glass. The 8mm size fit perfectly in the inset woven areas.
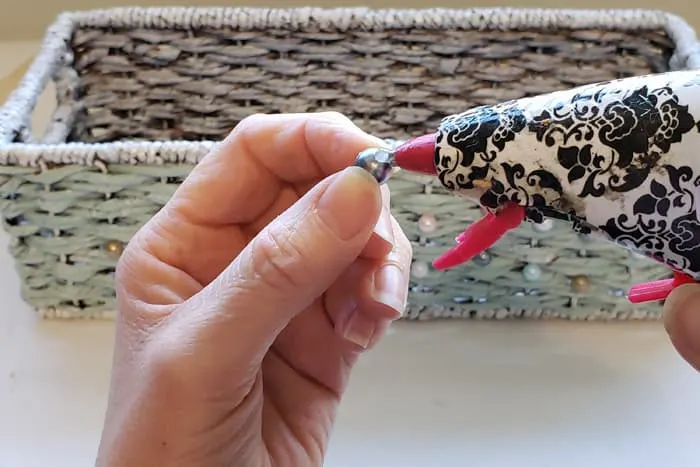
Attach your beads to the front with a hot glue gun in a nice pattern.
I love how this turned out. I haven’t decided yet if it’s the style I want for our guest bathroom. One of these days I’ll give it a makeover. Maybe the unintended coastal vibe of this painted wicker basket will guide my decorating.
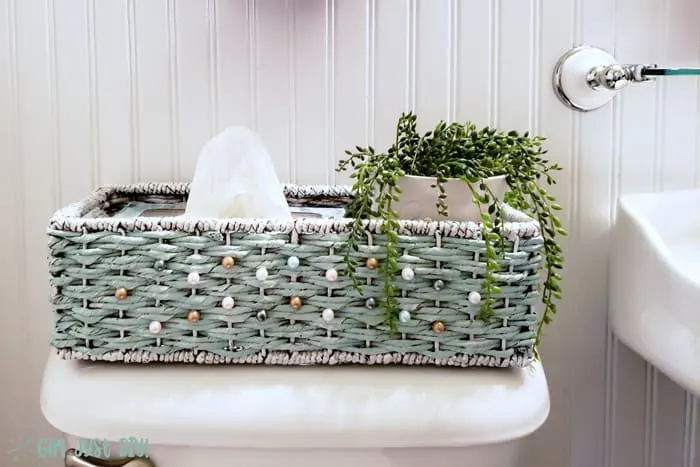
I love the addition of the beads on the front.
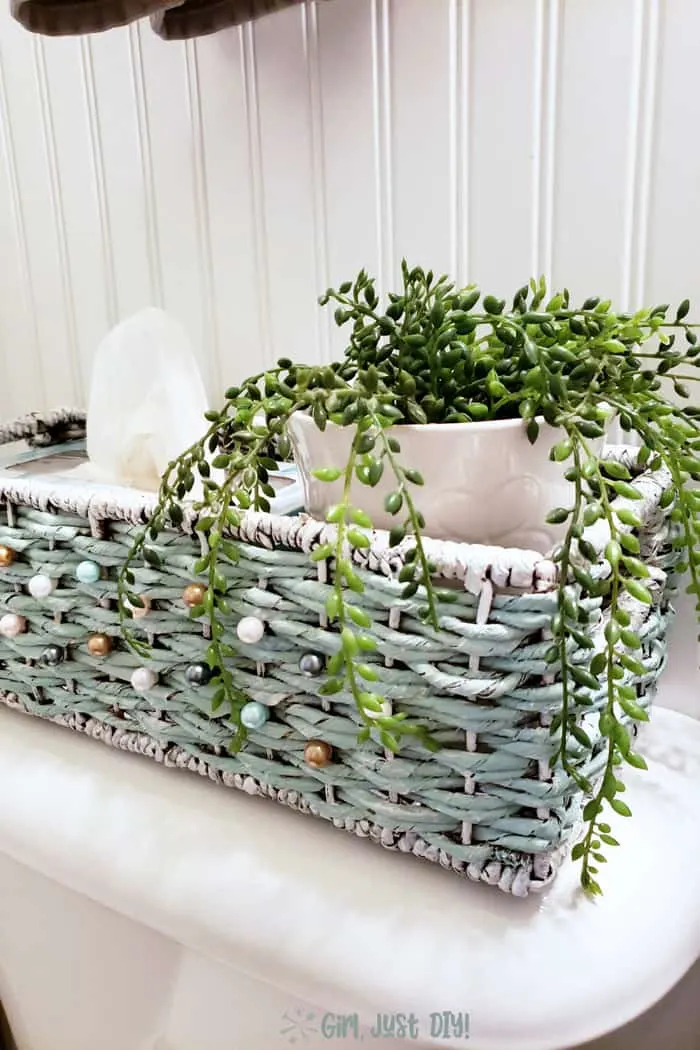
In the picture below you can really see how the metallic pearl white paint shimmers.


Julie Briones
Monday 2nd of May 2022
I love the end result of your painted basket, Toni! The colors along with the beads are perfect! Pinned, and I'm happy to be featuring you at Tuesday Turn About this week!
Toni
Thursday 12th of May 2022
Yay, I'm so glad you loved it Julie and thanks for featuring me!!
Marty Walden
Monday 23rd of March 2020
What a fabulous makeover! Isn't the process as much fun as the result? Always different than you expected! Great job!
Meegan
Tuesday 17th of March 2020
I love how paint gives everything a fresh, new meaning! You did a fabulous job, my friend. Have a great week.
Lori
Tuesday 17th of March 2020
Love your basket and the beads glam it up. Thanks.
Cherryl
Tuesday 17th of March 2020
This turned out great! I love the addition of the beads!