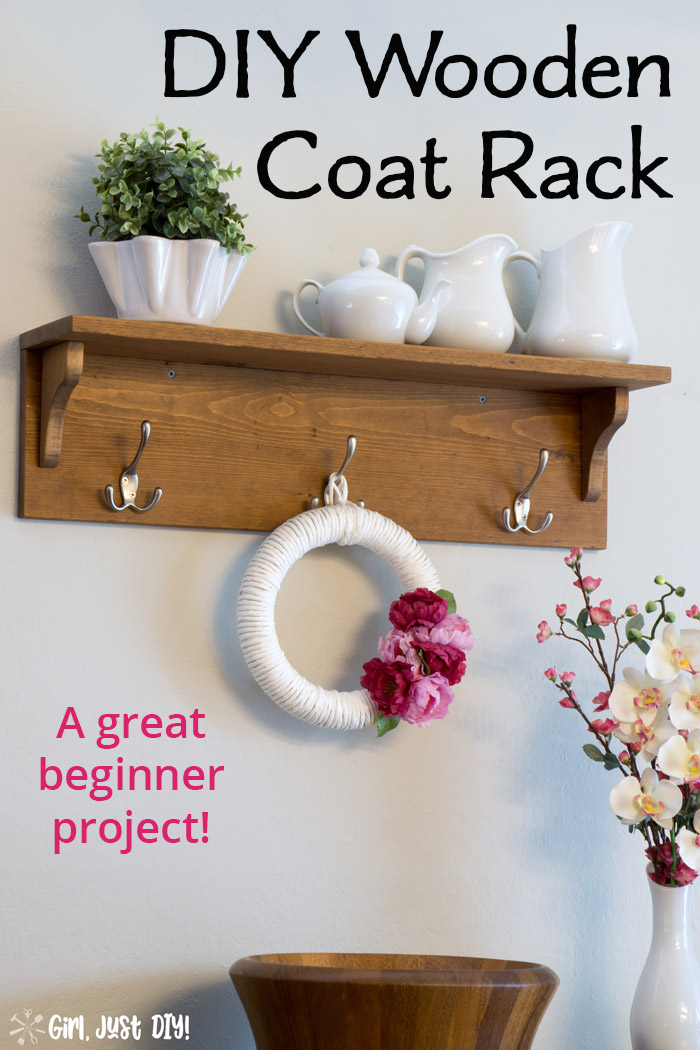
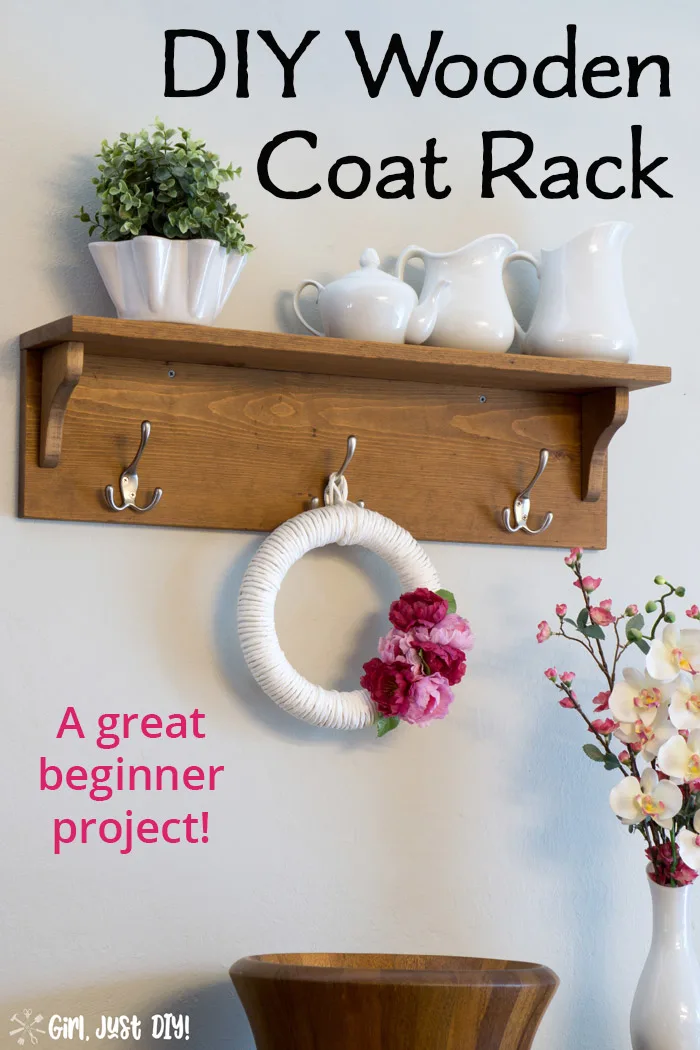
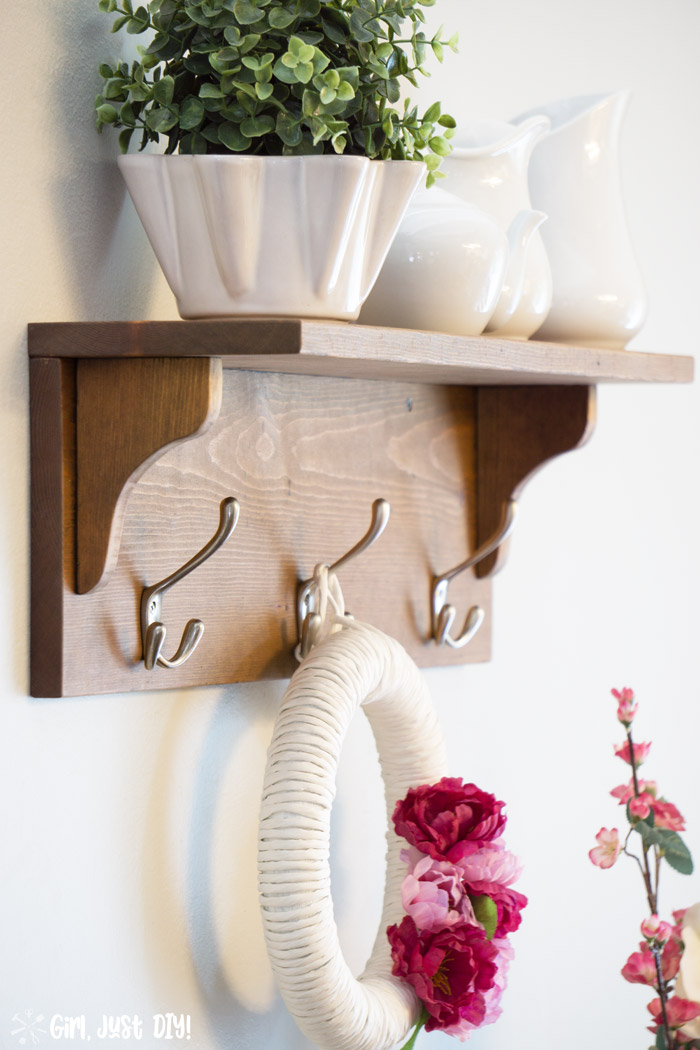
When you start woodworking it’s amazing how quickly the scraps pile up. I used some of my stash to make this beautiful but simple DIY Wooden Coat Rack.
In addition to scrap wood I’ve collected I also saved the long wood shelves from our Kitchen Renovation. When Brittany reached out for a guest blogger I knew these would work perfectly to finally make my coat rack.
This post first appeared on Pretty Handy Girl as a guest post.
I followed Brittany years before I started my own blog.
Check her out, I know you’ll love her projects as much as I do.
This page contains links to products, if you purchase something after clicking on a link I may earn a small commission (at no cost to you). If you do make a purchase, thank you!
You can read about affiliate links here.
DIY Coat Rack Supplies
- One (1) 1×8 board 5.5′ Long
- Eight (8) #8 Wood Screws 1-1/4″ long
- Two (2) #8 Wood Screws 1″ long
- Two (2) #10 Wood Screws 3″ long
- Wood Stain – I used this shade
- Wood Glue
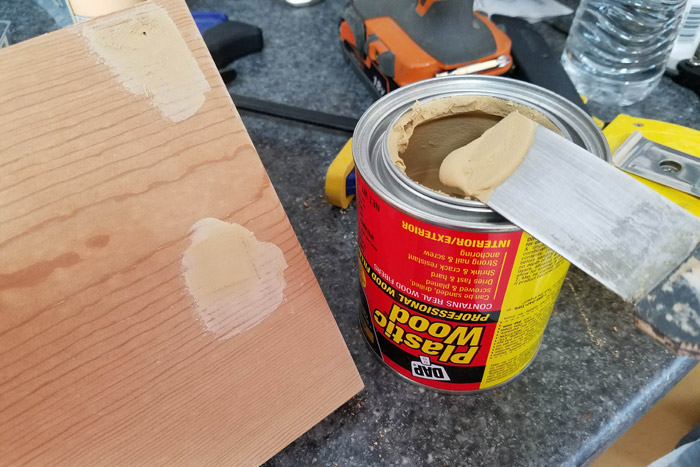
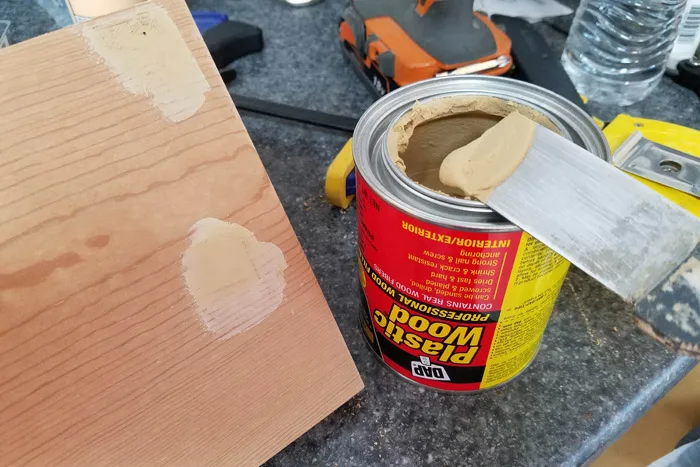
- Wood Filler or Plastic Wood
- Putty Knife
- Cordless Drill
- Miter Saw or a Circular saw
- Jigsaw
- Scratch Awl
- Sandpaper
- 1/4 Sheet Electric Sander
- 2 12″ Clamps
- 3 Coat Hooks – I used silver, but these are lovely too
- 24″ Level
How to build a DIY Wooden Coat Rack
There are a few ways you can go about making this project. You can purchase new lumber to your size specs. Or you can use what you have on hand.
I decided to use what I had on hand and just purchase the hooks. My old kitchen cabinet shelves would be perfect for this project.
They were wider than the height I was shooting for so I ripped them down on my table saw. If you don’t have a table saw you can also use 1×8 boards.
I’ll give instructions based on 1×8 boards (which actually measure 3/4″ x 7-1/4″).
Step 1: Cut boards to size
First cut two sections of the 1×8 boards into 30″ lengths. Your shelf can be any length but I thought 30″ looked best with 3 hooks.

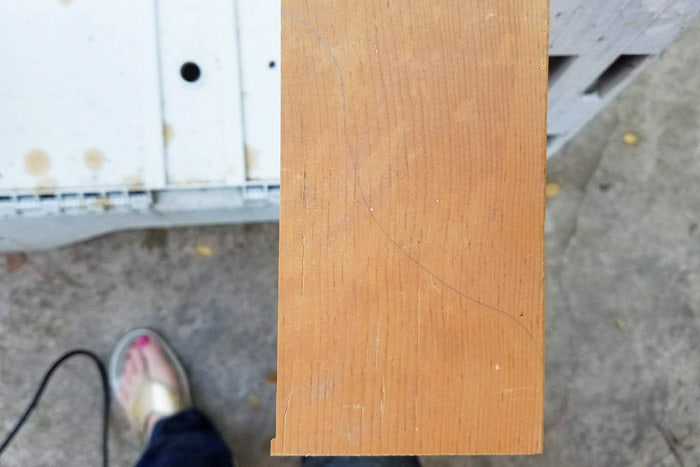
Step 2: Design and cut out corbels
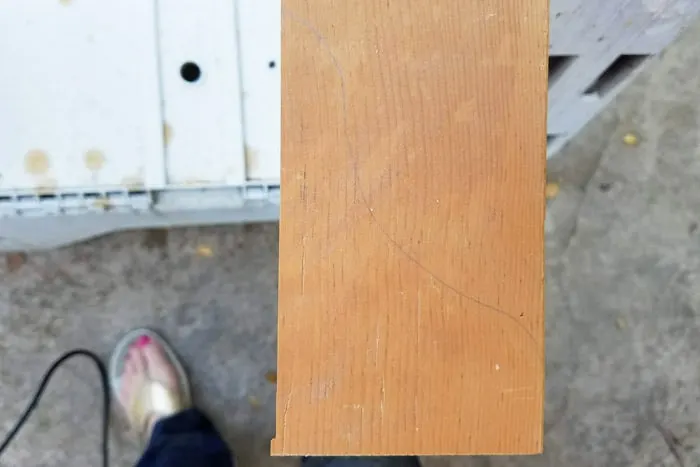
Using a miter saw cut two sections 3″ wide from remainder of the 1×8 board. You’ll make the corbels for either end of the wood shelf with these. Make a design you like on one section similar to below. (sorry it’s a bit faint)
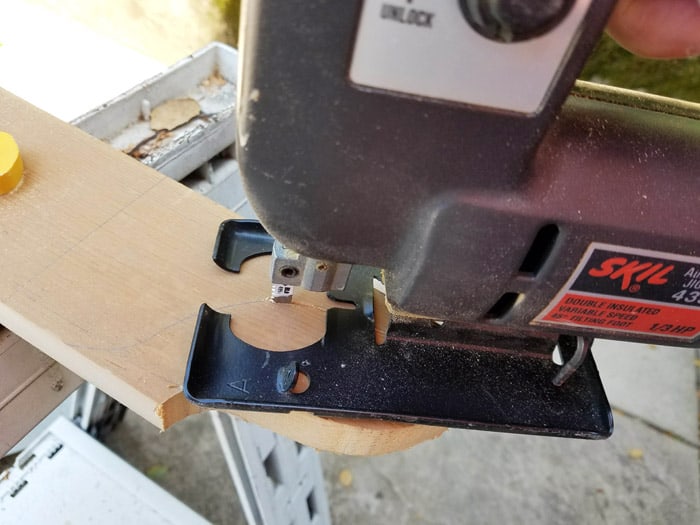
Clamp the board to a work surface and use the Jigsaw to carefully cut out the corbel. Practice on some scrap wood to get comfortable if you’ve never used a jigsaw before. Run the blade at varying speeds to see where the easiest cut is for you.

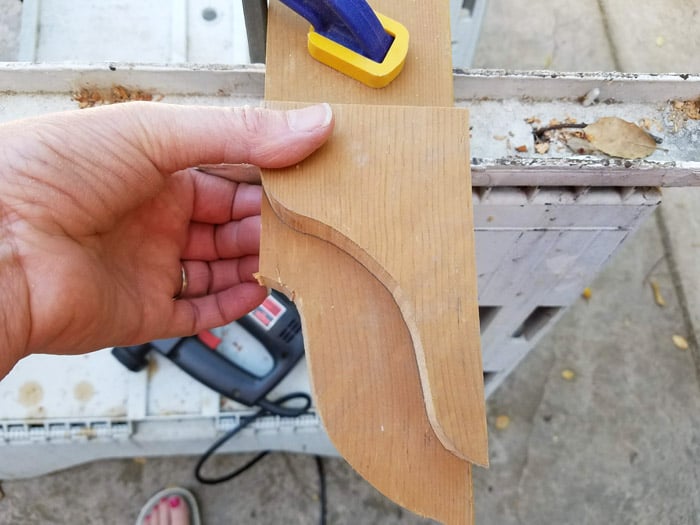
Trace the second corbel using the first and cut.

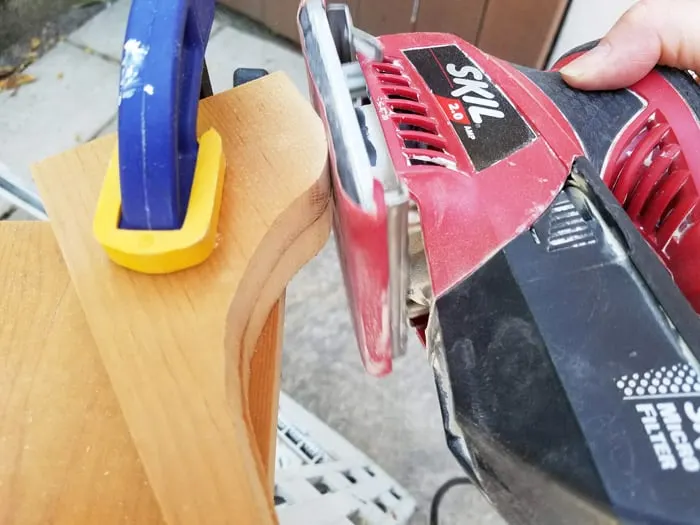
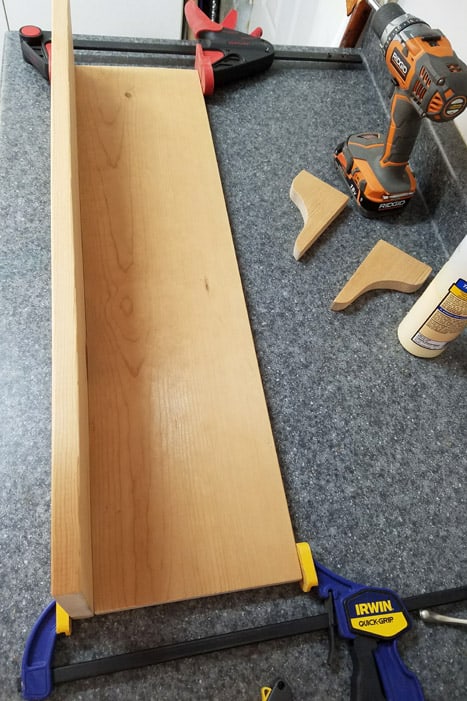
Step 3: Sand the pieces smooth
- Clamp the corbels together and use an electric sander to smooth them evenly.
- Sand the boards on all sides and ease the sharp edges.

Step 4: Assemble the coat rack
Before attaching the shelf to the back of the coat rack you need to mark drill holes. Place them 3/8″ in from the back edge and mark the ends 1/2″ in from each end. Evenly space the other two.
Lay the back of the coat rack on your work surface. Stand the shelf at a 90 degree angle and apply a bead of wood glue where it meets the back. Place clamps at both ends as shown.

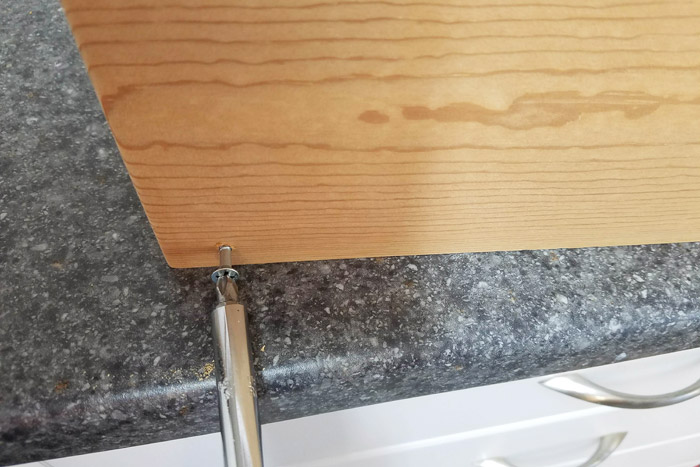
Pre-drill the holes 1″ deep with the cordless drill. Your drill bit should be narrower than the threads of the screw.
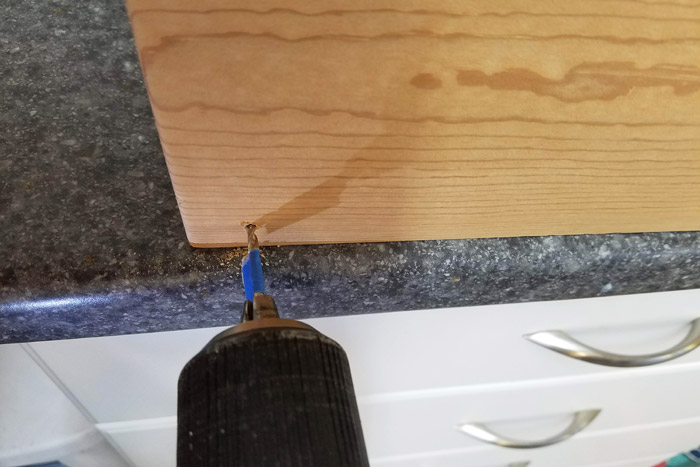

With the holes pre-drilled insert the #8 1-1/4″ Wood Screws and wipe away any excess glue. If you plan to stain your DIY coat rack be sure to use a damp rag.

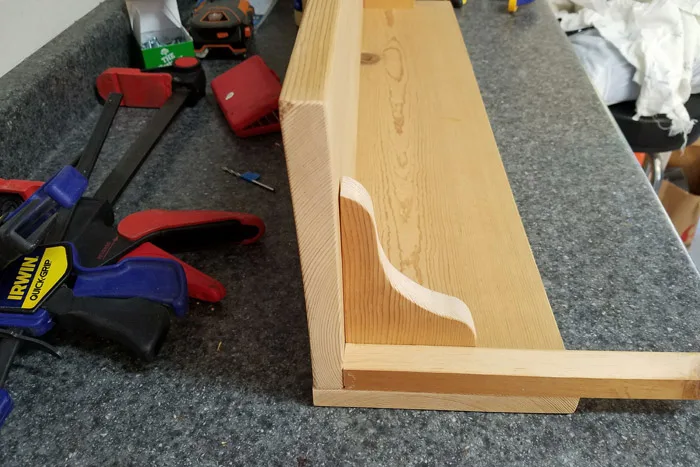
Step 5: Install Corbels to back and top of coat rack
Before you install the corbels determine the inset you like best. Mine is 3/4″ from the edge that I spaced with a piece of scrap.

Attach the corbels with these steps.
- Clamp the skinnier end to the back. Pre-drill and screw a 1-1/4″ screw through the top into the corbel. I used my spacer and a tape measure to determine where to drill the hole.
- Counter sink the screws so they’re below the surface.
- Next clamp the fatter section to the shelf and pre-drill and insert two screws into the brace through the back board.
- HINT use a 1″ screw into the skinnier section of the corbel and a 1-1/4″ screw into the fatter section.
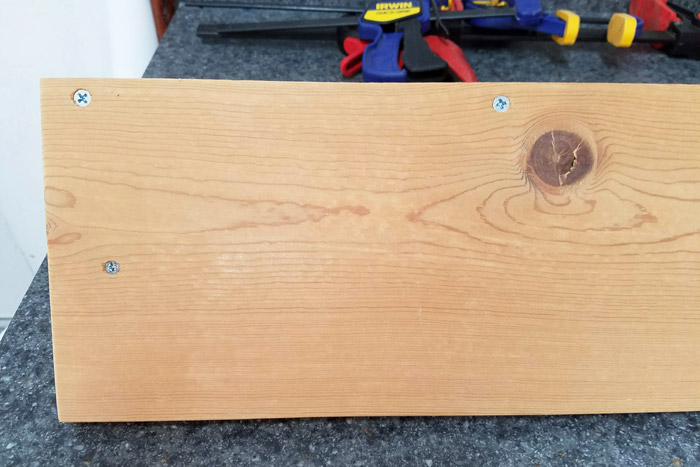
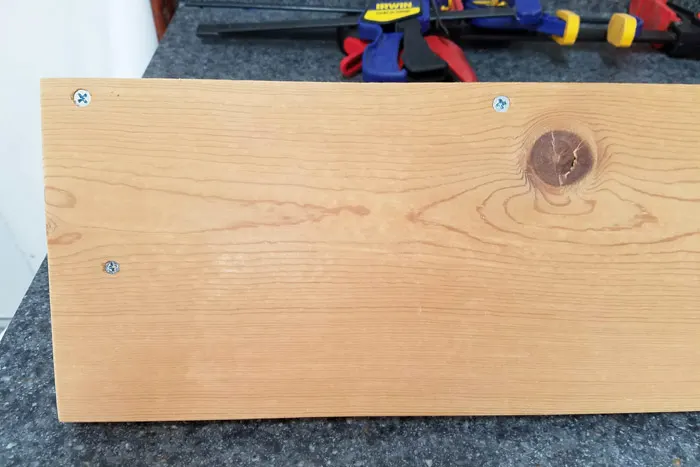
It might not be necessary but you can fill the holes on top of the shelf with wood putty. Just don’t overfill because it doesn’t shrink and is hard to sand. Sand smooth after dry so you only see the filled screw hole and none remains on the surrounding wood.
Step 6: Staining your new wooden coat rack
Before painting or staining be sure to wipe down the DIY coat rack with a tack cloth or a lightly damp rag.
Apply stain following the can directions. You can use either a foam brush or an old lint free rag.
I used regular minwax stain on my wood coat rack so it was as easy as applying it with a foam brush.

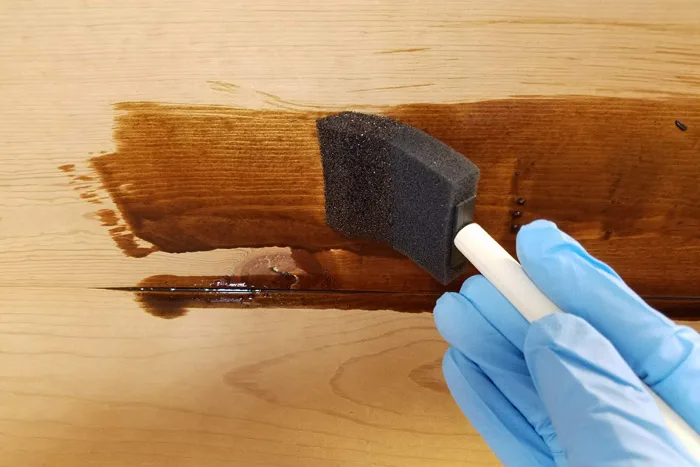
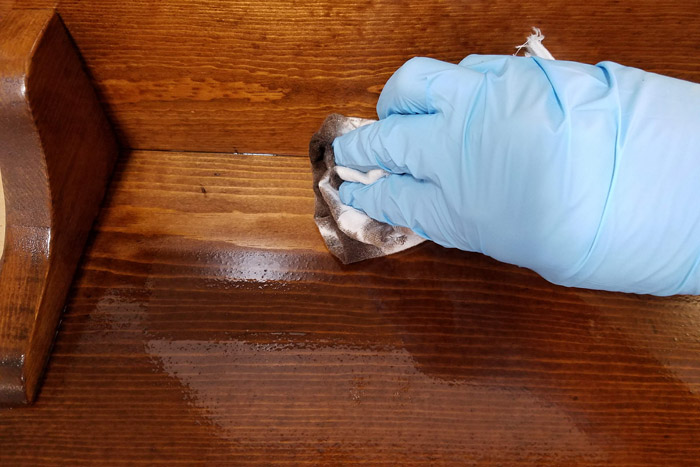
The longer you let it sit the richer the color. Generally 5-15 minutes is typical. Wipe away excess stain with an old rag. Be sure to wipe the seams well and keep an eye out drips.

PIN this DIY Wooden Coat Rack
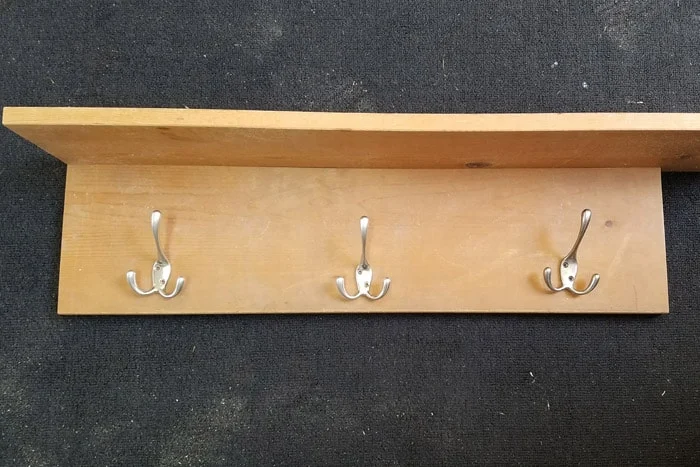
Step 7: Add coat rack hooks
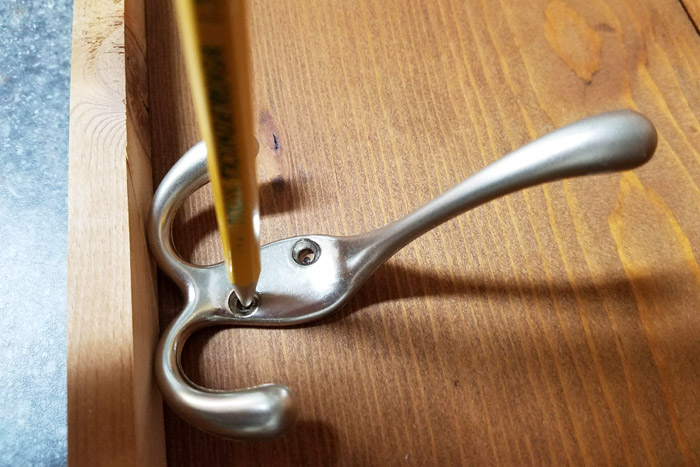
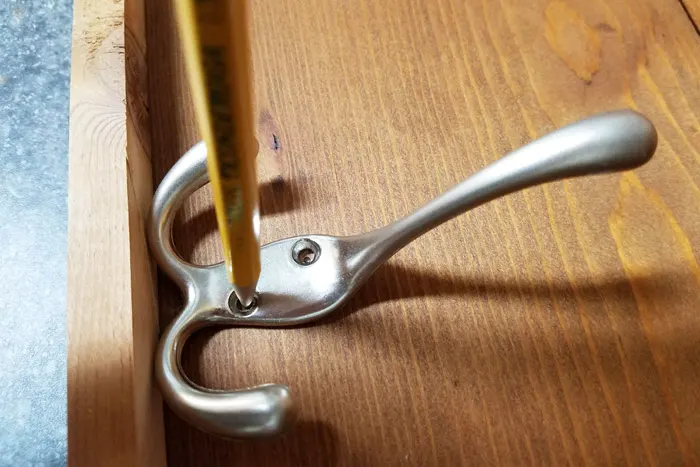
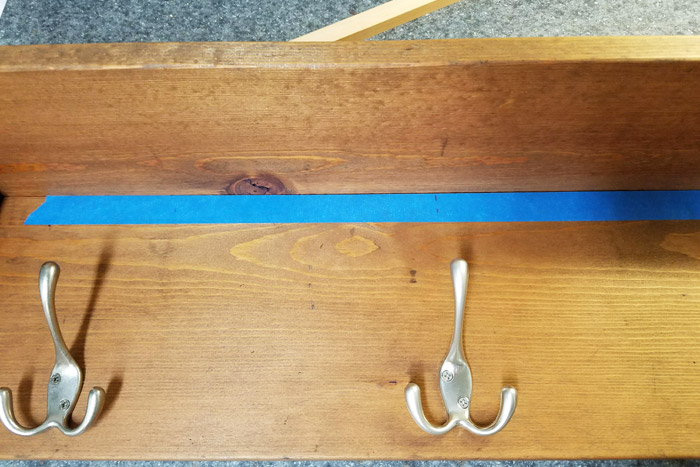
Evenly space the coat hooks. I used a piece of scrap to align mine 3/4″ from the bottom of the coat rack.
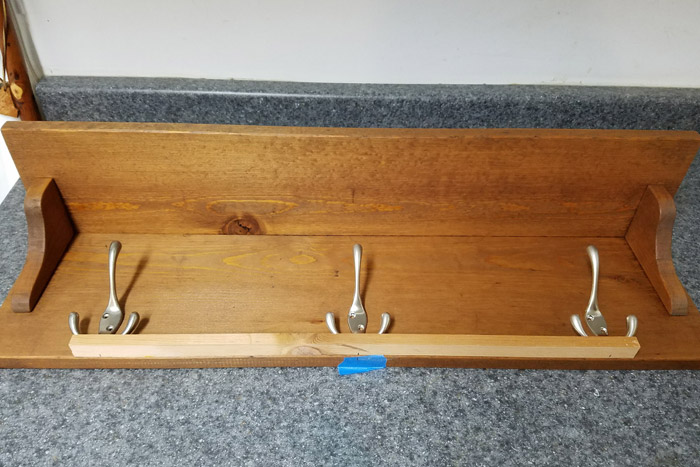

Mark or indent with a Scratch Awl through each screw hole. Finally attach the hooks using the screws that came with them.
Step 8: How to hang a DIY Wooden Coat Rack
You’ll want your coat rack to be very sturdy. If you’re anything like me I’ll fit as much as possible onto the coat rack. The weight adds up quickly.
So you’ll want to install it into studs, if at all possible. If stud location isn’t exactly where you want to hang your new DIY coat rack my advice is to get it into at least one stud and use a wall anchor for the second hole.
It might be possible to hang it on one stud using two vertical screws. If you go that route then you’ll need to adjust the steps outlined below.
- Make marks 16″ apart on painter’s tape and use that to even place the mounting holes.
- To hang your coat rack pre-drill two holes for #10 3″ Wood Screws
- Drill the holes. I located mine just below the shelf.

Find the studs on your wall and mark just above where you want the coat rack shelf to sit.
- A cordless drill should be perfect for this job, just make sure your battery is charged. You might need a helper for this part.
- Line up the holes with the marks you made on the wall for the studs.
- Screw in the first of the two screws with a 3″ screw.
- Use the carpenter’s level and adjust the wooden coat rack so it’s level.
- Screw in the second screw.
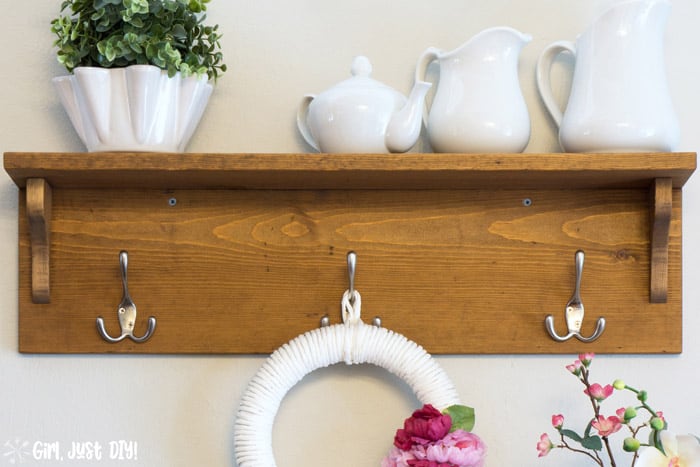
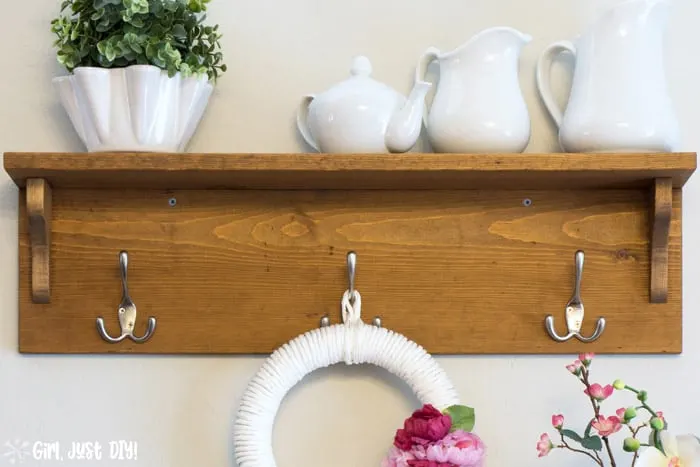
That’s it, and you’ve just built and installed a beautiful new coat rack.
I didn’t cover the screws that I used to hang my DIY wooden coat rack. If you don’t like them exposed you can try camouflaging them with a brown sharpie or furniture markers.


PIN this DIY Wooden Coat Rack
Are you new to woodworking? If so then I know this will be a great project to get you started and comfortable with tools for your new hobby. If you need some tools check the Best Woodworking Tools for Beginners.
Here are a few of my favorite woodworking projects:
- 2×4 Patio Side Table
- DIY Modern End Table (a great beginner project)
- DIY Modern 2×4 Bench
- 2×4 Plant Stand

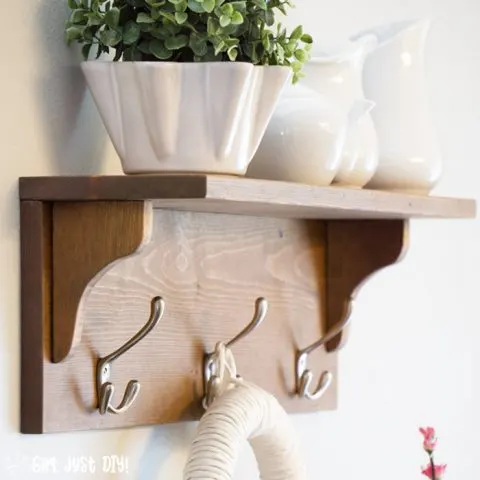
DIY Wooden Coat Rack - with Shelf
How to build a DIY Wooden Coat Rack. A great beginner woodworking project that you can make with scrap wood.
Materials
- Lumber, cut per plans above
- 1", 1-1/4", and 3" Wood Screws
- Wood Stain
- Wood Glue
- Wood Filler
- Coat hook hardware
Tools
Instructions
- Cut boards to length.
- Cut 3" piece of board with miter saw then trace and cut out corbels with jigsaw.
- Sand all the pieces smooth on all sides. Clamp corbels together to ensure they're even as sanding.
- Assemble the coat rack: Mark 4 drill holes on the back of the shelf board 3/8" from back edge. Lay the back of the coat rack onto your work surface and place the back of the shelf at a 90 degree. Run a bead of wood glue where they meet. Then clamp together at ends. Pre-drill pilot holes 1" deep and and install 1¼' screws.
- Install corbels using a ¾" spacer from the outside edge. Clamp the skinny edge in place and pre-drill and screw through the shelf into the top of the corbel. Next clamp the fat part of the corbel and pre-drill and screw two screws through the back of the coat rack board into the corbel. Use a 1" screw for the bottom and a 1¼" screw for the top. Fill screw holes with wood putty if desired.
- Stain or paint your new DIY wooden coat rack. I chose to stain mine. Apply stain with a foam brush or an old lint-free rag. Let sit 5-15 minutes then wipe off excess.
- Add 3 coat rack hooks even spaced along the front and about ¾" from the bottom edge. Mark the holes with a scratch awl or pencil and attach screws
- Pre-drill two holes 16" apart on the back of the coat rack. Using a carpenter's level attach the coat rack into wall studs with 3" wood screws.
- And you're done!
Michelle
Thursday 13th of February 2020
This is such an amazing tutorial! I've been looking for something similar but didn't want to pay too much for it. My husband has a ton of wood in his scrap pile, so I can just make my own! Thank you for the printable instructions.
michelle
Friday 24th of January 2020
I love this. You are truly a professional!!
Toni
Tuesday 11th of February 2020
Aww, thank you Michelle, you just made my week!