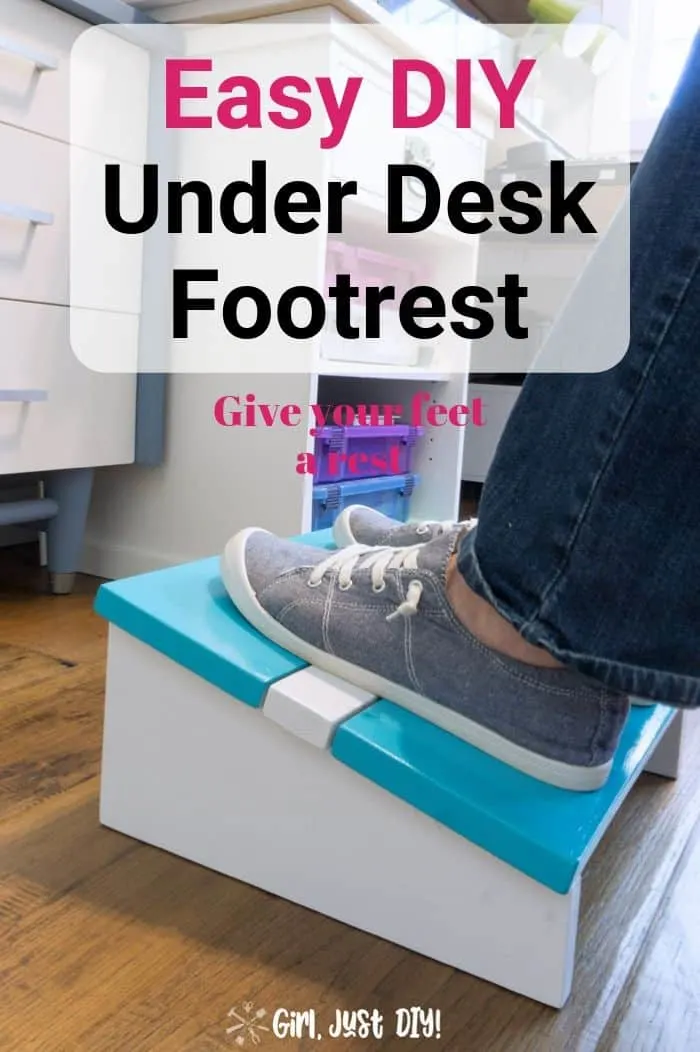
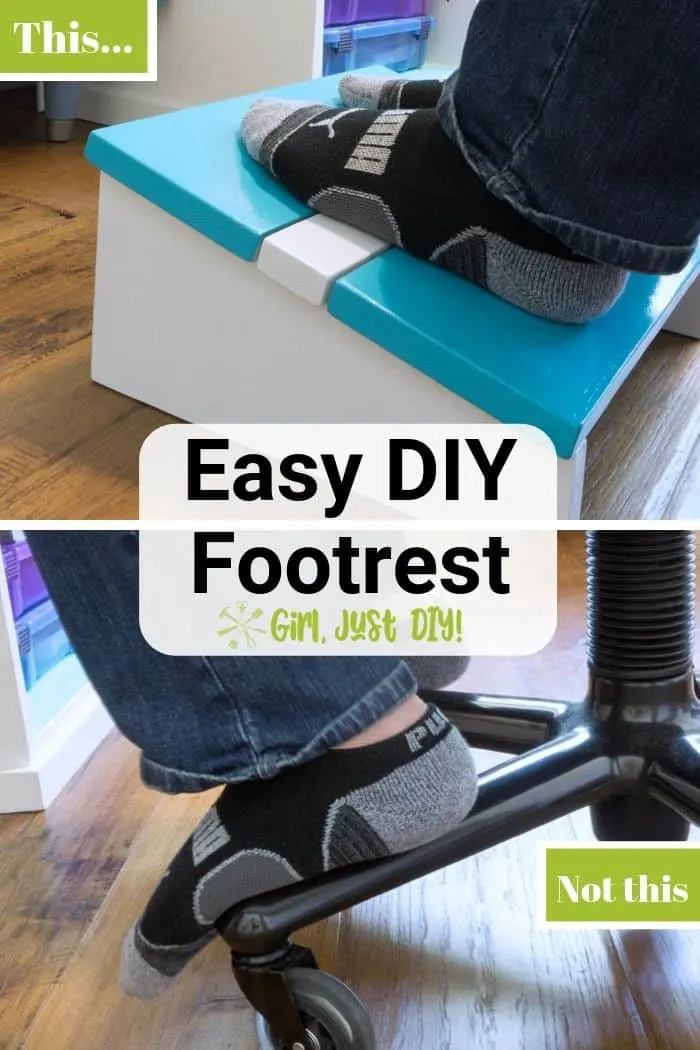
If you spend any time sitting at a desk then this DIY Footrest is just what you need.

Maybe you don’t personally need one but I bet you know someone who does.
UPDATE: I’m freshening and updating this post since our world is currently going through a crazy time. Millions of people all over the world are working from home and most people probably aren’t set up for it properly. So I wanted to share this easy project that can help all work-from-home people take better care of themselves.
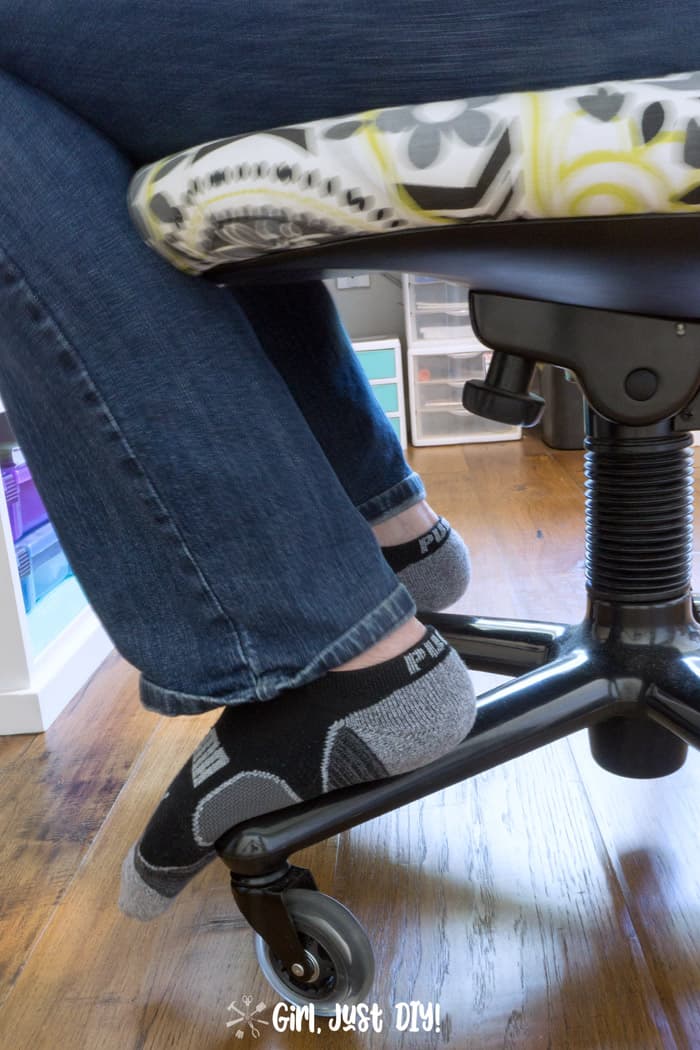
Sitting at a desk can take its toll on our bodies. Not just our backs but on our legs and feet too.
I tend to have bad posture when I’m at my desk, so anything I can do will help in the long run. When I did my Office Makeover and I designed our new L-Shaped Desk I knew I needed to also build something for my feet.
I work barefoot too often! The way I was sitting was seriously hurting my feet. They’d fall asleep and more alarming I’d develop bumps on the bottoms that took a while to go down.

I knew I needed to get building on this wooden DIY footrest, and fast. It’s really pretty simple to put together so I’m not sure why it took me so long to get around to it.
This page contains links to products, if you purchase something after clicking on a link I may earn a small commission (at no cost to you). If you do make a purchase, thank you!
You can read about affiliate links here.
You can build yours with scrap wood like I did, or you can purchase a 1×10 pine board. Either way it’s much less expensive than buying an under desk footrest like they sell online for offices.
DIY Footrest Supplies
- Scrap wood or a 1×10 Pine Board*
- Miter Saw or a Jigsaw
- Brad Nailer & Brad Nails
- Or Hammer and Finish Nails
- Wood Glue
- Carpenter’s Straight Edge
- 18″ Bar Clamps
- Sandpaper
- Random Orbital Sander
- Paint or Stain
- Spray Primer
- Small Spray Shelter
*You can also use a 1×6 to make this footrest but I had an old shelf from our our Kitchen Renovation that happened to be 1×10 so that’s how I’m writing out the instructions.
If you want to make this Easy DIY Footrest but don’t have lots of tools yet I’ve got you covered. Don’t miss my tips and directions at the bottom of the post explaining how to make one using only standard tools.
Girl, Just DIY!
Check out the Work From Home Essentials list I created
in my Amazon Storefront.
Cutting wood pieces to size
Step 1: Determine the perfect angle
Some under desk footrests for sale online adjust between 10 and 25 degrees. Mine is fixed so I settled on 15 degrees after chatting with my friend Anika. She made one a few years ago and told me she built hers at 15 degrees and it’s worked well. Since we’re about the same height I figured I couldn’t go wrong.
You might need a slightly different angle footrest height depending on your height. If you’re taller or shorter than 5’8″ you can make your footrest a little shorter; if you’re shorter make yours taller by adjusting the sides
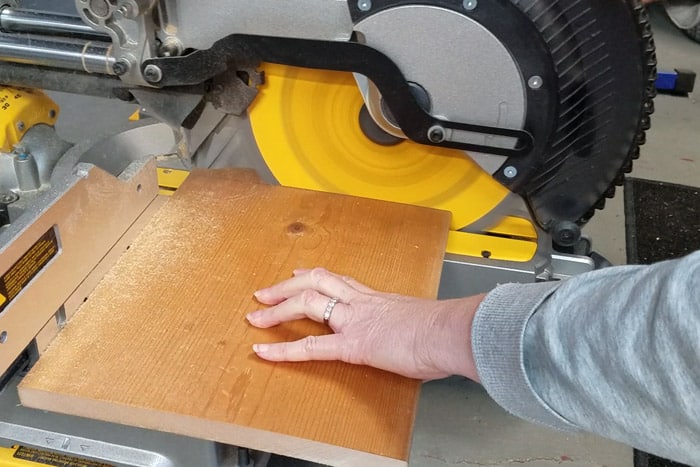
Step 2: Cut boards to size
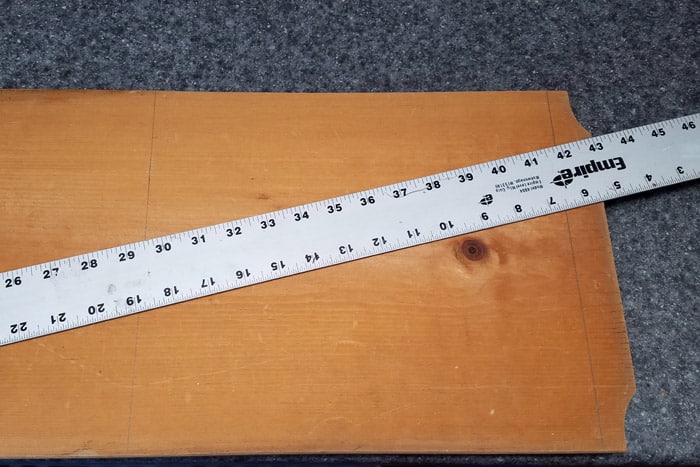
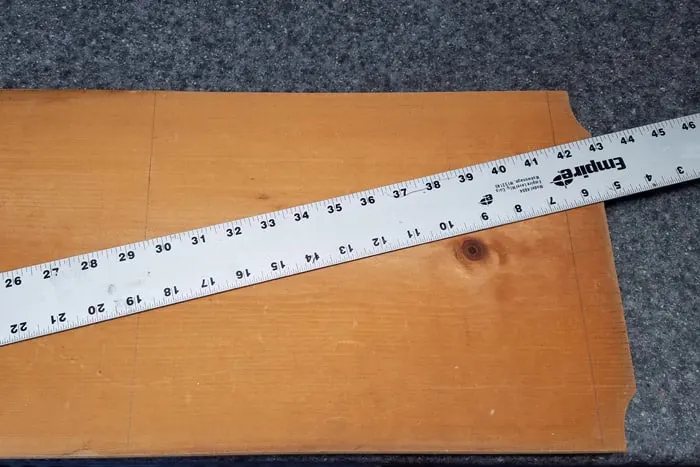
- Cut a 12″ section from your wood scraps or a 1×10 board using your miter saw or jigsaw
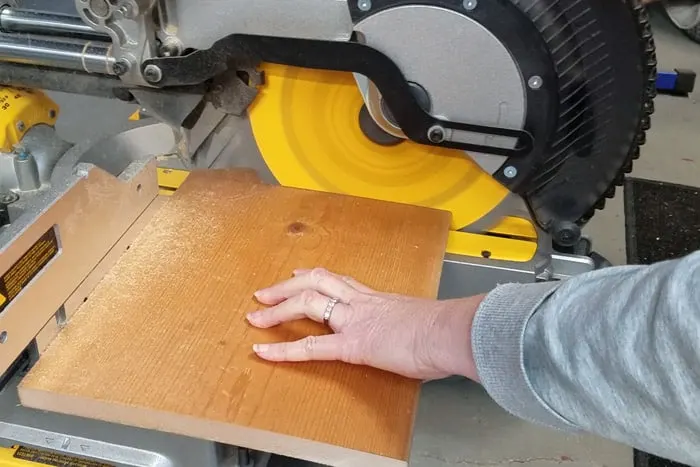
- On one end make a pencil mark on the end 2-1/2″ up from the 12″ side.
- On the other end make a mark 5-5/8″ up from the 12″ side.
- Using a straight edge draw a pencil mark between the two lines.
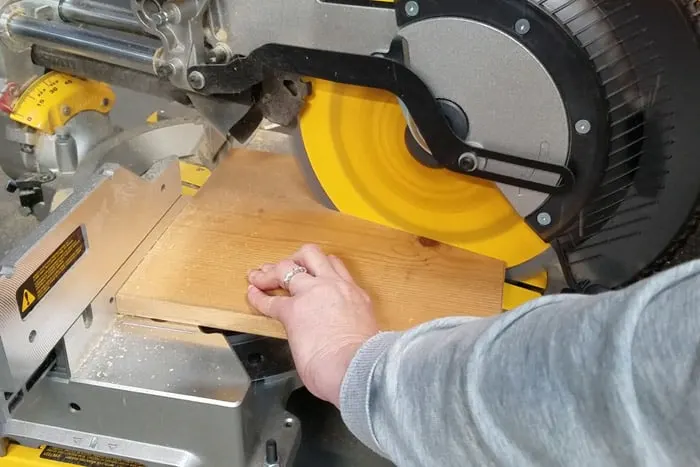
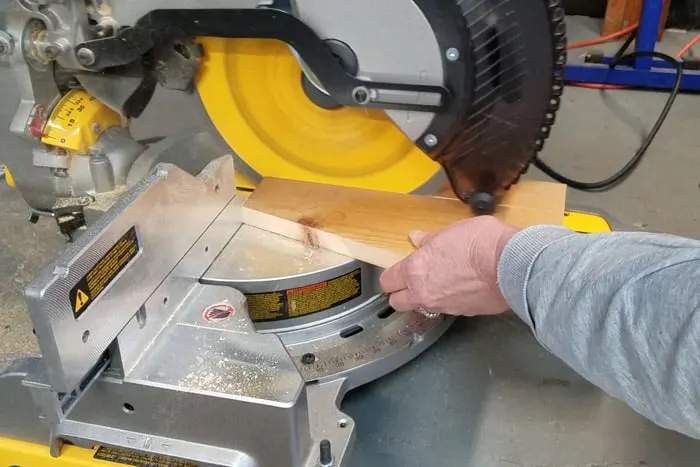
For this next step a sliding miter saw is recommended. Alternatively you could use a jigsaw and a clamped straight edge to make the cut.
- Set the angle on your Miter Saw to 15 degrees.
- Place the short end of your board against the fence and line up the blade to the pencil line you just drew.
- Make your cut.

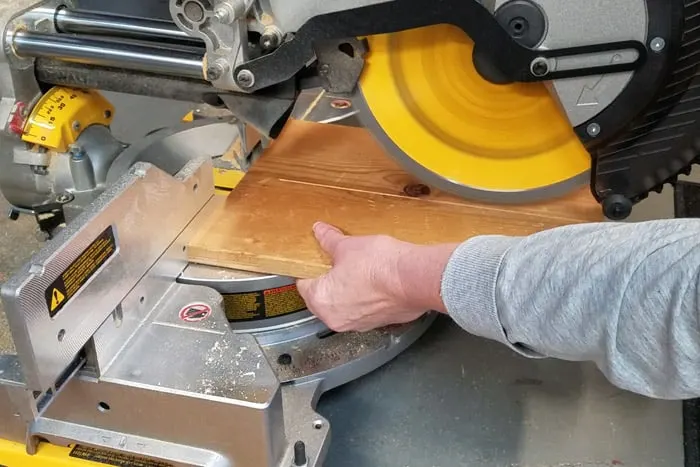
Take the piece you just cut and line it up to the board you just cut it from so that the angles are together.
- Draw a line underneath to cut the second “leg” of your under desk footrest.

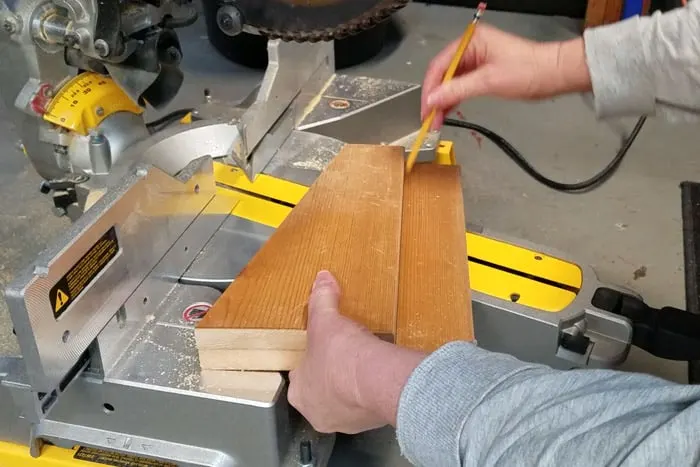
- Set your miter saw back to 0 Degrees and cut following the line you just drew.

If your miter saw doesn’t come out that far here’s what you can do:
- Make the first cut(s) on the line as indicated.
- Flip the board over so that the uncut part is against the fence.
- With the saw off drop the blade into the cut slot to line up.
- Lift the blade, hit the power button and cut the remainder of the board.
I had to use this method on our old miter saw for this Phone Charging Stand.
Step 3: Cut Boards for the Top
Determine how wide you want your footrest. Mine is 14-1/4″ wide. You can use one full board on the top that measures 12″ x 14-1/4″ or you can cut several narrower boards to 14-1/4″ long. Make yours however wide feels perfect for your feet 🙂
I have three boards on the top of my DIY footrest. Two measure 5-1/4″ x 14-1/4″ and one measures 1-3/4″ x 14-1/4″.

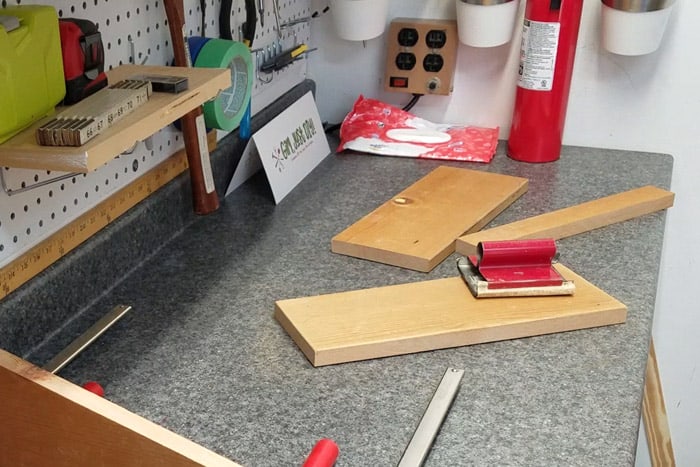
Step 4: Sand and prep your boards
If you sand all your pieces before you put it together it will save you time and frustration getting all the nooks and crannies smooth and ready for paint or stain.
I started out sanding with this cute little sanding tool I got at a thrift store a few years ago. I finally switch to the orbital sander because it’s so much quicker. Always make sure you wear ear protection.

I’m not sure why I reach for that old manual sander first when clearly it will take me hours to get larger pieces smooth. But going old school builds some muscles, that’s for sure.
DIY Footrest Assembly
Step 5: How to assemble your DIY Footrest
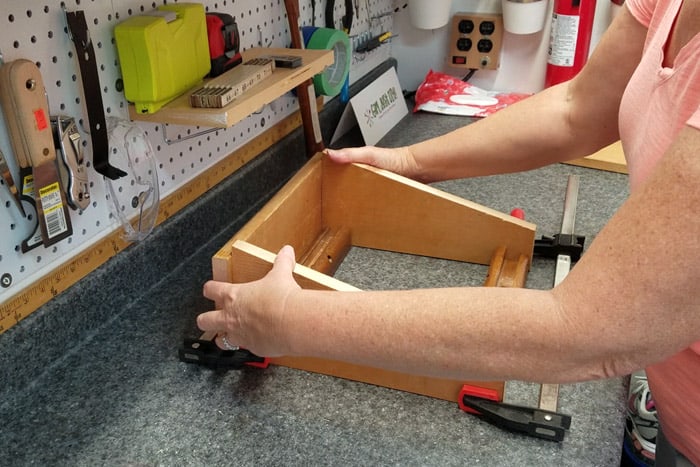
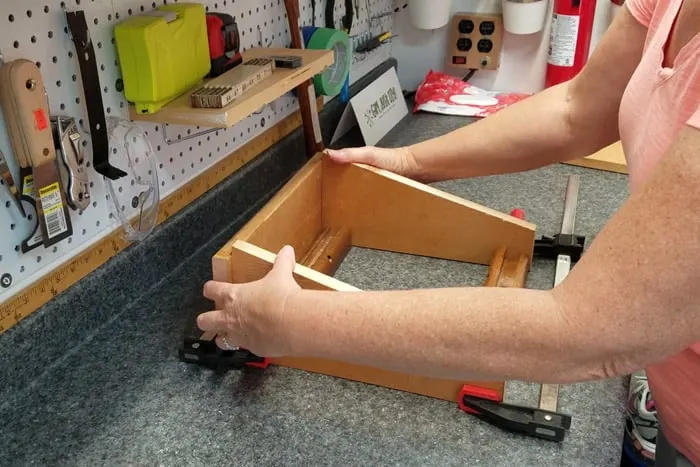
- Grab two 12″ long scraps of wood and place them between the two “legs” of your footrest.
- Loosely clamp the two sides together.
- Using a third scrap board square up the backs of the legs and clamp tightly as shown.
- Lay a bead of wood glue on top of the legs where your top board will attach.
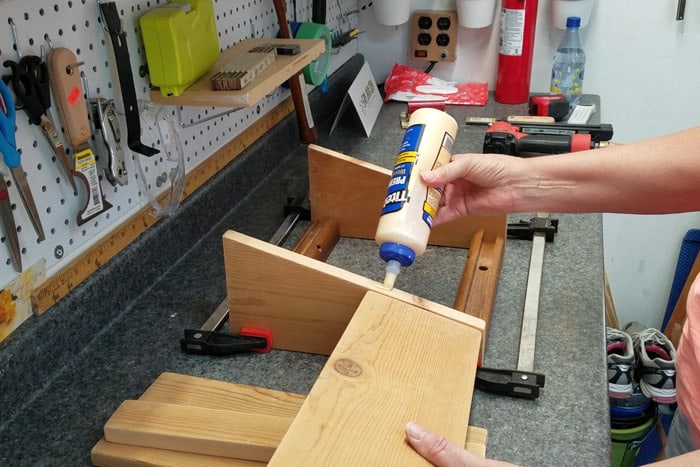

- Align the board so that it has equal overhang on the sides with the front edges aligned.
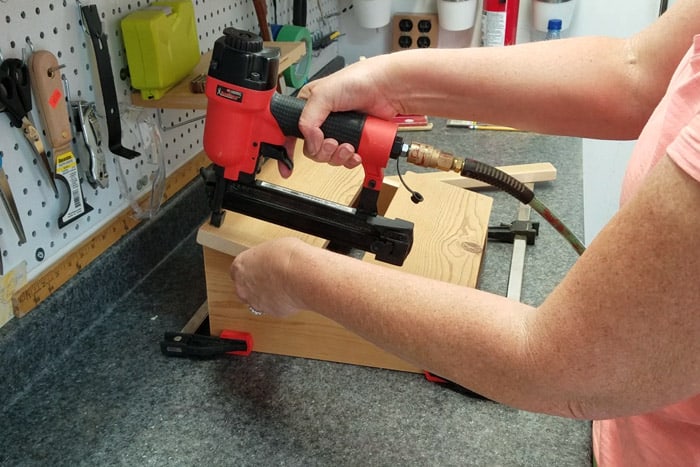
- Using the brad nailer and 1-1/2″ brads attach with at least three brads on each side.
We have a pneumatic brad nailer but one of these days I really want to get this cordless version that can shoot up to 2″ brads.

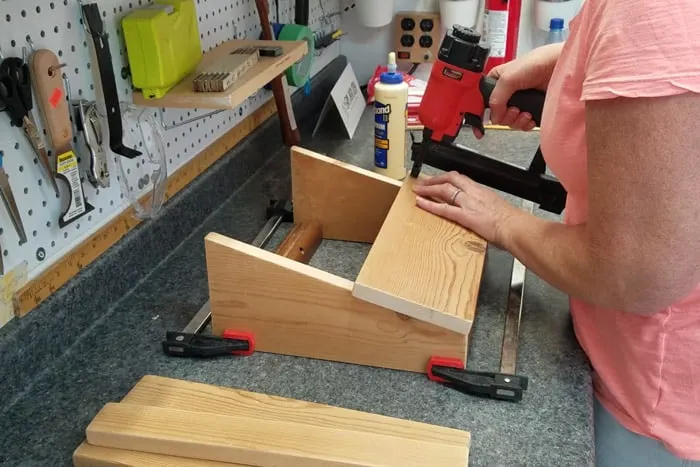
- Do the same with the top board followed lastly with the middle board.

As you can see below I used more than three brads on the wider boards.

Wasn’t that easy? You’re almost done now.
Finishing touches for your footrest
Step 6: Paint or stain your footrest
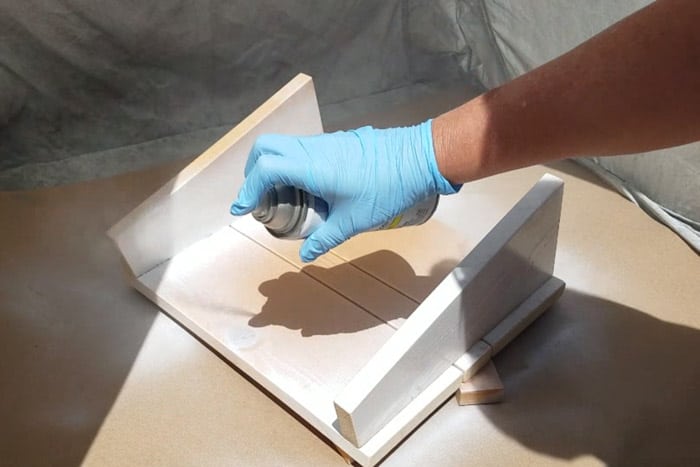
If you want to paint yours set up your Small Spray Shelter and lay down some contractor floor paper topped with a few scraps of wood to keep the footrest from laying directly on the paper.
If you spray paint yours like I did I recommend giving it a light coat of spray primer first. Otherwise you’ll need a few coats of paint to get good coverage on the wood.
- Paint the underside first in sweeping motions.
- Carefully turn it over and spray the outsides and edges.

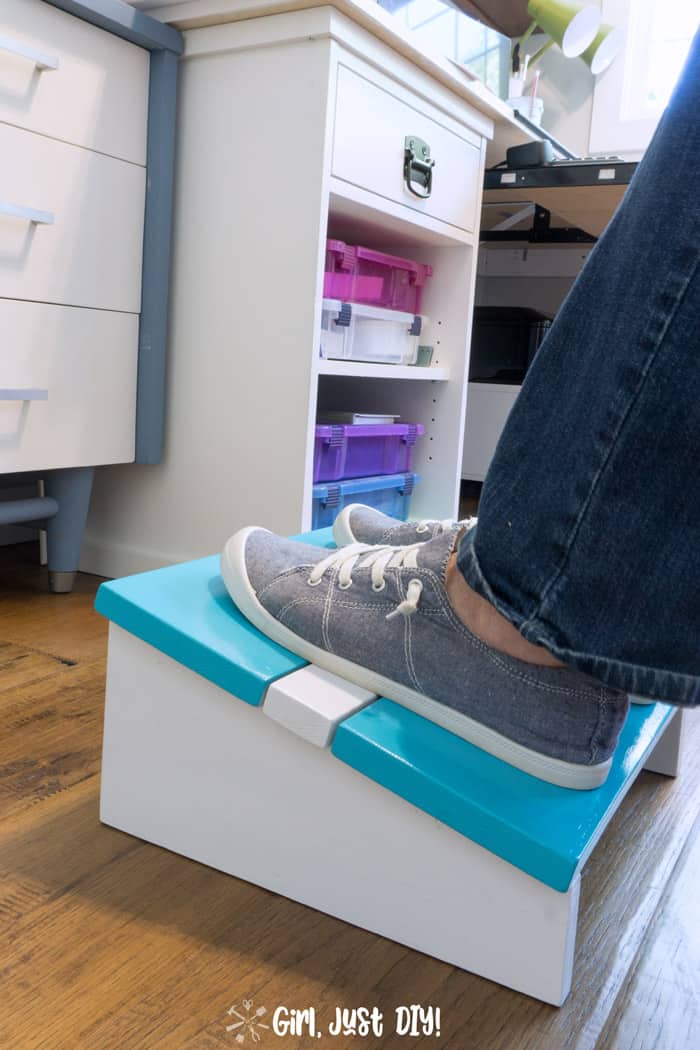
I decided on a two-tone effect so I waited for the paint to dry then carefully taped off the areas that would remain white and added some fun. It’s going to be under the desk where no one but I (and my hubby) will see it 🙂
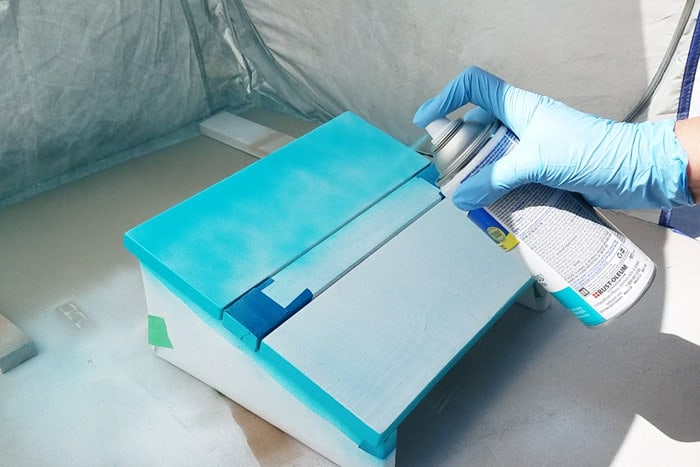

Cute, right?!

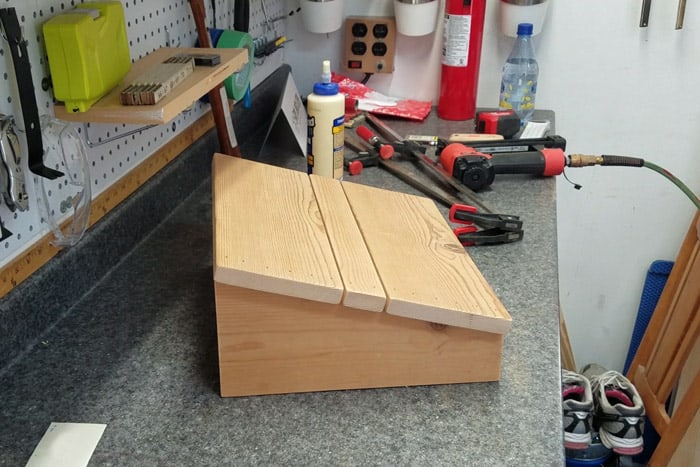
I couldn’t get a good picture of the footrest in use under my desk so I pulled it out so you could see the side view. The 15 degree angle works perfectly for a DIY foot rest.

LOVE IT!! PIN IT!!

Will you make this DIY Footrest for yourself or for a friend?
As I promised, below are alternative methods you can use to make this project without any fancy power tools.
How to build a DIY Footrest without fancy tools
As I update this post millions of people around the world are being asked to work from home (such scary and uncertain times). It occurred to me that people might want to make their own DIY footrest but may not have all the tools I used to make mine.
So I wanted to offer some options that could help you make your own with a few basic tools. A cordless drill is the only power tool you need for this version.
- Instead of a brad nailer, which requires a compressor, you can also use small L Brackets (this set I linked to comes with screws) to connect the top to the legs.
- Use narrower pieces of wood and a manual miter box set to cut your boards to length.
To use narrow wood for your entire project and still obtain the proper degree slope you can do the following. You can also follow these steps but modify them as needed if you have scrap wood of varying width you want to use.
- Purchase two (2) 1″ x 3″ x 8′ pine board. These actually measure 3/4″ thick x 2-1/2″ wide x 96″ long.
- Make a 12″ by 13-1/4″ box frame using your miter box
- Cut and sand four (4) 12″ lengths of 1x3s. Connect with 1-1/4″ wood screws and wood glue. It’s always best to pre-drill first when using longer screws to avoid splits. Alternatively you could also use 2 L-brackets on the inside corners if you prefer.
- Cut and sand five (5) lengths of 1x3s to 14″ long
- Lay them out evenly spaced
- Lay the frame over the boards and adjust as needed.
- Carefully lift the box up and run a bead of wood glue where the frame meets the top boards.
- Attach the frame to the top boards with L Brackets and screws on the inside of the box so they don’t show.
- To lift your footrest to the proper angle cut two pieces of 1×3 to 4-1/2″ long. These will be the back legs.
- Turn the footrest right side up on your work table. Lift up the long end (the 13-1/4″ side) and slip one leg inside on the shorter 12″ side. Make sure it remains flat on the table.
- Adjust the top of the footrest until the measurement from the top to the table measures 6-1/2″
- Draw a pencil line on the leg where it meets the top frame.
- Turn the footrest face down.
- Line up the two legs and using a ruler transfer the pencil line to the other leg.
- Line up the pencil mark on the leg so it’s flush with the bottom of the frame.
- Attach with L-Brackets and screws.
- Let the wood glue dry fully then paint or stain your new DIY Footrest.
If you follow this version you’ll need at least 14 L Brackets; and possibly as many as 22 if you also use them to assemble the box frame.
I hope that you’ve found this helpful, and especially my updates to make this DIY Footrest without fancy tools.
rocco
Wednesday 27th of January 2021
Totally making this for my wife! Excellent simple design! Actually I'm making two, one for wife, and another for her colleague (they're HS teachers). Thank you!
rocco
Friday 29th of January 2021
@Toni, ??
Toni
Friday 29th of January 2021
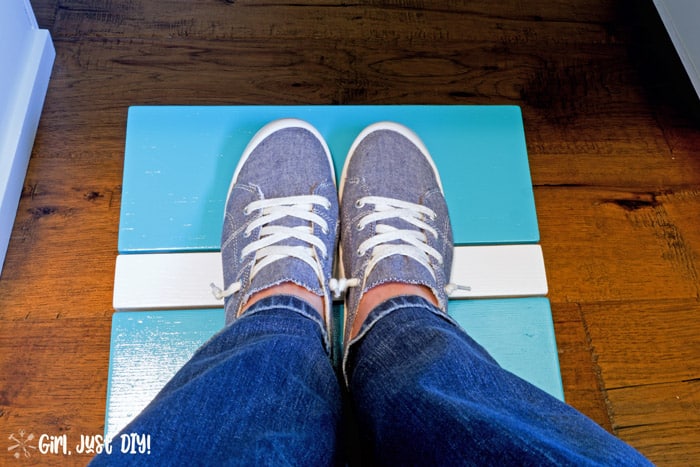
Yay Rocco, this makes me so happy that it's helped you, your wife and her colleague will love you for it!! If you have wood floors I'll suggest using a small piece of an old yoga mat, rug gripper, or even a small rubber-backed rug underneath so it doesn't slide around.
Carolann
Monday 23rd of March 2020
I love it! What a great idea and it doesn't look that difficult to make. I'd love to try and make one too someday!