Hi friends, I’m excited to join forces with a group of talented bloggers in a monthly series. You know I like to save a buck where I can, and I’m a huge fan of thrift stores or any other thrifty place to buy stuff at huge discounts. For my first project in this new group I’m going to show you how I made a Rope Planter Basket from an 80’s leather covered garbage can.
You’re going to love this project and how easy it is! And you’ll also find a ton of inspiration in all the wonderful projects linked up below. Be sure to out their projects by clicking on the images in the links at the bottom.

The Rules:
- Upcycle an item(s) from a thrift store, resale store, or garage sale into a new piece of decor.
- There’s no monthly theme.
- There’s no budget to stick to.
Meet the Hosts
Amanda | The Kolb Corner Maureen | Red Cottage Chronicles Kim | Made in a Day
Dru | Polka Dot Poplars Erlene | My Pinterventures Colleen | Life on Kaydeross Creek Pili | Sweet Things
Shirley | Intelligent Domestications Ann | Duct Tape and Denim Debra | Shoppe No. 5 Marie | DIY Adulation
Chelsea | The Johnsons Plus Dog Jes | My DIY Envy Lindsay | Crazy Organized
Molly | Just a Little Creativity Ashley | 3 Little Greenwoods Kimm | Reinvented Michelle | Our Crafty Mom
Ali | Home Crafts by Ali Sue | A Purdy Little House Sara | Twelve on Main
Claire | Pillar Box Blue Chelc | Inside the Fox Den Kim | Farmhouse Made Victoria | Dazzle While Frazzled
Sherry | Savvy Apron Jennifer and Vicki | 2 Bees in a Pod Lora | Craftivity Designs Megan | C’mon Get Crafty
Denise | My Thrifty House Toni | Girl, Just DIY Deborah | Salvage Sister and Mister
Make sure you follow our board on Pinterest for more upcycled decor inspiration!
Last Summer I was in our local Hospice Thrift Store looking for a garbage can for our home office. Of course I wanted one I could make over and was thrilled to I found this red-leather covered garbage can for $5. It bet it was part of one of those executive sets with a matching pencil cup.
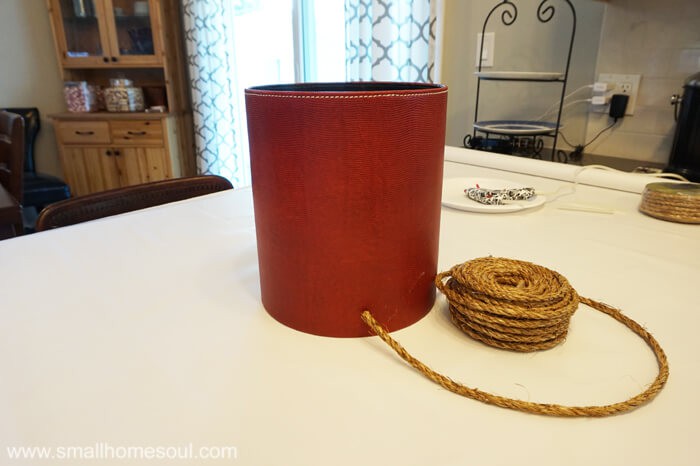
It sat in the garage for many months before I finally decided what I wanted to do to give it a new updated look.
This post contains affiliate links. If you make a purchase after clicking on one of
my links I may earn a small commission.
Supplies to make your own Rope Planter
- Waste Basket
- 2 packages of 1/4″ Manila Rope
- Low heat glue gun
- Scissors
- Real or Faux ficus
Rope Planter Basket – The Transformation
I had picked up a few packages of 1/4″ Manila Rope in 50 ft. lengths and when I saw it in the drawer I knew it would be perfect. Along with my handy glue gun this was sure to be a quick transformation.
I set the garbage can on the counter to get started and here’s the easy steps I took so you can make yours:
- Depending on the size of your basket you’ll need 1-2 packages of 50′ rope.
- Apply hot glue to the rope with a low heat glue gun and press it against the side of the garbage can.
- Low heat guns can save your fingers
- Continue applying the glue continuously with very little gap until the bottom row is fully attached.
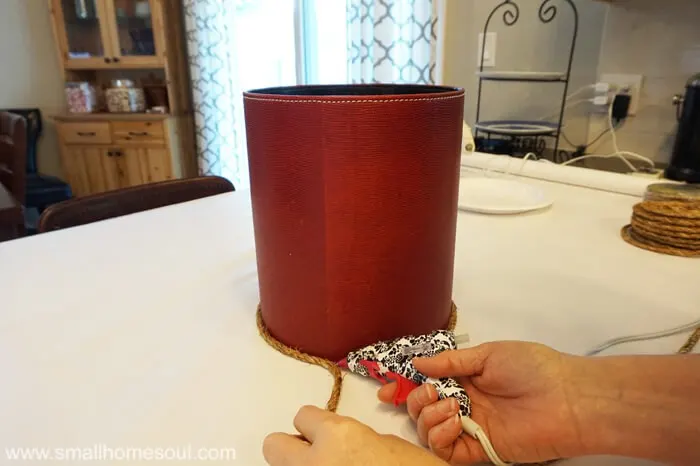
- When you’re ready to start the second layer press it down tightly over the starting end of the rope. This will ease into the second layer for a smooth look.
- From that point forward apply the glue directly to the garbage can. Secure it four or five times each rotation.
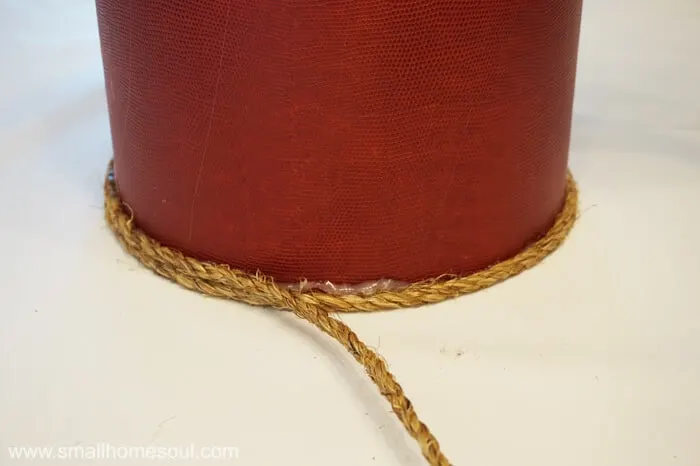
- At the very top row glue the rope all around the edge with very little gaps in the glue.
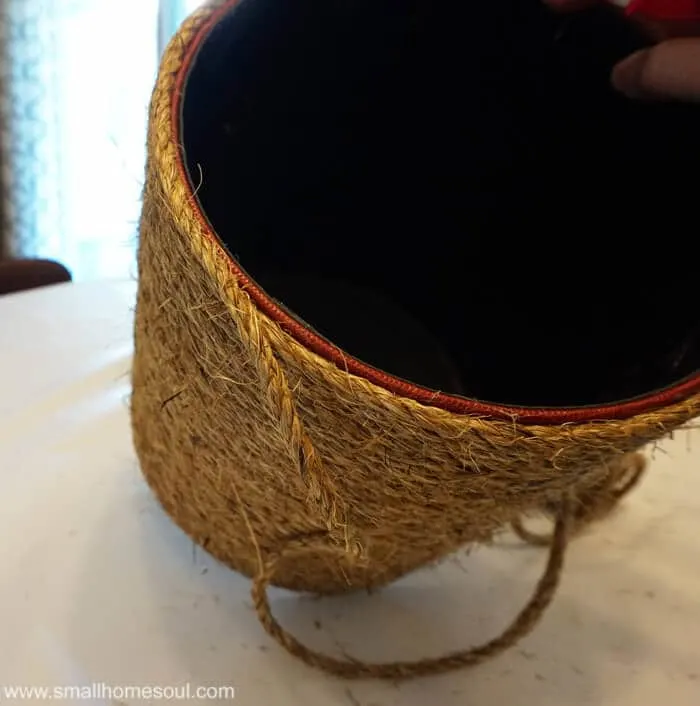
- Glue one last layer of rope onto the very top.
- Be sure to cut the end of the rope at an angle and push the ends into some dabs of glue so they don’t stick up.
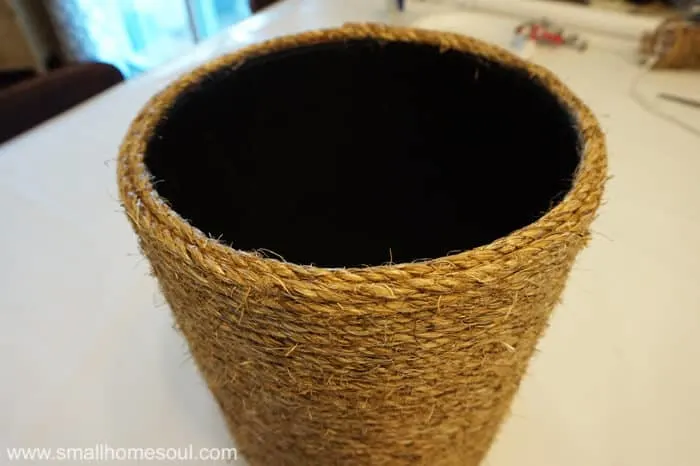
Give your basket a little trimming with scissors if it looks a little furry when you’re done.
That’s it, super easy right? Now that it’s wrapped with rope it really has a Coastal feel to it, doesn’t it? I don’t have much coastal decor in my home but I have made other projects that have that coastal vibe.
More Coastal Vibe Projects – Coastal Coaster Makeover – Beachy Serving Tray
Seagrass Painted Rug
Rope Planter Basket – The Reveal
The faux ficus looks fantastic in the new rope Planter Basket by the window!
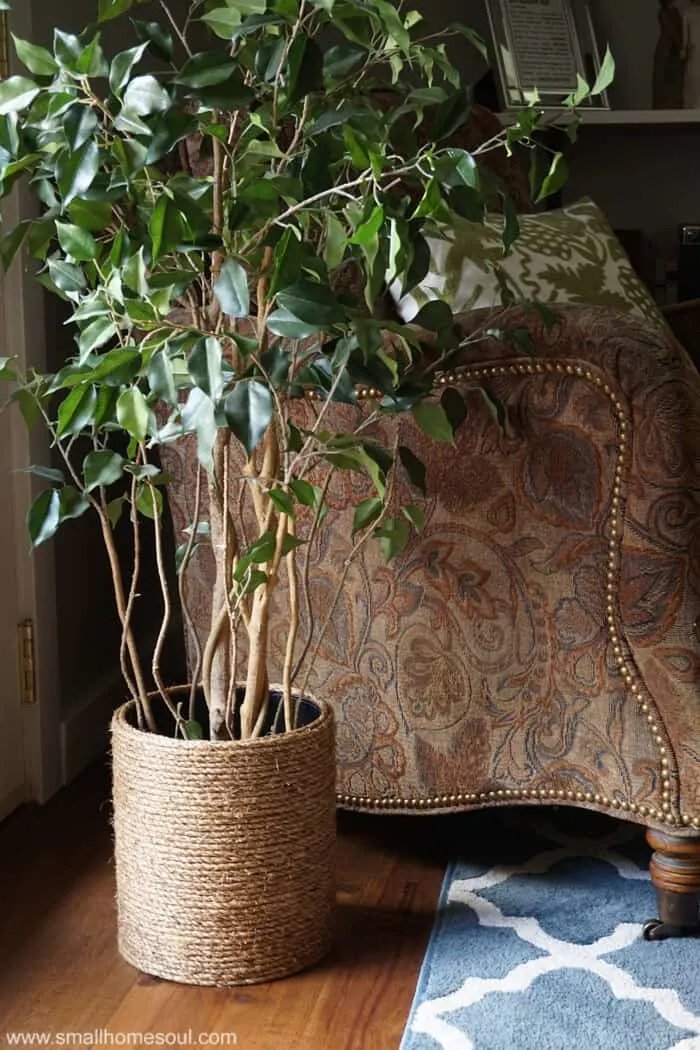
Lovely! And with the cost of the rope I think my new rope planter basket didn’t cost more than $10.
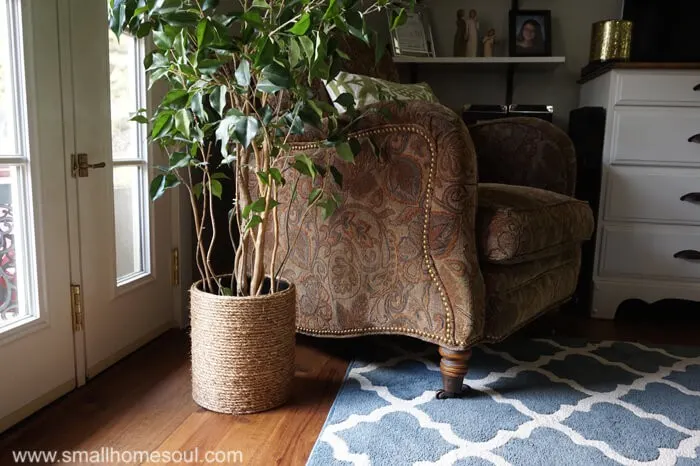
I hope you enjoyed learning to make a Rope Planter Basket and my first contribution to the series. Don’t forget to pin it to your favorite Decor Board.
And please visit my friends’ projects below for more thrifty inspiration.
And now for more thrifty goodness!
Check out what my fellow upcyclers created below!
If you liked this project with Rope you might also enjoy:
- Hanging Light from a Basket (wrapped with Jute twine)
- Beachy Serving Tray Makeover (with Jute twine handles)
Wine Cork Board - an Easy DIY Project to get Organized - Girl, Just DIY!
Monday 25th of February 2019
[…] Make a handle using a length of Manila Rope. I had some left over from making a Rope Planter Basket. […]
Carolann
Tuesday 14th of February 2017
Love this Toni! It looks stunning! What a fun idea. I'll have to try this too. What a beautiful project!
Toni Harvey
Friday 17th of February 2017
Thanks Carolann, it's amazing what a change a little rope makes. Industrial chic :)
leanne with divaofdiy.com
Monday 13th of February 2017
I love the rustic look of this! Great upcycle Toni!
Toni Harvey
Friday 17th of February 2017
I love the rustic against the traditional arm chair. Thanks for stopping by today :)
Marta McCue
Monday 13th of February 2017
I love this!! So cute and easy. Will have to try it!
Toni Harvey
Friday 17th of February 2017
Thanks Marta, you'll love it. I hope you share a pic with me when your project is done :)
sara s syrett
Monday 13th of February 2017
I love this! The rope looks so great on the trash can!
Toni Harvey
Friday 17th of February 2017
The transformation is amazing, right? Thanks for stopping by Sara!