• Skip to primary navigation
  • Skip to main content
  • Skip to primary sidebar
  • Skip to footer

Girl, Just DIY!

Creative DIY for your life and home.

  • Blog
  • Crafts
    • Holiday
      • Christmas
      • Easter
      • Halloween
      • July 4th
      • Thanksgiving/Fall
    • Sewing
  • DIY
    • Bathroom
    • Bedroom
    • Cleaning & Organizing
    • Decor
    • Furniture Makeover
    • Kitchen
    • Lighting
    • Living Room
    • Yard & Garden
  • Woodworking
  • Recipes
  • Show Search
Hide Search
You are here: Home / Crafts / Rudolph Gift Tags – Easy Christmas Craft

Rudolph Gift Tags – Easy Christmas Craft

By Toni | Girl, Just DIY!

Sharing is caring!

  • Pin3.9k
  • Share15
  • Tweet
  • LinkedIn

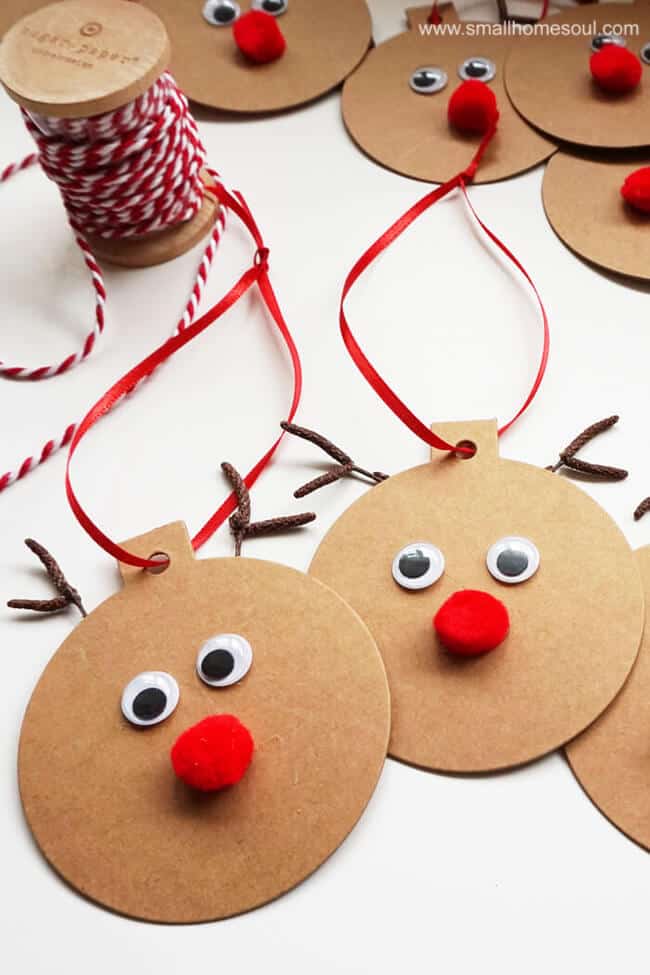
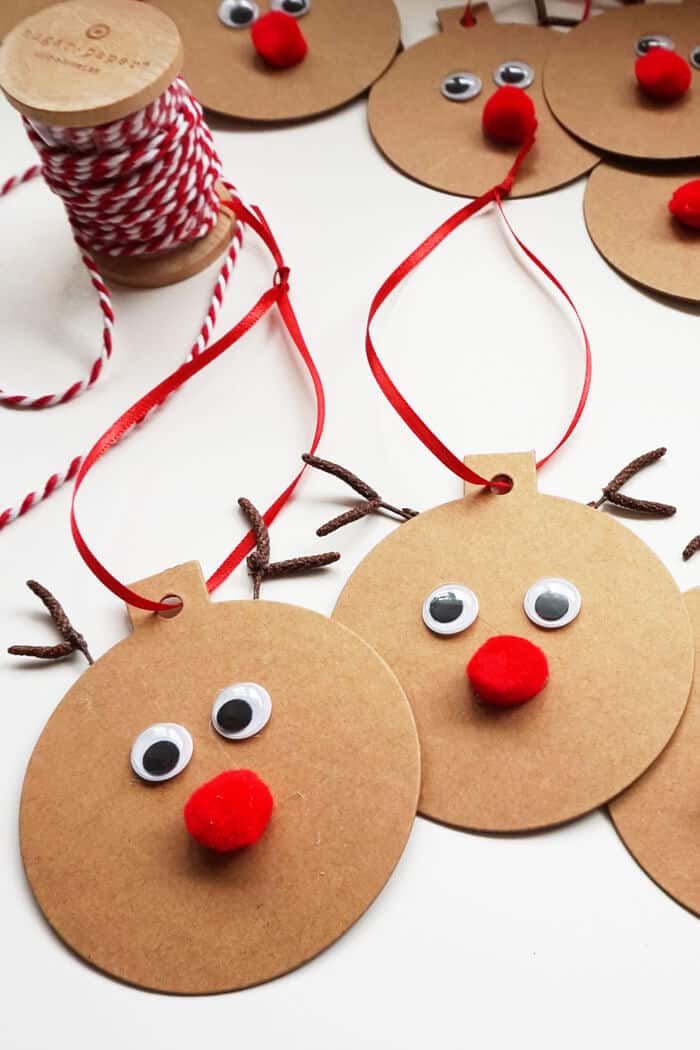
Hi friends, can you believe Christmas is only a few weeks away?  It’s crazy how that happens so quickly sometimes isn’t it?  These quick and easy Rudolph Gift Tags are so cute, you’re going to want to make a few dozen for gifts, or to put on your tree.

Rudolph gift tags on the table.

The best part is they’re super easy to make with a few craft supplies I’ve linked below.

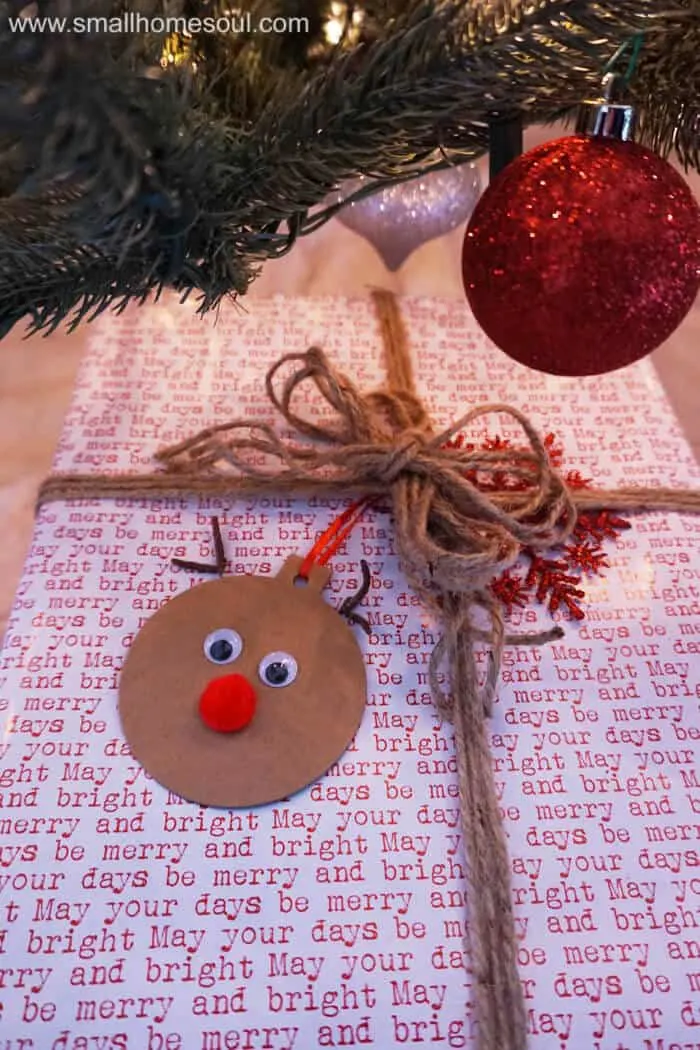
You can write the name of the recipient on the back of the tags, or you can just use them as a cute addition to your gift wrapping.  Check out the cute video below to see how easy they come together.

This post contains links to products, if you purchase something after clicking on my link I may earn a small commission (at no extra cost to you).

Rudolph Gift Tags – Supply List

  • Round Cardboard Ornaments (I found similar ones here)
  • 1/2″ Small Red Pompoms
  • Googly Eyes
  • 1/4″ Red Ribbon
  • Twigs for Antlers
  • Low Heat Glue Gun

Please forgive the size and quality of a few of these photos.  I forgot to take still pictures so I had to grab a few from the video.

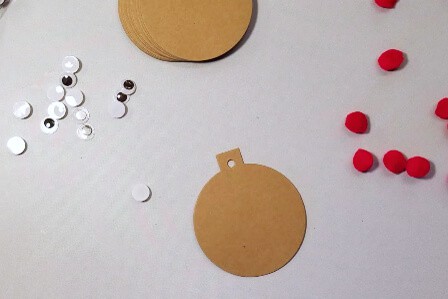
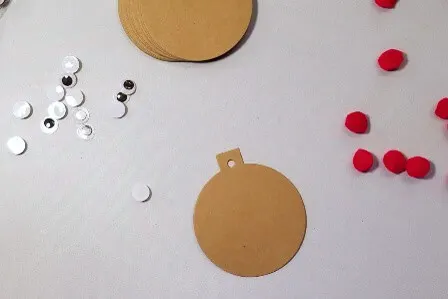
You can find the cardboard rounds at Michael’s or any craft store.  These came in a pack of 12.  But I found similar ones on Amazon.

Googley eyes and cardboard for making Rudolph Gift Tags.

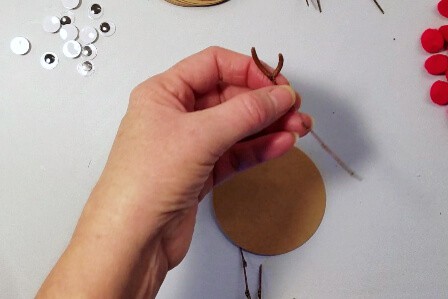
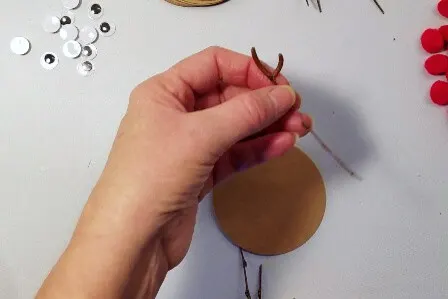
Grab some twigs to use as antlers like these from our birch tree.

Adding twig ears to the Rudolph Gift Tags

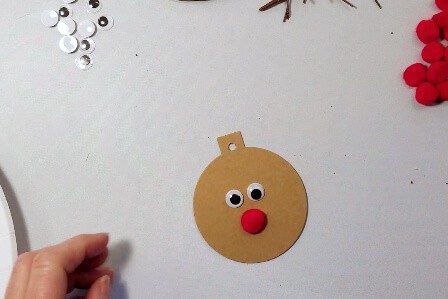
Play around with the placement of the red pompom nose and the googly eyes until you have a look you like.  After your glue gun heats up glue each of them in place.

Rudolph Gift Tags with googly eyes and red pompom nose.

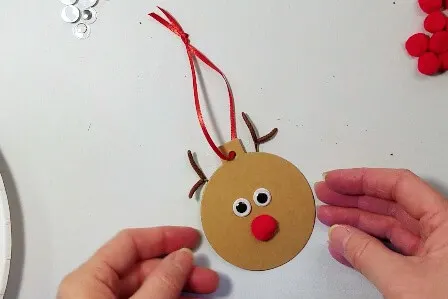
Affix the antlers to the back side of the cardboard, tie on a piece of red ribbon to your desired length and voila you have your first Rudolph Gift Tag!

Finished Rudolph Gift Tags with red ribbon hanger.

After you’ve crafted the rest of your Rudolph Gift Tags you’re ready to wrap gifts.

And as promised here’s the cute video I made for this project.

Completed set of Rudolph Gift Tags on table.

MORE CHRISTMAS CRAFTS
Pom Pom Pillow – Pinecone Swag – Christmas Tassel Ornaments

Don’t these cute Rudolph Gift Tags add something special to that package?

Rudolph Gift Tags tied to a wrapped gift under Christmas tree with ornaments.

I hope you enjoyed this project and my video.  Please share it with your crafting friends and let me know how your Rudolph Gift Tags turn out.  I’d love for you to share them with me on my Facebook Page so we can all see how awesome they are.

Merry Christmas!


Sharing is caring!

  • Pin3.9k
  • Share15
  • Tweet
  • LinkedIn

Related Posts:

  • Halloween Bandana Wreath- Easy Last Minute CraftHalloween Bandana…
  • Easy Milk Glass Succulent Planter - 5 Minute Gift IdeaEasy Milk Glass…
  • Christmas Tree Craft with Paint SticksChristmas Tree Craft…
  • Button Christmas Ornaments - Easy and FunButton Christmas…

Filed Under: Christmas, Crafts Tagged With: Christmas, diy, Gifts, homemade

Previous Post: « Bathroom Light Makeover with Paint
Next Post: NKJV Journal the Word Bible – A Review & Giveaway »

Reader Interactions


NOTICE! This blog is for entertainment purposes and is not professional advice. Reader assumes all responsibility for personal safety, injury or damages when attempting to re-create a project(s) by Girl, Just DIY! or other Guest Authors. Care should be given to follow all tool/product safety warnings.
Read my full Terms of Use and Disclosures Here.

—————

No One Likes SPAM

So I made the hard decision to turn off comments on my posts after a few weeks. If you have a question that isn’t answered in the post above please reach out via Email, Instagram or Facebook page and send me a DM. Thanks for visiting!

Comments

  1. Amanda says

    October 24, 2017 at 5:42 pm

    Soooo cute and festive! I love it!

    • Toni Harvey says

      November 24, 2017 at 12:02 pm

      Thanks Amanda, I’m glad you love them too!

  2. Amanda @ The Kolb Corner says

    December 18, 2016 at 10:22 am

    Very cute!!! Thank you for sharing at Merry Monday!

    • Toni Harvey says

      December 20, 2016 at 7:48 pm

      Thank you Amanda, and thanks for your great party!

  3. Marjan says

    December 17, 2016 at 9:47 am

    Hi Toni, your gift tags are the cutest! Thanks for visiting “Celebrate the Season”

    • Toni Harvey says

      December 20, 2016 at 7:48 pm

      Thank you Marjan, they’ve been pretty popular which makes me so happy!

  4. debbie says

    December 14, 2016 at 1:26 am

    Just love the tags and your paper! A grand idea and simple too

    • Toni Harvey says

      December 14, 2016 at 8:52 am

      Debbie, thanks so much! It’s a cute combination, I love to do a color themed gift wrap each year. Sometimes is the same colors for a few years in a row, the last few have been red and white. Last year I bought a bunch of shatterproof red bulbs after Christmas on huge discount and I love all the red.

  5. Denise Bryant says

    December 13, 2016 at 6:56 pm

    Toni, These are adorable tags. I love a quick and easy craft project that adds a lot of impact. Thanks for sharing.

  6. Sam @ Raggedy Bits says

    December 13, 2016 at 5:04 pm

    These turned out so cute Toni!! I know 3 little nephews of mine that would LOVE to make these!

    • Toni Harvey says

      December 13, 2016 at 6:05 pm

      Thanks Sam, they were so fun to make. But make sure you use twigs and not birch tree blossoms. Poor Rudolph has lost a few of his “antler parts” LOL

  7. Sarah Bell says

    December 13, 2016 at 1:50 pm

    Such a cute idea! Love that it is simple yet it shows you put some thought into make the gift special 🙂 Thanks for sharing!

    Sarah Bell

    • Toni Harvey says

      December 13, 2016 at 6:06 pm

      Thanks Sarah, they were so fun to make. They’re on all my packages under my tree already.

  8. Rachael says

    December 13, 2016 at 4:33 am

    These are adorable!! I love simple Christmas crafts. Pinning to my Christmas board.

    • Toni Harvey says

      December 13, 2016 at 6:06 pm

      Yay, I’m so glad you liked them Rachael!

  9. Kellie says

    December 12, 2016 at 6:13 pm

    Toni, I love these! They are so cute!! I showed my crafty daughter them and she wants to make them!!

    • Toni Harvey says

      December 13, 2016 at 6:07 pm

      Hi Kellie and thank you. Yay, I’m so glad your daughter likes them too!

  10. Susie says

    December 11, 2016 at 4:05 am

    These are super cute and super simple. A great combination for all kinds of crafters. Thanks so much for sharing. Susie from The Chelsea Project

    • Toni Harvey says

      December 14, 2016 at 8:48 am

      I’m so glad you like my little Rudolph’s Susie, they were fun to make and super fast too.

  11. Susanne says

    December 10, 2016 at 7:34 pm

    These are so cute!!! And your video is awesome!!!

    • Toni Harvey says

      December 13, 2016 at 6:12 pm

      Thanks Susanne, I am so happy with how that video turned out 🙂

  12. Anika says

    December 8, 2016 at 9:04 pm

    LOVE these!!! I think I am going to have my daughter make these for her teachet gift!!

    • Toni Harvey says

      December 13, 2016 at 6:17 pm

      Thanks Anika, that’s a great idea for a teacher gift. But use twigs or something for the antlers. A few of Rudolph’s birch blossom antlers have fallen off 😀

  13. Natasha says

    December 8, 2016 at 6:12 pm

    These little guys are so cute! My husband is always trying to get those eyes at the craft store – now it looks like I have a reason to add them to the basket. =)

    • Toni Harvey says

      December 13, 2016 at 6:18 pm

      Natasha, yes, googly eyes are the best. I’m so glad you like them, thanks for stopping by 🙂

  14. Claire Armstrong says

    December 8, 2016 at 12:40 pm

    Very cute, and simple enough to do with my Beaver scouts. They like anything with googly eyes.

    • Toni Harvey says

      December 13, 2016 at 6:19 pm

      Claire, yes these would be a great group project. Make sure you tag me in a picture, I can’t wait to see them.

Primary Sidebar

Welcome!

Author

Welcome, I'm Toni and I truly hope to inspire you to dive into this crazy fun world of DIY. Read More...

Let’s Connect

  • Email
  • Facebook
  • Instagram
  • Pinterest
  • Twitter
  • YouTube

More Categories

Footer

Copyright © 2019 · GIRL, JUST DIY! · Daily Dish Pro On Genesis Framework · WordPress

About Me – Disclosures and Privacy Policy

  • 3.9k
  • 15