Did you see my recent post about thrifted treasures? Well, these Ikea nightstands are another thrifted treasure because I purchased both of them through a FB treasures group for under $10, and they’re my first “hack” project. I wasn’t sure what I was going to do with them but I knew at that price I’d find a spot. They made their first appearance on the blog beside our new Murphy Bed; as it turns out my daughter was ready for something new so this Ikea nightstands were just want she wanted. We met at the store one night after she got off work and she brought one of her shams so she could pick out some paint. I’ll show you what I did to hack these little gems.
This post contains affiliate links for your convenience. If you make a purchase after clicking a link I may earn a commission, at not extra cost to you.
Hacked Ikea Nightstands Supply List:
- Ikea Hemnes Nightstands, of course 🙂
- Sanding Blocks
- Paint of your choice
- Zinsser 1-2-3 Primer
- Paintbrush, I love this Purdy Brush
- Floetrol paint extender (I’ll talk about this awesome stuff in a bit)
- Screwdriver to remove drawers
- 3M Painters Tape
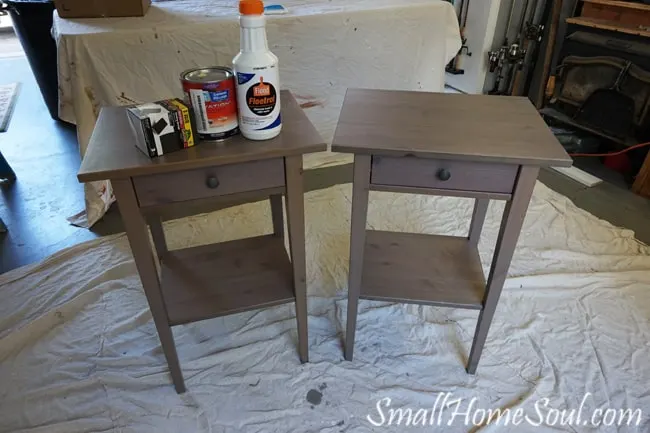
I’ve never used Floetrol before but my brother uses something similar. After reading about this on a few other blogs I had to try it. Too many times the paint starts drying before I’m done and I get streaky marks in the surface. This stuff fixes all that; you just mix in the suggested amount and it extends the drying time of the paint. More on that later.
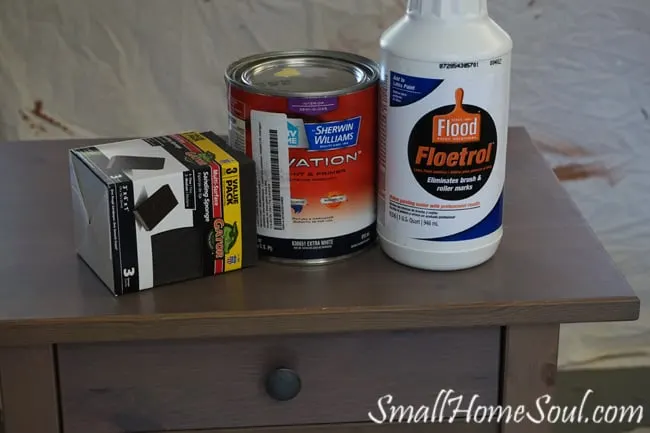
Before I started I removed the drawers and the drawer guides with a screwdriver as well as the knobs and set them all safely in a box on a shelf so I wouldn’t lose them. Then I lightly sanded the entire surface so I could prime it ensuring the paint would adhere properly. I used the 3M Painters tape to tape off the drawer fronts before I primed since that was the only part being painted. I wiped down the entire surface with a damp rag so there wouldn’t be any sanding dust to get caught in the paintbrush.
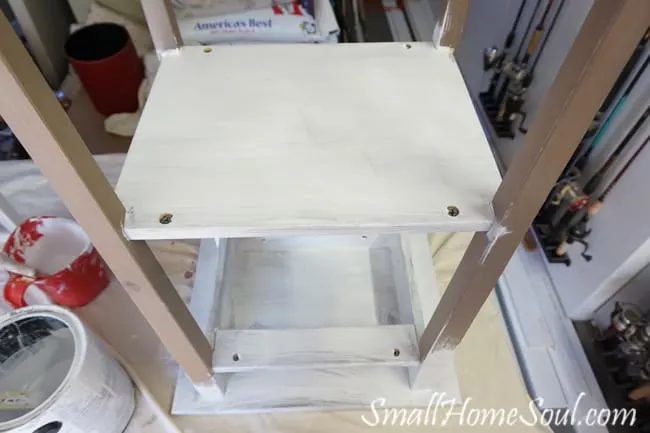
I turned each Ikea nightstand upside down on the table and primed the bottom side of each as seen in this picture below.
Once that was done I flipped it upright and proceeded to prime the top and the legs working my way down. I let the Ikea nightstands dry overnight.
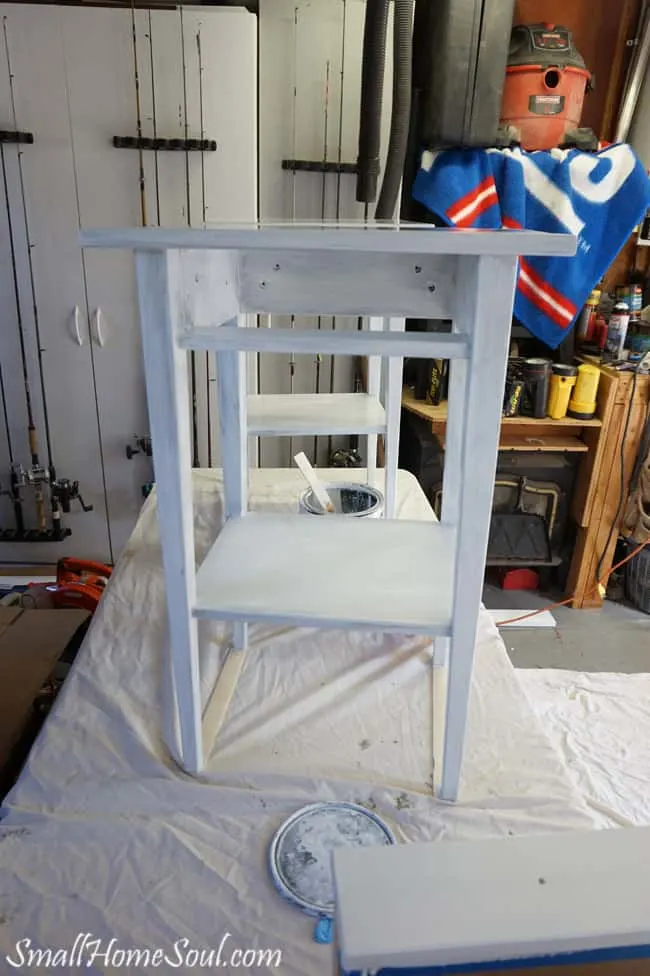
The next morning I added the proper amount of Floetrol to my paint and applied the first coat in the same order as the primer. The Floetrol was so great to work with and because it extends the drying time I was able to fix a drip 20 minutes later that blended in perfectly. That wouldn’t have been possible without this stuff. It really helps eliminate brush strokes in the finished product.
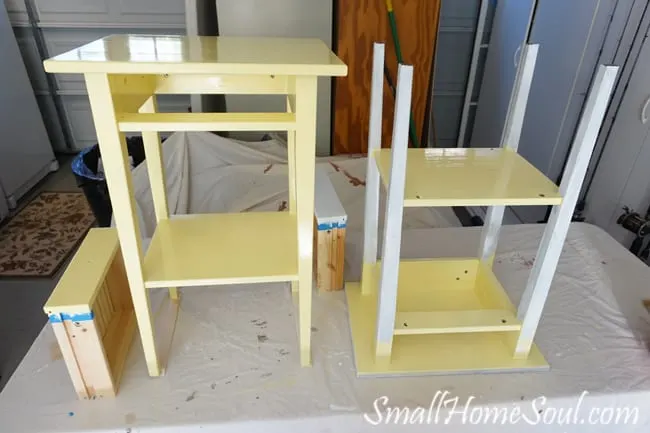
Because our weather was unseasonably warm I waited another day and painted the final coat the next morning while it was still cool in the garage. When they were fully dry I reinstalled the drawer guides and the drawers.
The knobs that came with the Ikea nightstands just weren’t going to work out with the bright new paint job. I had some drawer pulls I bought at Marshall’s last year that I thought would work perfectly with my daughter’s comforter so I installed them and loaded up the car for delivery. I also took along that Thrifted Swing Arm lamp she had her eye on. Mom’s are so soft 🙂
These Ikea nightstands look so great next to her bed and they really brighten up her room. It’s a dramatic update from the old pine nightstand she’d been using since she was a teen.

More Furniture Makeover Projects
DIY TV Console – Mid-Century Modern Beauty – Metallic Cream Side Table
And the pulls? I think I can safely say that they work perfectly with her bedspread.
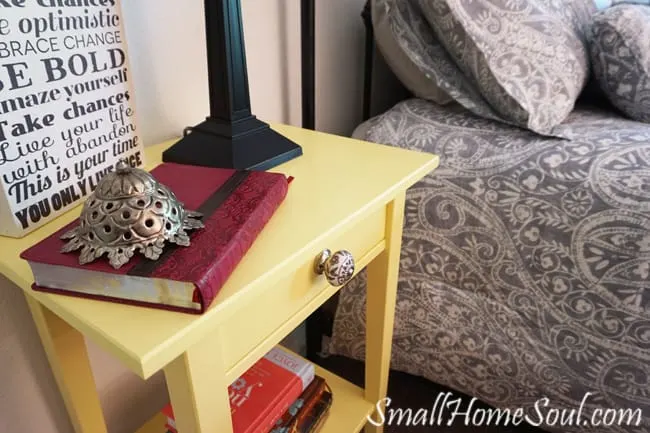
You can’t really see it in the pictures but the bedspread has a shimmery silver detail and the colors of the pulls is nearly a perfect match to the comforter. Just like they were always meant to go together.
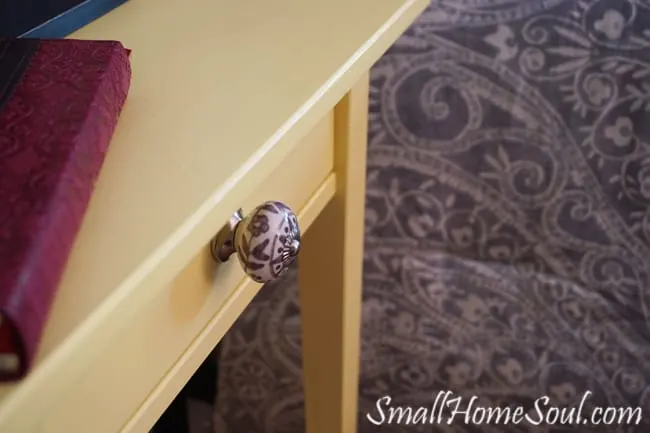
My daughter was happy with how these Ikea nightstands turned out going from kind of dark and boring to bright and cheery. And she was super happy that I let her keep that thrifted lamp too.
Until next time,
Toni
Sam-Raggedy Bits
Tuesday 25th of April 2017
Love the shade of yellow that you used! So bright and cherry!
Leanna
Sunday 2nd of April 2017
Thank you for the referral to Floetral. I have never used a paint extender and being able to spend extra time checking for paint drips would be wonderful. Nothing worse than thinking your finished and having to start over to get rid of a paint drip.
Beautiful makeover. I like the Hemnes line at Ikea because its real wood and has clean lines. Painting it makes it look much higher end. Well done.
Jen Panguluri
Wednesday 29th of June 2016
Nifty nightstands the perfect sunny yellow! I love floetrol, too. I even add it to homemade chalk paint and polycrylic.
Toni Harvey
Tuesday 5th of July 2016
Thank you Jen, I love the yellow as well. Sorry for the delayed response we were out of town last week and I did my best to stay unplugged. Thanks for the tips for adding it to polycrylic, I had a tough time the first time I worked with that and will add a bit in the future!
Julie
Wednesday 11th of May 2016
Hi Toni, Love the revamped nightstands. Your daughter is one lucky girl. Her bedroom looks so fresh and inviting. Great job and very inspiring!
Toni Harvey
Wednesday 11th of May 2016
Thanks Julie, we all remember what it was like to get rid of our "moving out of my parents house and still have my teen furniture" possessions. I'm taking her old nightstand and giving it a facelift in a few weeks. We'll see how that one turns out 'cause I'm going a little wild with the color choice :)
Melanie
Monday 18th of April 2016
Love the bright yellow ! I have not ever worked with Floetrol either, so I would love to hear more of your thoughts on it. What is the clean up like with it? So appreciate you linking up with us at Friday's Furniture Fix :)
Toni Harvey
Monday 18th of April 2016
Hi Melanie, I love Floetrol and won't ever paint without it again. It mixes in easy and doesn't change the color of your paint at all. It extends the drying time so almost no brush marks appear. I use more of a ratio than it calls for on the bottle, of course humidity and temp play a part in how well it works. I live in CA so we don't have much humidity; this might be why I have to use more than recommended. The next time I buy this I will get the gallon jug :)
Cleanup seems to be a bit easier, at least for me. I'm a messy painter and my brush is always a hot mess when I'm done. Since the paint doesn't dry as fast it keeps my upper bristles from getting gunky.