

What do you do when your BBQ has cooked it’s last burger? We loved our first weber gas grill and used it rain or shine, when it was beyond repair we were forced to get a new one. The cart portion was still in great shape so after we discarded the broken BBQ I convinced my husband to keep the cart because I had plans for it. It sat on the side of the house for more than a few years but I still wouldn’t let him toss it and finally a few summers ago we made a beautiful Patio Cart from our old BBQ cart.
I’d considered many different materials for the top and shelf underneath and finally standing in Lowes I decided to go with redwood. It was the cheapest and easiest of everything I’d thought of. I’m so glad I went with redwood, all the supplies for the patio cart cost less than $50.
This post contains some affiliate links for your convenience. You can read my full disclosure here.
Patio Cart Supplies List:
- The frame from an old BBQ
- Cordless Drill and Metal Drill Bits like these
- Wire Cutters or Metal Rasp
- Sanding Block
- Spray Paint
- 2.5″ Wood Screws we used about 60
- Water Sealer – I used this brand
- 2″ Paint Brush
- Armor All
- 2×6 Redwood boards
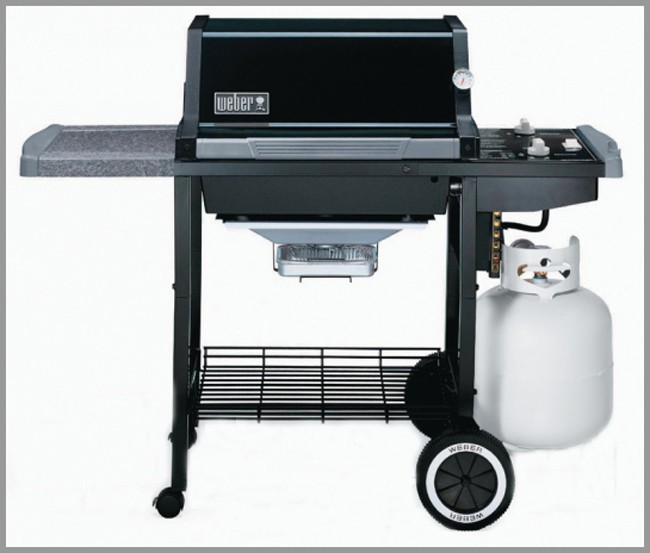
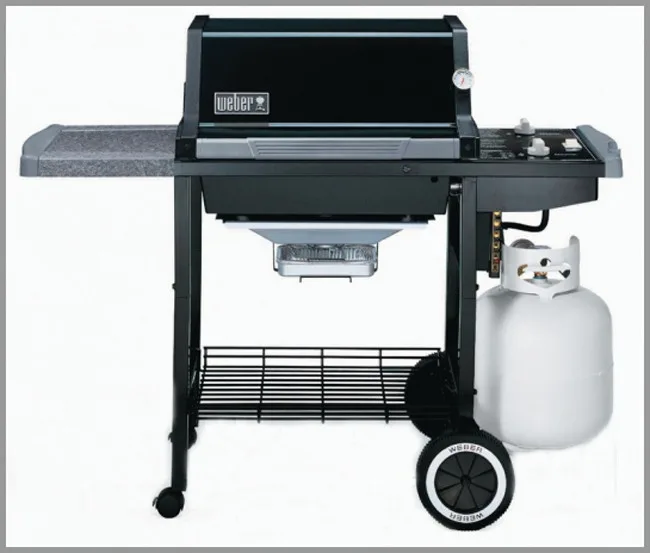
I forgot to take a picture of the cart before I started working but I found this image of a similar model so you get an idea what we started with. The only difference is my cart doesn’t have the tiny wheels seen on the left and the bottom has two lower bars running left to right. Everything was stripped off and we were left with the metal frame.
Once we decided on an overhang my husband cut the 2×6 boards to size. Write down the measurement of the overhang on all four sides. You’ll refer to these measurements when it’s time to assemble.
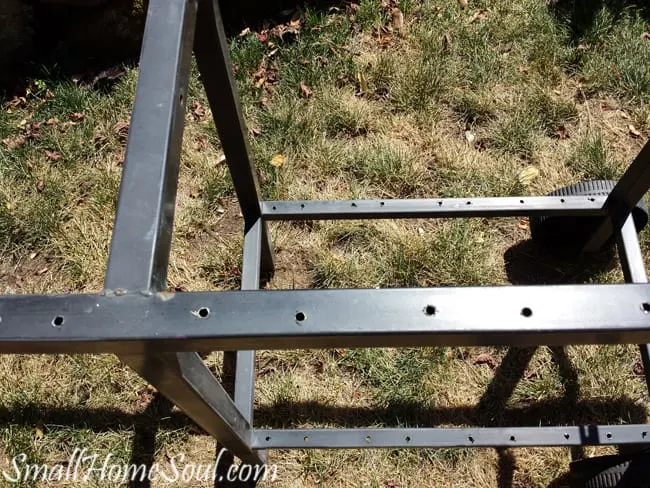
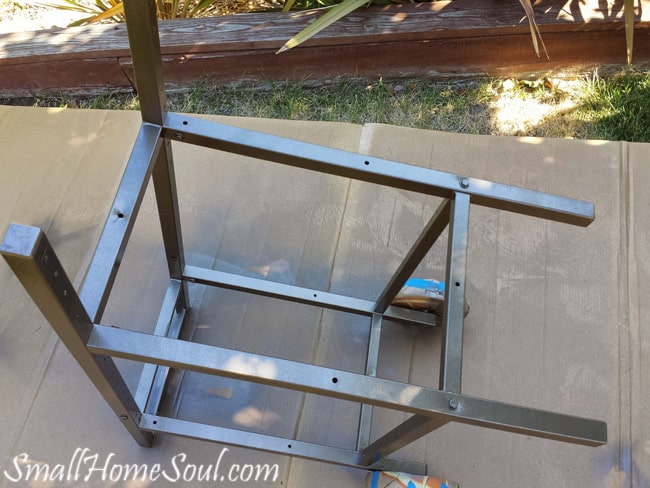
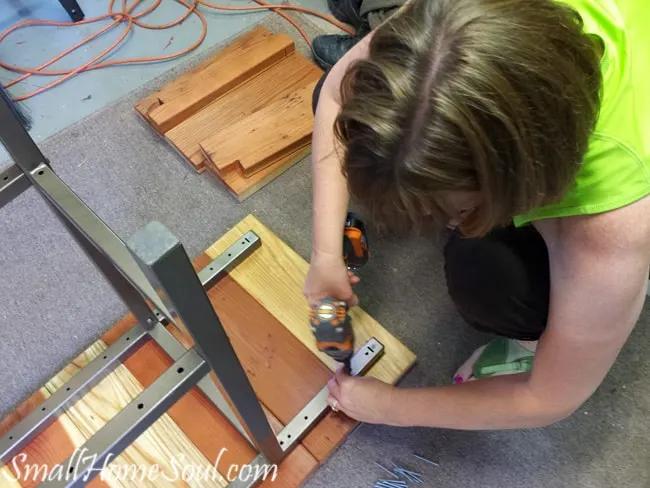
Before I painted the frame we dry fit the boards and marked the underside of the frame for two holes per board. Using two screws per board will keep the wood from cupping over time.
I turned the cart upside down on old lumber and drilled pilot holes just large enough for the screws.

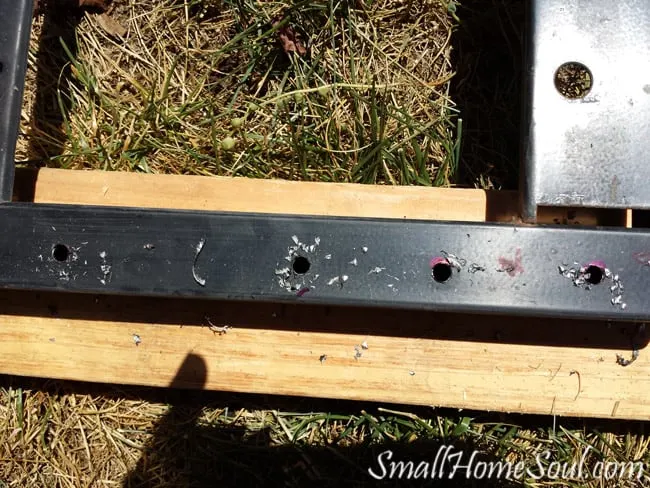

Forgive the dead grass, we were in a drought and doing our part to conserve water.
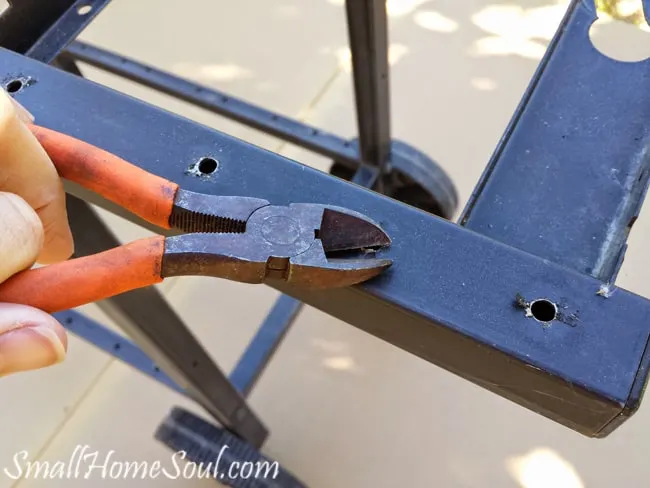
When all the holes were drilled I carefully snipped away the metal splinters. Make sure you read my tips at the end of the post.

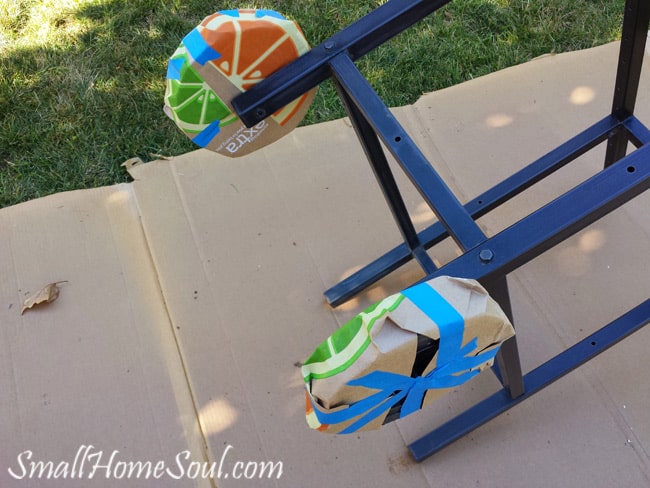
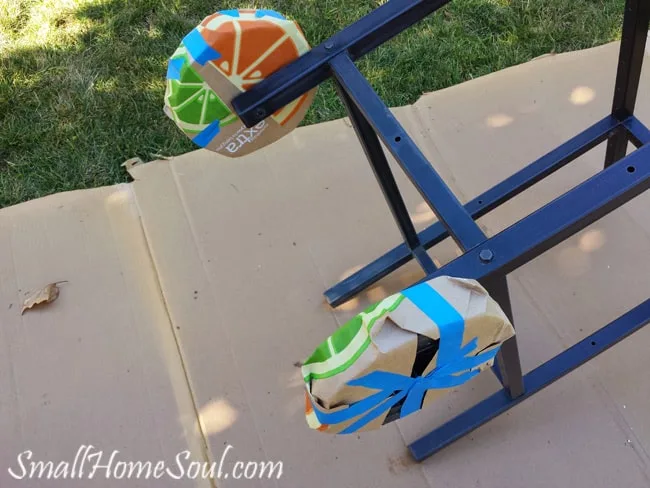
I wiped down the patio cart with old rags before I got busy painting. I covered the wheels with a square of paper with a slit on one side and secured it with painters tape.
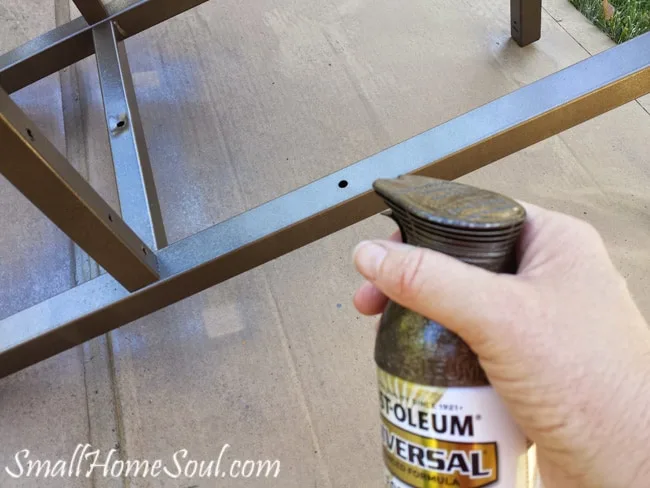
Finally time for paint.


While the paint dried I prepped the boards for the top and the lower shelf of the patio cart. I used a national brand water sealer because I like the natural color of redwood versus the weathered look. You could also use exterior paint depending on the wood you choose.

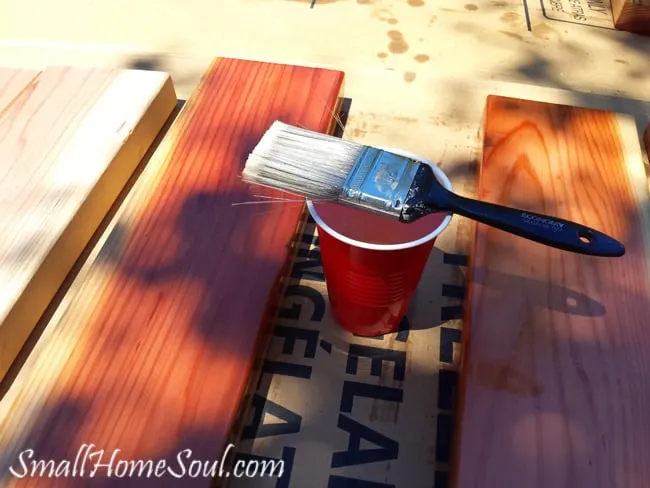
The redwood varied in appearance so once the boards were dry I put them in a pattern I liked. Heart redwood has a more uniform appearance but it’s significantly more expensive.
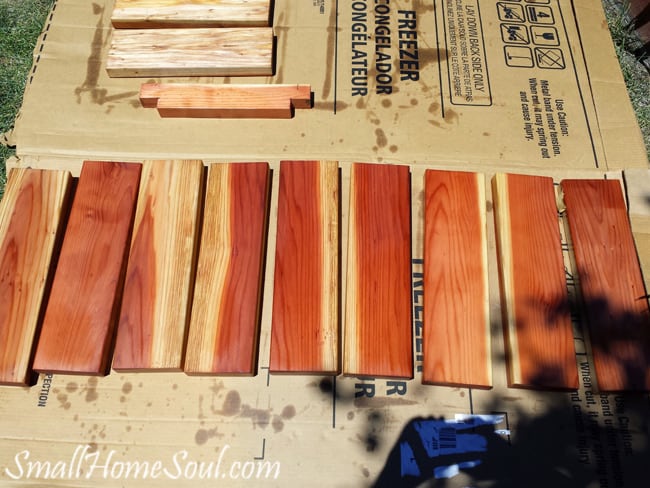

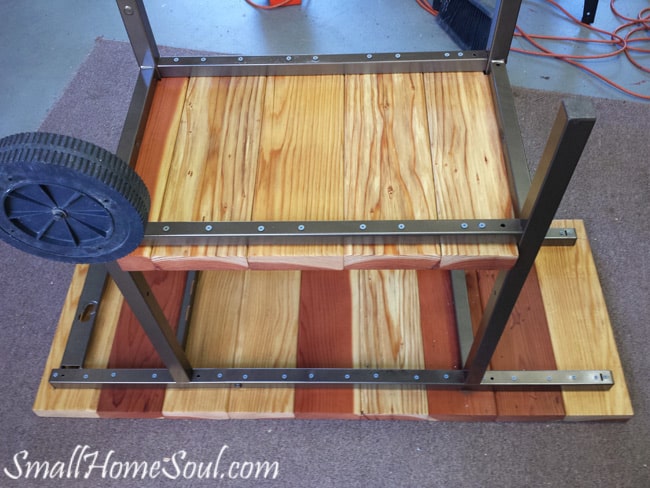
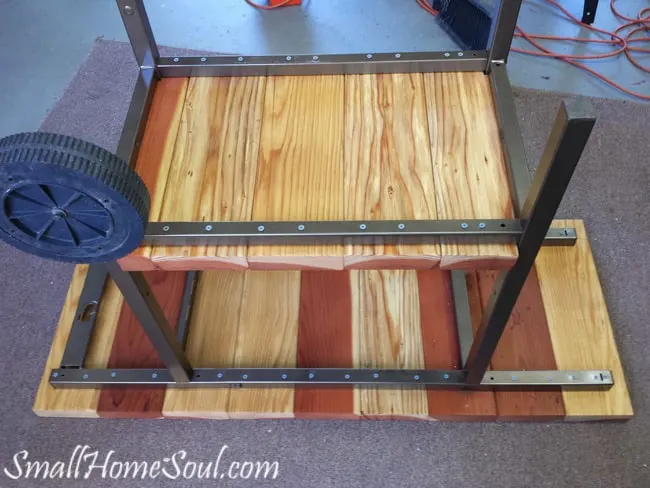
After the boards were dry I laid them out in a nice pattern and carefully turned them face down so they stayed in the right order. I used my overhang measurements to line it up and started assembling.

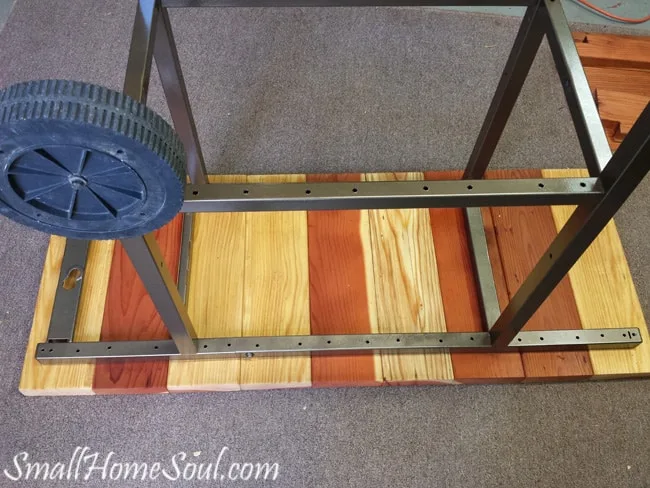

The bottom shelf was trickier to attach so my husband held the boards against the frame while I screwed them in place. Oh, he’s a brave one.
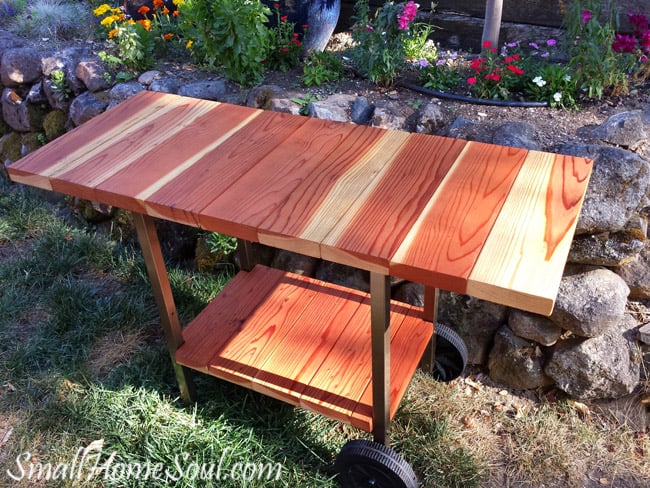
As the last step I used soap, water, and Armor All on the wheels of the patio cart to make them look as good as new.
Here’s our new patio cart. It might not be able to cook a burger but it’s ready to help serve them to hungry guests at our next BBQ. We can wheel it wherever we want and it also works great as a drink station 🙂
Tips for Making a Patio Cart:
- Don’t drill through metal over the lawn. We have dogs and I spent way too much time picking up metal shavings to keep them from getting splinters.
- When you use spray paint the key is to start spraying before the paint meets the patio cart and keep the can moving.
- Apply a few light coats of paint to avoid drips.
Pin it for later. If you want more patio ideas please follow my Yard & Garden board.
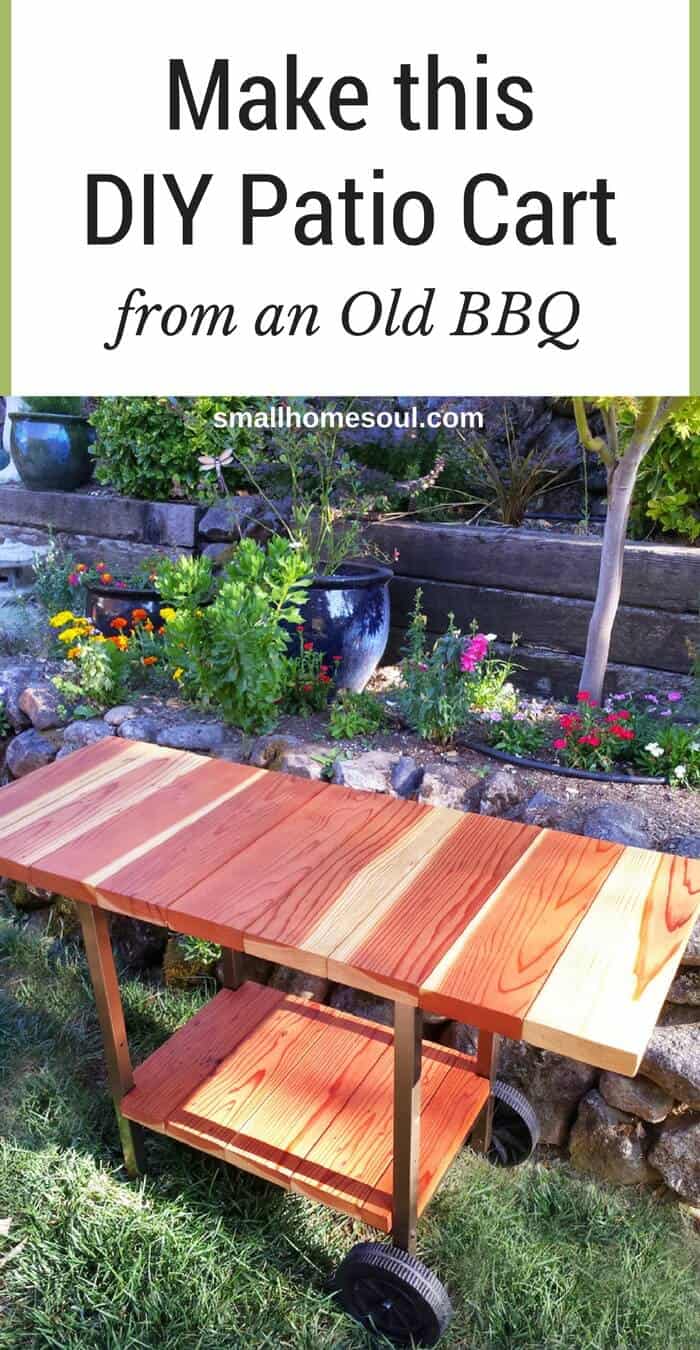
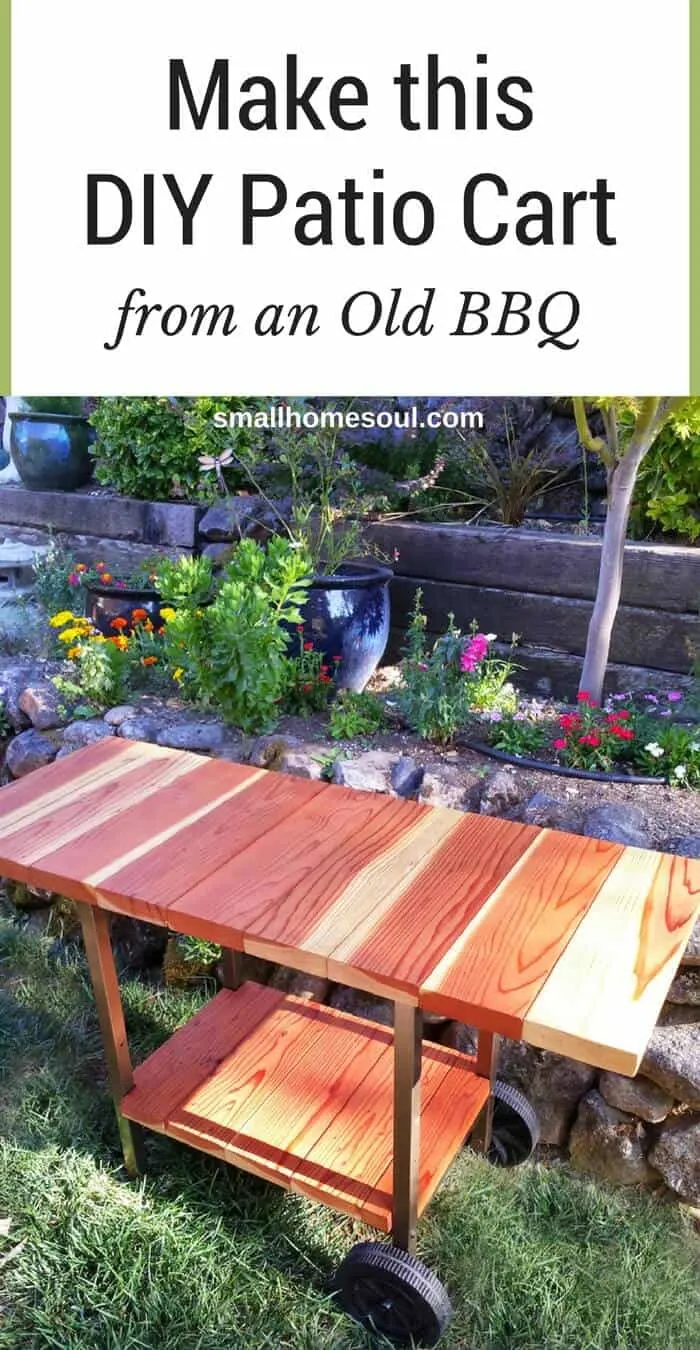
Now, who’s ready for some Summer BBQ Parties? I know I am with my new BBQ and my new Patio Cart.
Until next time!
Toni
You might also enjoy:
Amanda Kolb
Monday 15th of October 2018
We currently have our old sad grill sitting in our storage shed waiting for bulk trash pick up. I was eyeing the base when we moved it thinking I could probably do something with it and then saw your post! GREAT idea!
Toni | Girl Just DIY
Monday 15th of October 2018
Do it!!! It'll be beautiful :) There are so many ways it can be done and I've thought about giving mine a good sanding and doing some updates to it.
Arvin Tjahjadi
Saturday 25th of February 2017
Hi Toni may I ask what kind of water sealer are you using for redwood boards? I'm using a similar project with my weber grill cart. I painted the frame and cut the redwood boards but mistakenly used a wood preservative instead :(
Toni | Girl Just DIY
Monday 15th of October 2018
Oh I'm so sorry that I am just now seeing your comment with the question. I feel horrible because I try to answer or reply to every comment. We originally used Thompson's water sealer and it didn't hold up. But then again we left it out in the rain. I would probably use a semi-transparent tinted oil-based stain when I give it a facelift. I don't recall the brand we used on our fencing but we purchased it at Lowe's.
Pamela List
Monday 20th of June 2016
What a neat cart. I love that it has multi=shades of wood. It give it a rustic but clean look.
Thanks for sharing .
Toni Harvey
Monday 20th of June 2016
Hi Pamela, thanks so much, I love redwood and the various tones it has :)
Susanne
Saturday 18th of June 2016
I love the wood you used for your cart! What a great way to repurpose!!
Toni Harvey
Saturday 18th of June 2016
Thanks Susanne, I really love redwood in it's natural color. I need to give it a little refresh after a few winters outside and I have a plan for putting our initial on the top with a wood burner :D
Debbie
Saturday 18th of June 2016
Toni, What an incredible reuse of something we all have and typically toss in the trash after the grill has rusted out and can no longer be used. I love what you did with it. I could see making a potting cart out of it or use it as a bar cart or beverage cart. I think I could even do this!
Toni Harvey
Saturday 18th of June 2016
Debbie, you absolutely can do it! It was a little work drilling the holes through the metal but other than that it was pretty easy. I'm so happy with it, and yes you can use it for just about anything, a potting cart would be a great idea.