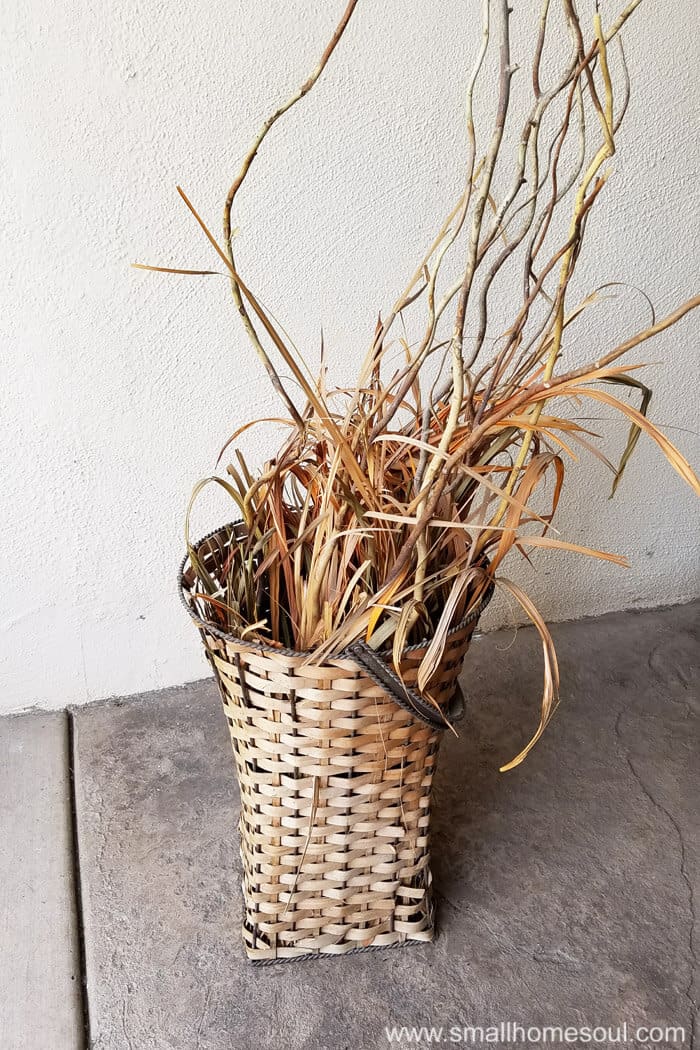
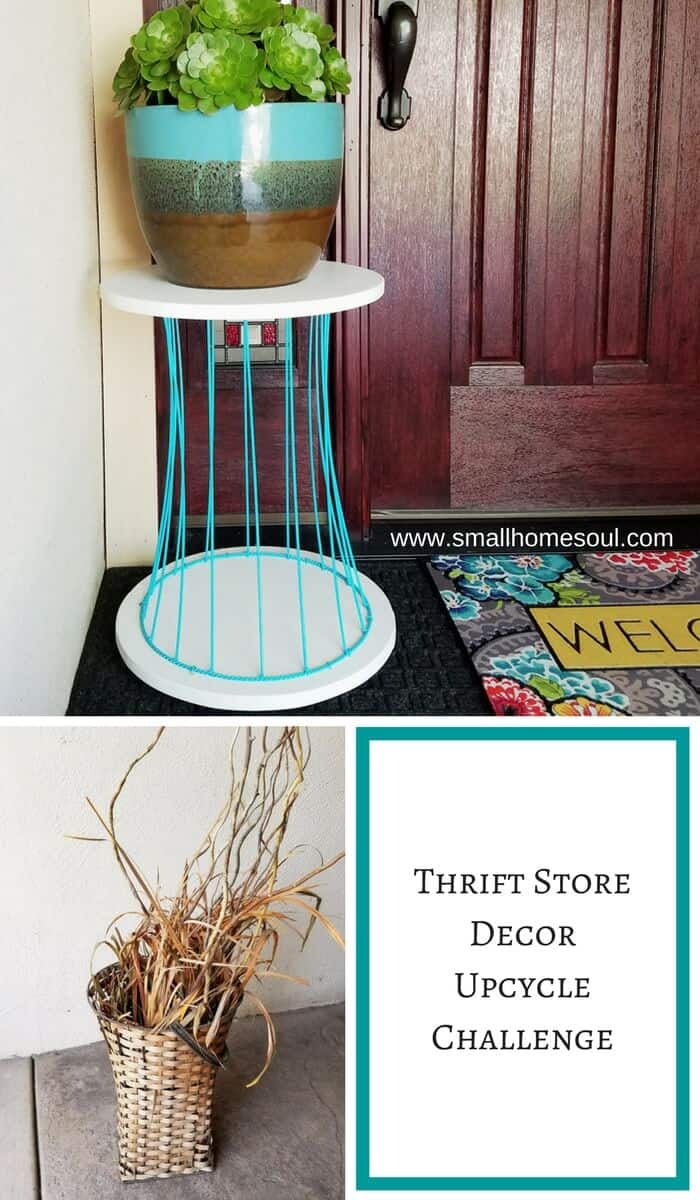
On the steps to their front door I saw this sad basket with scraggly dead stuff sticking out the top. It was destined to be an Outdoor Plant Stand, I just didn’t know it at the time.
“You’ve just made me one happy husband!” How many times have you heard that from a stranger? ? This guy was was lurking in the shadows. I didn’t see him and he startled me. He’d been sitting quietly in his lawn chair in the middle of the garage, between outdated lamps hanging from the rafters and even more outdated and very large pictures.
He was there with his little dog manning the garage sale. But why was I making him such a happy husband?
A quick scan of the garage sale driveway and I could see they had all kinds of stuff and he was helping his wife get rid of it all.
I wasn’t looking for anything particular but I’d started participating in a monthly Thrift Store Decor Upcycle Challenge so I was looking for stuff to makeover. It’s a fun challenge and people get so creative so be sure to check out all my blogging friends’ projects at the bottom of this post. They always have such great stuff to inspire you!
When I picked it up it was so crunchy my fingers went through the sides. I wasn’t completely sure what I was going to do with it but said I’d take it. That’s when he told me I just made him a happy husband. My quick reply….. “well, at least I made one husband happy today.” 🙂

He got a good laugh and so did my husband when I told him the story. If he saw the original basket he might have thought I was crazy (er).
Making Something from Nothing
I rushed home and pulled out all the dead stuff and the reeds that made up the sides so it just looked like an empty basket when my hubby got home. He was still pretty unimpressed, but just wait….


This post contains links to products, if you purchase something after clicking on my link I may
earn a small commission (at no extra cost to you).
Outdoor Plant Stand Supplies
- Basket
- Plywood or 15″ Pine Rounds
- Paint Spray Shelter
- Saw Horses or a short table
- Two 12″ Clamps
- Hacksaw or Rotary Cutting Tool
- Jigsaw
- Palm Sander and Sanding Sponges
- Metal Rasp
- Rustoleum Spray Paint in Glossy Seaside
- Needle Nose Pliers
- Poultry Fencing Staples 3/4″
- White Paint
- Wood Knobs for Feet
- Hammer
Mulling it over for almost a week I still didn’t know what I wanted to do with it. Then it hit me, without the handle it might make a nice table for the patio. So I set out to make something awesome from something ugly.
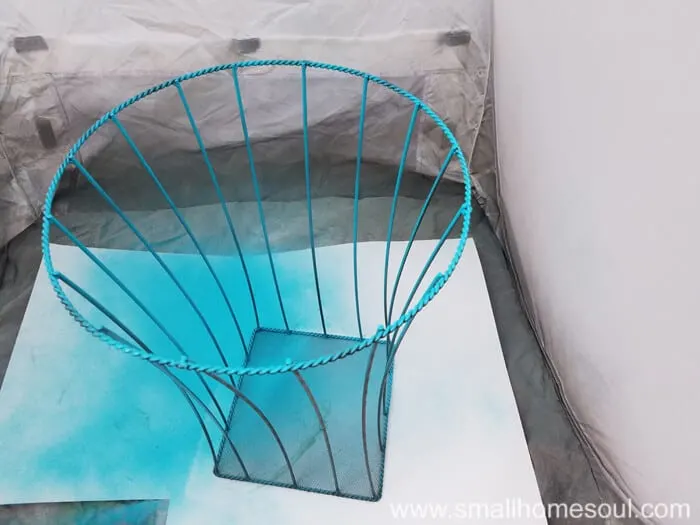
- Start by removing the handles with a hacksaw or a rotary cutting tool.
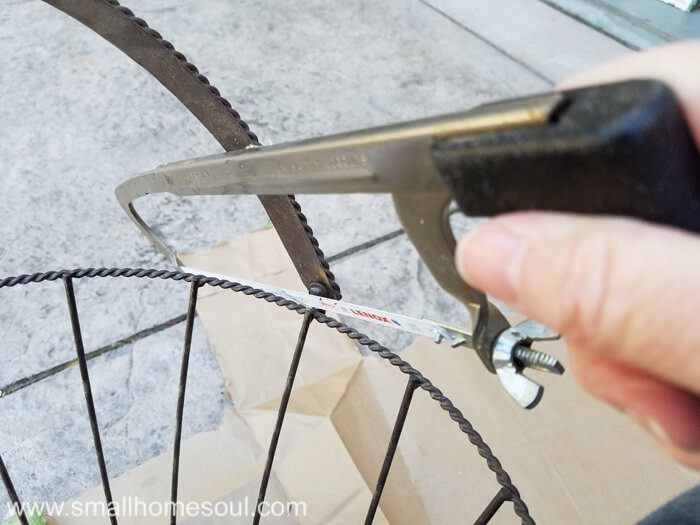

- File away any sharp metal edges using a rasp.


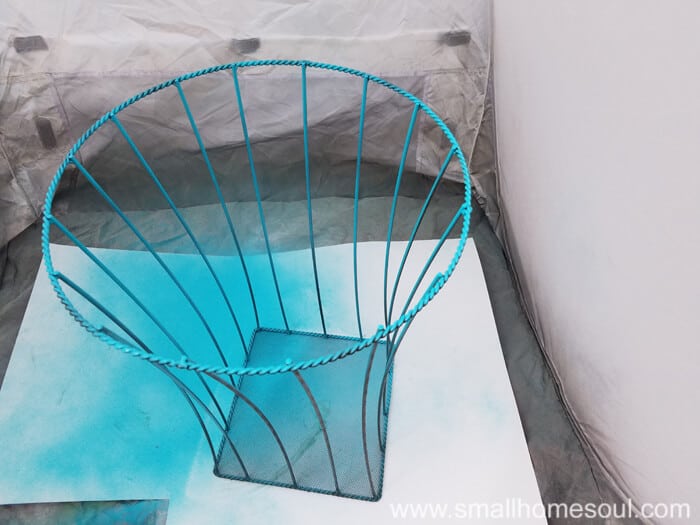
- Set up your small Small Spray Shelter and give it a coat of paint in your favorite color. I love Seaside.
- For this part you can either use two purchased 15″ pine rounds or cut your own. I opted to cut my own from two big pieces of 3/4″ clear plywood left over from our Murphy Bed project.
- Opened your saw horses and lay one board across both horses.
- Clamp the board you are cutting to the sawhorse so it doesn’t slip.
- Make your circle pattern. I traced around some pine rounds I’d bought for another project.
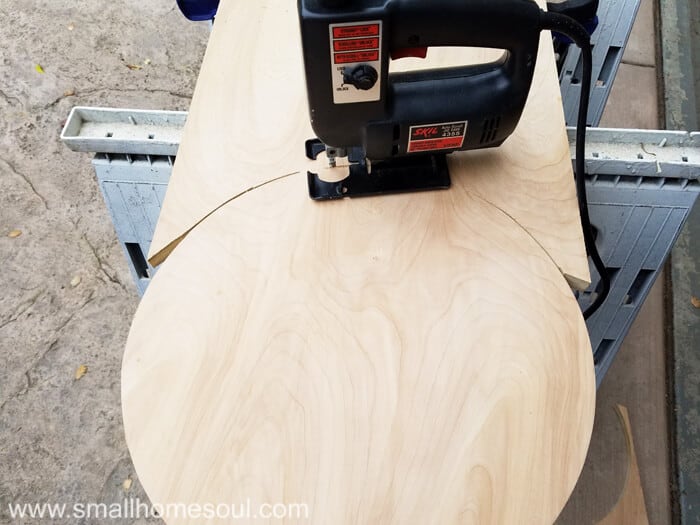
- Start cutting your circle using your Jigsaw. If you’ve used one before practice on a scrap board first.
- Starting from the end of the board and following the outline cut 1/3 around the right side then 1/3 around the left side.
- Finish by cutting the final 1/3 holding it steady with your hand.
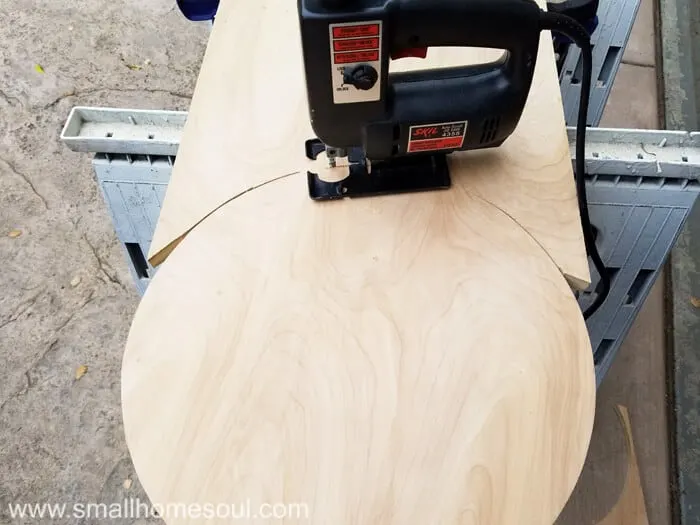
- Repeat the process for circle number two.
- When top and bottom are cut give the edges a good sanding with using the palm sander starting with 60 Grit paper, then 120, and finally 220 for a smooth finish.
- Eased the square edges with the sander and some hand sanding with a sanding block if necessary
– Other Blue Paint Projects you Might Enjoy –
Drink Coasters – Wine Cork Board – 2×4 Side Table
Honestly, next time I make this project I’ll buy pre-cut Pine Rounds. 😀
- To keep the bottom board from sitting on the ground add little feet. I started out trying to make them all perfectly even but they’ll rarely be seen so I got them close and I’m happy.


- Give your base and top a few coats of white chalky paint and it’s time to assemble the Outdoor Plant Stand. I made my own with the recipe my friend Denise at My Thrifty House uses, 4 Tbsp Plaster of Paris, 2 Tbsp water and 2 Cups Paint. You can increase or decrease the ratios as needed.
WARNING – Do not mix the Plaster of Paris and the water until you are ready to mix it into the paint. I had to run off to the hardware store (a quick trip) so I put a lid on my 1/2 pint mason jar. When I got home it was rock solid and I had to toss the jar in the trash.
Assembling your Outdoor Plant Stand
Since there were no holes for screws in the rims of the basket I had to figure out how to attach it to the board. That quick trip to the hardware store I just mentioned? I searched all over before I finally found poultry fencing staples. They’re galvanized so I needed to make them pretty.
- Lay out the fencing staples on cardboard and cover the bottom half with painters tape.
- Pick up the tape with the staples attached, turn it over and tape the other side.
- Paint side one, when dry flip it over and paint side two making sure the very top of the staple (that will show) is painted also.
Now the fun part…
- Attached the original bottom of the basket to the underside of the top board first.
- Using a ruler measure each side and make adjustments until it’s centered.
- Hammer in your first poultry staples then move to the opposite side and attach another. Follow this pattern until you have two staples on each side. My basket had a square bottom that I attached to the underside of the tabletop. You might have a round basket so use at least six staples attaching a round wire basket to the wood top.
- If you can’t get your hammer through the sides of the basket you might need to use a cordless drill and screw, a staple gun, or construction adhesive to attach the basket bottom to the wood top.
Now for the bottom.
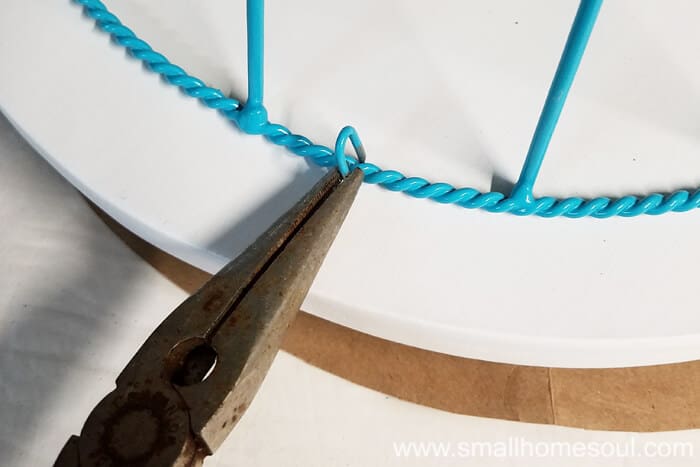
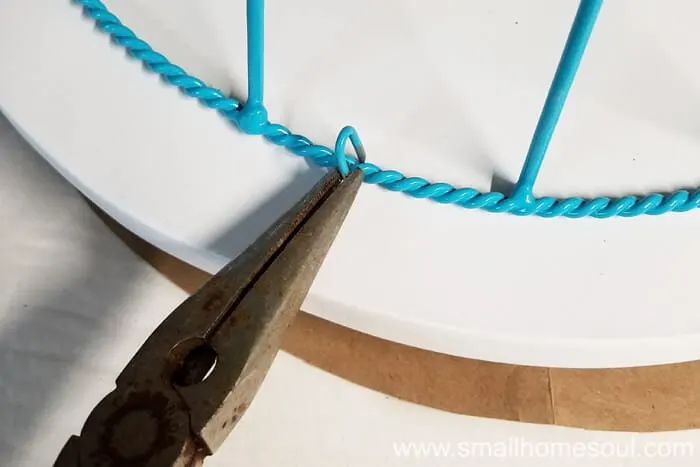
- Hold the staples in place with needle-nose pliers and hammer in the staples.
- If the staples are fatter at the bottom squeeze them together with the pliers so they fit more snugly around the wire.
The Rustoleum paint held up fantastic even with all that hammering it took. If a few needed a little touch up spray some paint onto a paper plate and used a gloved finger to dab over any cracked spots.
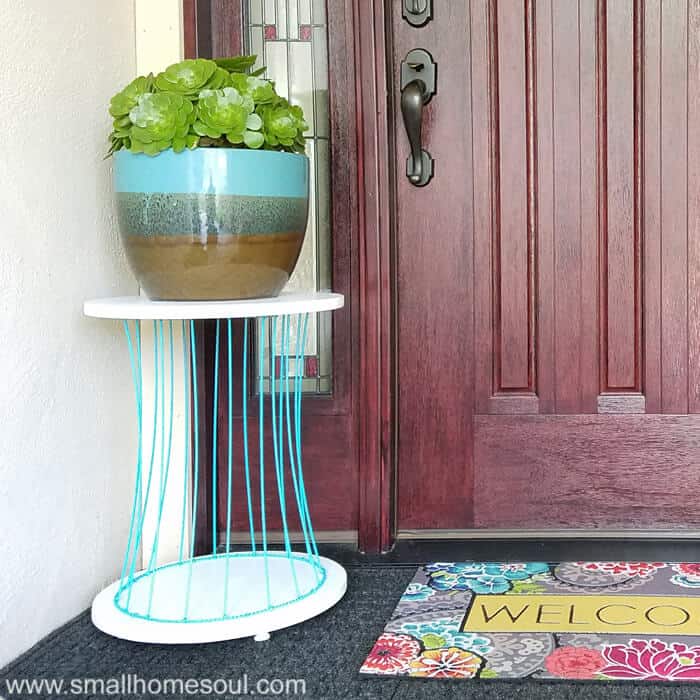
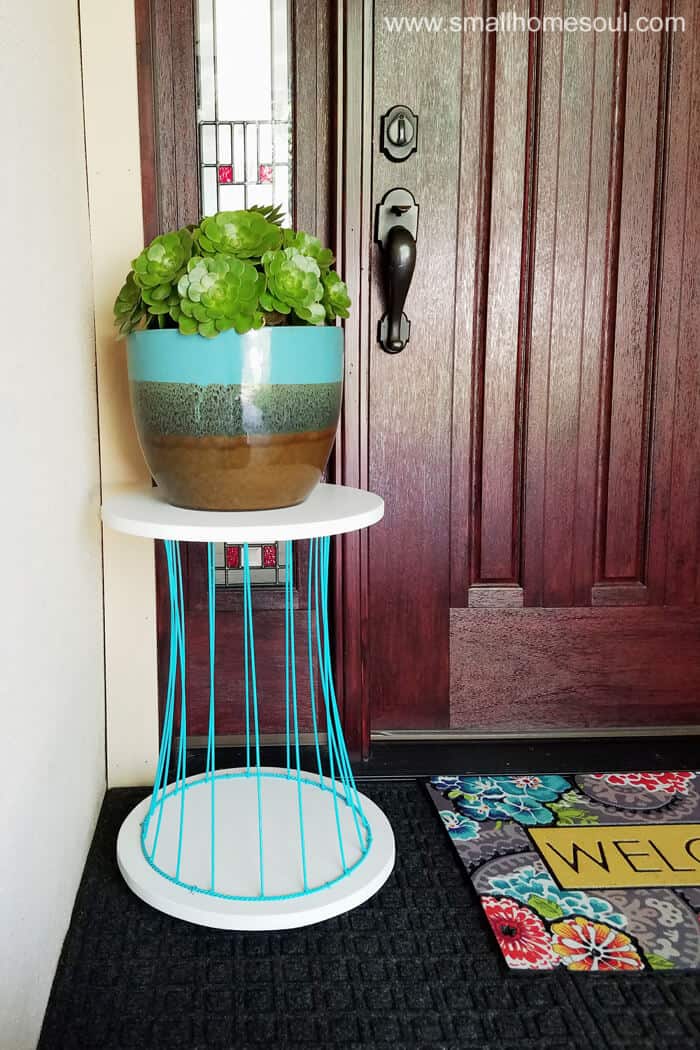
FINISHED!!
Originally I thought about using this as a side table on my patio.
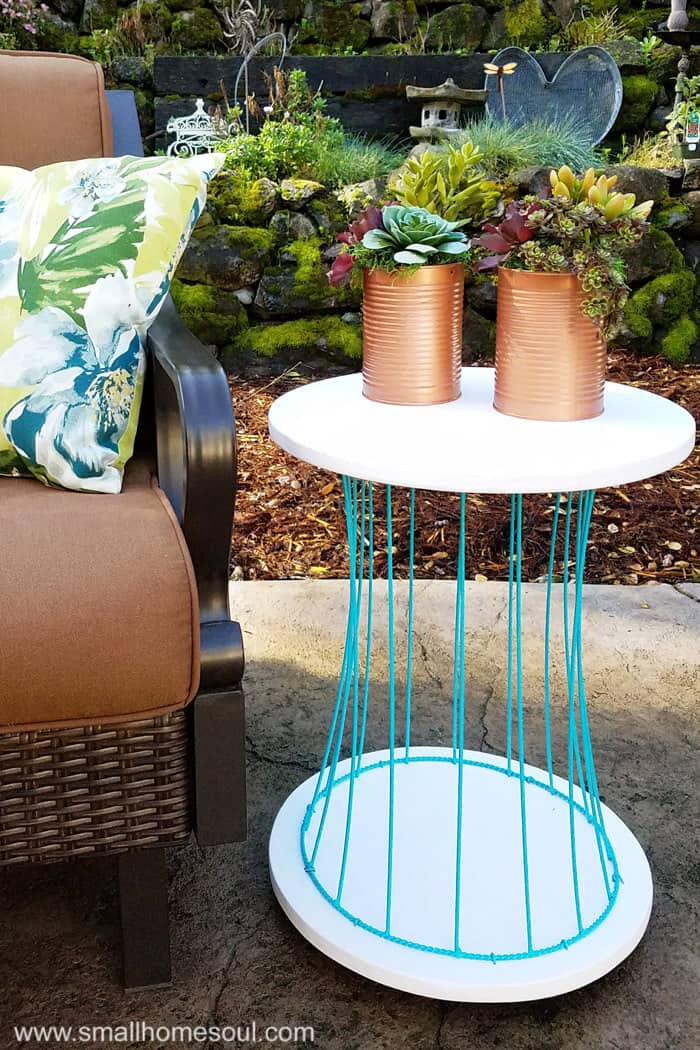

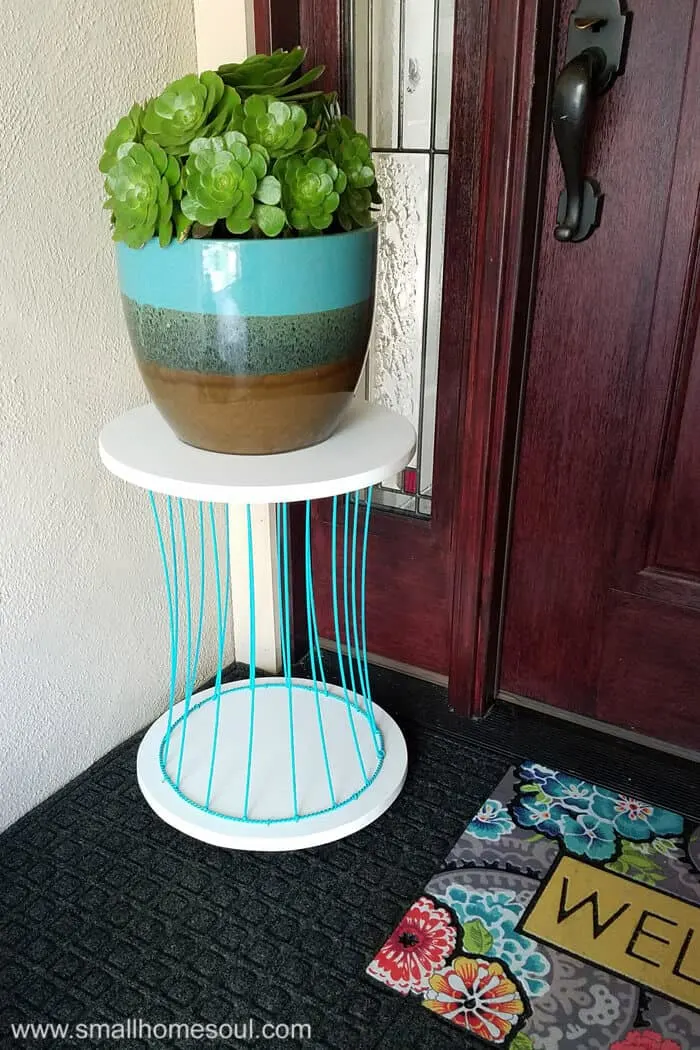
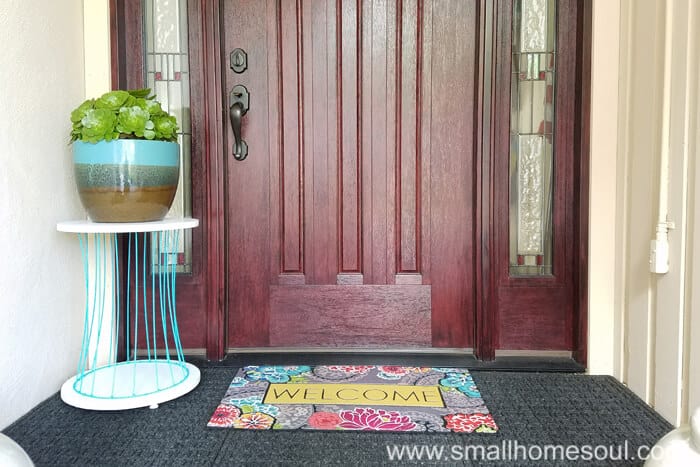
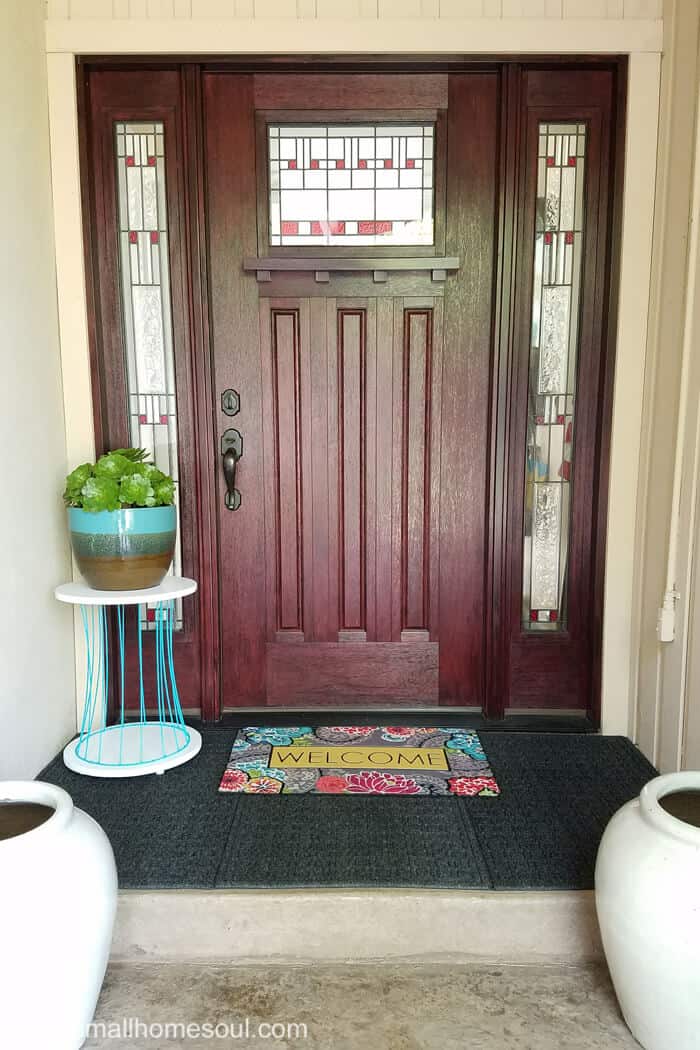
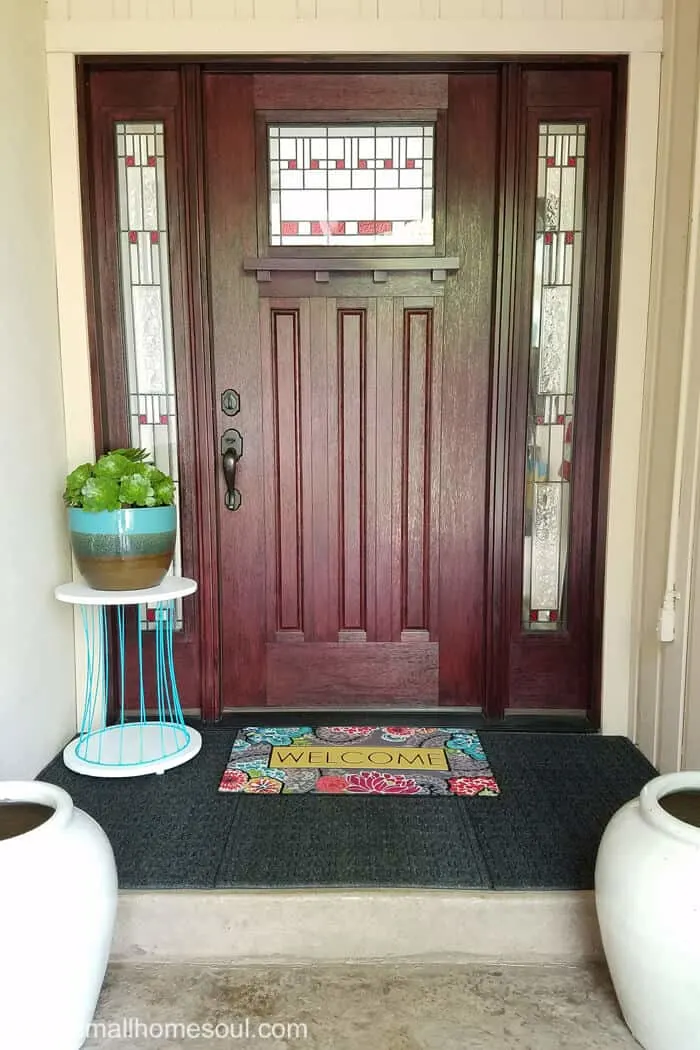
With this basket the varying angles of wires creates an optical illusion looking through it and made it appear to lean. Figuring I had to find a place for this pretty table I carried it out front and it found its new home as an outdoor plant stand on my front porch.
I was in the process of making over our front porch and just by chance the Glossy Seaside looks really great with the new door mat and flower pots.

Pin it for later!!


What I told that man at the garage sale that day was wrong. When my hubby comes home from work tonight and sees how awesome this looks he’ll be the happy husband 😀


Thrift Store Challenge Rules:
- Upcycle an item(s) from a thrift store, resale store, or garage sale into a new piece of decor.
- There’s no monthly theme.
- There’s no budget to stick to.
Meet the Hosts
Amanda | The Kolb Corner Erlene | My Pinterventures
Kim | Made in a Day Dru | Polka Dot Poplars
Maureen | Red Cottage Chronicles Pili | Sweet Things
Shirley | Intelligent Domestications Debra | Shoppe No. 5
Marie | DIY Adulation Chelsea | The Johnsons Plus Dog
Jes | My DIY Envy Ann | Duct Tape and Denim
Molly | Just a Little Creativity Ashley | 3 Little Greenwoods
Kim | Farmhouse Made Victoria | Dazzle While Frazzled
Sara | Twelve on Main Chelc | Inside the Fox Den
Sue | A Purdy Little House Michelle | Our Crafty Mom
Sherry | Savvy Apron Jennifer and Vicki | 2 Bees in a Pod
Lora | Craftivity Designs Ali | Home Crafts By Ali
Denise | My Thrifty House Colleen | Life on Kaydeross Creek
Toni | Girl, Just DIY! Jeanie | Create & Babble
Jeannee | Shepherds and Chardonnay Michelle | Michelle James Designs Medina | Grillo Designs Karen | Dragonfly & Lily Pads
Make sure you follow our board on Pinterest for more
upcycled decor inspiration!
Tonya in California
Saturday 13th of May 2017
Hi Toni. Loved how you repurposed the basket. I look at just about everything in terms of a potential plant stand. What you did is another great idea I can tuck away for reference when I too run across that fun find. Love that you share and educate the rest of us.
Toni Harvey
Monday 15th of May 2017
Thank you Tonya, I'm so happy that you liked my project. There are so many great repurpose ideas for stuff we can get cheaply at a garage sale or thrift store.
Carol ("Mimi")
Wednesday 29th of March 2017
This is a fantastic upcycle! It's amazing what you did with that old, worn-out basket. You had such creative foresight. Nice job!
Carolann
Wednesday 29th of March 2017
That turned out beautiful! What a great idea. I love the color too!
Sam - Raggedy Bits
Tuesday 28th of March 2017
Great repurpose Toni! Love all the colour you chose! Looks right at home there on your porch.
Toni Harvey
Tuesday 28th of March 2017
Thank you Sam, I love that color too!
Amanda at The Kolb Corner
Tuesday 28th of March 2017
Wow! How cool! I would have never in a million years came up with the idea to turn that basket into such a beautiful piece of furniture! Great job!
Toni Harvey
Tuesday 28th of March 2017
Thanks Amanda, it was fun to transform it and hard to believe what it used to be.