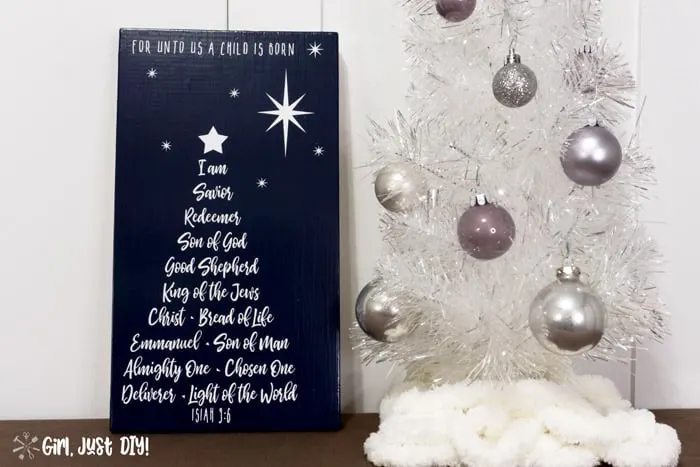
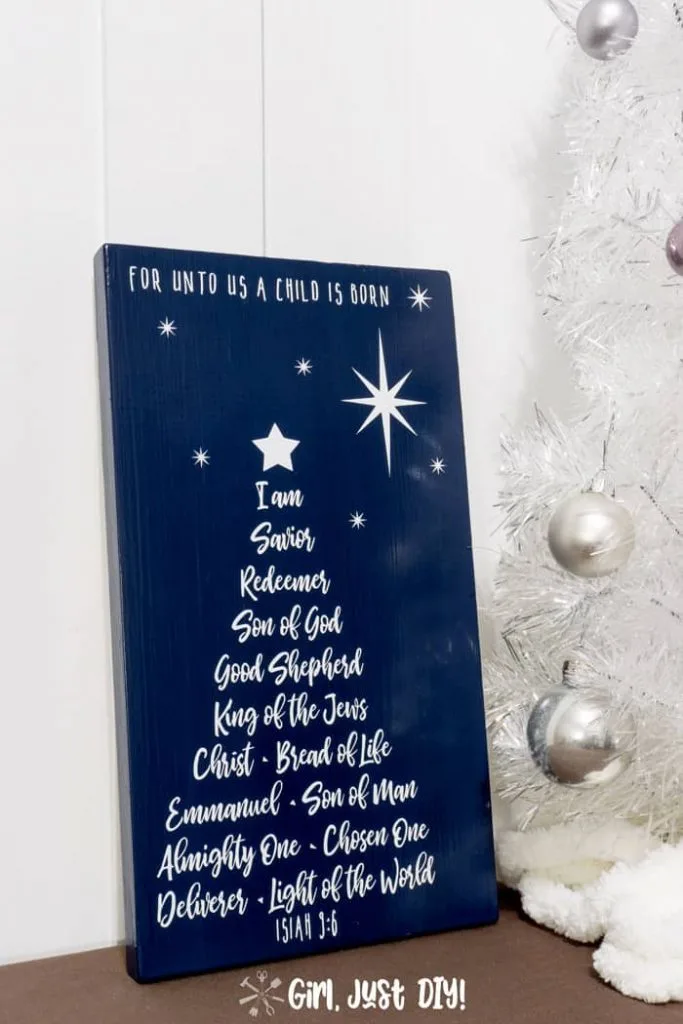
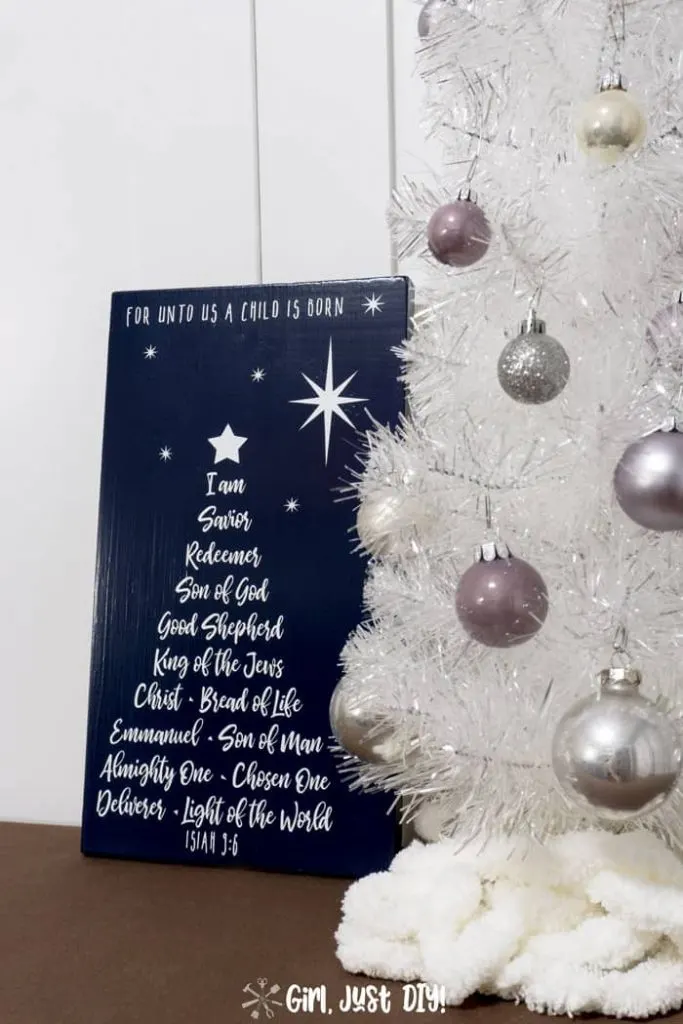
Woot woot friends, we’re back already for another week of Deck the Home. This week our challenge was to make a wood sign. So I’m sharing how I made this cool DIY Christmas Tree Word Art Sign.

I know last week I sort of made a sign too, but those are tiny so I think of them more as decor.
Whatever you call them I’m loving all this new Christmas Decor I’ve been making. And I really love this project.
There are a lot of songs and sayings put into the shape of Christmas Trees but I did a little twist and used some of the many names for Jesus. He has so many, and it’s Christmas and for me Christmas is all about Him.
This is my little dedication to the One I celebrate this time of year.
This page contains links to products, if you purchase something after clicking on my link I may earn a small commission (at no extra cost to you). You can read about affiliate links here.
Christmas Tree Word Art Supplies
- 1″x8″ Pine Board cut to 13″ (or these pre-cut options)
- Cricut Cutting Machine (or Silhouette Cameo)
- Cricut Tool Set (for weeding tool and spatula)
- White Vinyl
- Grid Transfer Tape
- Dark Blue Craft Paint
- Sanding Sponge
- Clear Top Coat (optional)
- Foam or Craft Paint Brushes
How to Make a Christmas Word Art Sign
First you need to decide what you want to be in your word art. I already mentioned I’m using Jesus’ names. But you can follow these same directions for any set of words you choose.
If you’d like to recreate my Christmas Tree word art I’ve provided a link where you can download the SVG file. This way you can make it with your Cricut or Silhouette.
It’s sized around 10″ x 15″ but you can easily resize it up or down as needed. And you can cut away and move the North Star and other stars to your liking.
Step 1: Cut and paint your board
If you don’t have any scrap wood lying around you can find some options online that might work well. Like this one in a similar size or these other size options.
- Give your board a good sanding with a sanding sponge and wipe with a damp cloth.
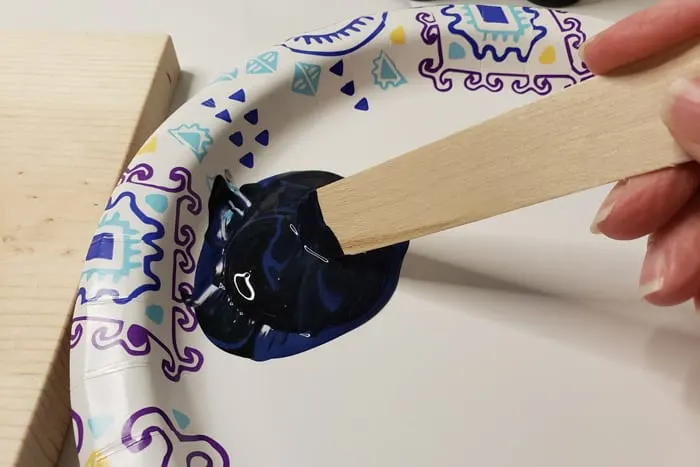
- I wanted mine to be dark blue like the night sky. I didn’t have the right shade of paint so I had to mix some with a little black.
- These jumbo sticks work perfectly for mixing up small amounts of paint.
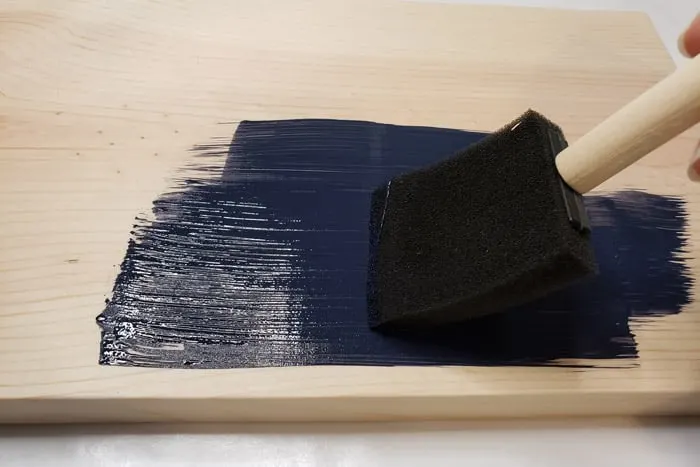
My painted board turned out too chalky because my black craft paint was matte. So I gave the board a few coats of clear coat.
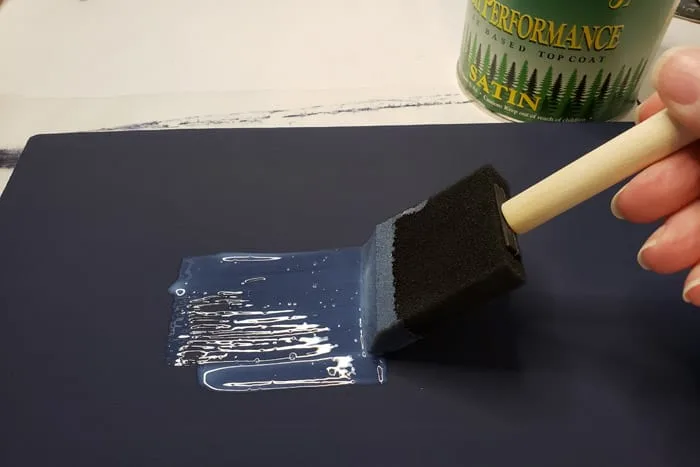
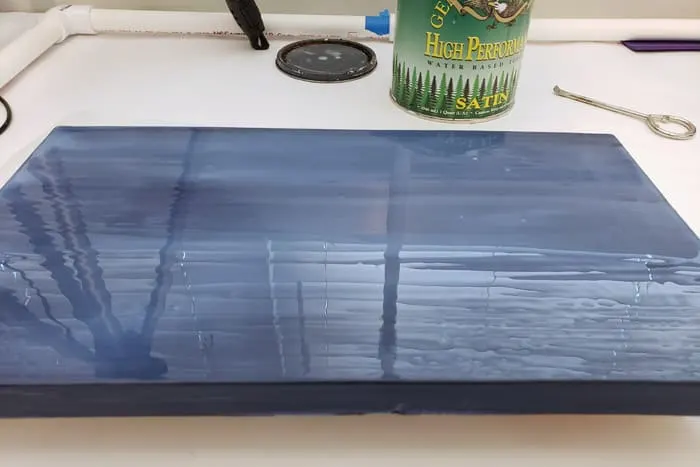
Let the clear coat dry fully.
Step 2: Design your Word Art Christmas Tree
I’m going to work on getting mine into an SVG file so I can share it with anyone who would like to use it themselves. If you’re making your own Word Art just play with word spacing and font sizes to get your lines graduating in width.
- In Cricut Design Space create your word art. You can create it in Photoshop or some similar application as well. Then save them as a JPG and upload them into Design Space.
Step 3: Cut and Weed your Word Art
- To get them to cut exactly as laid out click and drag the mouse over all components then click “attach” in the lower right corner and proceed through the cutting steps
- Put your vinyl on the 12″ cutting mat and feed it into the Cricut then press the flashing C when ready to cut.
When it’s done cutting you’ll want to weed the centers from any letters like e, d, b, etc. You’ll need a good light to see them all.
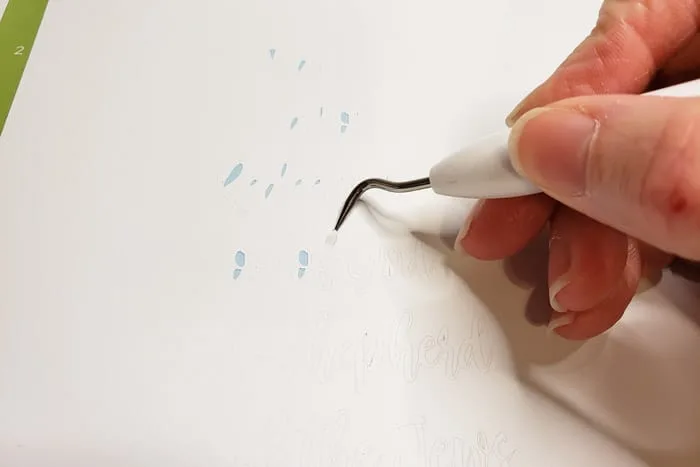
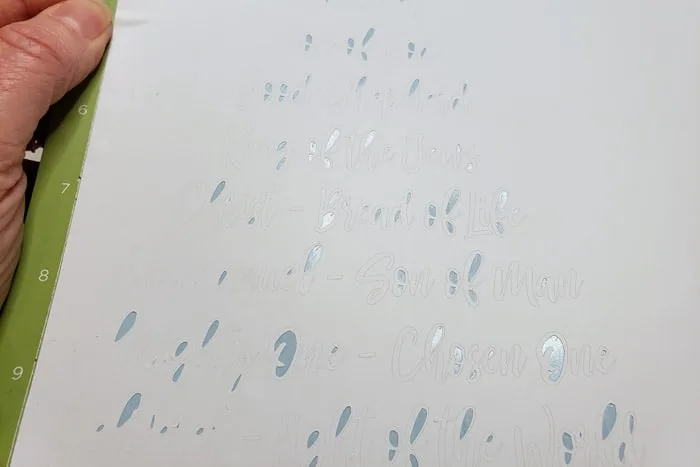
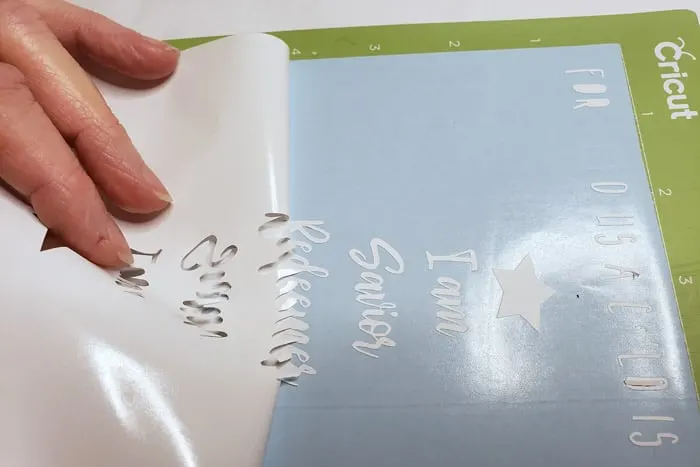
- After you’ve weeded from all the letters start at the corner and pull sharply but slowly. You want to leave the cut letters on the backing but pull away all the excess.
- Be careful and use the weeding tool to hold down the tops of any letters what to lift up.
Finishing your DIY Christmas Word Art Sign
Step 4: Transfer word art to board
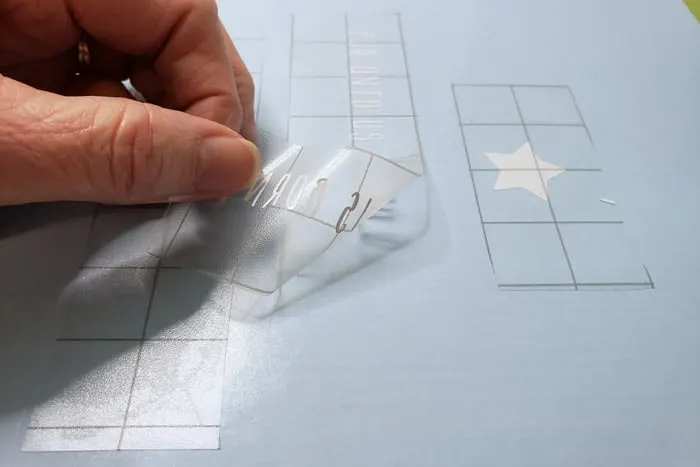
- If you had your design cut out exactly as it will go on the board cut a piece of transfer tape a little bigger than the design.
- If not cut pieces of transfer tape a little larger than the area you want to transfer. I had to redo the lettering at the top so I could not use one large piece.
- Place the transfer tape over the vinyl lettering and line up the grid with the lettering or design.
- Press it down first with your fingers then with the scraper tool.
- Lift from the corner at a sharp angle but slowly so that all the letters and designs lift up. Use the weeding tool to gently lift any letters that don’t come up and stick them to the transfer tape.
- Align the transfer tape over the board and attach from the bottom first working your way up smoothing as you go.
- Press down with the scraper tool to make sure the vinyl is completely adhered. Then gently pull back sharply but slowly on the transfer tape.
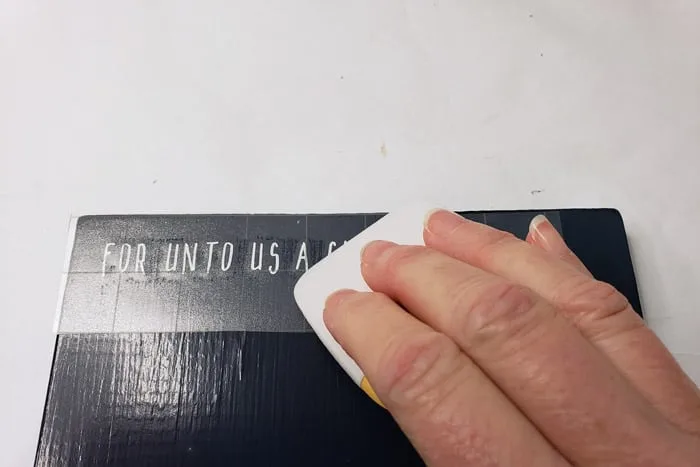
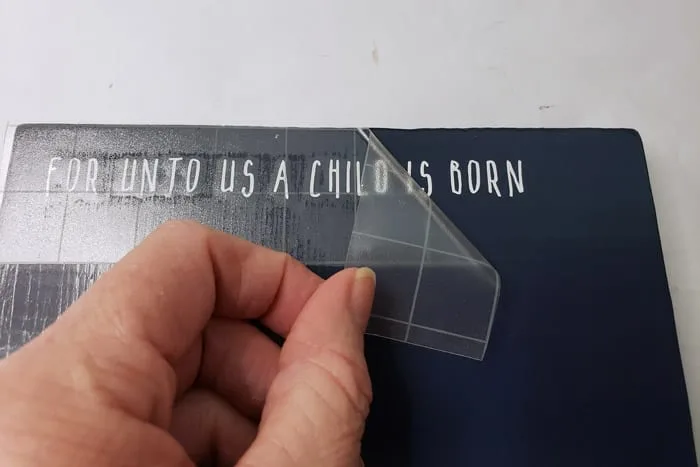
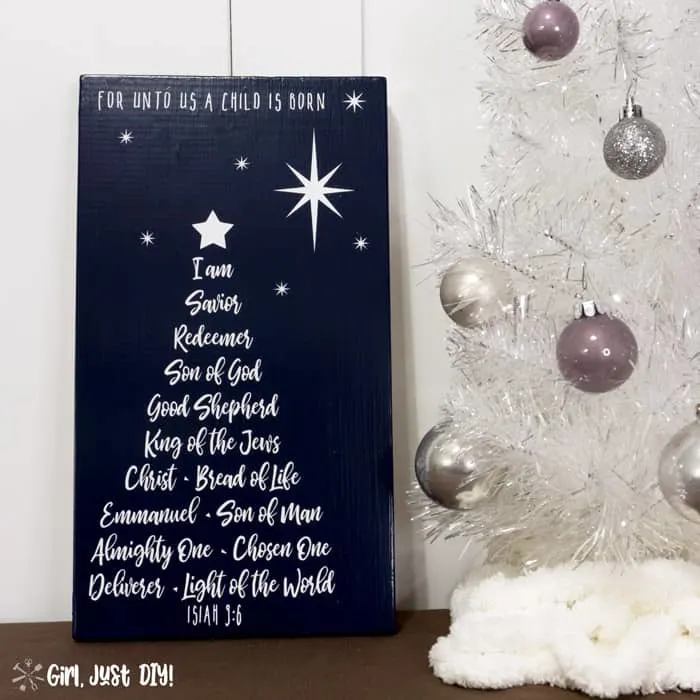
That’s it, you’re done. There are a few things I might do differently. Like fill in areas of the board that were indented. You can see them but I can. And I would probably center the tree, or move the north star more to the right.
I laid it out with paper cutouts and thought it looked good but now I wish it was centered. So I added some extra small stars which balanced it well.
But….. I found an error, did you see it? Doh, spell check didn’t catch it LOL
Now head over to the link below to see all the other great DIY Signs that my friends made!
See more Holiday Wood Sign Projects


Liz
Saturday 24th of October 2020
This is beautiful! Do you have a svg for it?
Toni
Monday 26th of October 2020
Hi Liz, I just updated the post with a link to download the SVG file :D If you make one for yourself I'd love to see a picture of it.
Judi Johnson
Tuesday 26th of November 2019
I love this tree. I hope you do a svg file, it will make it alot easier. Beautiful idea.
Toni | Girl, Just DIY!
Tuesday 10th of December 2019
I'm working on it, I almost have it finished. I'll email it to you when it's done.
Meegan
Tuesday 19th of November 2019
I will definitely be making a sign like yours for our Christmas decorating! Thanks for adding the Savior as part of your DIY sign. I love it.
Toni | Girl, Just DIY!
Wednesday 20th of November 2019
How could I not include Savior? :) It was fun to make and I'm so happy with how many people love it!
Katrin
Tuesday 19th of November 2019
This turned out absolutely beautiful Toni! I love the dark background with the white letters!!
Toni | Girl, Just DIY!
Wednesday 20th of November 2019
Thank you, I love it too and I'm so happy I took the time to mix the right shade.
Christine
Tuesday 19th of November 2019
I really love your sign!! It took me over a day to spot the error, if you hadn't mentioned it.. I would never have noticed!
And way to go with all that "weeding"! That kept you busy I'm sure. hehe
Toni | Girl, Just DIY!
Wednesday 20th of November 2019
Thank you Christine! There's something to be said for using bigger fonts.... The weeding was tough but worth it. I had to cut out little pieces for the dashes and the colon in the scripture because they either didn't cut or I lost them and didn't notice :D