Friends, I have a treat for you today. I just finished this DIY Modern End Table and it was so easy to build. I love it so much!
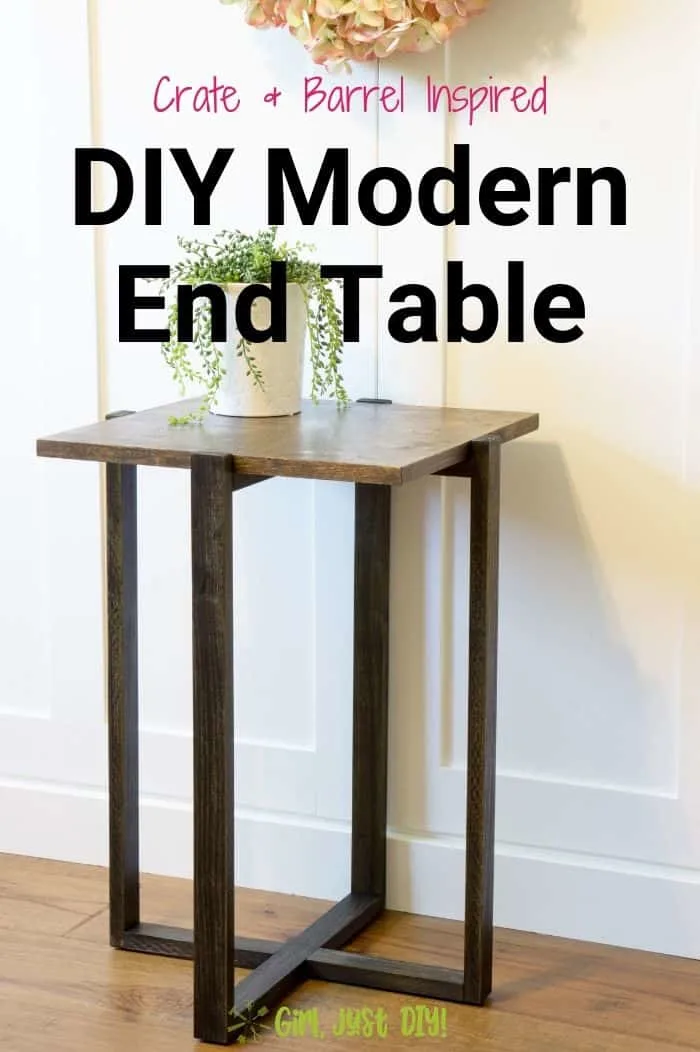
It’s the middle of the month and that means it’s time for the At Home DIY Challenge. This month our theme was “make it cheaper than you can buy it.” I love that theme and it’s pretty much the driving force behind every DIY lover. That and just a passion for making stuff.
I’ll show you how this beautiful modern end table came together, just be sure you click the link at the bottom. There you’ll see all the projects my blogging friends made cheaper than buying.
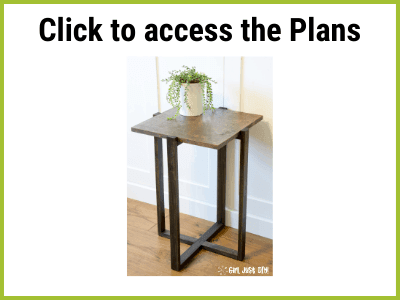
If you’d like to build one of these cuties for yourself you’ll find the link to download them at the bottom.
My project was inspired by the Crate & Barrel Lodge Side Table. Theirs sells for over $330 and mine cost less than $30 in materials. Theirs is made with a metal base and since I’m not a welder I made mine with wood.
More Woodworking Projects
2×4 Outdoor Side Table – Modern 2×4 Bench
This page contains links to products, if you purchase something after clicking on my link I may earn a small commission (at no extra cost to you). You can read about affiliate links here.
DIY Modern End Table Supplies
- 1″ x 2″ Poplar, Birch, or similar wood cut Per the Plans
- 3/4″ Finished Plywood
- Kreg Pocket Hole Jig (or similar)
- Kreg Face Clamp
- Kreg Right Angle Clamp (recommended)
- 1-1/4″ Course thread pocket hole screws
- Miter Saw
- Table Saw
- or a Circular Saw and a Rip Cut Guide
- Cordless Drill
- Tape Measure
- Edge Banding
- Edge Banding Trimmer
- Iron
- Wood Glue
- Scissors
- Pencil
- Stain or Paint
Build a DIY Modern End Table
Step 1: Cut all the 1×2 boards to length
Cut all the boards for the end table base and the top per the plans.
- Using the tape measure and pencil mark off and cut all your boards to length on the miter saw.
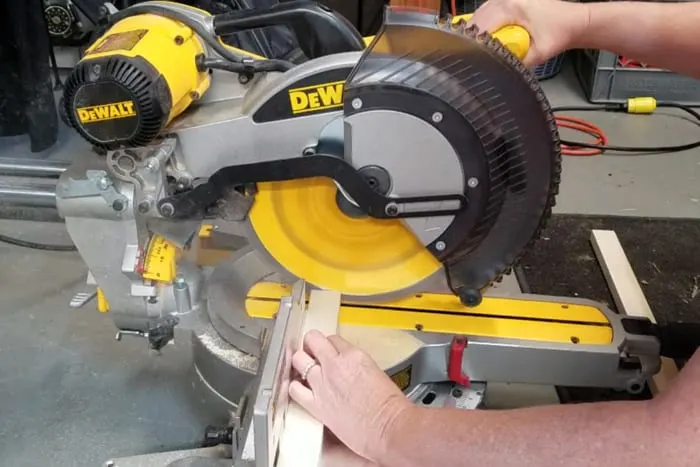
To cut identical length boards using a miter saw cut each board slightly longer than the measurement. Stack boards together and even them on one end and clamp. Then measure and trim the other ends to the proper length.
Alternatively you can set up a stop block to your exact measurement.
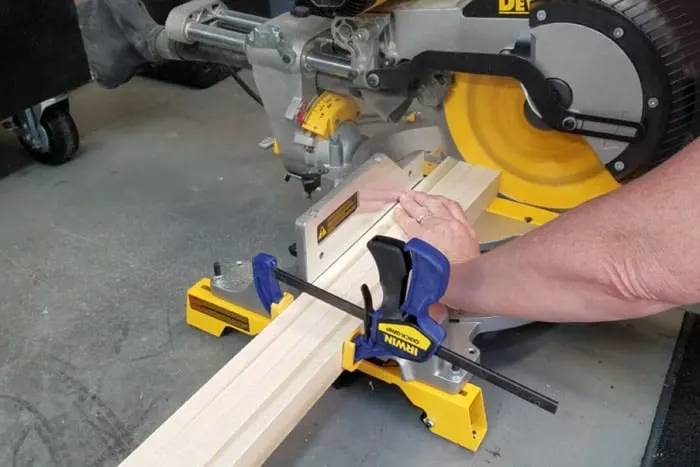
This saved me the headache of ending up with one board slightly longer than the others.
Presanding your pieces is a good idea, they’re much easier to sand before they’re joined together.
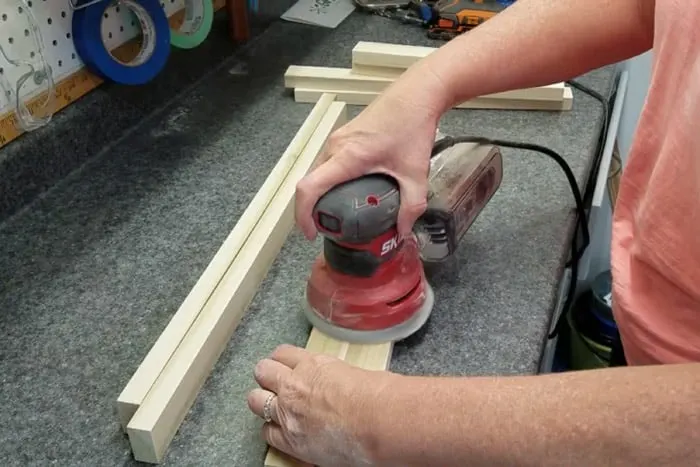
Step 2: Add pocket holes.
Add pocket holes to all but the leg boards.
- Using your cordless drill, drill two pocket holes side by side into the designated pieces per the plans.
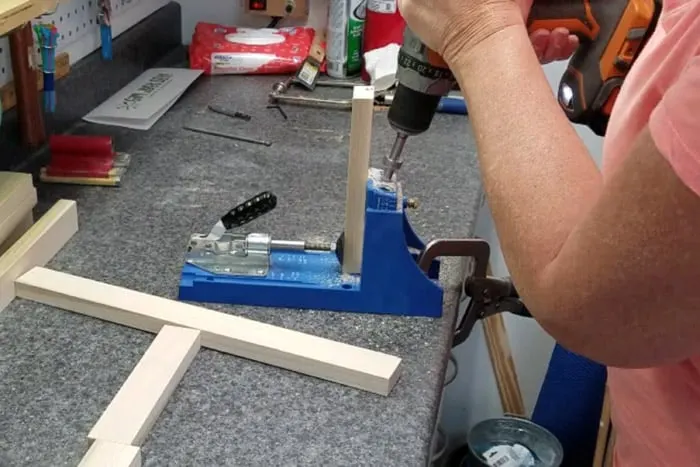
How to Assemble a Modern End Table
Step 3: Build the base and top brace of the table.
- Mark the center of the boards with a pencil as explained in the plans and illustrated below.
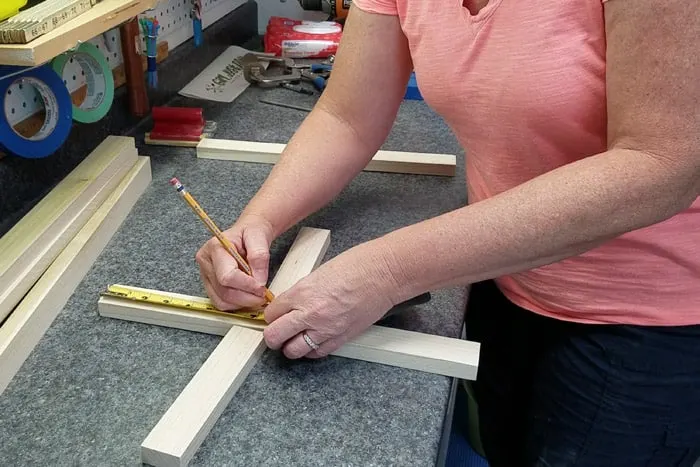
- Position two of the shorter boards at a 90 degree to one of the longer boards.
- Apply a little wood glue to the ends then line up the center marks and using the Face Clamp clamp one end to your work surface.
- Screw them together with the pocket hole screws.
- Release the clamp and do the same on the other side.
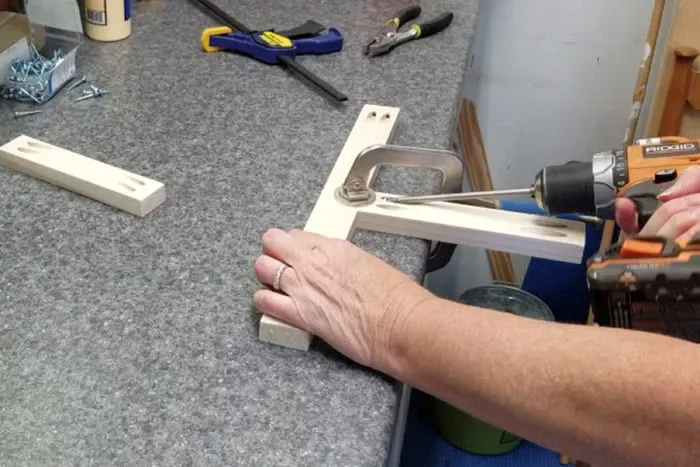
You should now have a square cross piece. This will be your table base. Follow the same steps with the remaining boards to make the top support.
Step 4: Adding the end table legs.
The first two legs are easy but it gets a little tricky after that. You really want everything to be square and line up properly for a beautiful finish and this is where the Right Angle Clamp is a life saver.
All the pocket holes are going to face the ground so keep this in mind as you’re working.
- Lay one of the legs on your work surface.
- Apply a little wood glue to the end of one “spoke” of the cross piece.
- Place it at a 90 degree to the leg, line it up and use the right angle clamp in one hole with the right angle clamp.
- Attach a pocket hole screw into the other pocket hole.
- Remove the clamp and attach the second screw.
- Continue and connect the other 3 legs to the bottom cross piece.
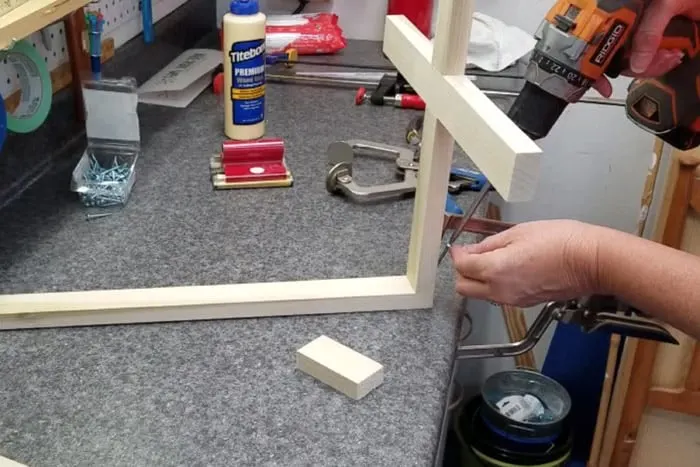
The last one is going to be very awkward. There might be a tool out there for this but I don’t have it so I improvised. I used painters tape and made a sling with it to hang one of the legs from the upper cabinet.
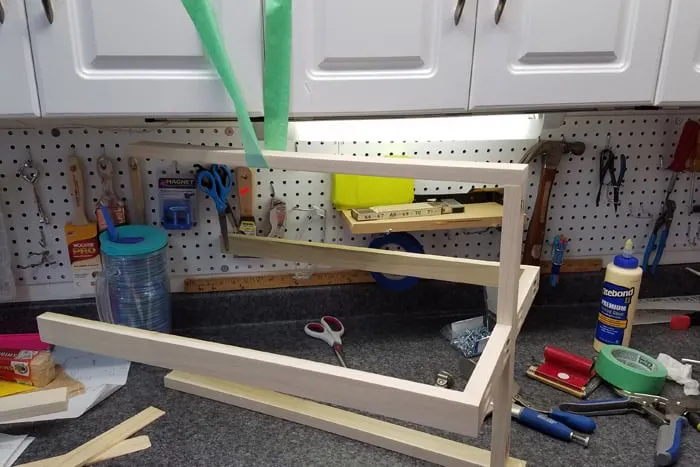
Stand the table base on the ground and make a pencil mark at the right spacing from the top of each leg to accommodate your table top. Since a 1×2 is really 3/4″ x 1-1/2″ use a piece of scrap held even with the top of the leg to make the mark.
You’ll use this as a guide when attaching the second cross piece. Return the end table base to your work surface.
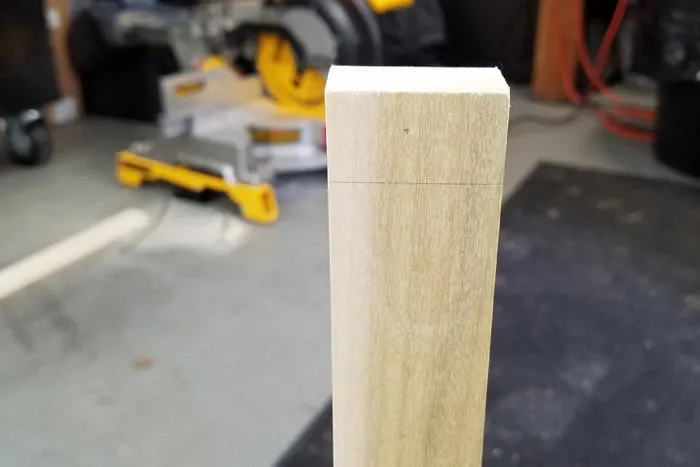
When I built mine I had the pocket holes of the top support cross section facing the floor. You can install them facing up if you wish, and if that’s easier. Once the top is installed the pocket holes won’t be visible.
- Follow the Plans and leave the proper exposure at the top of the leg when installing the upper cross section.
- Follow the same steps as above using the right angle clamp and wood glue to connect the cross section to the upper legs.
- You may need to use a small paint brush to get wood glue between the last two legs and the cross support.
You can see the completed base below. I was taking video (video coming soon) and my dumb phone ran out of space.
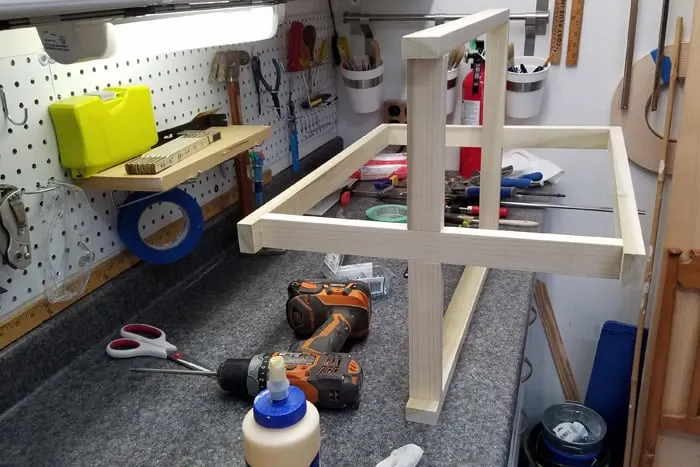
Step 5: Cut the top for the end table.
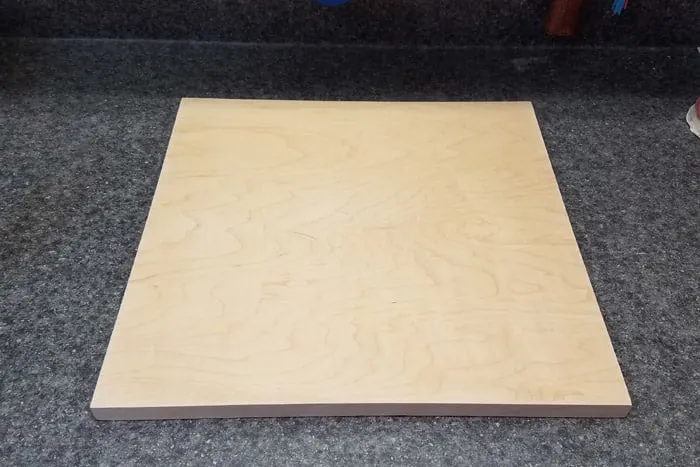
Cut your table top per the plans from 3/4″ plywood using a table saw. You can also do this with a circular saw and a Rip Cut Guide.
Measure the distance between the legs. They should the same but don’t worry if they’re slightly off. Even with my obsessive measuring one side was just slightly off.
You can leave the plywood edge exposed on your board if you want. With that option the top should be the same measurement as the distance between the legs. If you use edge banding adjust your board dimensions slightly to accommodate the extra thickness.
If you aren’t sure you can always cut your plywood and trim slightly as necessary until you get a fit you’re happy with.
Apply edge banding (if using) with a hot iron. You can check out my post for the L Shaped Desk we built for a closeup of how to use and trim edge banding.
Step 6: Paint or Stain your end table parts.
Choose your favorite stain or paint for your project. All one color or a combination. But most importantly paint or stain the top separately from the base.
I decided to go with a dark walnut stain for the top and chose varathane Ebony for the base. I was trying to mimic the look of iron. While it doesn’t look like that I still love the darker bottom compared to the top.
Let them dry fully according to the can directions.
Once both pieces are dry you can add a poly top coat or just a danish oil to protect the finish.
Step 7: Attach the top of your End Table
- Slip the top of the table onto the upper cross support.
- Attach from the bottom with a few wood screws.
- I recommend you pre-drill so you don’t risk splitting the wood.
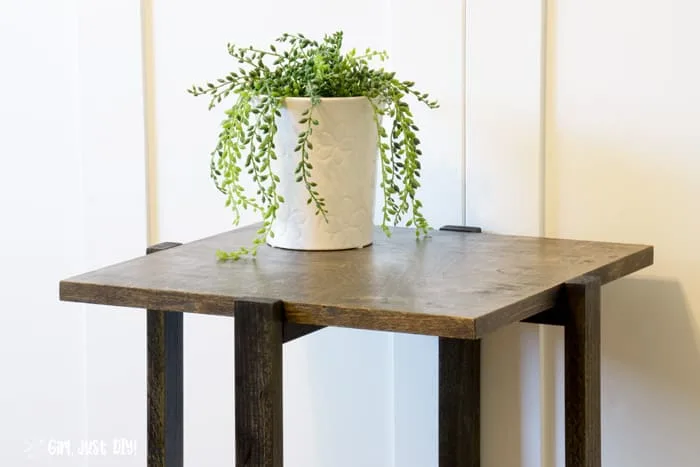
Enjoy your new end table!
That’s it, you’ve just built a beautiful DIY Modern End Table that will look good with any decor style. I’m so glad I went with the contrasting stain colors.
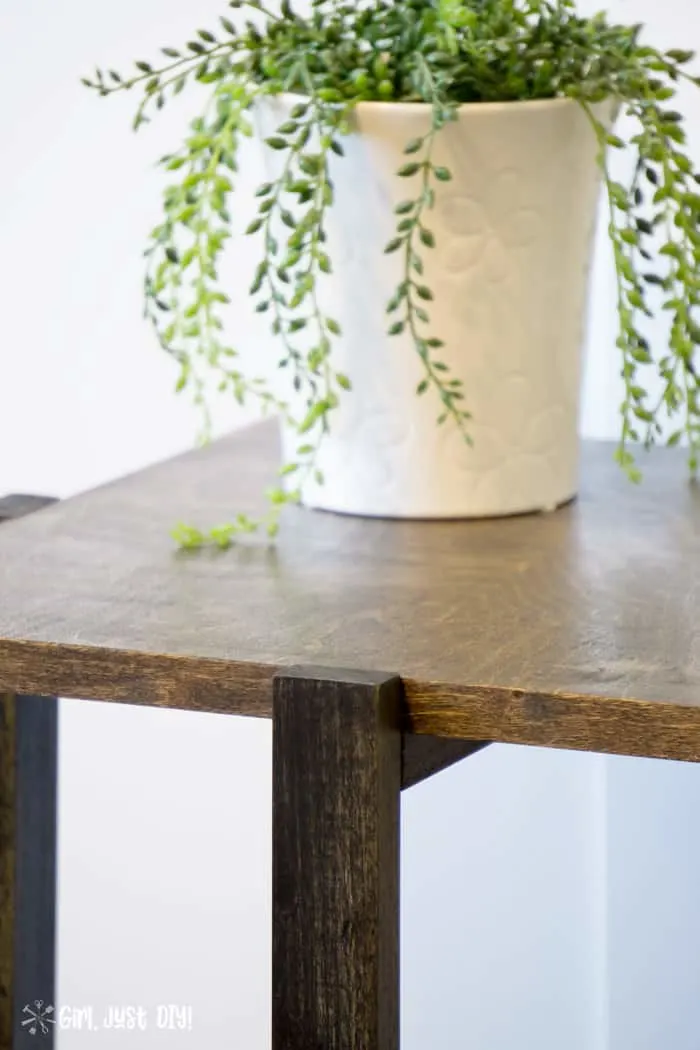
You could use this table as a night stand in a guest room or even as a plant stand.
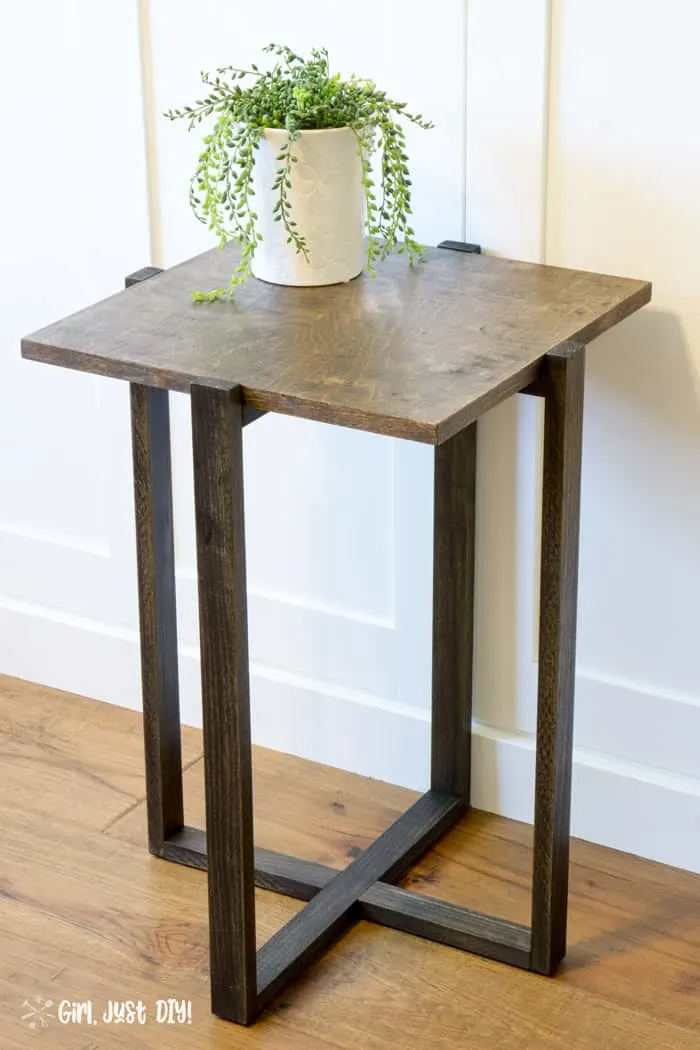
If you loved my DIY Modern End Table please share it on Pinterest or Facebook, or wherever your friends hang out.
LOVE IT!! PIN IT!!
Now click the image below to be inspired by many more creative builds!


Casey
Thursday 27th of June 2019
What a cute table and it looks like a great DIY. Thanks for sharing the tutorial!
Christine Cook
Thursday 27th of June 2019
Totally love the side table!! It's really pretty and fun!!!
Megan
Tuesday 25th of June 2019
I like how simple this end table, nice job Toni!
Toni | Girl, Just DIY!
Friday 2nd of August 2019
Thank you, now I want to make one with a little wider top as well.
Vanessa
Friday 21st of June 2019
This is a gorgeous little table. I love the clean simple look of it.
Carmen
Thursday 20th of June 2019
great job with this Toni!!