Hey friends, I’m so excited. Exhausted but excited. You see I did a marathon build session yesterday creating this fantastically simple but beautiful Modern 2×4 Bench Tutorial. Let me show you how, and I finished it in just 5 hours!
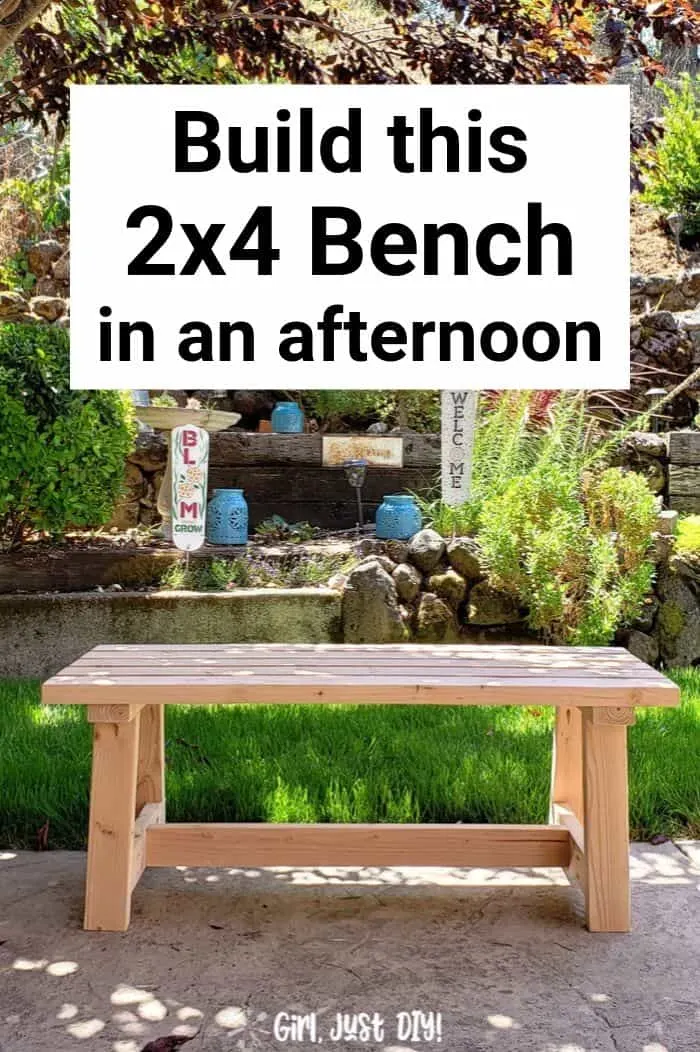
Your build will go much faster since I was basically designing as I went. But don’t worry, I’ve made the detailed Build Plans available.
A few summers ago I built my first piece of furniture by myself, a 2×4 Side Table for my patio. Since then I’ve wanted to build a bench in a similar style. Since our At Home DIY Challenge was to build something out of 2x4s I knew it was the perfect time.
This is a great beginner project that requires a few power tools. When it’s finished it will be 48″ wide, a comfortable 2 butt bench 🙂
This page contains links to products, if you purchase something after clicking on my link I may earn a small commission (at no extra cost to you). You can read about affiliate links here.
Modern 2×4 Bench Supplies
- 2x4x8 Boards Per the Plans
- Pocket Hole Jig
- Right Angle Clamp
- Miter Saw
- Table Saw (optional)
- Cordless Drill
- Exterior Soft Wood Pocket Hole Screws
- Exterior Wood Screws
- Wood Glue
- 24″ Bar Clamps
- Spackle or Wood Filler
- Palm Sander
- Sandpaper and Sanding Sponge
- Putty Knife
- Exterior Paint or Stain
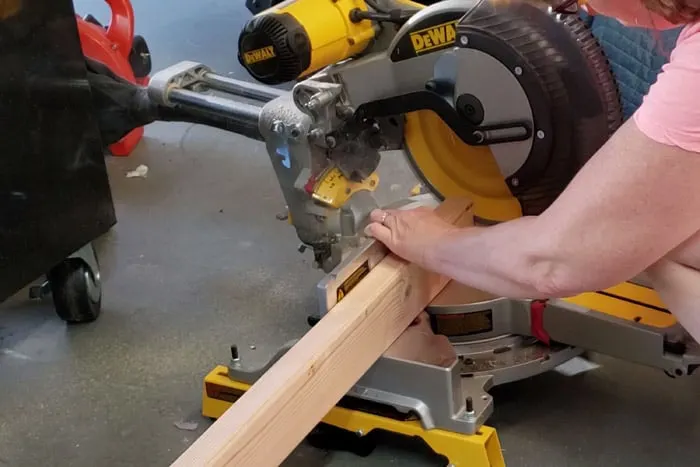
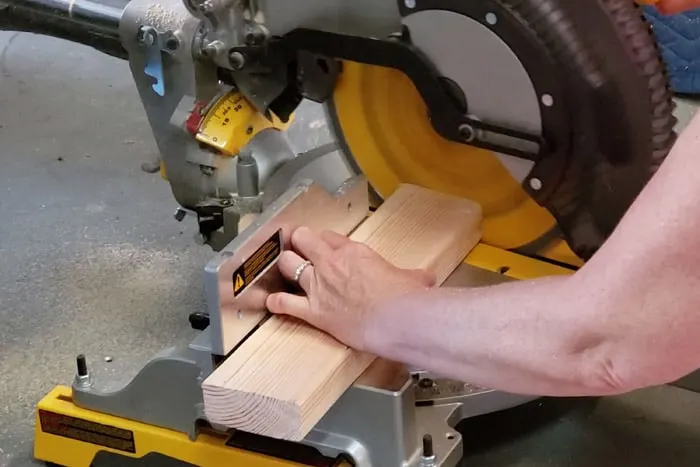
Step 1: Cut all 2×4 boards.
Cut all your boards according to the dimensions included in the Build Plans with your Miter Saw.
Step 2: Make pocket holes.
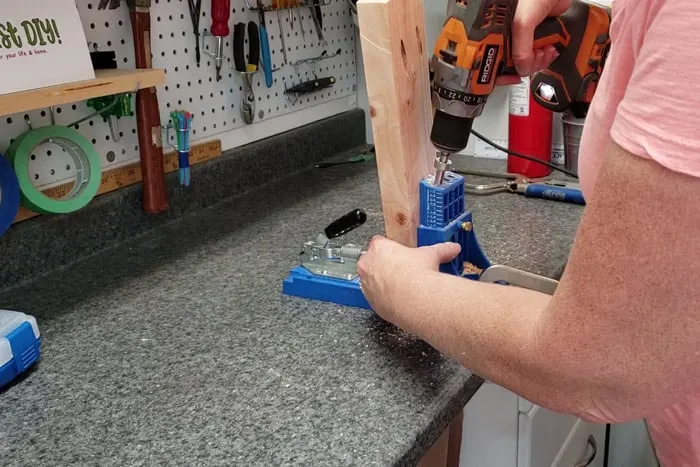
Since 2×4 lumber isn’t the prettiest wood for making your 2×4 Bench you want to find the best side that will be seen. Using your Pocket Hole Jig make double pocket holes in the following boards.
- Inside top of all four Legs
- Inside of Cross Leg Supports, both ends
- Back side of Center Support, both ends
Step 3: Trimming the 2x4s (optional)
For my 2×4 Bench, just like with the 2×4 Side Table, I used my table saw and trimmed 1/8″ from the short edge of all my boards. This is optional but it really gives a more finished look when you’re using construction lumber.
This helps to cut off some of the dings and gouges that are typical on construction lumber. Plus, trimming them saves a lot of sanding.
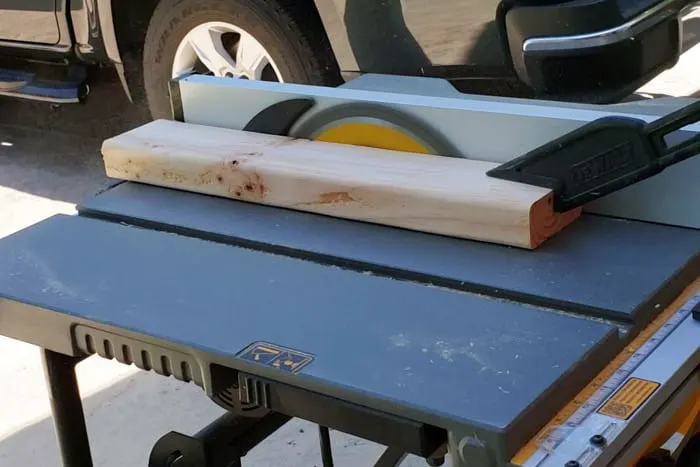
If you choose NOT to trim the 2×4’s then you’ll need to adjust the measurement for the seat slat supports, or reduce the gaps between the bench slats as outlined in the Build Plans.
Assembling your Modern 2×4 Bench
Step 4: Assemble the legs.
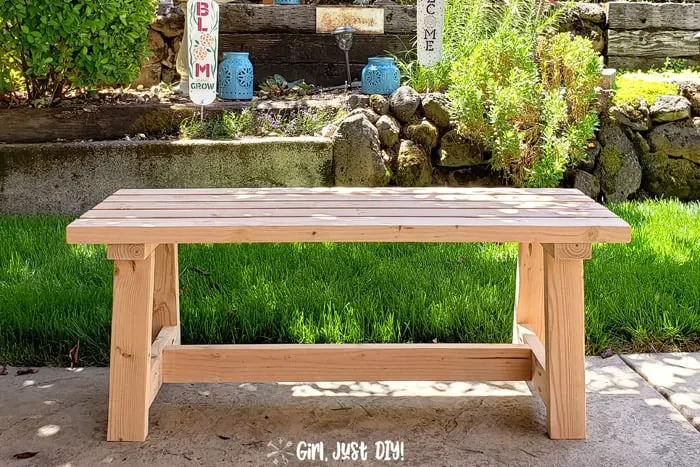
It’s really the legs that I think makes this a more Modern 2×4 Bench. Slightly angled legs give it an nicer look that’s not boxy.
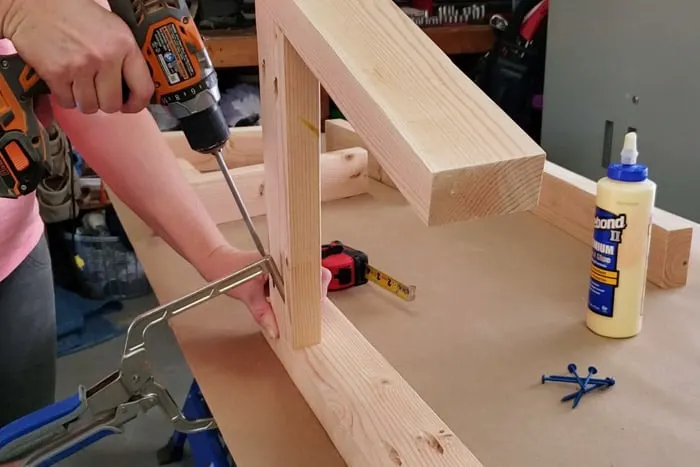
Measure and mark as noted from the bottom edge of each leg. This is where you’ll attach the cross supports for the bench seat.
- Lay a left leg onto your work surface.
- Add a little wood glue to one end of the cross support, align it to the edge of the leg and using a right-angle clamp in one hole clamp it to the work surface.
- Insert a pocket hole screw into the open pocket hole. Remove the Clamp and add the second screw.
- Lay down the right leg and follow the same steps to complete one set of legs.
- Follow the same process with the other leg pieces.
Step 5: Assemble the 2×4 bench top.
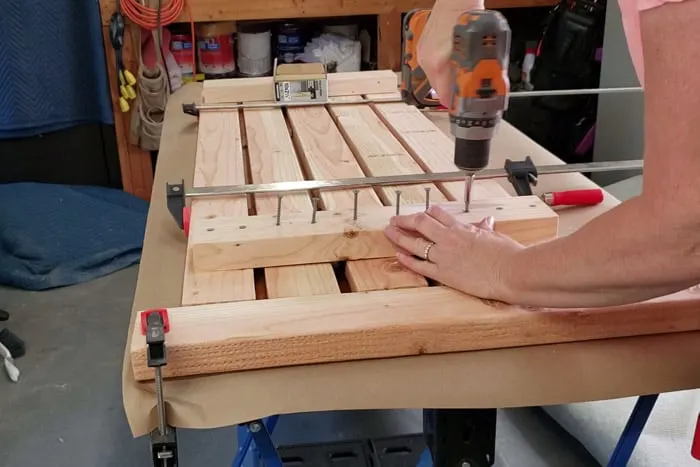
On a flat surface lay out the bench top with the best side facing down. This will become the bench top.
- Clamp a spare piece of 2×4 to your work surface on which you will align your bench top slats.
- Use 1/2″ wide spacers between the boards and use the 24″ Bar clamp to clamp them together.
- Use a rubber mallet to nudge all 2x4s snug against the clamped 2×4 as the stop.
- Use a Carpenter’s Square positioned where the seat slats meet the 2×4 stop board to ensure your bench top ends are square.
- Install the Seat Slat connector as outlined in the plans.
- Apply wood glue to the slats, lay down the seat slat connector and pre-drill two holes for each slat 2″ deep. This will keep your wood from splitting.
- Install the wood screws
Step 6: Attach the legs.
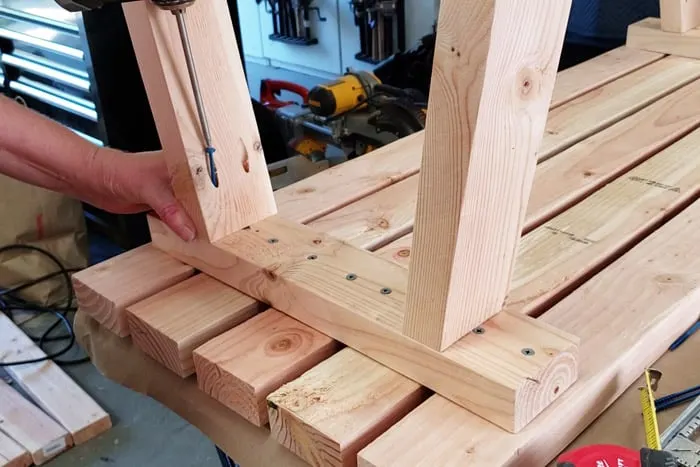
- Place the legs onto the slat connector and measure and mark where the leg will connect with even spacing on both sides.
- Apply wood glue to the tops of both legs and attach with the pocket hole screws. You won’t be able to use the right-angle connector at this point so get a helper if needed.
Step 7: Installing Center Support
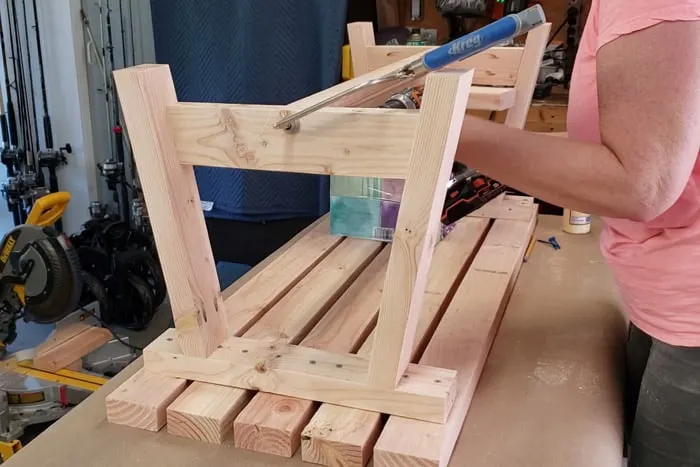
This 2×4 bench is pretty wide so it will need a center support to keep everything square.
- Measure and cut your center support piece and drill pocket holes into both ends on the back side.
- Find something tall enough to use as a support on the other end. If you have two right-angle clamps that will work also.
- Apply wood glue to both ends and attach using the right-angle clamp and pocket hole screws.
Step 8: Sanding and Finishing
I’ll say that sanding all your individual pieces before assembly is really the way to go. But again I was rushed building this project so I did my sanding last. It’s going to be outside so I’m only concerned that no one gets splinters in their butts.
When I paint I’ll be filling the pocket holes with wood filler or spackle so I get a smooth look.
More Woodworking Projects
Modern End Table – Rolling Printer Cart
Enjoying your Modern 2×4 Bench
Click here to Access the Plans so you can build your own 2×4 bench.
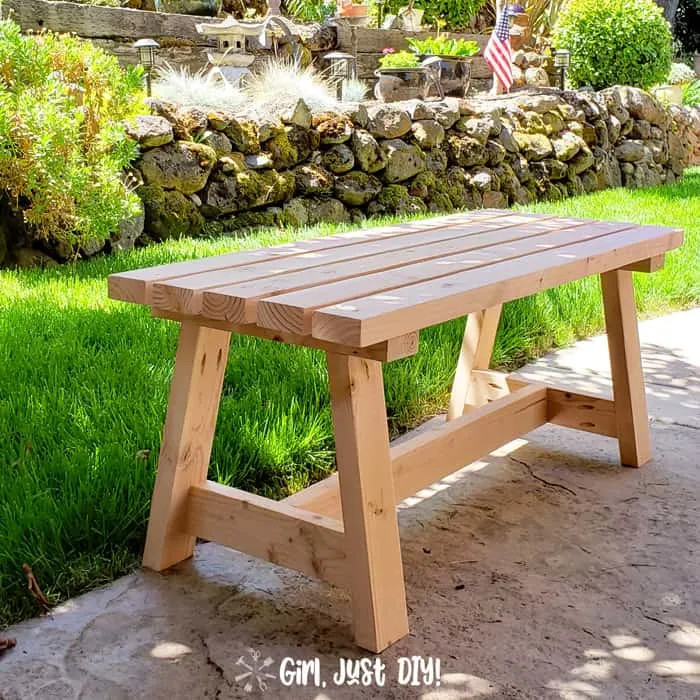
Now that I’ve built the first one I might make one for inside using poplar or a similar wood. Or maybe even from redwood for a second outdoor bench you don’t need to paint or stain.
PIN IT FOR LATER!!
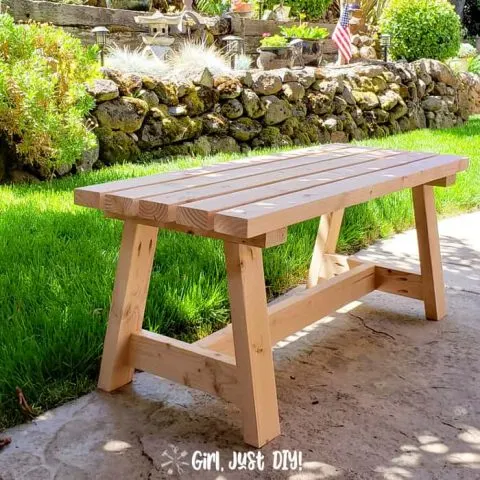
DIY Modern 2x4 Bench
Build this Modern 2x4 Bench with common construction materials. This is a great beginner project and uses only a few tools. It's a great addition to your backyard for additional seating. Or build one for entryway as a spot to put on your shoes.
Materials
- 2x4x8 Boards
- Exterior Pocket Hole Screws
- Exterior Grade Wood Screws
- Wood Glue
- Wood Filler or Pocket Hole Plugs
- Sand Paper
- Exterior Paint or Stain
Tools
- Pocket Hole Jig
- Right-Angle Clamp
- Miter Saw
- Table Saw (Optional)
- Bar Clamps
- Palm Sander
- Sanding Sponge
- Putty Knife
- Tape Measure
- Carpenter Square
Instructions
Making your 2x4 cuts
- Cut the boards to length per the plans - Using the Miter Saw follow the build plans and cut the leg and seat boards to length.
- Make Pocket Holes - With the Pocket Hole Jig make pocket holes in the leg boards as instructed. Pay attention to placement based on the miter and bevel cuts of those pieces.
- Trim the 2x4s (optional) - If desired trim the short edges as outlined. This isn't a necessary step but it makes the completed bench look more finished.
Assemble your Modern 2x4 Bench
- Assemble the bench legs - Measure and mark the placement of the cross support to one of the legs and attach with wood glue and pocket hole screws. The right-angle clamp is very helpful for this part.
- Assemble the bench top - Lay the top boards with the best side down. Line them up and clamp into place. With wood glue and exterior screws attach them to the top slats after predrilling.
- Attach legs to the top - Align the left and right legs at the described distance from the edges and attach with wood glue and pocket hole screws.
- Install the Center Support - measure the inside distance between the legs and cut a 2x4. Drill pocket holes and attach to the legs as the build plans direct.
- Sand and finish your Modern 2x4 bench with exterior paint or oil based stain for a long lasting finish.
Notes
Enjoy your Bench - Click to Access the Plans and get ready to build your own Modern 2×4 bench.
Now that you’ve seen my 2×4 Project don’t forget to click below to see all the great 2×4 projects made by my talented friends.

Lynn
Wednesday 21st of June 2023
How did you measure and cut the angles for the legs?
Toni
Wednesday 26th of July 2023
I used my miter saw and set the angle for the blade as listed.
Cristina
Sunday 1st of September 2019
Toni, I love this bench! the angled legs give her lots of style. ?
Lisa
Wednesday 28th of August 2019
Toni this is such a great build! Love that you were able to pull this off using only 2x4s. Can't wait to see it stained!
STEPHANIE ABBOTT
Tuesday 20th of August 2019
I love this bench. Pinned it as soon as I saw it. The angle and squared edges make the finished look so pretty!
Tylynn Sattler
Monday 19th of August 2019
I love how chunky it is with the 2x4s! Great project
Toni | Girl, Just DIY!
Monday 19th of August 2019
Thank you Tylynn!