I know, I know, fan blade crafts are maybe a bit overdone, right? But stick with me, this is different than dragonfly’s or butterflies. I’m going to show you how to make DIY Garden Signs from Fan Blades that you can place anywhere in your garden.

This post is sponsored by DecoArt and they’ve also generously provided a prize pack for one lucky winner. [Updated, giveaway is now closed]
Below you’ll also find links to my blogging friends where you can check out their fun projects to inspire you with cool ways to add a little fun and color into your garden.
DIY Garden Signs Supply List
- Three Fan Blades (or 1x6x18 boards)
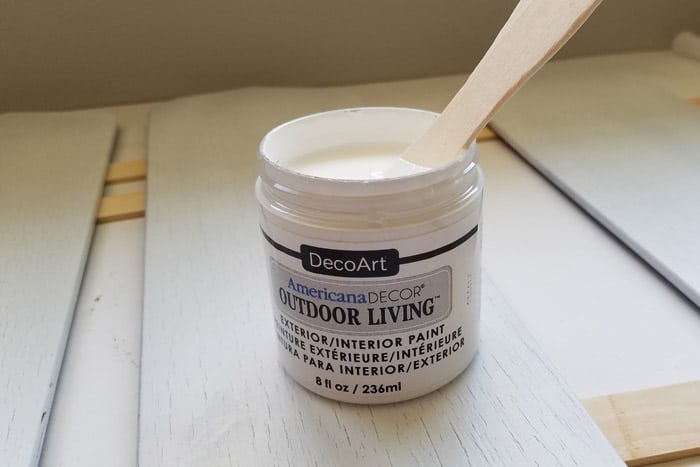
- DecoArt Americana Decor Outdoor Living paint – Picket Fence
- DecoArt Craft paints in colors of your choice. Here’s what I used
- Eggplant – Deep Buttercup – Pumpkin – Raspberry Red – Green Tree
- DecoArt Americana Decor Stencils:
- Bloom & Grow – Greetings – Birdhouse
- Or similar like this one
- Spray Primer
- Small Spray Shelter
- Cardboard floor protector sheets
- Paint Brush
- Craft Brush
- Spray Adhesive
- Stencil Stippler
- Dowels
- e6000 Glue
Create your Fan Blade Garden Signs
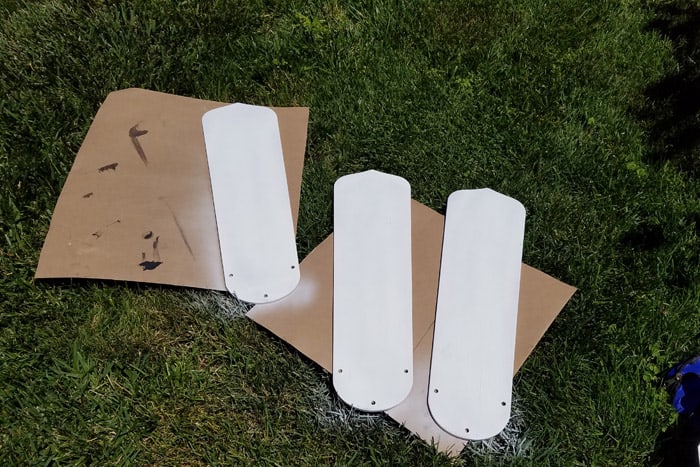
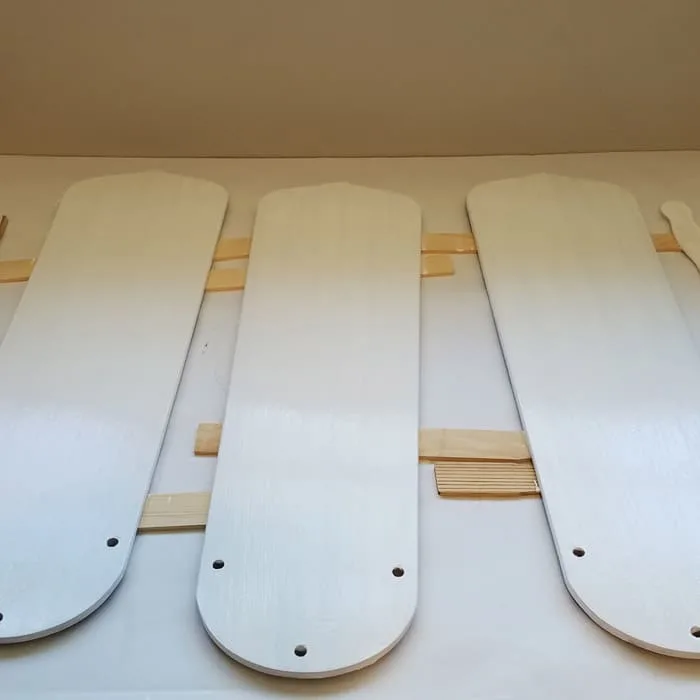
Step 1: Prepare your boards or fan blades
Since these will be outside you want them to have good paint adhesion which you can achieve as follows.
- Set up your small spray shelter on the lawn or drop cloth.
- If using old fan blades wash, dry and lightly sand each blade.
- If using 1×6 boards lightly sand the board until it’s smooth.
- Give boards a few light coats of Spray Primer.

- When the primer’s dry it’s time to pain.
- Stir your paint with a small stir stick until it’s well combined.
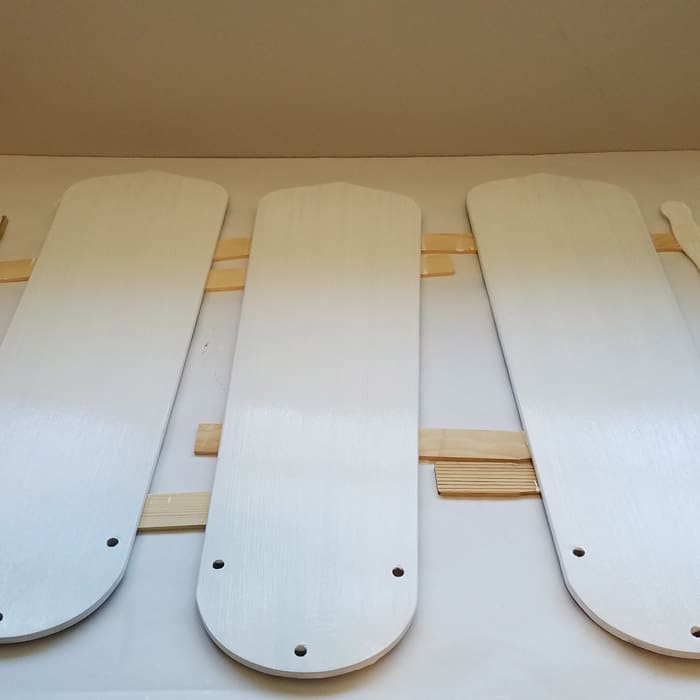
- Give 1 or 2 coats of Picket Fence DecoArt Paint.
- Prop fan blades up on paint sticks

- Let the fan blades dry fully.
MORE UPCYCLED PROJECTS
Mirrored Jewelry Tray – Wood Burned Wooden Rolling Pin Decor
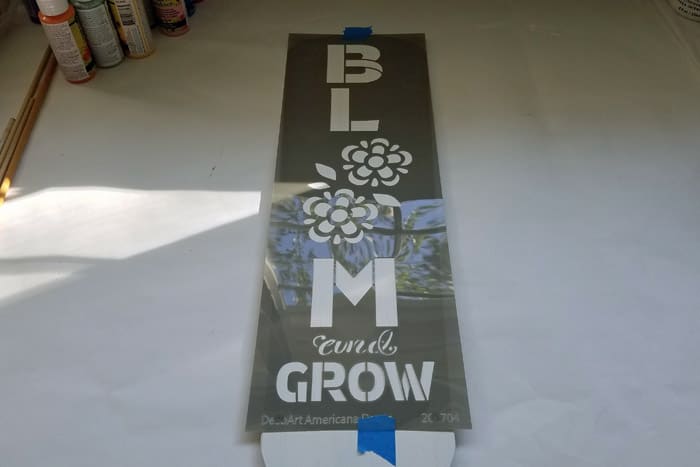
Step 2: Stencil your boards
- Choose your stencil and the placement you want for each board.
- Lightly spray the back of the stencil with spray adhesive (if using)
- or tape in place with painter’s tape.
- Position stencil on fan blade and press in place.

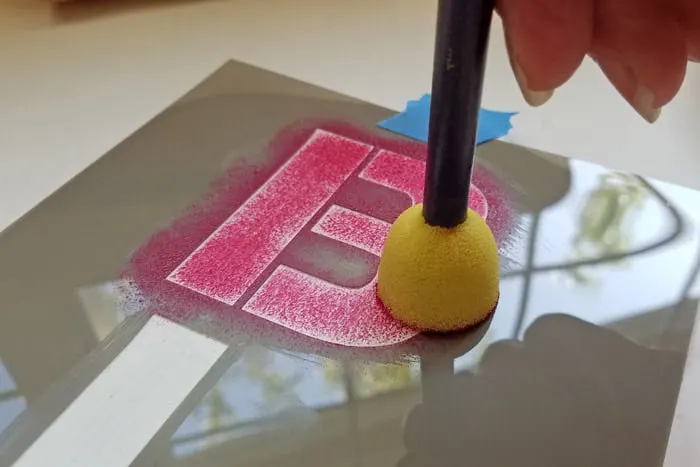
- Dab the stencil stippler into some paint squeezed onto a paper plate.
- Then dab off most of the paint. You want a dry brush and build in layers.
- Dab lightly around the edges of the stencil. The lighter the paint the less chance of bleeding under.
- Reload and dab off the paint from the stencil and add more to your design as necessary.

Keep working following the above steps switching colors to match the stencil design you’re going for.
Make Corrections and Add Details
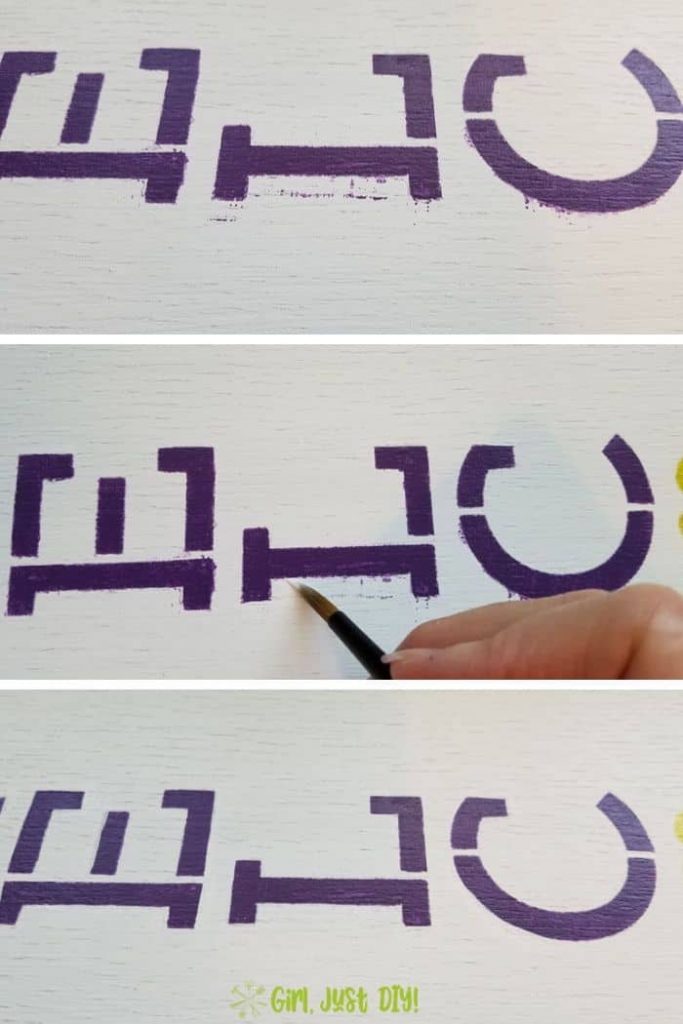
Step 3: Make necessary corrections
If you find that you have some paint bleed where you don’t want it (or you move the stencil and it smears) you can easily clean it up. Just use some of the background color and a craft brush to “correct” the bleed areas.

MORE CRAFT PROJECTS
Craft Paint Storage – Painted IKEA Trivets
I was about to throw in the towel because I made a real mess of what I’m calling my Fan Blade Welcome Sign. I had definitely colored outside the lines. Thankfully it cleaned up nicely.
Just remember, you won’t be looking at your signs from 6″ away. I don’t have the steadiest hand for painting lines; but, distance is very kind 🙂
Step 4: Do a little freehand designs
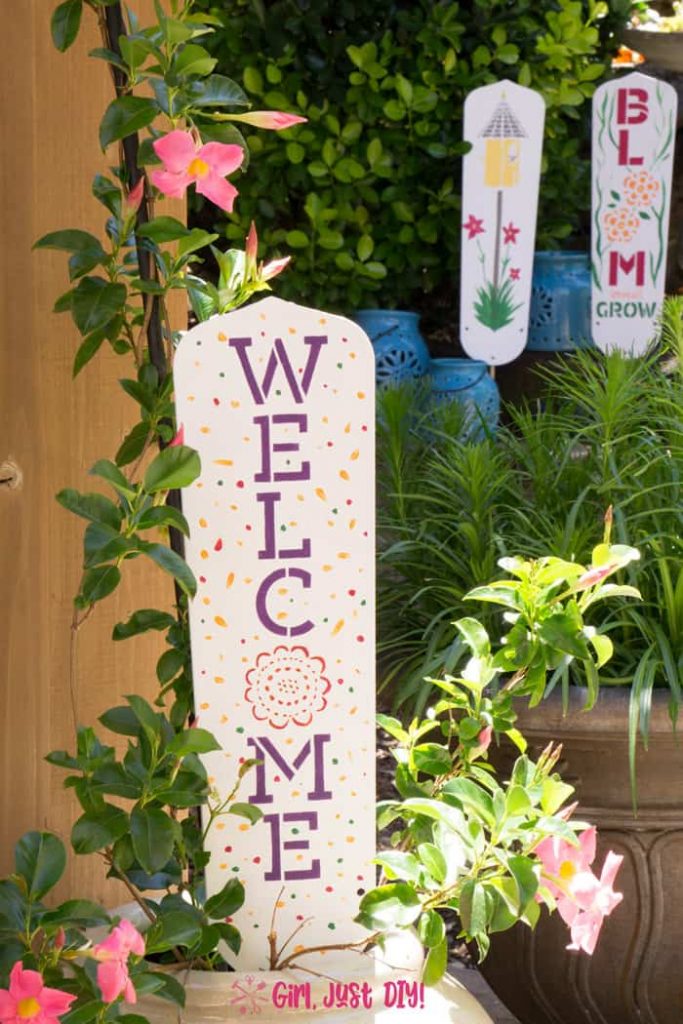
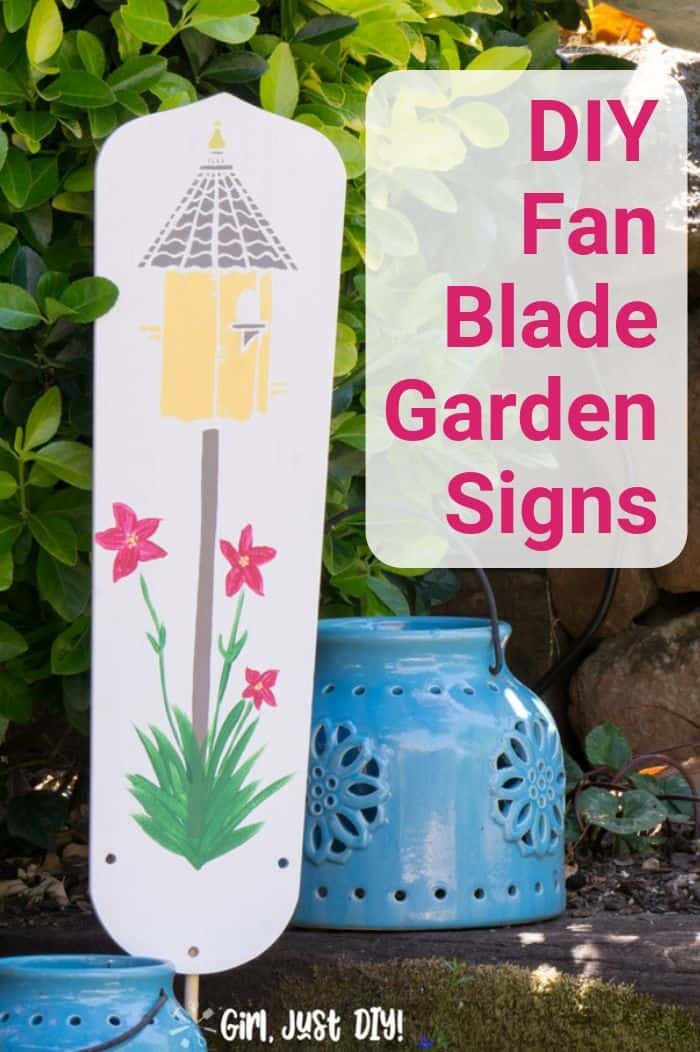
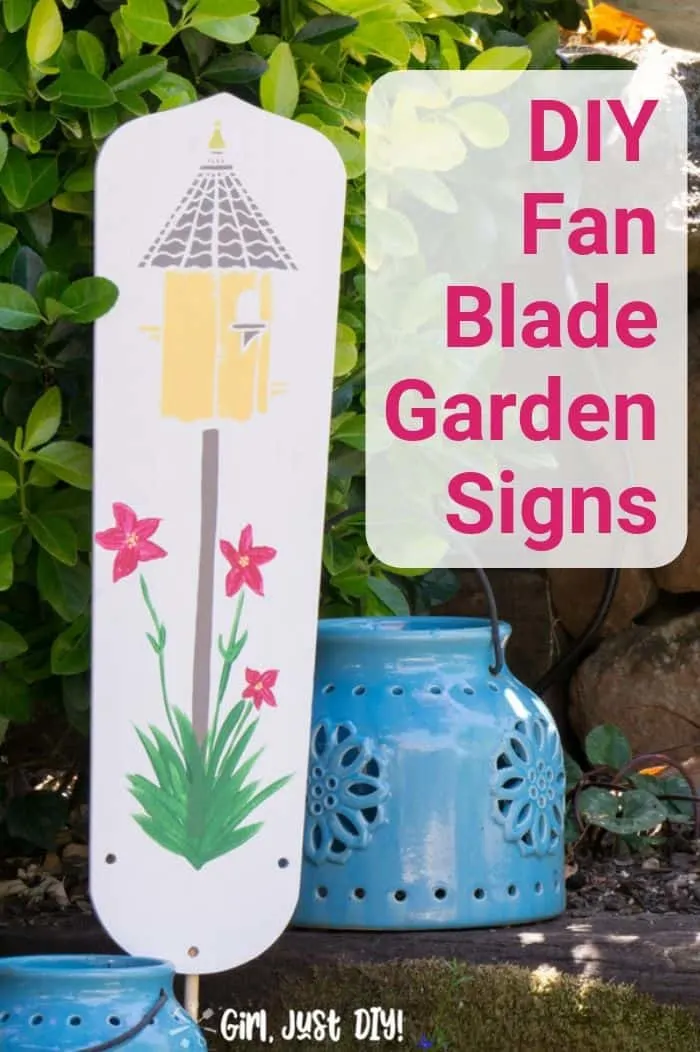
I chose three tall stencils because I knew they’d fit perfectly onto the fan blade and they’d all look good in the garden. When I got done with all three they looked like they were missing something so I got creative.
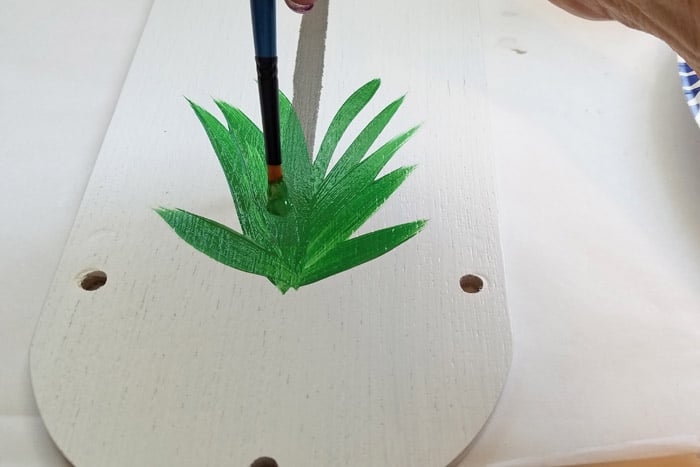
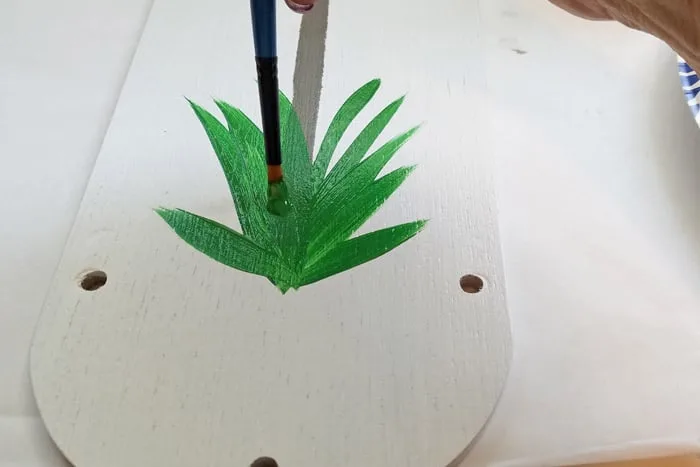
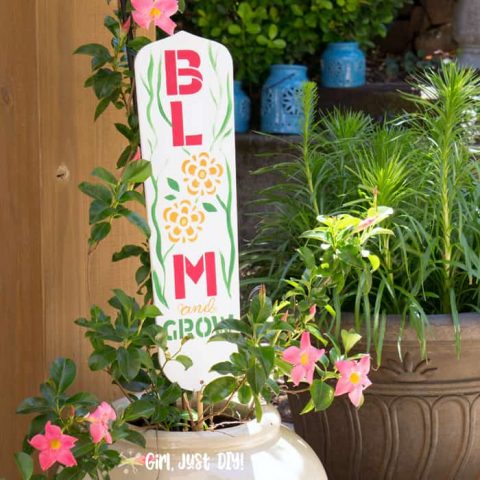
After I painted the the grass at the bottom of the Birdhouse Garden Sign it still needed something. So I added a few free hand flowers too. On the Bloom and Grow sign I added some vines intertwining the stencil design. And on the Fan Blade Welcome Sign I added some complementary colored dots and brushstrokes.
I have a big DIY Welcome Sign on my porch already but I’m looking to make a new one. I like how this one for the garden turned out and I might try to replicate it in a larger design.
Lastly attach a long dowel to the back of each garden sign using e6000 glue and let it dry fully. If you’re using a 1×6 board you can use pipe clamps and screws. Or pre-drill through the dowel and screw right into the board.
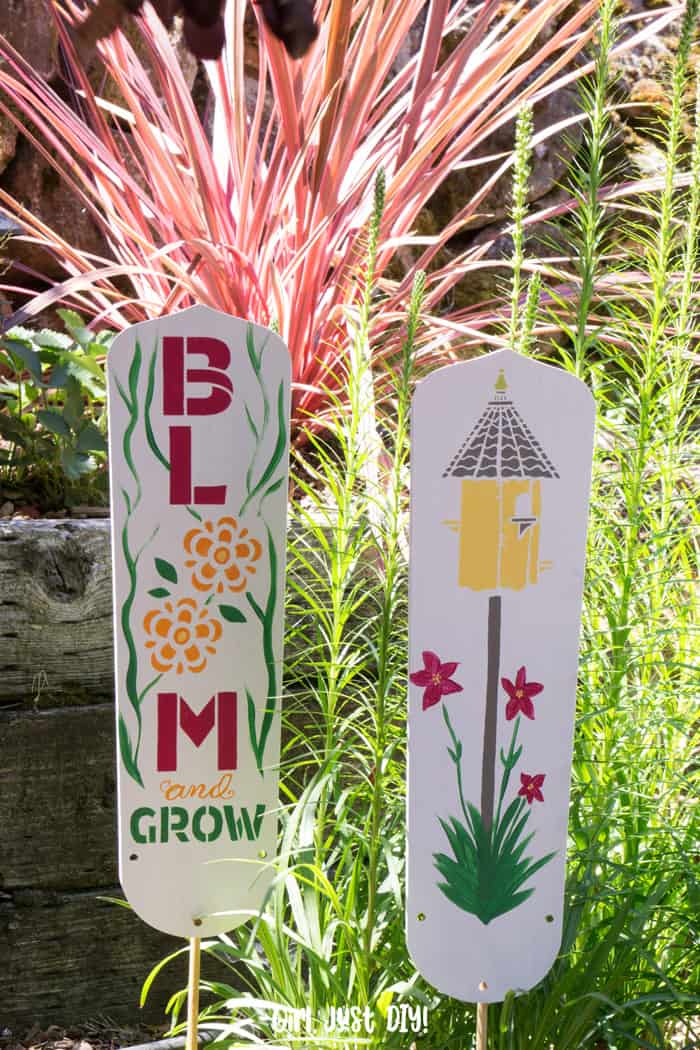
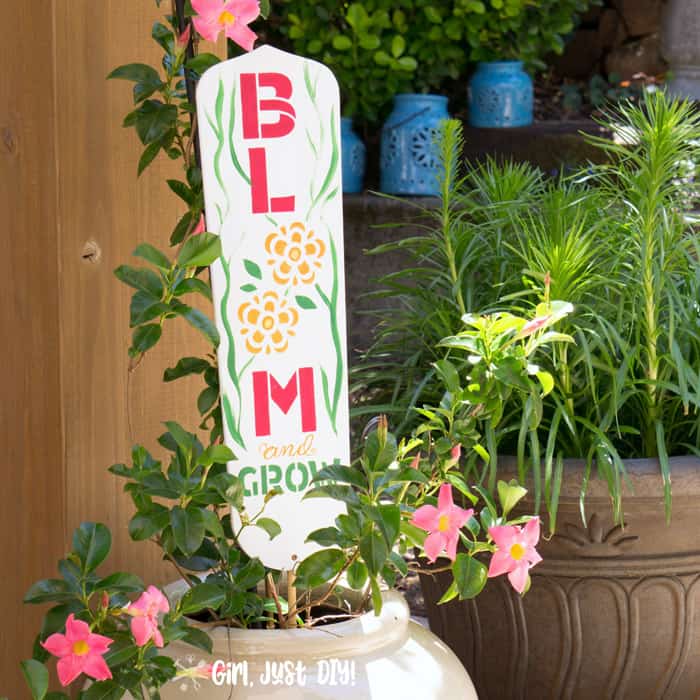
Enjoy your newly Stenciled Garden Signs
After the glue is dry find the best spot(s) in your garden for your new garden signs from fan blades. The Fan Blade Welcome Sign could even go in your Weed Free Flower Bed.


LOVE IT!! PIN IT!!

DIY Garden Sign from Fan Blade
Stencil cute DIY Garden Signs from Fan Blades for a creative repurpose project that's cute and welcoming addition to your garden.
Materials
Tools
- Pull Saw to cut dowels
- Paint Brush
- Paint Gloves
- Small Spray Shelter
- Craft Brush
Instructions
- Prepare fan blades
- Prime fan blades and let dry
- Paint fan blades with background color and let dry.
- Attach stencil to fan blade
- Paint design on stencil with stencil stippler
- Correct any paint bleed
- Freehand extra designs
- Attach dowel to back of fan blade
- Place in ground in garden and enjoy.
[Updated – the giveaway is now closed] We were so excited to partner with DecoArt in the amazing Giveaway where one lucky reader won $100 in DecoArt products! The prize will consist of:
- 3 8 oz Jars Of Outdoor Living Paint In Wildflower, Poolside, Succulent
- 3 16 oz Jars Of Curb Appeal Paint In Colonial Black, Estate Red, Hampton Blue
- 3 Americana Decor Paint Brushes
Now it’s time to meet our wonderful co-hosts who have made this giveaway possible. Be sure to visit their blogs linked below to see what projects they have created using DecoArt products!
Your Hosts:

Michelle/Our Crafty Mom – Outdoor Table From A Wooden Cable Spool
Heather/Daily DIY Life – DIY Rustic Wood Stained Bird House In Patriotic Colors
Shirley/Intelligent Domestications – How To Decorate A Bird House With Paint
Michelle/Michelle James Designs – Rejuvenate Painted Flower Pots
Beverly/Across The Boulevard – Patriotic Lawn Decor Sign
Toni/Girl, Just DIY! – DIY Garden Signs From Fan Blades
[Update – giveaway is now closed] Please note you must be 18+ to enter and a U.S. Resident. One winner will be chosen at random. DecoArt is responsible for shipping the prize directly to the winner. This giveaway is in partnership with DecoArt. Good luck!
Michelle
Tuesday 25th of June 2019
These are so fun and colorful! I love them but I still love the dragonfly version as well. Haha! I know I used to have some old fan blades in the garage and now I can't find them. Sometimes I think my husband throws things away thinking I won't notice. I ALWAYS notice. Well, these would really brighten up a garden space and they look fantastic!
Toni | Girl, Just DIY!
Friday 2nd of August 2019
Oh my gosh, what?!! My husband tried that one time and boy did he hear about it. They just don't understand our creativity and need to stuff to turn into other things LOL
Amanda
Monday 24th of June 2019
These are so cute Toni!! I don't think fan blade upcylces will ever be over done.
Beverly
Sunday 23rd of June 2019
This is such a fun way to use old fan blades. The colors are wonderful for summer decor.
Shirley Wood
Friday 21st of June 2019
They turned out really pretty and look nice in your flower garden. I too color outside of the lines but thankfully it is an easy fix. I love the stencil you selected!