June is traditionally the start of wedding season so I’m sharing this DIY Wedding Card Box Tutorial, in case you’re in the market to make one for your own wedding. Or for your loved one’s wedding like I did when I built this one last year for my daughter and soon to be son-in-law.
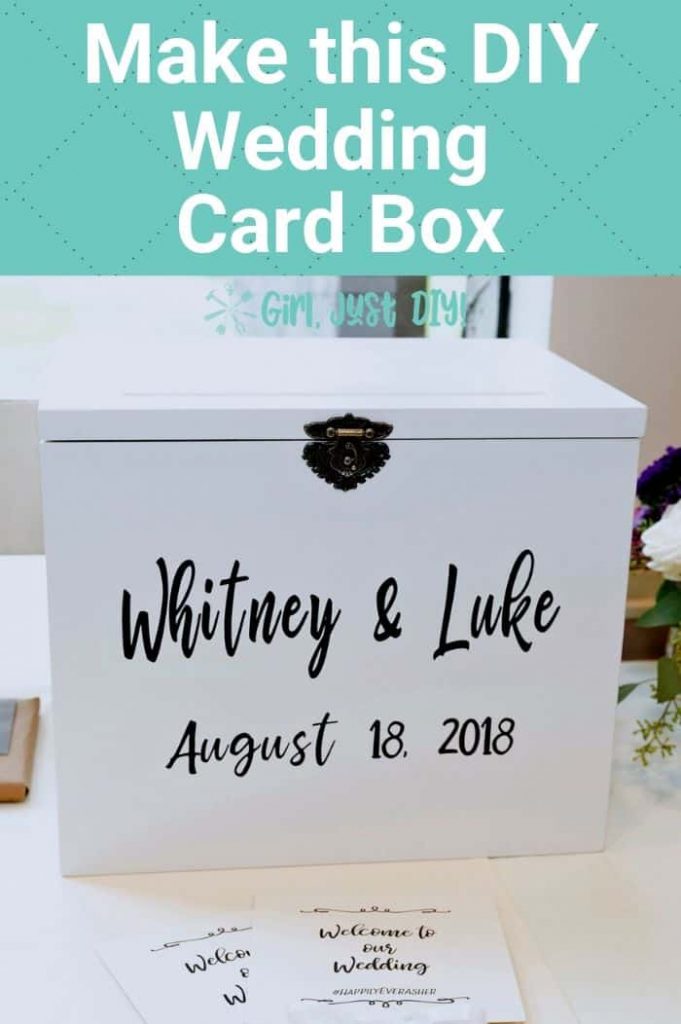

Making this wedding card box for my daughter and son-in-law’s wedding was a true labor of love. When your child is getting married, and you are so thrilled for her, you’ll do anything.
It hasn’t been a year yet and just typing these words brings a little tear to my eyes 🙂
I should warn you that this box is really big, probably 1/3 larger than it needed to be. There are probably easier ways to make it but we wanted it light weight.
It really made a statement on the gift table for sure, and we forgot that a lot of people would send cards and gifts ahead of time.
Since done is done I’ll show you the process in case you want to make your own wedding card box like this one. And I’ll give you cut dimensions at the bottom of the post to use 1X12’s with simple instructions you can follow for making a solid wood diy wedding card box.
This page contains links to products, if you purchase something after clicking on a link I may earn a small commission (at no cost to you). If you do make a purchase, thank you!
You can read about affiliate links here.
Wedding Card Box Supplies
- 3/4″ Cut Square Dowels 12′ total
- 1/4″ Finished Plywood – 1/4 Sheet
- 3/4″ Finished Plywood – (14-1/2″ x 12-1/2″ section)
- Jigsaw
- Miter Saw
- Table Saw
- Cordless Drill
- Brad Nailer
- 18″ Clamps
- Framing Square
- Straight Edge
- 1-1/4″ and 5/8″ Brads
- Wood Glue
- Spackle
- Spray Paint or Flat Paint
- Small Spray Shelter
- Cricut Cutter
- Craft Vinyl
- Buckle Lock Latch with matching Hinges
- Jack Chain
- Edge Banding & trimmer
- Iron
Building the Wedding Card Box
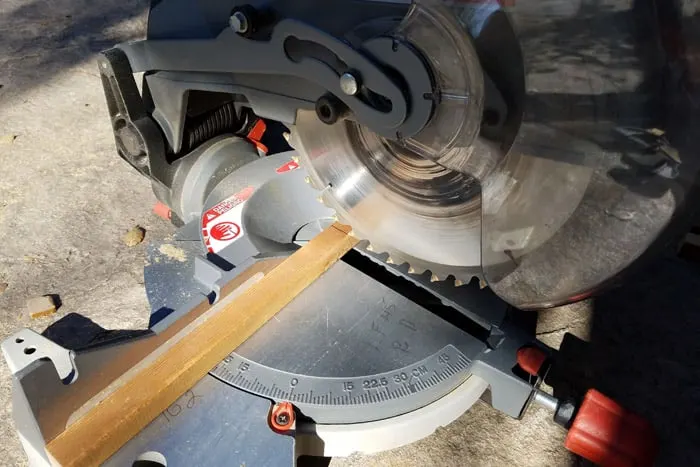
Step 1: Cut dowels for box frame.
- Cut out the following lengths of 3/4″ square dowels.
- Four (4) 14″ sections (widest parts of front and back frames)
- Four (4) 9-1/2″ sections (tallest parts for front and back frames)
- Four (4) 10-1/2″ sections (to connect front and back frames)

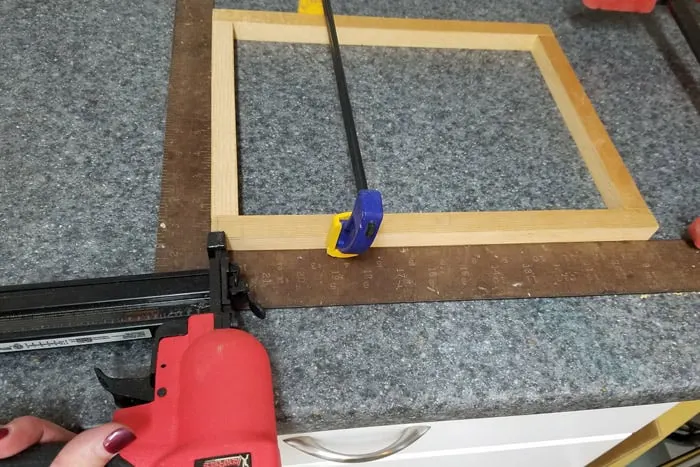
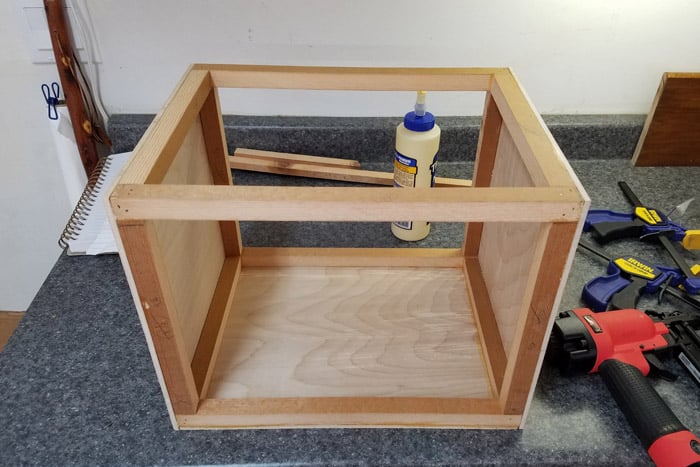
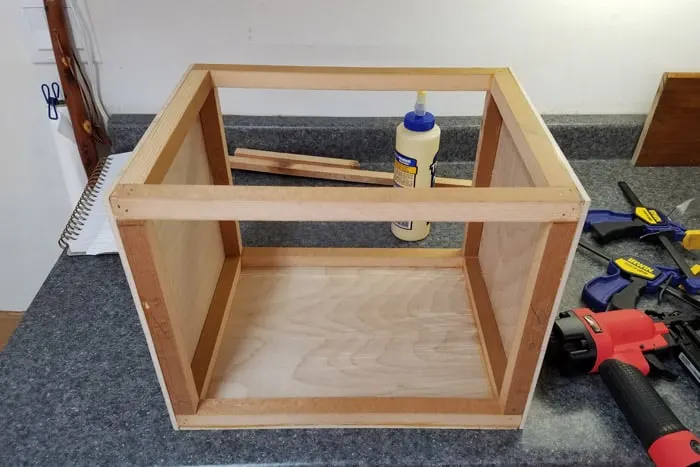
Step 2: Assemble the box frame.
- On a flat surface build two (2) frames (for front and back) by laying out two (2) 14″ sections and separate with two (2) 9-1/2″ sections.
- Square up the corners with the framing square.
- Apply wood glue to the ends of the 9-1/2″ pieces sandwiched between the 14″ pieces. After ensuring they’re square secure with clamps.
- Using 1-1/4″ brads nail all four corners together with the brad nailer. Do this to make two identical frames

- Stand the two frames up and separate them with two (2) 10-1/2″ pieces after applying wood glue to both ends.
- Ensure they’re square with the framing square and secure in place with clamps.
- Nail all four corners with brad nailer.
- Flip the frame over and repeat with the remaining 10-1/2″ pieces.


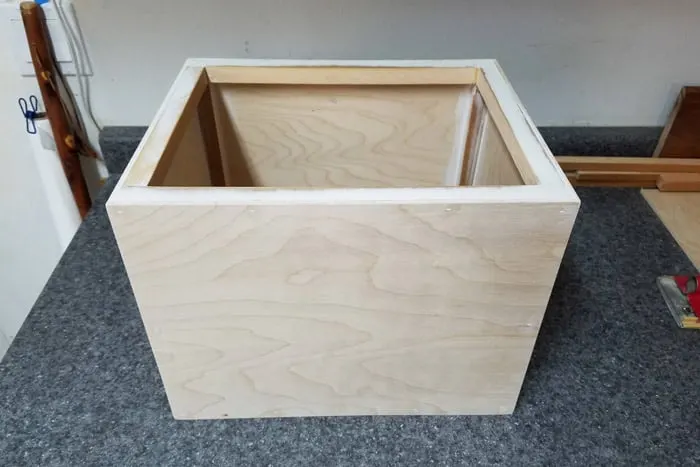
You should now have a finished frame that measures 14″ wide by 12″ deep by 11″ tall.
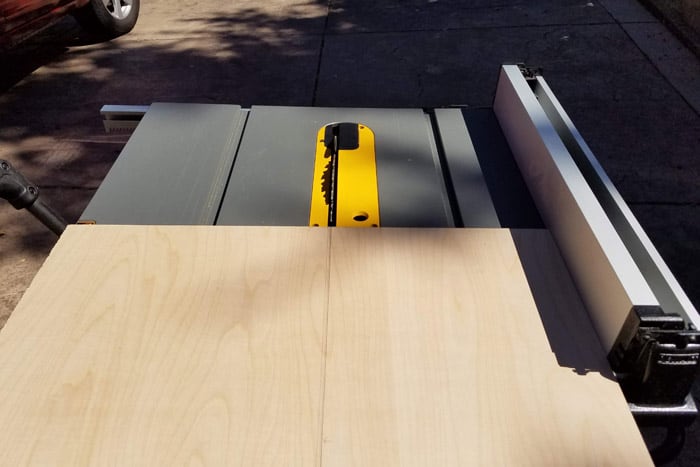
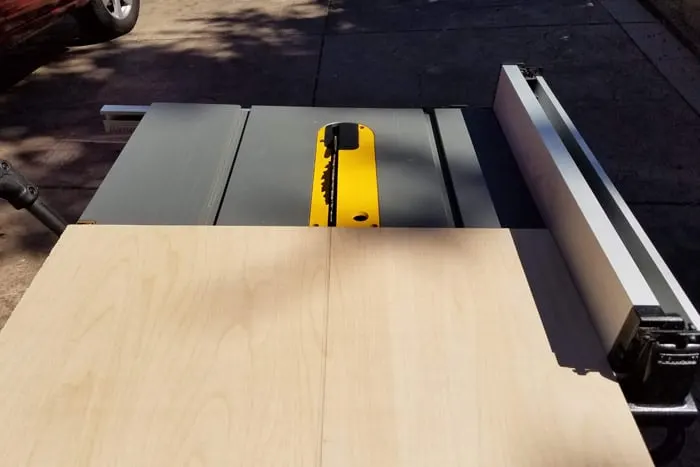
Step 3: Cover wedding card box with plywood.
On the table saw you’ll cut 1/4″ finished plywood to the following dimensions:
- One (1) 14″ by 12″ plywood piece for the bottom.
- Two (2) 11-1/4″ x 12″ pieces for sides.
- Two (2) 14-1/2 x 11-1/4″ pieces for front and back
The plywood is to be nailed onto the frame in the order given below so that the only visible plywood edges are on the sides of the finished box. I’ll give tips on how to disguise that in a moment.
- Apply wood glue to the bottom of the frame (14″ x 12″) and attach the plywood that you cut for the bottom with brad nails.
- Turn the box on it’s side and apply wood glue to the opposite end which measures 11″ x 12″ and attach the side panel with the 5/8″ brad nails.
- Do this for both sides of the wedding card box.
- Connect the front and back plywood pieces following the same directions above.
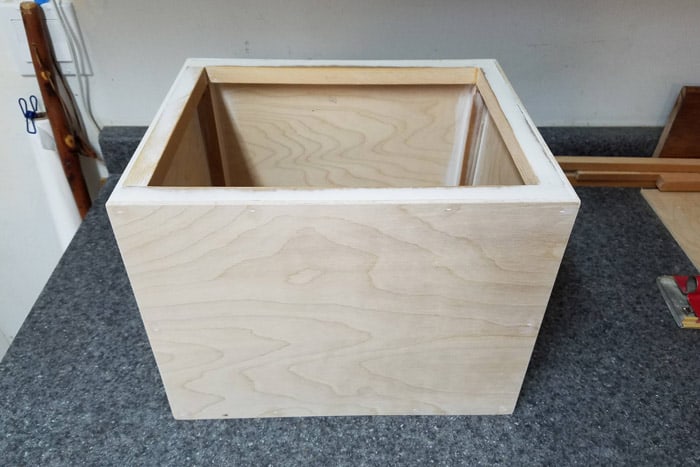
If desired use spackle to fill in the exposed edges of the plywood. Once it’s dry sand the entire box until it’s smooth
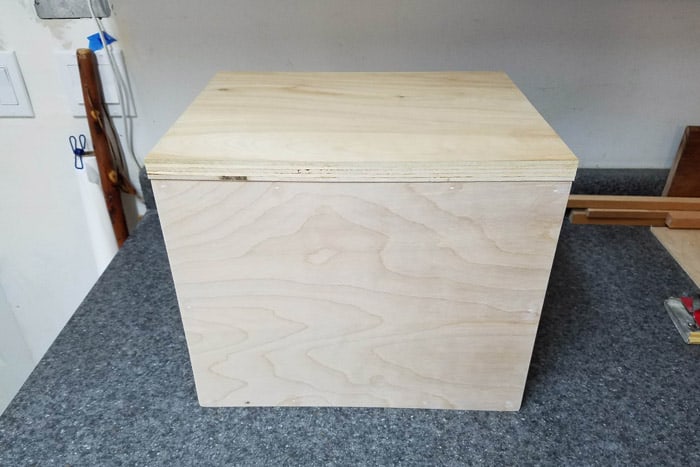
Step 4: Cut lid for wedding card box.
Using the table saw cut the 3/4″ plywood piece to 14-1/2″ x 12-1/2″ section for the lid.
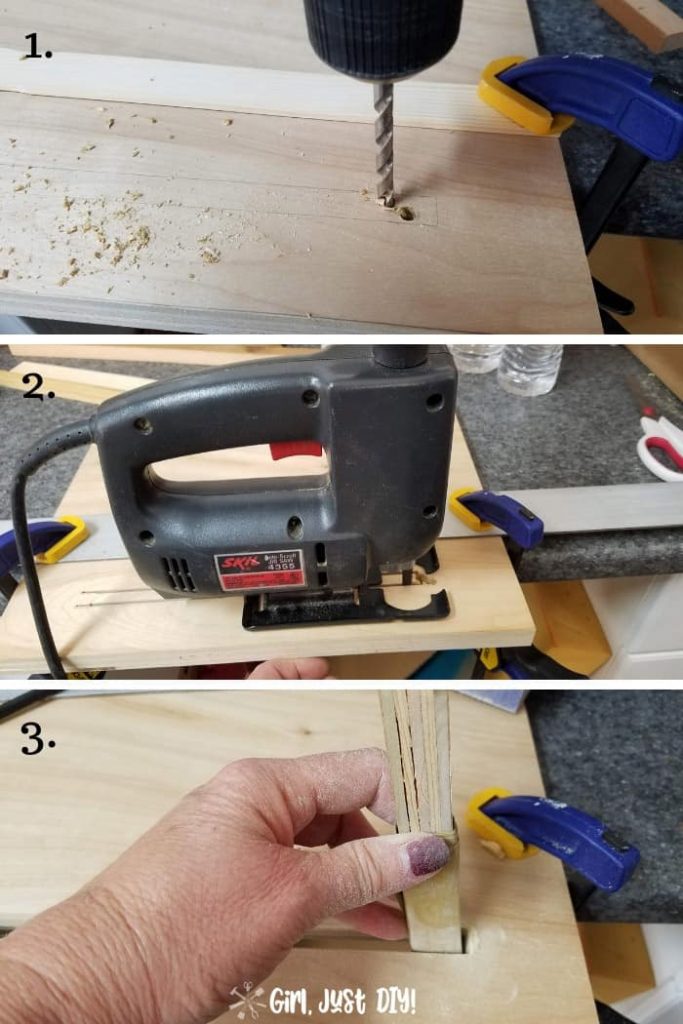
- Using a pencil and a straight edge mark the outline for a card slot.
- Drill pilot holes inside the outline big enough to accommodate the jigsaw blade (see #1 in image below).
- With the blade lined up on the outline clamp a straight edge to the board as your jigsaw guide to ensure a straight line (see #2 in image below).
- Wrap sandpaper around the cut out plywood piece to sand the inside edges of the card slow (see #3 in image below).

More Projects with Jigsaws
Plant Stand from a Basket – How to Install Pegboard
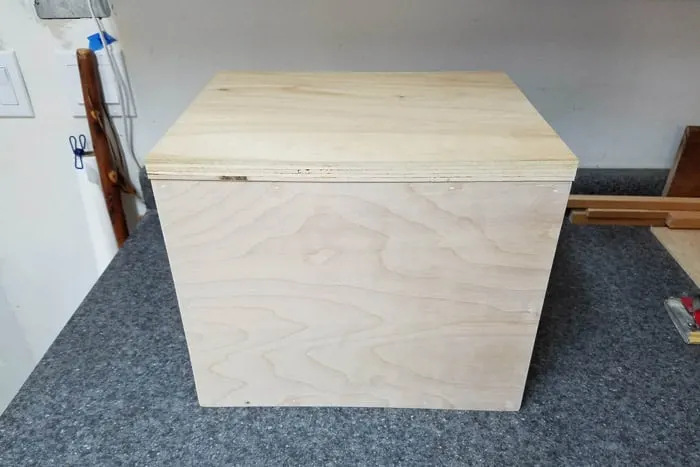
Apply Edge Banding to the box lid to hide the plywood edge. I took this pic to send to my daughter to show her my progress and it’s the only one I have of applying the edge banding.

You can get a close up look of how to apply edge banding in the video I did for the Chevron Storage Cabinet I built recently.
After the edge banding is applied sand the entire lid and edges smooth.
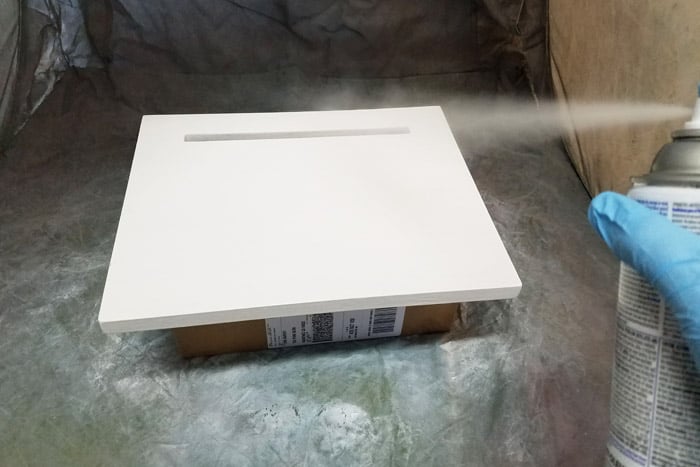
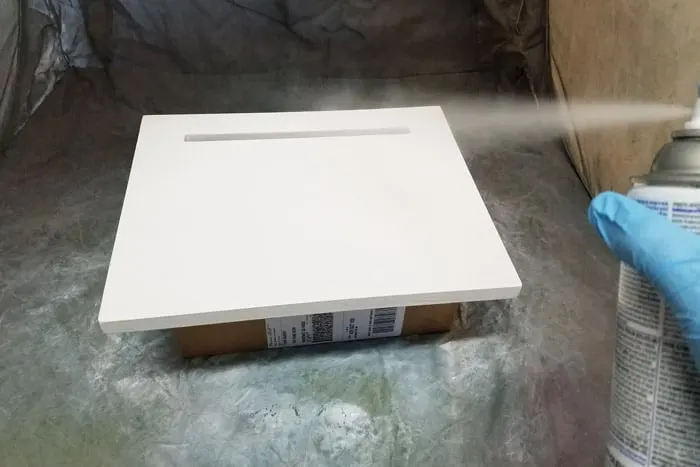
Step 5: Paint your box.
You can do this any number of ways but I suggest painting the box and lid before you attach the lid. Here’s how I did mine.
- Set up the small spray shelter.
- Elevate the lid on a small box and paint the underside first with your favorite color spray paint.
- Be sure to spray in a sweeping motion and get inside the card slot.
- Don’t spray too heave a coat at one time to avoid drips.
- Allow to dry at least 1 hour. Turn over and spray the top and sides of the box lid.
- Follow the same for the card box, painting the bottom first and allow to dry.
- I only painted the top edge and inside frame white because I planned to paint the inside black.
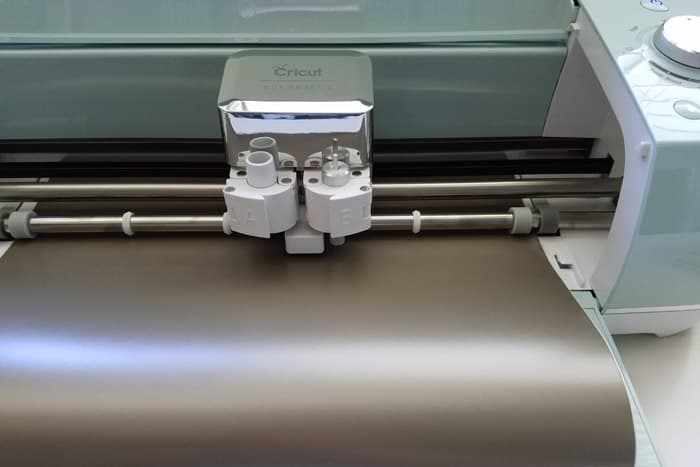
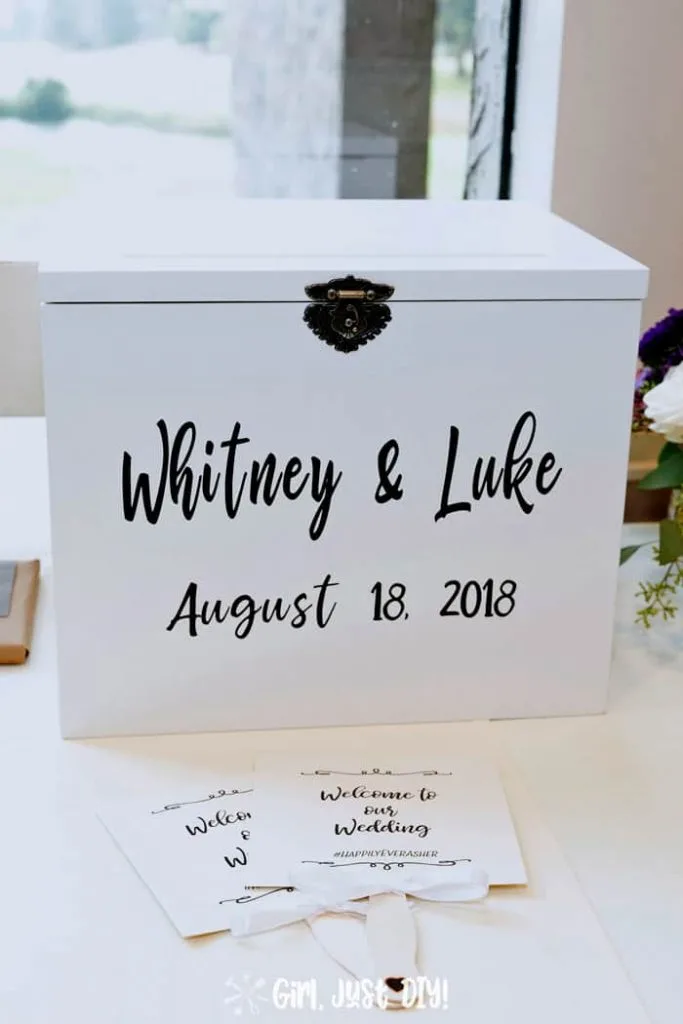
Step 6: Cut out vinyl for names and wedding date.
Use your Cricut or Silhouette to design and cut out the names and dates for the front of your box. I tested mine out first on plain paper.
- Design your names and wedding dates either in the branded program or you could use Photoshop Elements, Word, or similar. As long as you can save it in the proper file format.
- Load your vinyl into the Cricut and cut your design.

- Weed your design pulling out all the extra vinyl with the weeding tool, or even an exacto knife.
- Apply the tap transfer to the letters and remove from the vinyl backing.
- Line up and apply the vinyl to the front of your wedding card box.
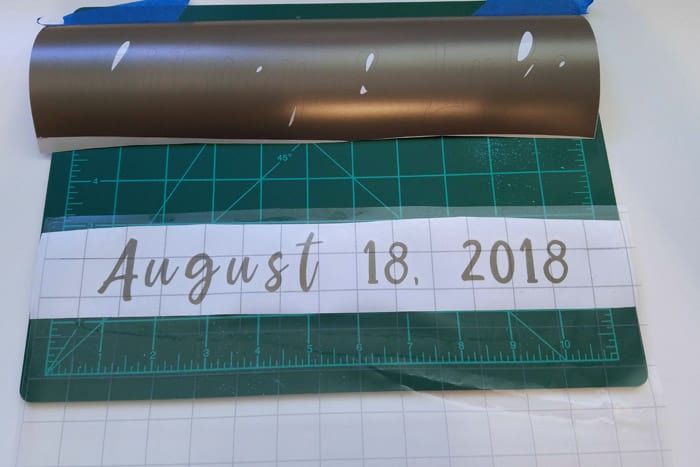
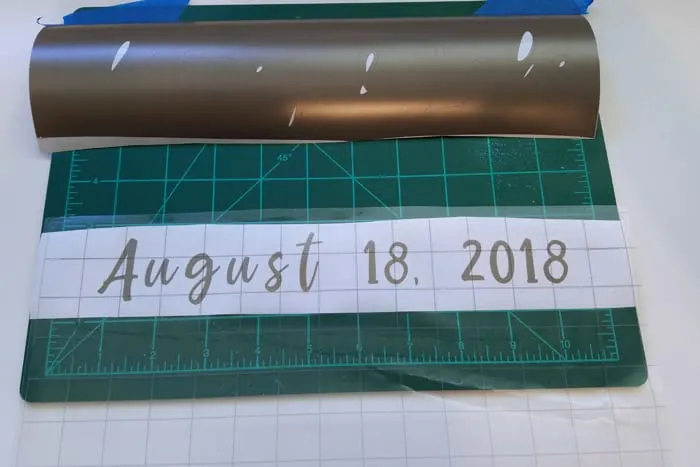
You can add tiny dashes to the right and left sides of your names and dates. Use them to line up against marks made on painter’s tape to ensure everything is centered and even. Don’t leave the dashes on the completed card box.

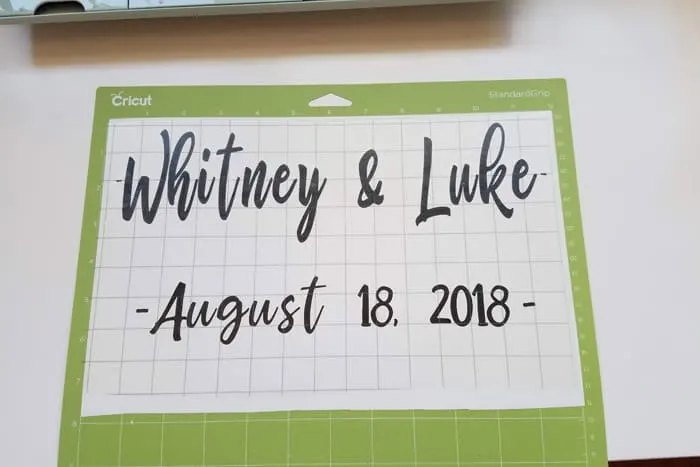
You might notice from the images above that my lettering looks different. I messed up transferring the cutout. Since I only had one sheet of the bronze I had to start over. Plus I realized I didn’t like the wide spacing in the date so I adjusted it. I like the black letters better anyway.
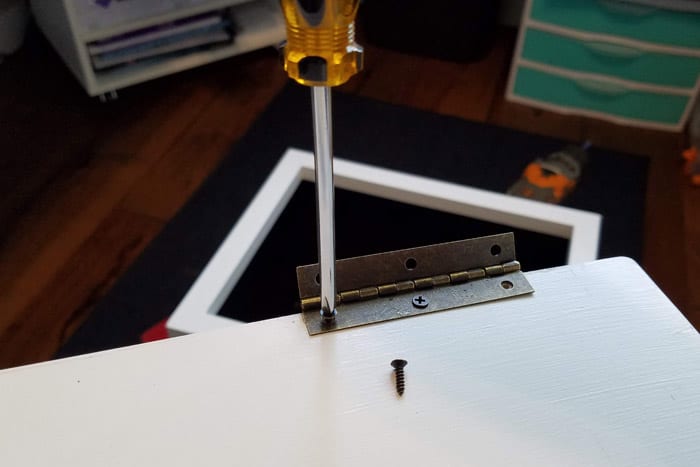
Step 7: Install the latch, hinges and chain.
The latch will be installed in two steps separated by installing the hinges.
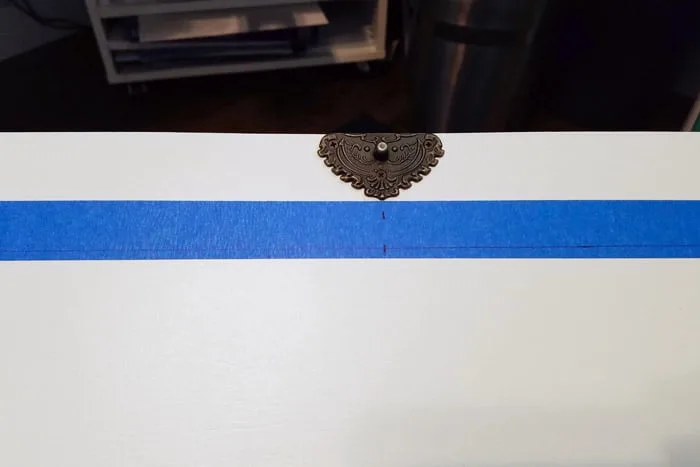
- Put painters tape on the box front just below where the lower latch will be installed.
- Measure and mark the center of the box.
- Line up the latch with the center mark using the cordless drill pre-drill and install the lower latch. We’ll add the upper latch in a minute.

- Align the lid on the box.
- Adding the edge banding will make the lid slightly larger than the box; I really liked the tiny overhang on the sides and front.
- Slip the hinges between the lid and box where you want them. Mark the location of the hinges with a slight pencil mark on the outside of the box and the lid.
- Lay the hinge on the underside of the box lid, mark and pre-drill the screw holes.
- Attach the hinges to the box lid.

- Place the lid on the box and ensure the original alignment marks still line up.
- Holding the lid up with the hinge open mark the screw holes and Pre-drill
- Attach the hinge to the box frame.
- This part can get tricky so you may need a helper.
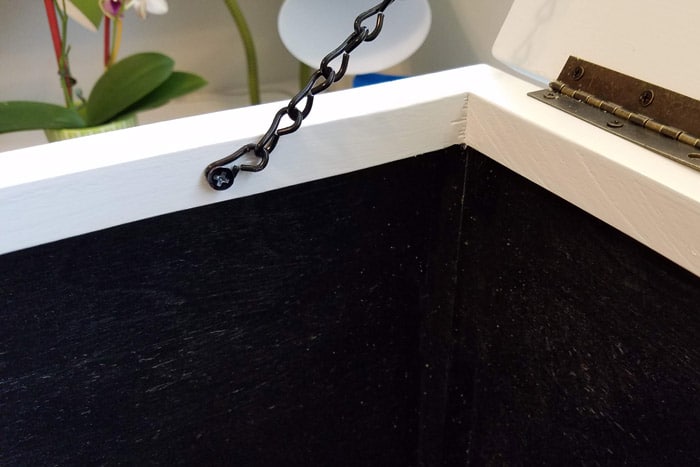
- Lastly attach a length of black jack chain (16 guage) to the inside of the frame and the underside of the lid to keep the lid from opening too far.

More Projects using Jack Chain
Vintage Market Sign – Tin Can Lanterns & Planters
- Now that the lid is secured to the box line up and install the upper piece of the latch to the front of the box lid.
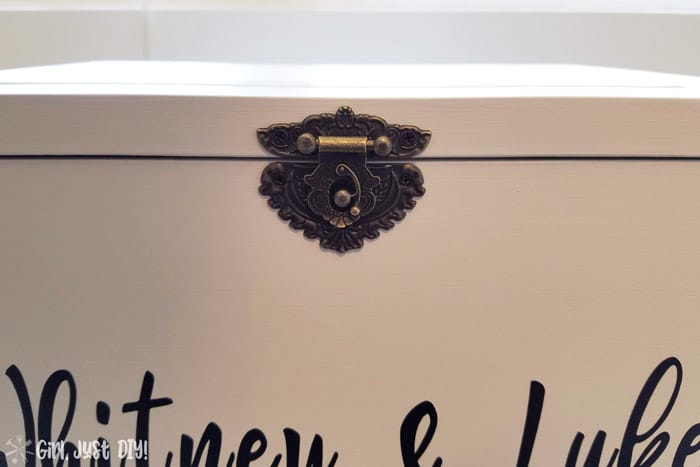

And that’s it, you’ve just made a beautiful wedding card box that every bride (and groom) will love.
I sent this little collage to my daughter so she could see it after I finished assembling the card box for her wedding.
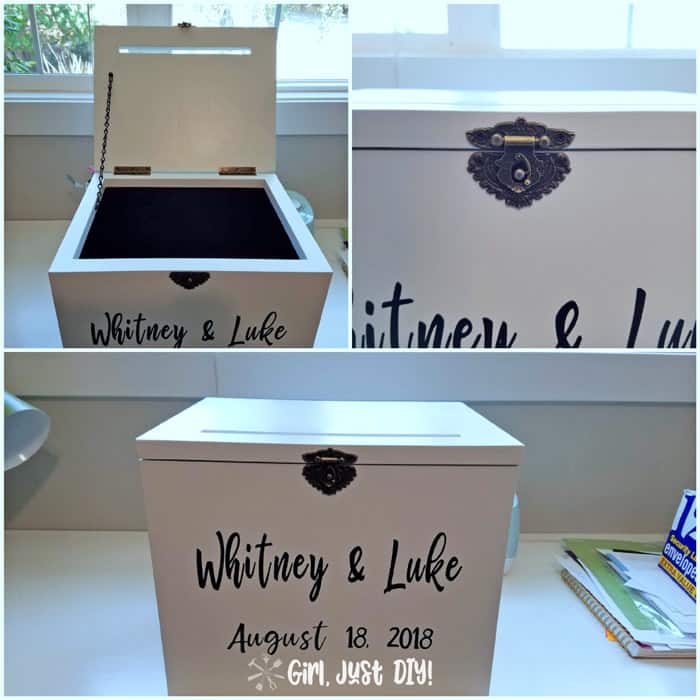
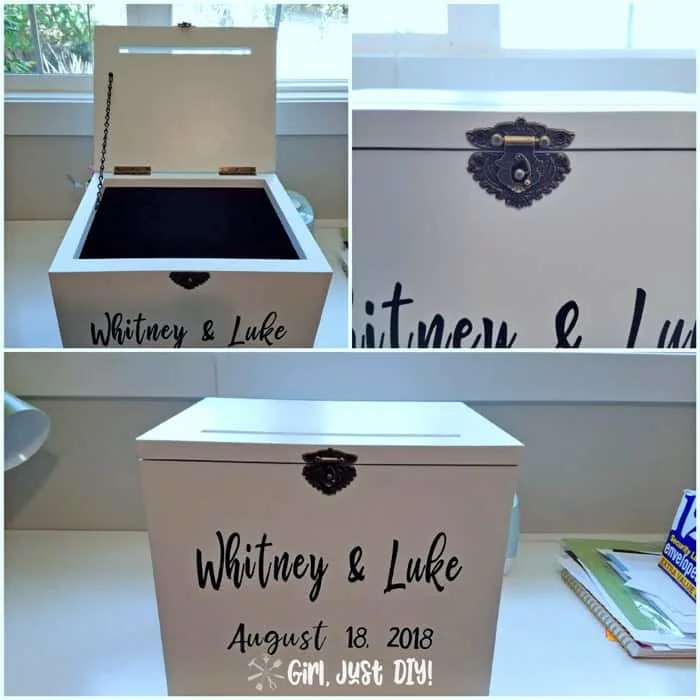
I know my daughter was thrilled with this labor of love. She loves it so much it’s still sitting in their living room, which makes this momma so happy to know she cherishes this memento of their beautiful wedding day ❤
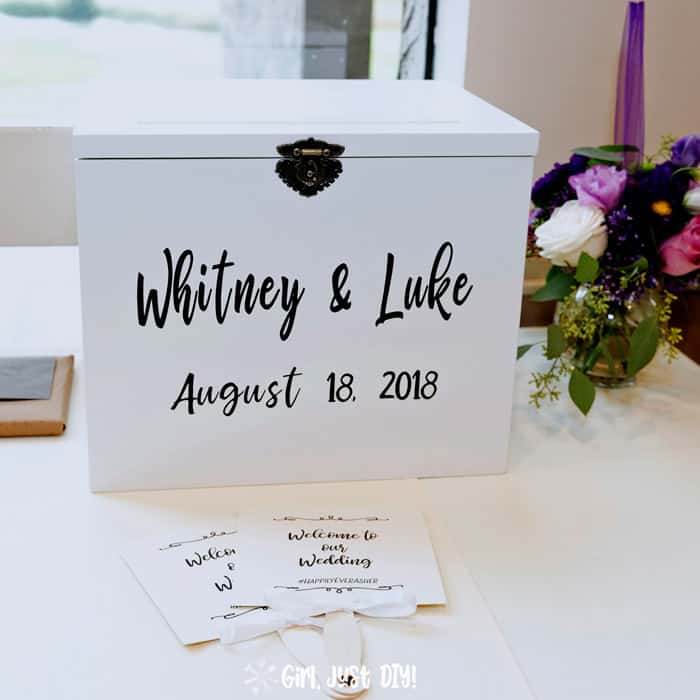
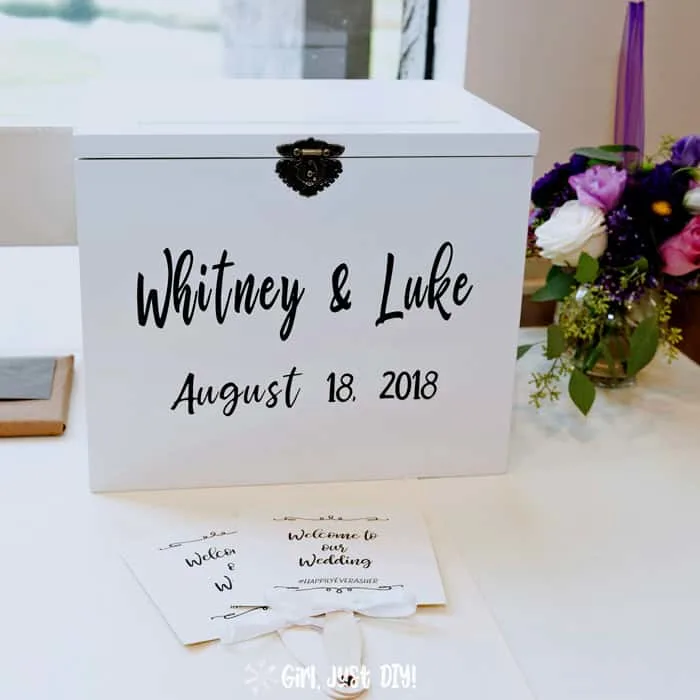
Here’s how it looked on the gift table at the wedding reception ?
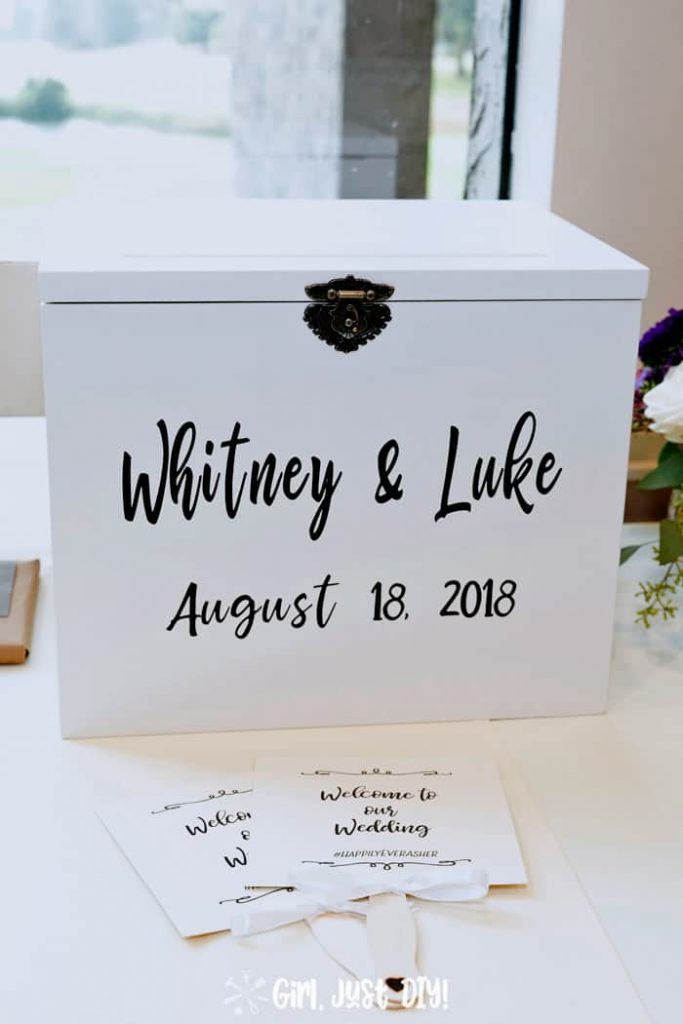
LOVE IT!! PIN IT!!
Pin this to your favorite wedding board on Pinterest, or send it to a friend who’s getting married.
Basic instructions for building a solid wood DIY wedding card box.
As promised here are the basic instructions for building a solid wood DIY wedding card box.
Purchase a 6′ 1″x12″ board. Note that the dimensions are actually 0.75 x 11.25 (don’t ask me what brilliant person came up with the bright idea of making them smaller than the actual label, sort of like a 1/2 gallon of ice cream… ?)
But I digress.
Here are the cuts you need to make. The finished size will be 13-1/2″ wide x 12″ tall x 11-1/4″ deep
- One (1) 9-3/4″ x 12″ piece for the bottom.
- Cut a 12″ length from the 1×12 and trim 1.5″ from the width resulting in the dimensions above because remember the board isn’t actually 12″ wide
- Two (2) lengths 9-3/4″ long for the sides
- (actual measurement is 9-3/4″ x 11-1/4″.
- Two (2) lengths to 13-1/2 for front and back
- actual measurement is 13-1/2″ x 11-1/4″
- One (1) 13-1/2″ length for the top
- actual measurement is 13-1/2″ x 11-1/4″
Assemble your diy wedding card box in the order listed below using wood glue and bradnails:
- Place the 9-3/4″ x 12″ bottom piece on flat surface after running a bead of wood glue along one short side.
- Clamp one (1) 9-3/4″ x 11-1/4″ side piece at a 90 degree angle and attach with brad nails along the bottom edge in at least 3 places.
- Do the same on the other end with the second side piece.
- Now attach the front and back pieces in the same way.
- Cut the card slot into the 13-1/2″ x 11-1/4″ top piece as instructed above.
- Paint (or stain) and attach the hinges, clasp, and chain as instructed above above.
Kerri
Sunday 28th of January 2024
Where did you get the hinges and latch from?? I clicked on it, but it brought me to the speed square.
Toni
Saturday 5th of October 2024
Oh dang, I'll have to check the link for that. I believe I got those a Hobby Lobby but I think you can find them on Amazon too, or at least something similar. Check out the results in this search I did on Amazon, you might find something you like.... https://amzn.to/3Y9J3aL Just check the description for the sizes.