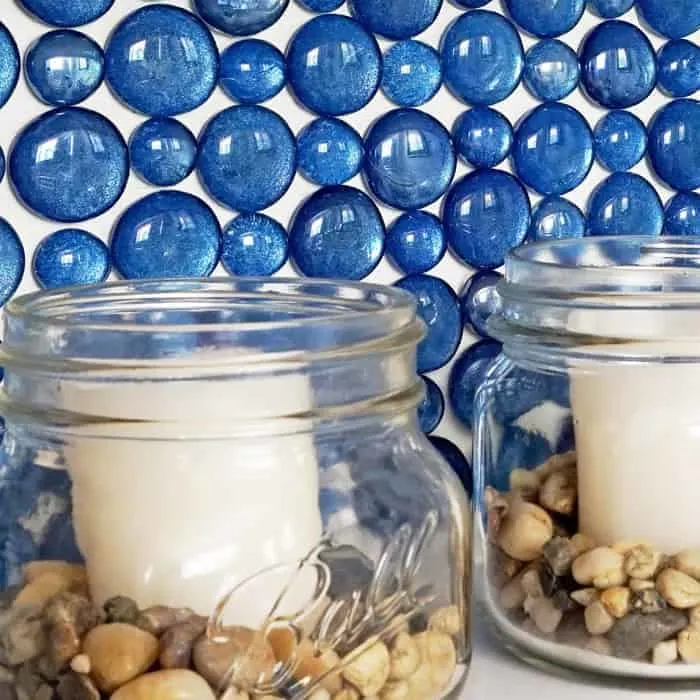
Can you call a decorative wall that’s not behind a sink a backsplash? Well, I think so and I can’t wait to show you how I created this Dollar Store Glass Backsplash I installed as part of a larger bathroom makeover.
It’s so frustrating when you spend hours and weeks working on a project and while assessing all your hard work you realize there is no “wow, awesome, love it,” feeling. That’s what I was feeling as I was at the frantic end of my $100 Master Bathroom Makeover project.
I had absolutely no idea what I would do to pull the entire bathroom together. I’d painted the TP cabinet white but it looked, meh. What to do, what to do? Then it hit me as I walked through the garage to the front yard. I would install a glass backsplash on the back of the TP cabinet.
Ok, maybe it’s not technically a backsplash since it’s not behind a water source; but for lack of a better word that’s what I’m calling it 🙂
I sometimes do my best work with a looming deadline and thankfully this was one of those times. When a great idea strikes you just have to run with it.
This post contains some affiliate links for your convenience. If you make a purchase through one of my links I may make a small commission.
Glass Backslash Supply List
- Small and Large Clear Glass Beads or Wafers
- High-Temp Glue Gun
- High-temp glue sticks
- 1 can Rustoleum Cobalt Blue Metallic Spray Paint
- Cold Water to dip your fingers
I’d been holding onto a stash of glass beads that you can get at the Dollar Store. I’d used them for a few parties, and for other craft projects so what was left over I kept in a bag in the garage. Thankfully I had them so they didn’t go against my $100 makeover budget allotment.
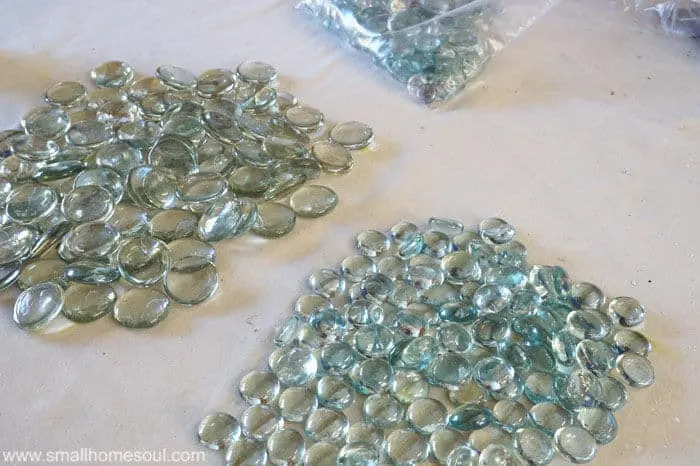
Step 1: Pick a backsplash pattern.
I dug out a bunch in different sizes and did a dry fit on the back of the open shelf. Crossing my fingers to see if my plan would work. This also helped me figure out how many I needed.
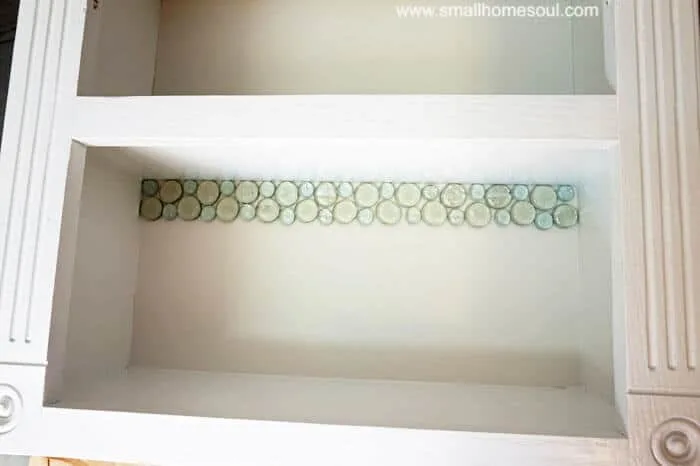
It turned out to be 88 big and 88 small beads. I had enough and some left over just in case.
Step 2: Paint the glass beads.
I knew I needed to glam them up so they would really pop. And I knew exactly what I was going to use and how I was going to do it. Since I already had my spray shelter in the front yard I just took my beads and a can of blue metallic spray paint and got to work painting the backs of the beads.
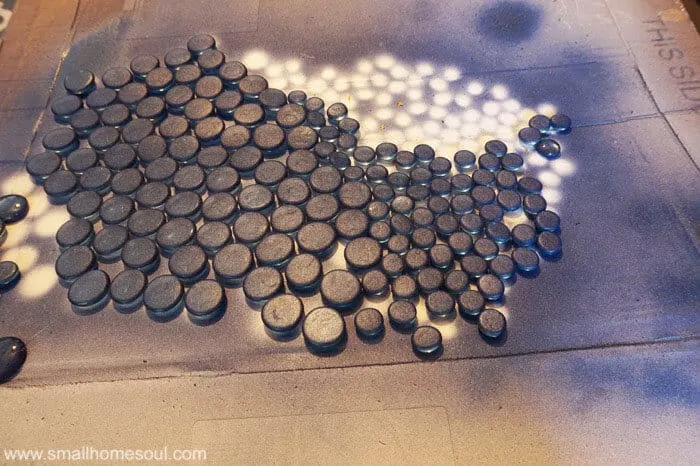
I love metallic spray paint, I used it for the coolest effect on my bathroom light makeover.
I put on a few coats of paint because I wanted the look to be rich and make sure it showed through the thick glass bead. After they were dry I cleaned up the edges that had a little bit of over spray that drifted between the beads. If you’re going to grout your backsplash you can skip this step.
Installing your Glass Backsplash
They are looking awesome already and I haven’t even started applying them.
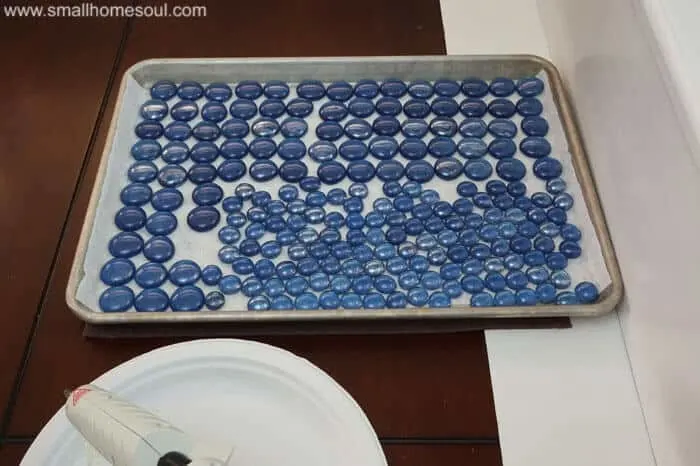
I practiced with a few extras on a paper plate so I was sure they wouldn’t pop off the cabinet wall. That would be a huge bummer. So you can see I got out my glue gun and got to work.
Step 3: Attach painted beads with hot glue.
Word of Caution: for the last few projects I’ve used a high temp glue gun because the gun is bigger. I’ll spare you the pictures of my ugly blisters. A few times the beads slipped and that hot glue stuck to and blistered my fingers. Thus, the cold bowl of water in the supply list 🙂
Oh look at that, my ring finger before the injury. I think my fingerprint might actually be altered LOL
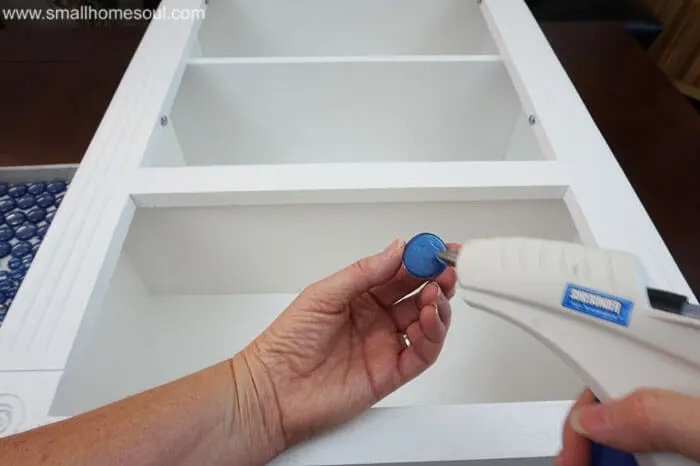
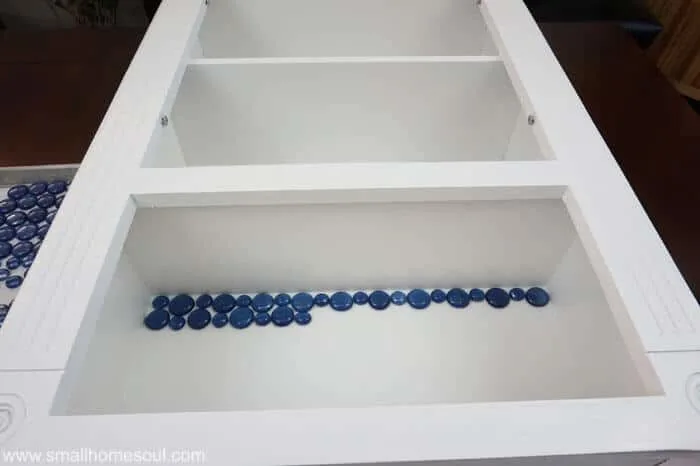
The fit was almost perfect but these glass beads aren’t the same sizes. As I glued them in I had to make sure my spacing was good. It would stink if I got to the last bead in a row and ran out of room.
I kept gluing large then small alternately until I got all of the rows finished.
More Glue Gun Projects
Paint Stick Photo Frame – Button Magnets – Faux Succulent Planter
I love love love how it turned out! There are a few things I would do differently. I’ll share that in a second.
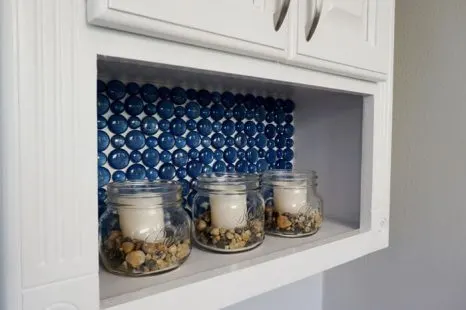
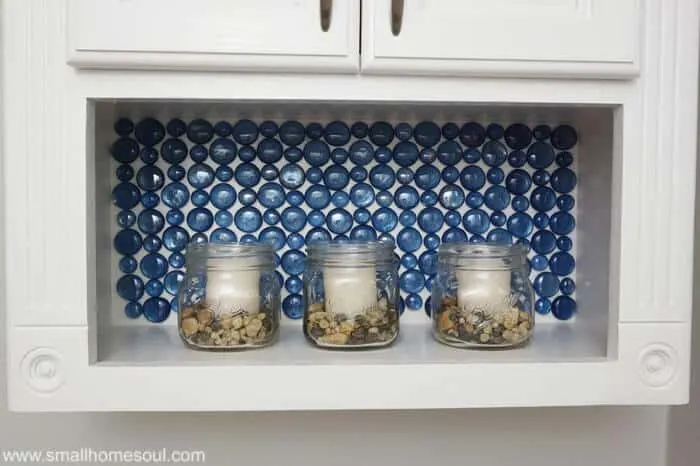
I love the pop of color from the blue in my new glass backsplash and the little mason jars with the faux flame candles! And the faux IKEA Plant in the white IKEA Kardemumma pot looks great on top.
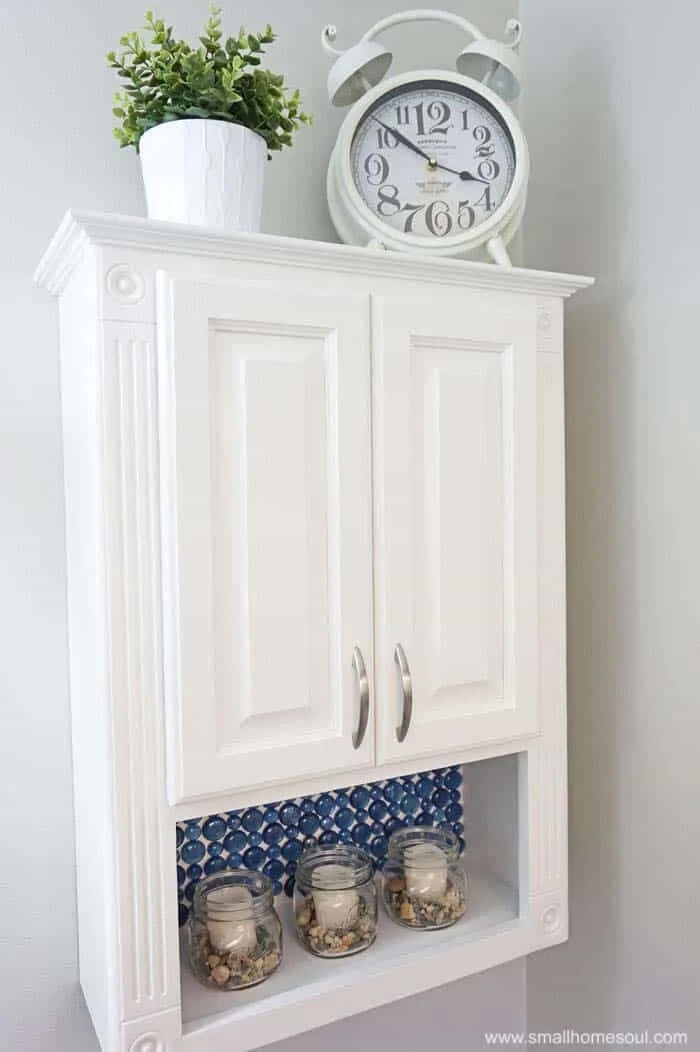
The thing I would do differently? I would apply the glass beads from the bottom edge and work up. The upper edge of the glass backsplash isn’t usually visible which would hide the uneven edge of the final row.
Regardless, I love my new glass backsplash so it’s a small detail I can overlook. I’m loving it! Those beads and the other changes I made in our Bathroom give it a spa feel.
Love it! Pin it!
Until next time,
Toni
Easy DIY Welcome Sign - You Can Make This! - Girl, Just DIY!
Friday 8th of March 2019
[…] Glass Bead Backsplash […]
Alan Chapman
Monday 30th of July 2018
What an inspirational blog! As you post new blogs, I will look into it for sure. Well, thanks for this wonderful thoughts.
Tina Abshire
Friday 1st of June 2018
In need of a backsplash I decided to do this in my bathroom. I absolutely love the way it turned out.
Ellen
Wednesday 2nd of January 2019
Tina, any photos? I’m thinking my kitchen backsplash
Toni | Small Home Soul
Monday 11th of June 2018
Oh Tina, that makes me so happy to hear. I'd love to see how yours turned out; if you want to share a picture you can email it to me.... [email protected]
jan
Saturday 9th of December 2017
Hi, love the backsplash. Did you do any other areas? I would like to cover the wall area between the countertop and top cabinets. Thank you, Jan
Toni Harvey
Tuesday 12th of December 2017
Hi Jan! Thanks for leaving a comment and question on this project. I haven't installed this little backsplash anywhere else, just in the TP cabinet. If you want to do a similar project over your sink area I'd suggest using products specifically for wall tile and grouting between the glass to ensure it's waterproof. You can really customize these with any color you want for a beautiful and unique look in your kitchen or bath.
Karen Small
Sunday 17th of September 2017
LOVE your back splash!!! I've been playing around with the glass gems lately and I have problems getting the colors I want or need and have used several things that I've had on hand. I was wondering about the spray paint you use. I make sun catchers using clear Elmer's Glue and sometimes when I'm removing them from the mole the color comes off and I have to touch them up and I was wondering if what you used would do a better job. Since I'm making sun catchers I would want something that would allow the sun to come through some. Do you think this would work? My husband is going to kill me when I tell him what my next project is! I've got to find a place to use your idea! Thanks so much for sharing!!! Karen Centerville, TN.
Toni Harvey
Monday 18th of September 2017
Hi Karen, thanks for commenting. I love your sun catcher idea, I bet they are beautiful! I used spray paint on the backs of mine and while the can says they work on glass it is really opaque so you wouldn't see any sun through it. If you use a metallic paint you'd get the sun glittering off the gems. Depending on what is holding them it's possible that the paint might scrape off. When I was testing mine on a paper plate before I committed to gluing them into the cabinet back, I pulled at them to see how firm they'd be attached. A few of them popped off with quite a bit of force and the paint stuck to the glue and not the glass. That could be because I used them straight out of the package and didn't clean them with alcohol first. They're stuck like crazy in the cabinet and I'm not worried they'll pop off at all. If you want to do it around water consider using a mastic for tile and then grouting between them. Good luck, I'd love to see pictures when you're done.
Toni