Hey friends, ever since I started seeing them on Pinterest I wanted to make a TV console from a dresser. I just needed to find the right size dresser for my house. We had a corner cabinet for our old TV but hubby wanted a bigger screen so this was my perfect chance to get our TV out of the corner. I hunted far and wide and searched craigslist for what seemed like forever.
Then one day I went garage sale-ing (isn’t that a real word? 🙂 ) with my friend Annie. She was looking for a coffee table to use with a beautiful old window and we drove all over but neither of us had any luck. Giving up we were headed home when we saw a sign for an Estate Sale and quickly turned around. As luck would have it we both found what we were hunting for. I scored this old dresser in great shape for a measley $45.
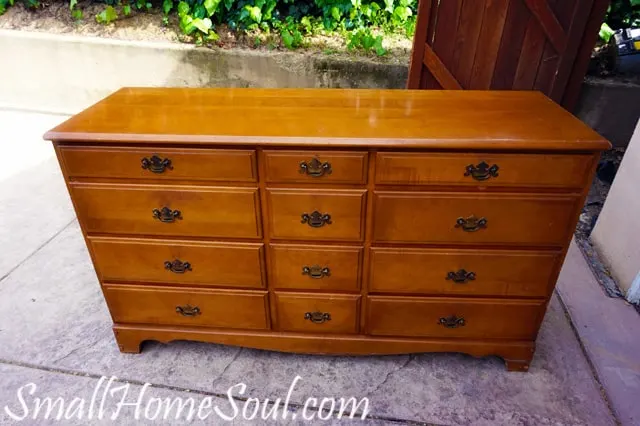
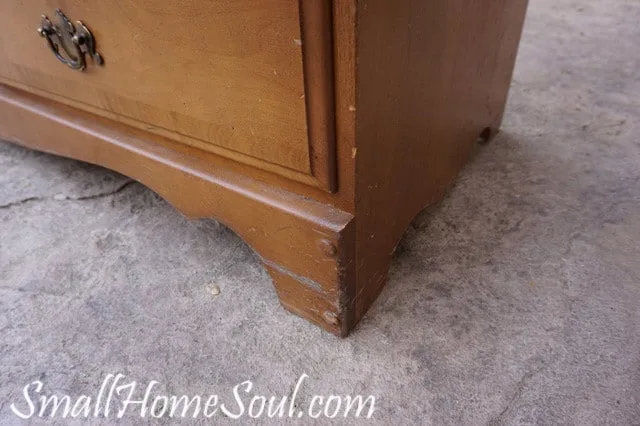
It had some scratches on the top and the feet were a bit banged up. That didn’t really matter, it would give it a little character and I planned to paint the bottom anyway in a style I saw online.
This post contains affiliate links for your convenience. You can read my full disclosure here.
How to Make a TV Console from a Dresser
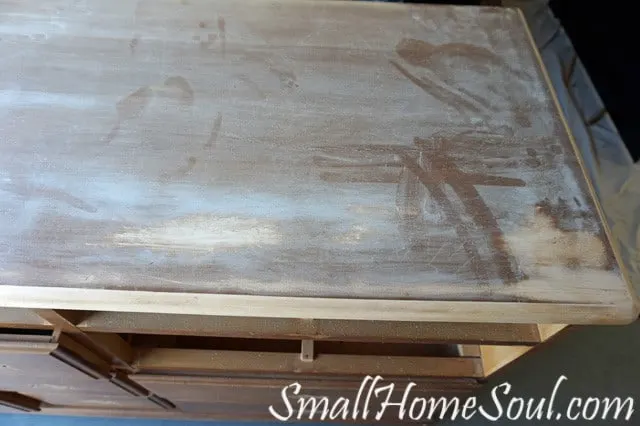
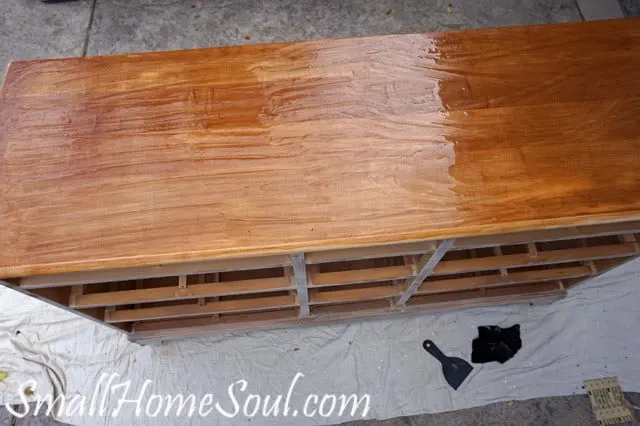
I was finally ready so we started sanding the top. We think this dresser is from the ’70s and the finish was pretty durable and we weren’t making much progress. I don’t like using too many chemicals but it was obvious I needed to use a paint stripper if I was ever going to finish.
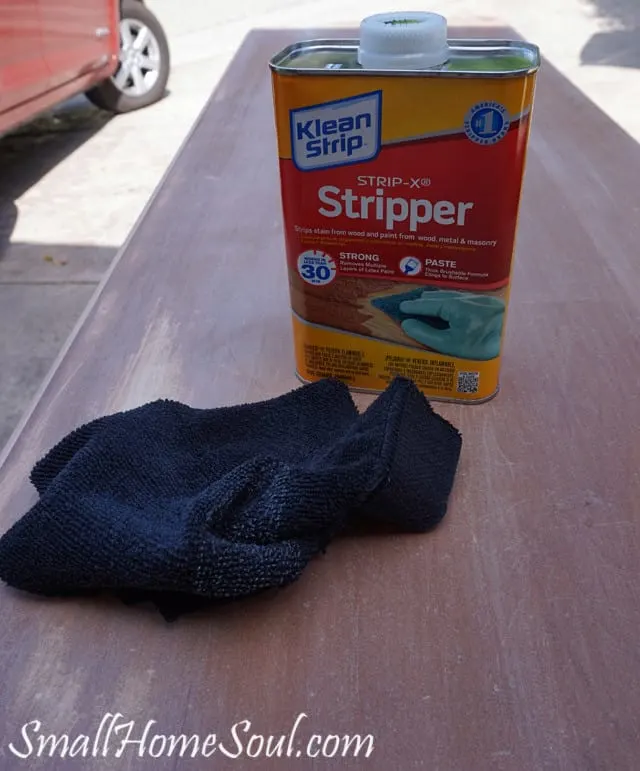
I ran to the hardware store and grabbed a can of Klean Strip. We carefully followed the directions on the can (and you should too) because this stuff can burn your skin and eyes if you aren’t careful.
We let the stripper sit for the recommended time before scraping it off with a putty knife. Since I was going to stain the top I needed to get it to bare wood. There were a few tiny spots of stain left that I was able to sand away. I’m pretty sure this dresser is made of maple since it took quite a rough grade of sandpaper to get the last of the stain out. I also had to do some extra sanding in a few areas that had some scratches. I finished with a fine grain sandpaper for a nice smooth surface.
While the stripper was working we roughed up the drawers and the dresser body to prepare for primer. A palm sander will save you lots of time on this task. We use a Craftsman 1/4 Sheet Sander because it has a nice dust catcher bag which saves on cleanup.
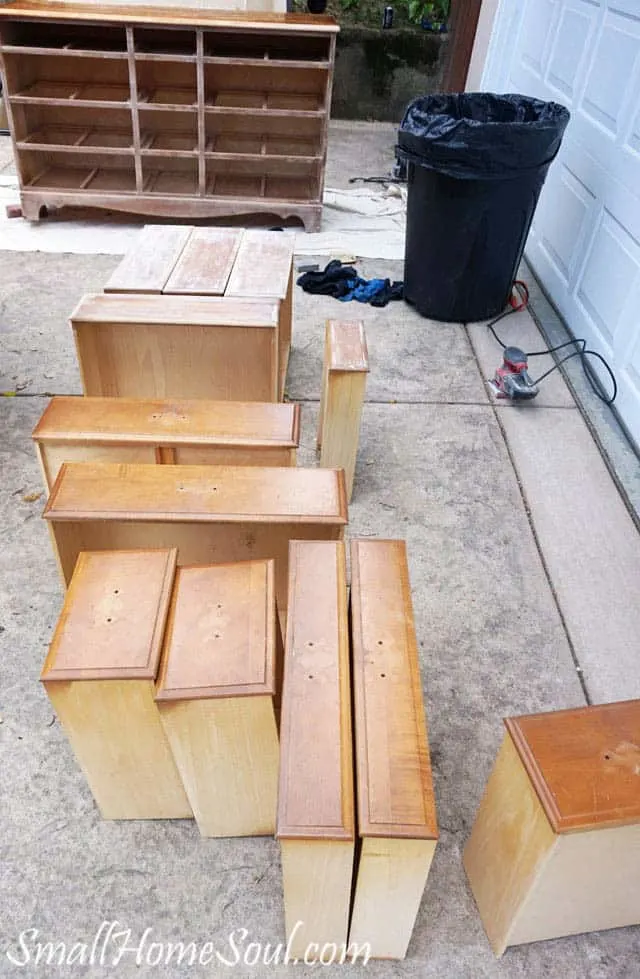
Refinishing the TV Console
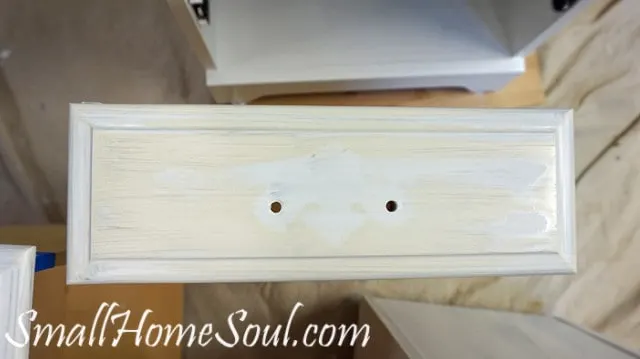
I carefully taped off the drawer fronts so I wouldn’t get any paint anywhere else. After I primed all the drawers and let them dry I came back to find that many of them looked like this 🙁 I was completely bummed so I applied another primer coat, and it happened again but not as bad this time. Since I bought this dresser at an Estate Sale I can only assume it was from many years of nicotine. We always use Zinsser 1-2-3 Primer but I’ve recently learned that Zinsser has a Cover Stain Primer which I’ll be using in the future to save time and headaches. So ya, three coats of primer before I could even start painting my finish coats.
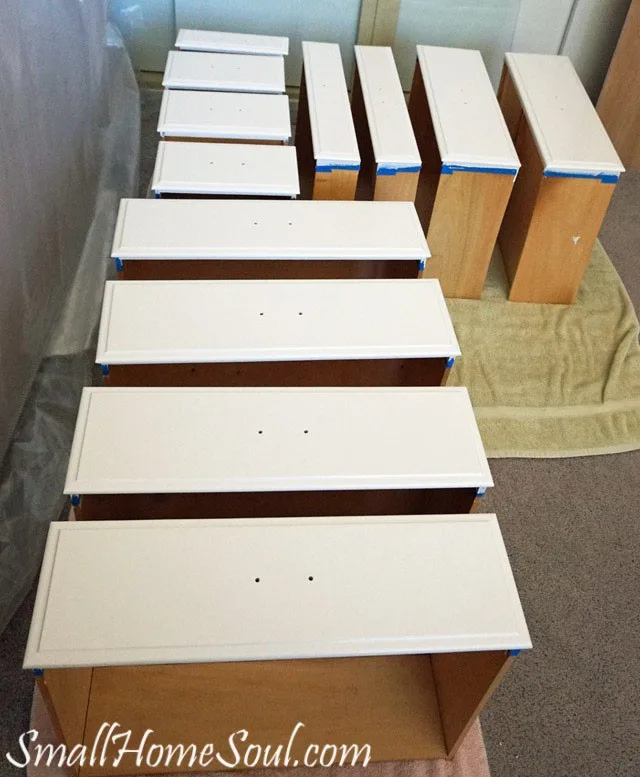
It was finally time to apply the finish coat. We love Sherwin Williams paint and I wanted the sturdiest finish possible so I got Acrylic Latex in the shade “Snowbound.” It’s not bright white but not cream either. This was my first attempt at painting furniture and honestly I had some issues getting the best finish. It was all my fault because once I start a project I want to get it done but I was trying to paint in the hot garage and the paint got gummy pretty quickly. I also hadn’t learned about adding paint conditioners which give you more working time before the paint starts to dry. When I had applied my final coat to each drawer I carefully transferred them into a cool room in the house to dry completely.
I used 2″ Painters Tape and taped the body just under the top and applied Minwax Dark Walnut Stain. I chose dark walnut because I knew the hardwood top wouldn’t absorb stain easily and I wanted it pretty dark. I’m sorry I forgot to take pictures while applying the stain but I used an old sock and applied it with the grain. I let it sit for about 15 minutes and then wiped off the excess. It wasn’t quite dark enough so I did another round of stain. End grain will soak up more stain than the flat surfaces. To resolve that you can skip the end grain on the second coat of stain.
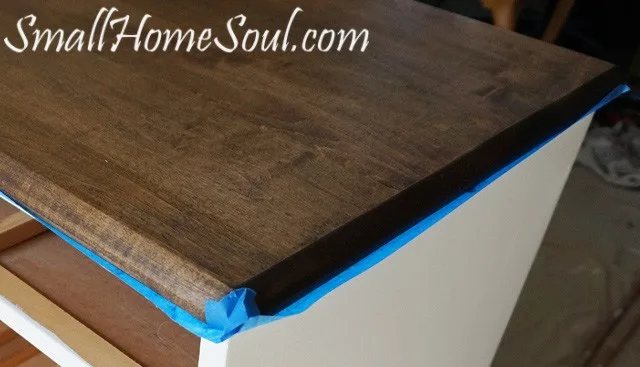
I taped off the top once the stain was completely dry so I could prime the dresser. You can use a small paint roller to save time and then brush over it.
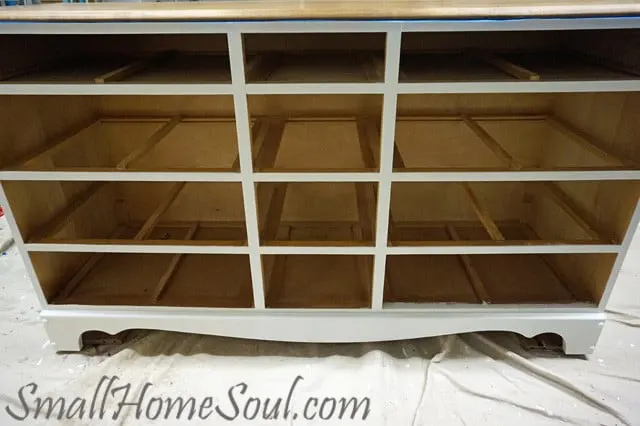
Cleaning Original Hardware
I hadn’t decided if the original hardware would give me the look I wanted so without a backup I cleaned them with a lot of Bar Keepers Friend and a green scrubby. Since I ultimately went with a different pull I won’t bore you with the funky paint booth I created or how I hung them upside down from a foam board; but I managed to paint them and they looked pretty good.
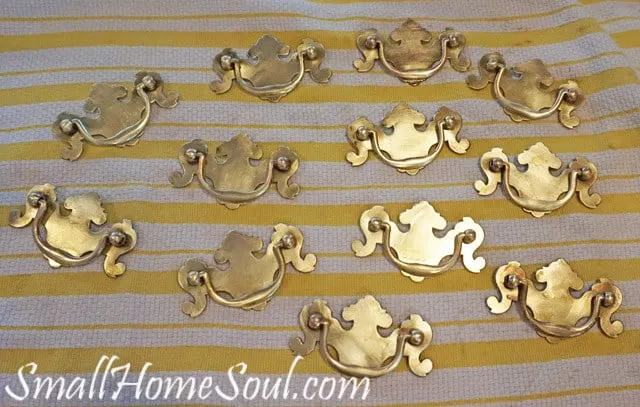
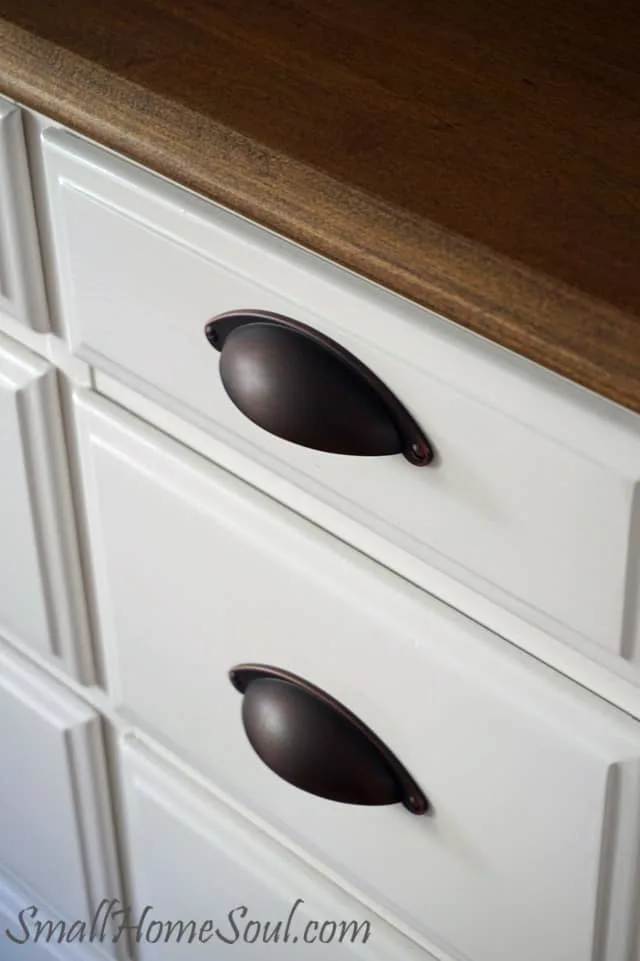
You can see the painted original pulls at the bottom of this picture. Even updated they were not the look I was going for. A trip to Lowe’s and I found these awesome Arched Pulls by Style Selections in Aged Bronze. I think they look so much better than the original pulls. If you don’t have a Lowe’s near you I found these similar styles in many finishes available on Amazon.
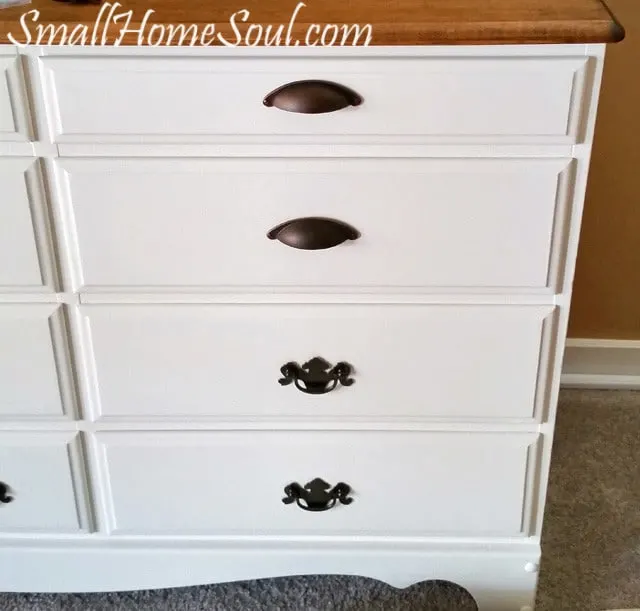
The process to make a TV Console from a dresser isn’t difficult, after you figure out the best primer and what paint conditioners are, and not to paint when the weather is too hot or too cold. So many lessons on this project, sheesh, but it turned out as beautiful as I imagined it would. And I hope my experience and tips will help you when you get ready to paint your first big dresser.
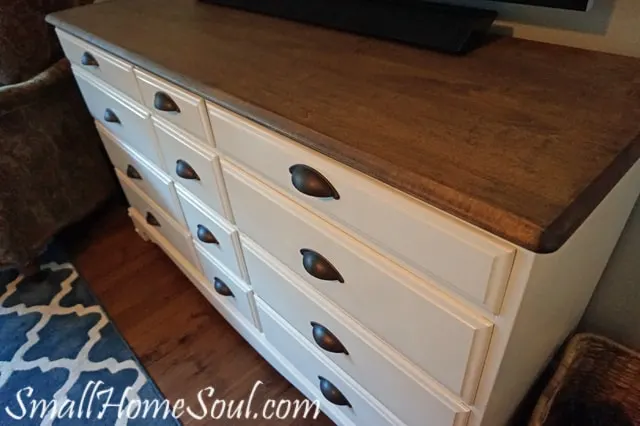
I thought about remove the top drawers to add a shelf for the cable box, etc. I’ve seen so many like that I’m glad I decided to leave it as a full dresser. My house is pretty small with not much storage so every drawer I have counts. We finally hung the TV on the wall and my next project is to add shelves to the walls on either side of the TV Console.
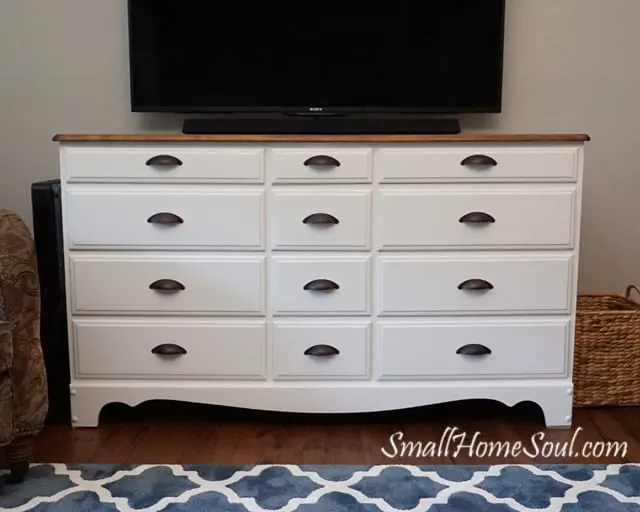
Just beautiful 🙂
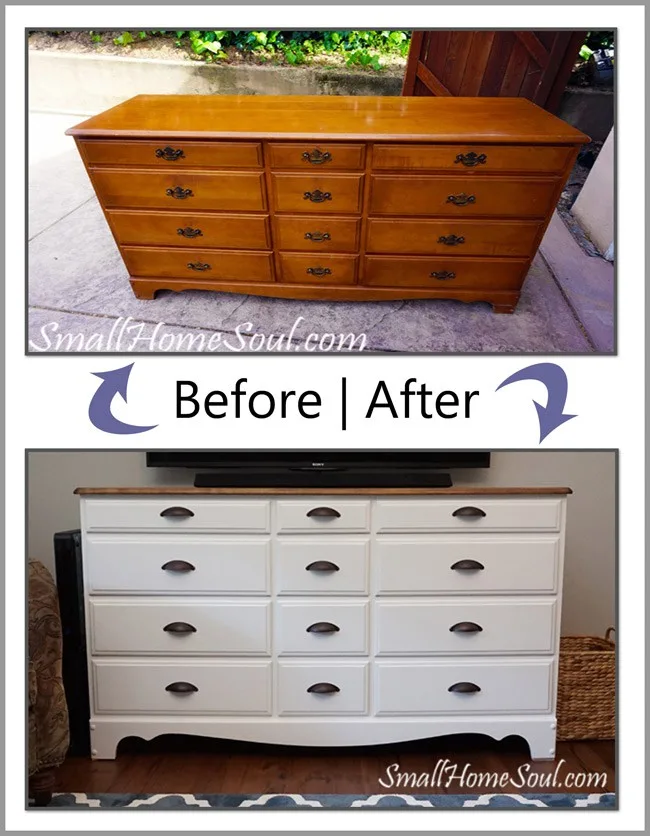
And one last shot of the Before and After, what a huge change a little paint and pulls make!
UPDATE: Since I published this post about the TV console I’ve made some changes in the living room. I thought you might like to see my tutorial about how to Install Shelves in your living room.
What pieces of furniture have you tackled for a makeover? I’d love to hear all about it, go ahead and leave a comment below. I love to read and respond to all my comments.
Be sure to Pin and Share this project with your friends !
Until next time,
Toni
Sam @ Raggedy Bits
Tuesday 27th of December 2016
What a fabulous transformation and repurpose!! Love how this all turned out!
Toni Harvey
Friday 30th of December 2016
Thank you Sam, it's amazing what a little paint can do to make furniture look brand new.
Toni Harvey
Friday 15th of April 2016
Thank you Bea, I love how it looks in our house.
Claudia Carbis
Thursday 14th of April 2016
I adore this idea!!! I use to have a chest like that and what a great idea for it. Love the color too. Genius!!!
Toni Harvey
Friday 15th of April 2016
Thank you Claudia, I saw a similar dresser a few years ago on pinterest and this was the look that stuck in my head!
Susie
Sunday 10th of April 2016
This is such a beautiful makeover. It totally looks like it was a media center since it was born. LOL. I LOVE the colors together. Thanks for linking to Friday's Furniture Fix. Sharing out on IG and FB this morning. XOXO Susie from The Chelsea Project.
Toni Harvey
Monday 11th of April 2016
Susie, you are so sweet, and than you for inviting me to your link party. I can't wait to join more of them!