Have you ever wanted to try String Art? I have but today I’m going to share a twist on string art with this String Art Christmas Tree.
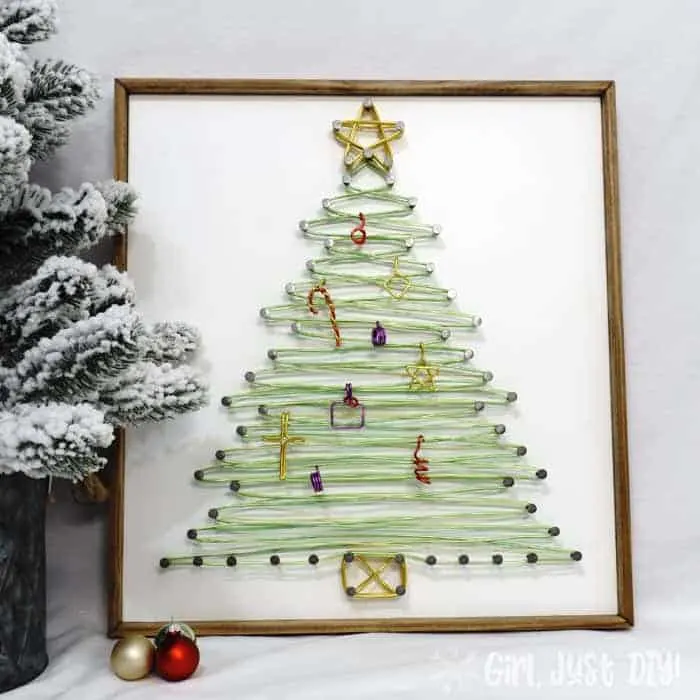
I created this project as part of the Deck the Home Blog Hop where over 20 creative bloggers bring a new theme each week for 5 weeks. You can see all the posts linked up at the end of this post. This weeks’ theme is Outdoor Decor.
I started to make a wreath to hang under our house numbers. But I really wanted to tackle something new. Soooooo, I decided to make a String Art Christmas Tree that could work outside on our porch, which is completely sheltered from rain.
But if I used embroidery floss or even hemp twine it could still absorb moisture and eventually it wouldn’t look that great.
I was at the Dollar Tree wandering around looking for inspiration for other projects and I notice packs of very shiny wire and the light bulb came on. I was going to do my first every string art project but instead of string I’d use wire 😀
NOTE: You can still make this project using colored string or embroidery floss with the pattern I’ve laid out.
I think part of my inspiration came from My Kitchen My Craft’s project from Week 1 of our Deck the Home Blog Hop.
This post contains links to products, if you purchase something after clicking on my link I may earn a small commission (at no extra cost to you).
String Art Christmas Tree Supplies
- 15″ x 16″ x 3/4″ Pine or plywood board painted or stained
- 60-70 1-1/2″ Underlayment Nails with Ring Shank
- Alternatively, if using string versus wire you can use these smaller nails
- Aluminum Jewelry Wire as follows:
- Red (6′),
- Gold (12′),
- Green (100′),
- Purple (6′)
- Dollar Tree version but this is a good option
- Or make yours with Embroidery Floss
- Cordless Drill
- Hammer
- Jewelry Pliers
- Wire Cutters
- Craft Paper
- 6′ 3/8″ x 1-1/4″ Round Edge Molding for Frame (similar to this but unprimed)
- Sanding Sponge
- Dark Walnut Stain
- Old Rags
- Latex or Nitrile Gloves
- Miter Saw
- or Miter Box
- Wood Glue
- Finish Nailer
Planning your String Art Christmas Tree
Step 1: Design your String Art Tree
I looked for inspiration for my String Art Tree on Pinterest. So many styles; some tall, straight triangles, super simple, and some free flowing like they willy nilly pounded in some nails in tree shape.
I appreciate the artistry and how cool they were, but Friends, I am so not (currently but I aspire to be) the kind of girl who can start a project I’ve never done before and willy nilly it.
I plotted and erased and plotted some more until I came up with a pattern I liked. See that perfectly straight ruler line up the middle of the paper and the slope of the tree? Yep, I’m proud of that 😀
I did stop short, however, of perfectly spacing all the dots. But there was lots of eyeballing and comparing and some eraser dust before I was happy.
Get a FREE String Art Christmas Tree Pattern
I added colored dots over my original pencil swirls so you can use this pattern yourself. Just click below to access the file. You can re-size it as needed.
Step 2: Prepare the board
- Determine the size for your Christmas Tree string art and cut the board.
- Stain or paint it as desired.
- Draw or transfer the pattern onto craft paper cut to fit the board being careful that the pattern is straight.
- Tape the craft paper to your prepeared wood board.
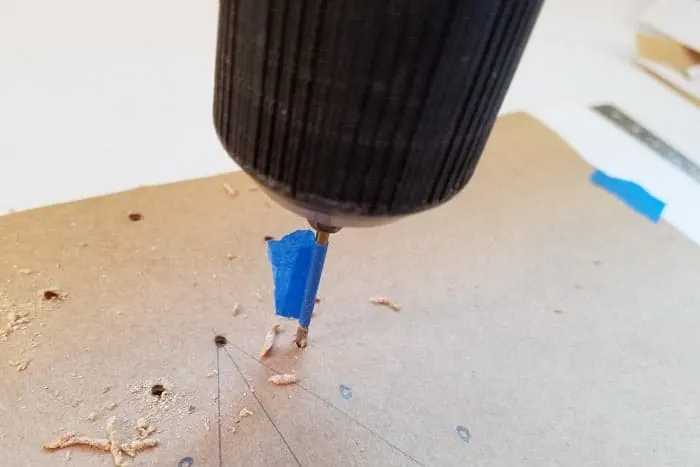
- Insert a drill bit into your cordless drill that’s just smaller than the nail. This ensures the nails go in straight and they’ll be easier to nail.
- Place a piece of tape on the drill bit 5/8″ from the tip. This will keep you from drilling too deep (through the board).
- Drill all your holes holding the craft paper down near the drill bit with a paint or craft stick.
Step 3: Add your nail pattern
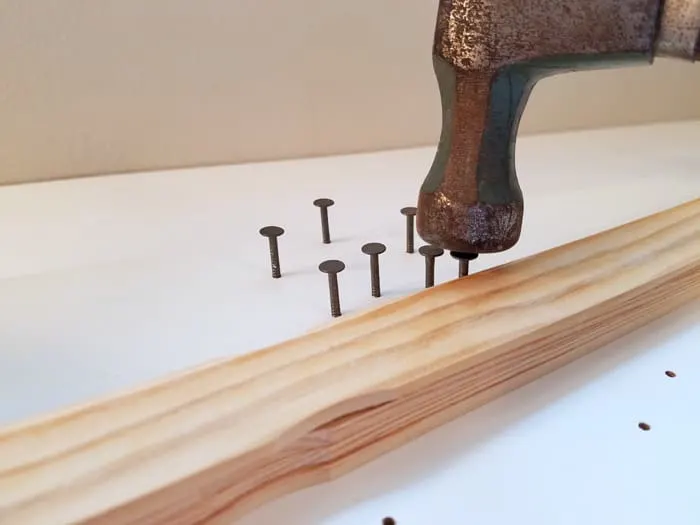
- Start from the top and nail in all the underlayment nails.
- The ring shank on the nails will keep them from coming loose. You can use smaller nails if you use string versus wire.
- I found stacking paint stir sticks against the nail kept them a uniform height.
Step 4: Time to string art up that tree
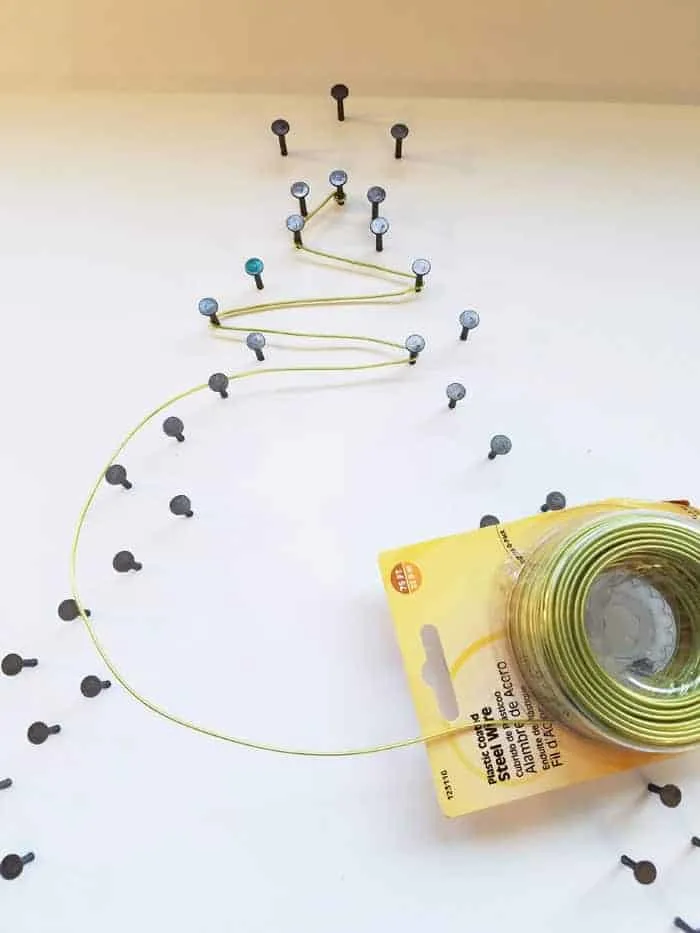
After all the nails are in it’s time to string art your Christmas Tree. You’ll do 4 passes on the tree from top to bottom. Read all remaining steps before you begin so you are sure of the process.
- Use the jewelry pliers to bend the end of the wire into a hook and secure it around the top nail on the Christmas tree.
- Wrap it around the nail just below it on the left. Then go to the right but skip a nail. You’ll do an every other nail pattern all the way to the bottom nail.
- NOTE: I don’t have a picture of how to do the tree trunk because I had to do a bit of undoing and redoing to get it right. Here’s how you should do it.
- Before you start the 2nd pass wrap the trunk with wire 4 or 5 times (put an X in the middle if you want).
- End the 1st and 3rd passes on the corner nail.
- When you do passes 2 and 4 those two will loop under the nails at the bottom of the tree, just over the gold trunk and then back under the nails on the left side of the trunk. Secure them to the nail in the bottom left corner with the wires from passes 1 and 3.
MORE CHRISTMAS TREES
Wooden Christmas Tree – Paint Stick Christmas Tree
Word Art Christmas Tree – Button Christmas Tree Ornaments
If you are using the 6′ coils from Dollar Tree it won’t reach all the way to the bottom so you’ll have to attach the end to a nail and start a new coil. Or you could join two coils with a little hook on either end and pinch. It won’t show when you’re all done.
- Attach the end of the coil around the final nail and cut it with wire cutters. Give it another pinch with pliers to secure it.
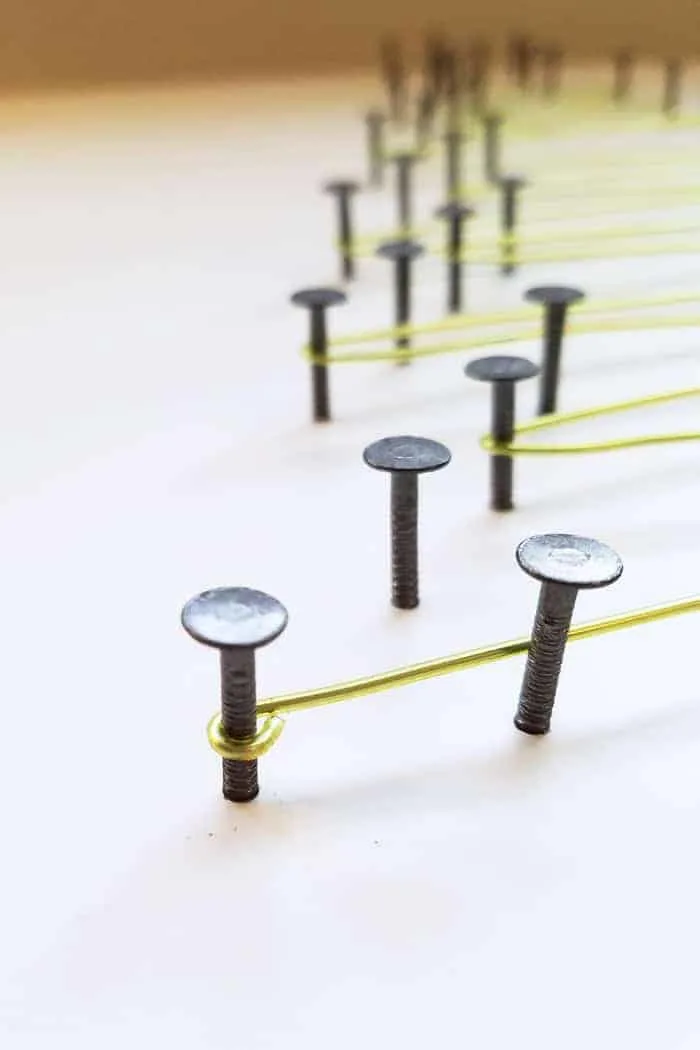
- If you have two shades of green use the other shade and work the other side in the same pattern. You’ll alternate Light and Dark then Dark and Light so that you have four (4) layers of green wire.
- If you need to make space on your nail you can use a screwdriver, butter knife, or anything similar to push them down. Only if you need room because I like the extra dimension created with the wires not directly against the board.
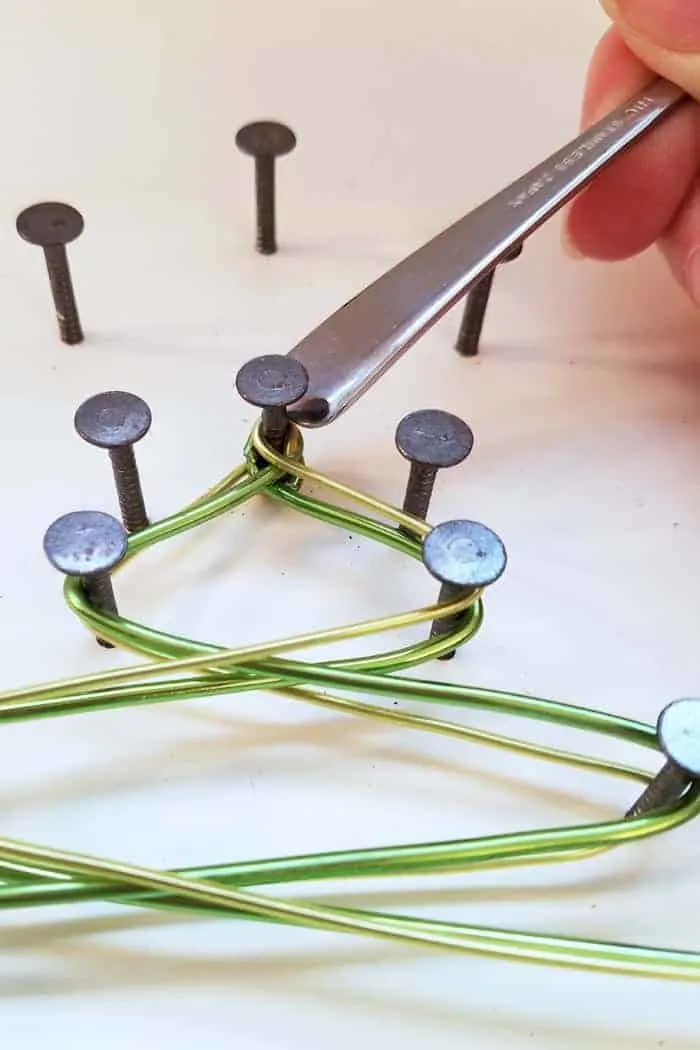
It’s looking very cool so far.
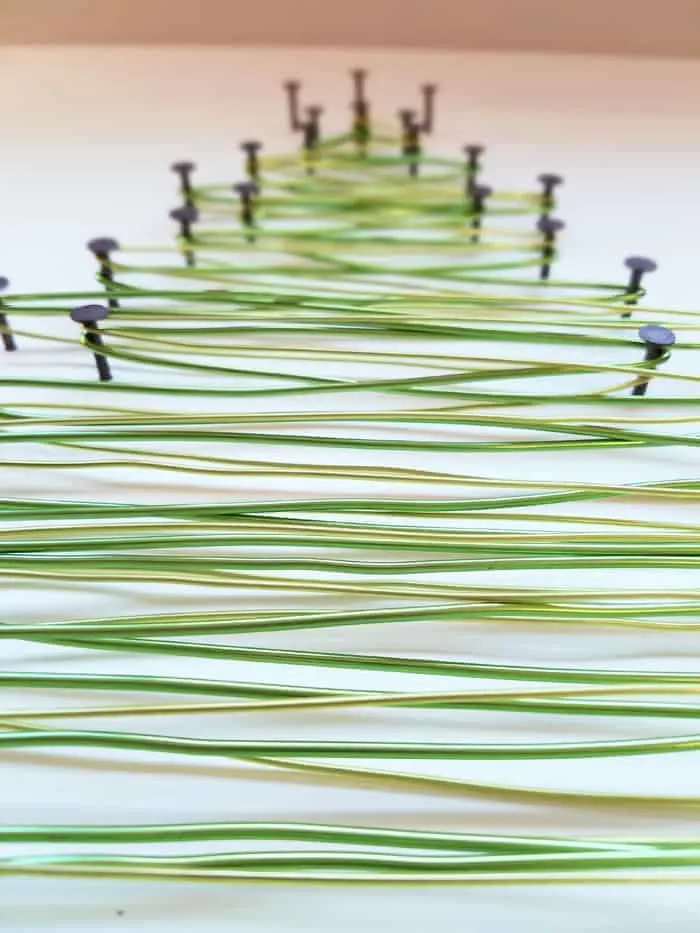
Step 5: Top it with a Christmas Star
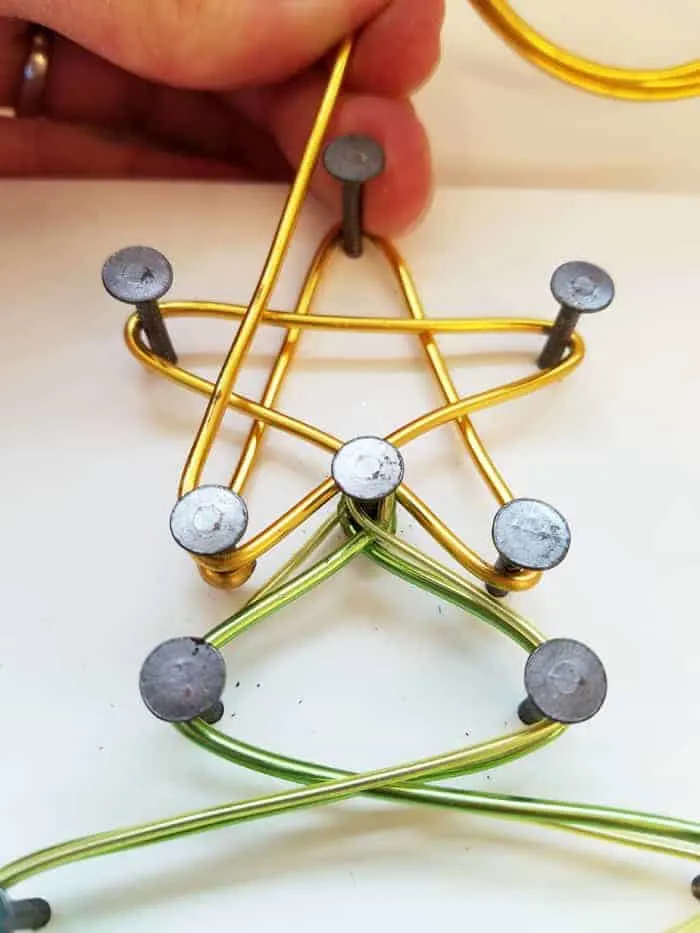
Remember when you learned to draw stars as a kid? It’s just that simple, same pattern as drawing a star
- Wrap the star topper 3 or 4 times with gold wire.
Step 6: Decorate your Christmas Tree
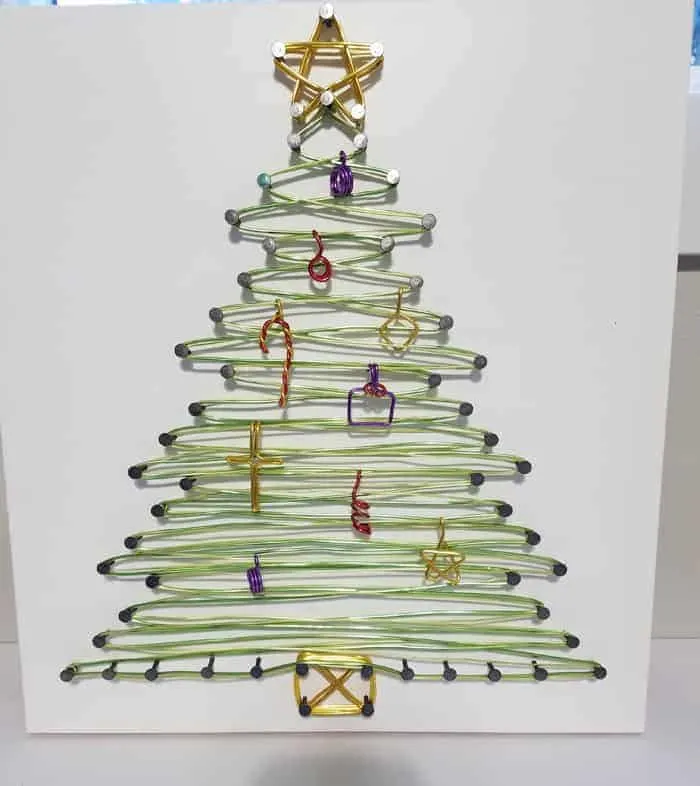
Now that the tree is all wrapped it’s time for some really creative crafting. Make little ornaments with the various colored wire to hang from your tree.
I made this little star by bending the wire at approximately 1″ intervals. The star was the hardest but I had it down after trying a few times. This was fun but it made my finger tips kind of sore after I made 10 little ornaments.
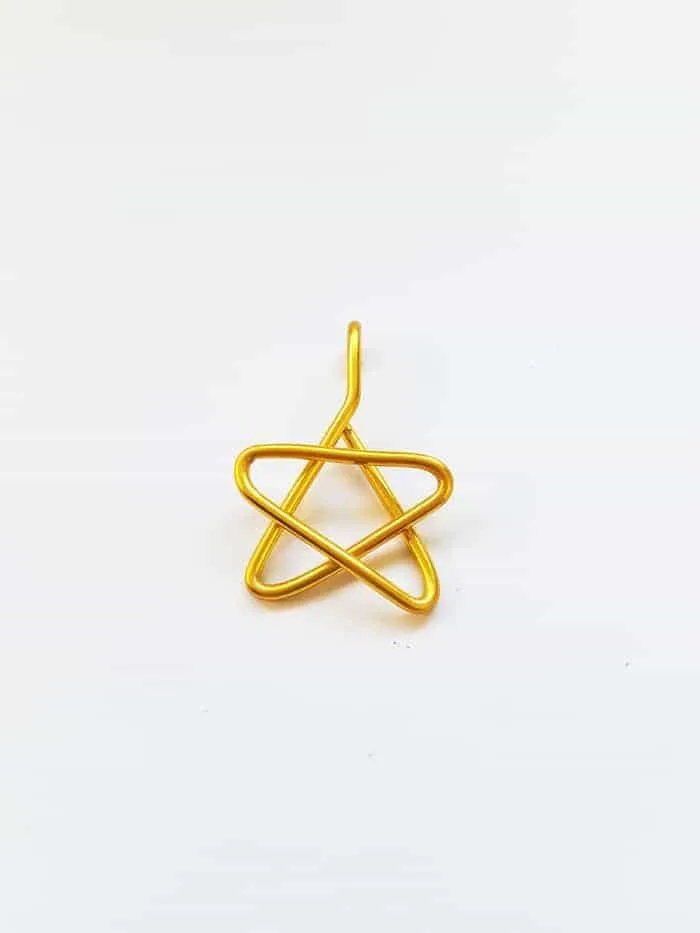
Give them all a little hook at the top and then hang them from the tree.
How to finish a String Art Christmas Tree
After I finished my string art Christmas Tree and decorating it it felt like it was lacking something. It needed a frame. I hunted in my garage stash and couldn’t find anything so I ran to the hardware store and picked up some stop molding.
Step 7: Frame it and finish it
- Cut the molding to size with the miter saw or miter box.
- Measure the width of your board, this is where the mitered edge starts (flares out).
- Measure twice and cut once…..all your pieces and dry fit.
- If you’re using a miter saw it’s easy to shave a little off it’s too long. This might not be so easy using a miter box and manual saw, you’d likely need a clamp to hold the wood in place if you’re trying to shave a little off.
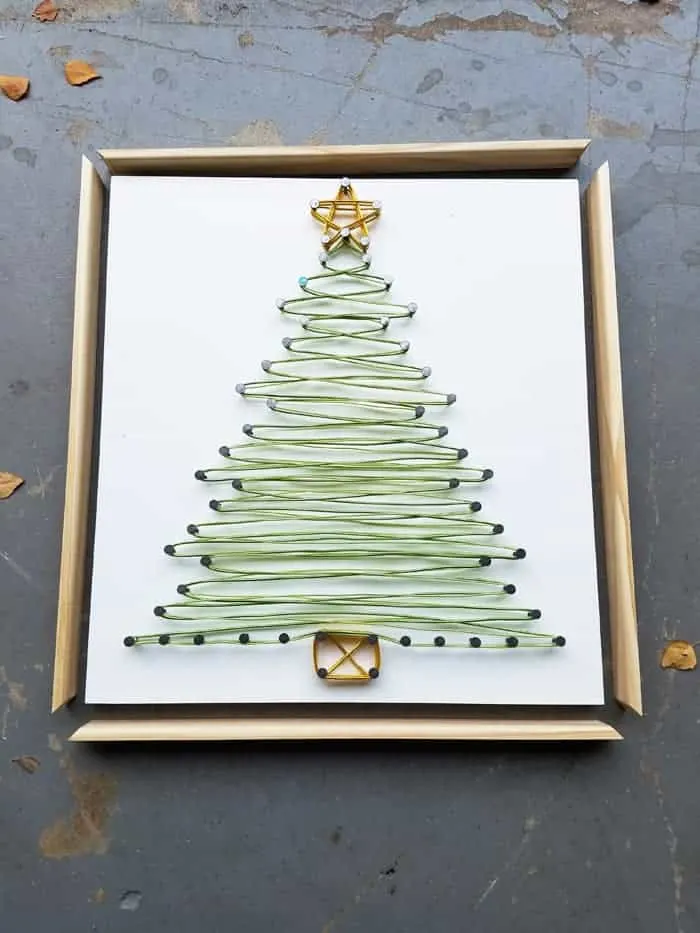
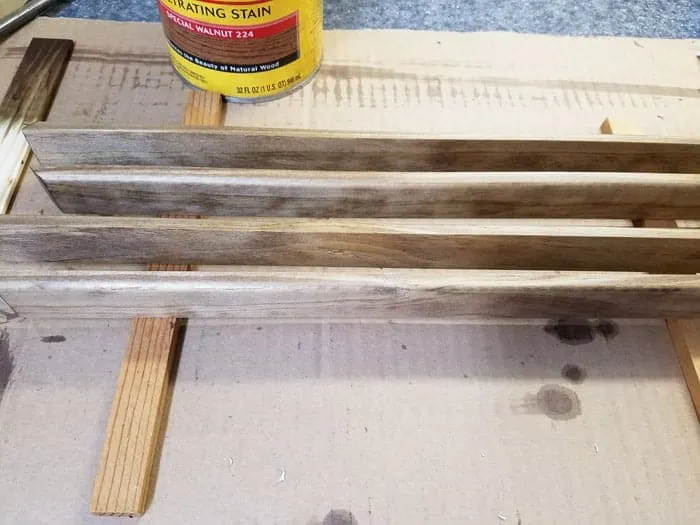
- When all your pieces are cut give them a light sanding and stain them the shade of your choice.
- Wipe off excess after a few minutes and stand them on end (on the back) to dry over night.
MORE WOOD PROJECTS
Creative Craft Paint Storage – Easy Wooden Footrest
Wooden Christmas Tree
- Run a small bead of wood glue along the bottom edge of the trim.
- Line it up against the board and dry fit the other two pieces against it to center properly. Use clamps if you have them.
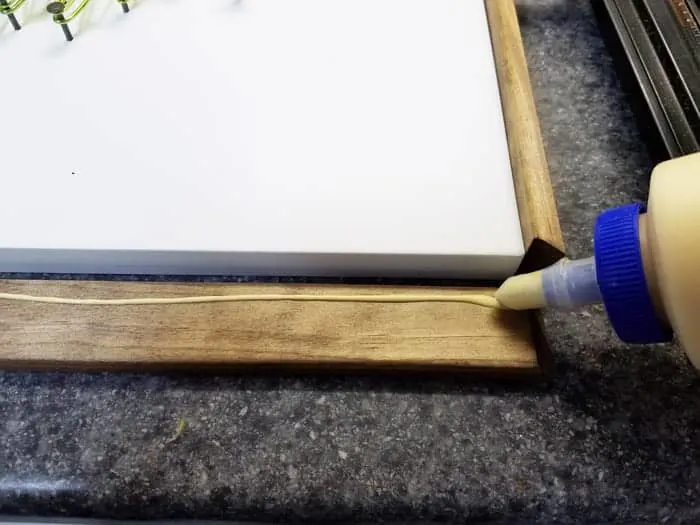
- Attach the trip with a brad or finish nailer on either end and one in the middle of each side.
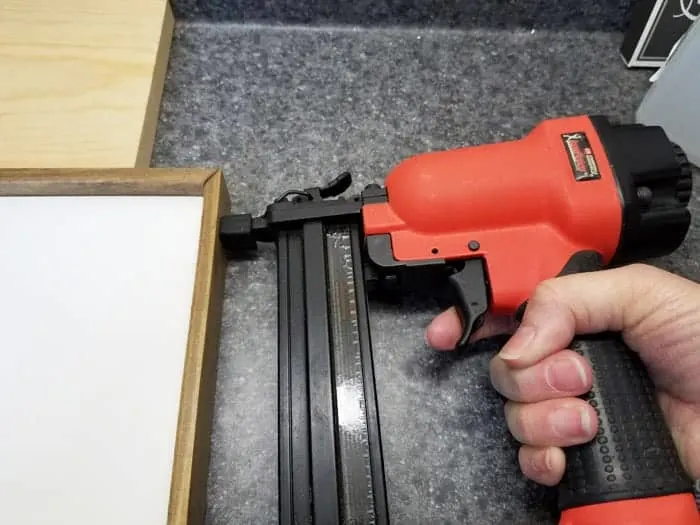
I sure wish I’d remembered we had this little nailer/stapler that goes with our compressor when I did the makeover on my desk chair. That would have saved me a lot of electric stapler work.
And, you’re done!! Hang your little ornaments to decorate your beautiful and shiny String Art Christmas Tree. I know I made this for outdoor decor but honestly I love this so much I might keep it in the house instead.
Be sure to use the proper weight-rated hooks and wire if you hang it on a wall.
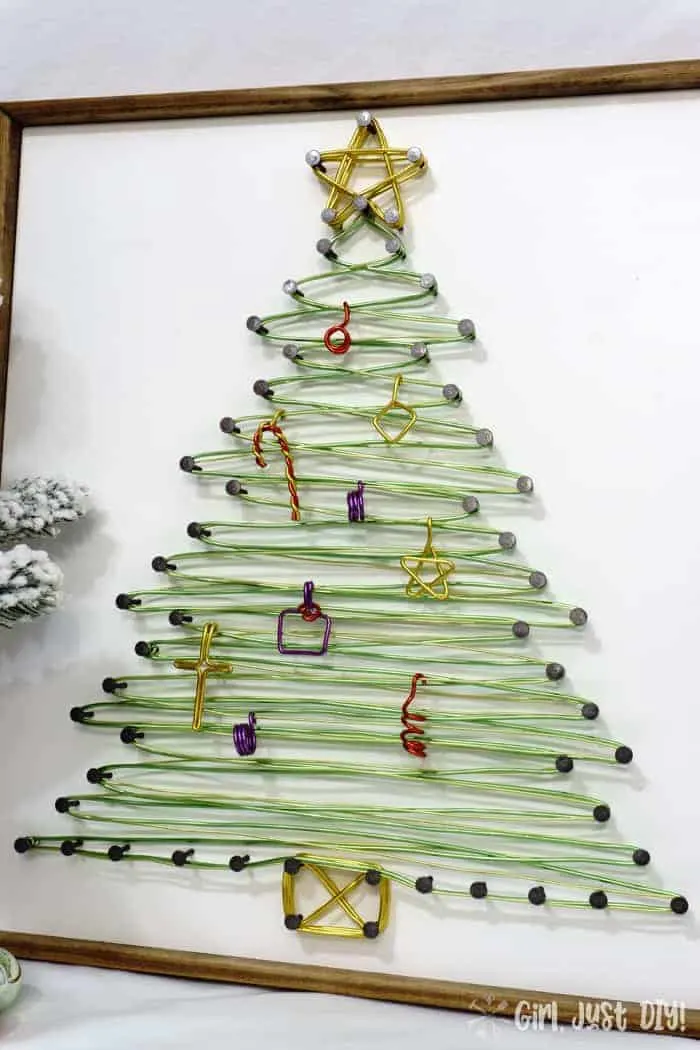
Ahh, I love the two-tone of the wire, and those ornaments! They really make the whole thing.
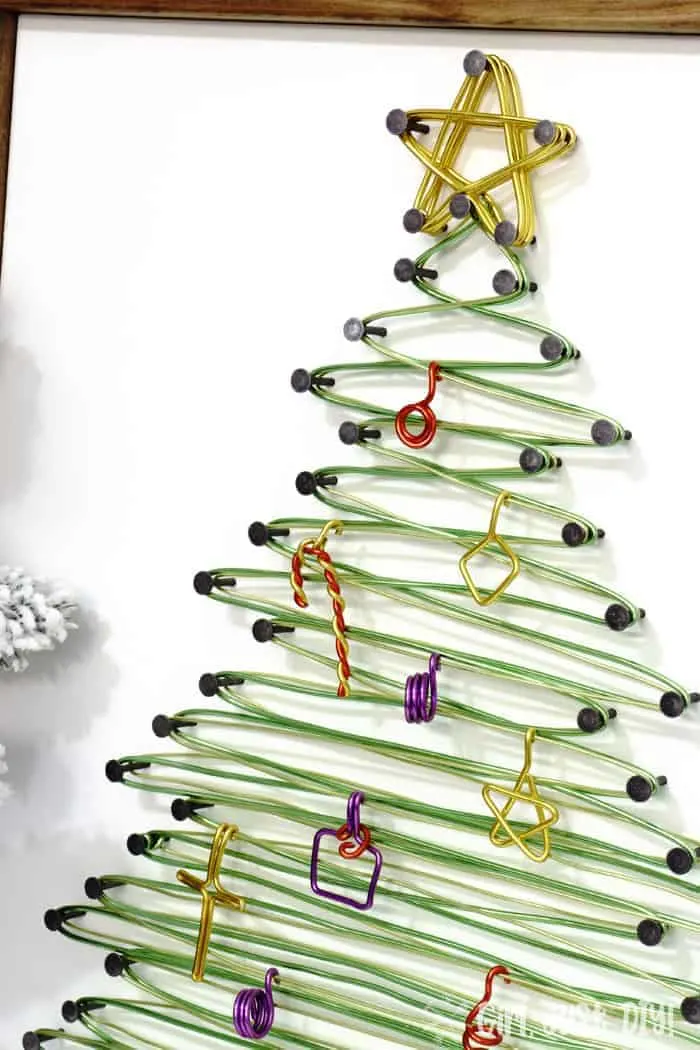
I can’t get enough looks.
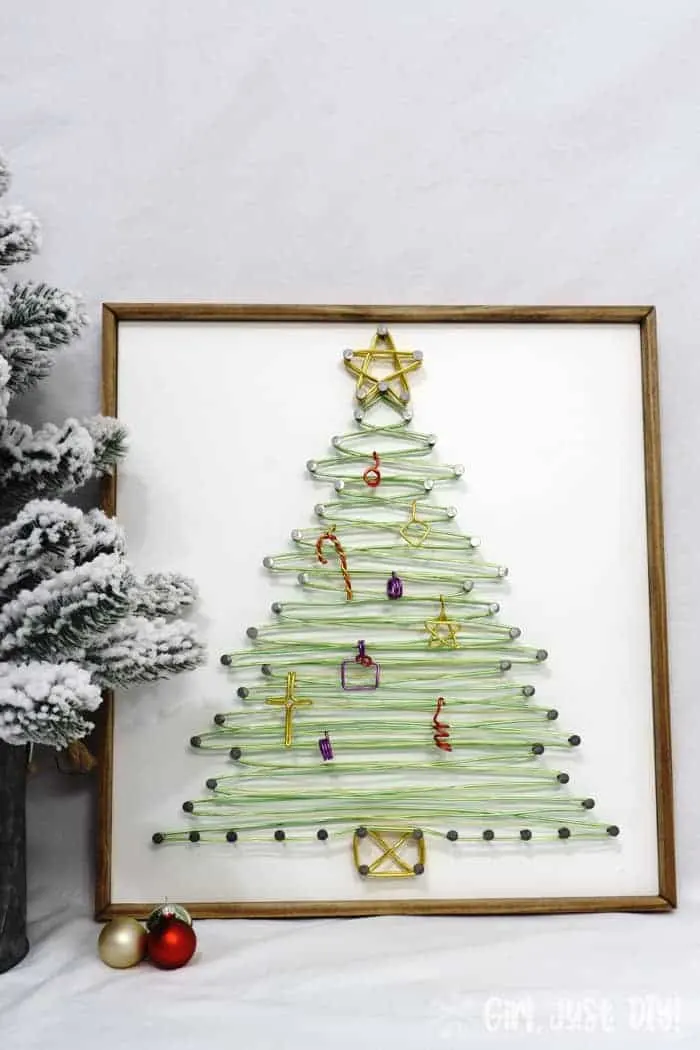
It’s right at home next to the mini flocked tree.
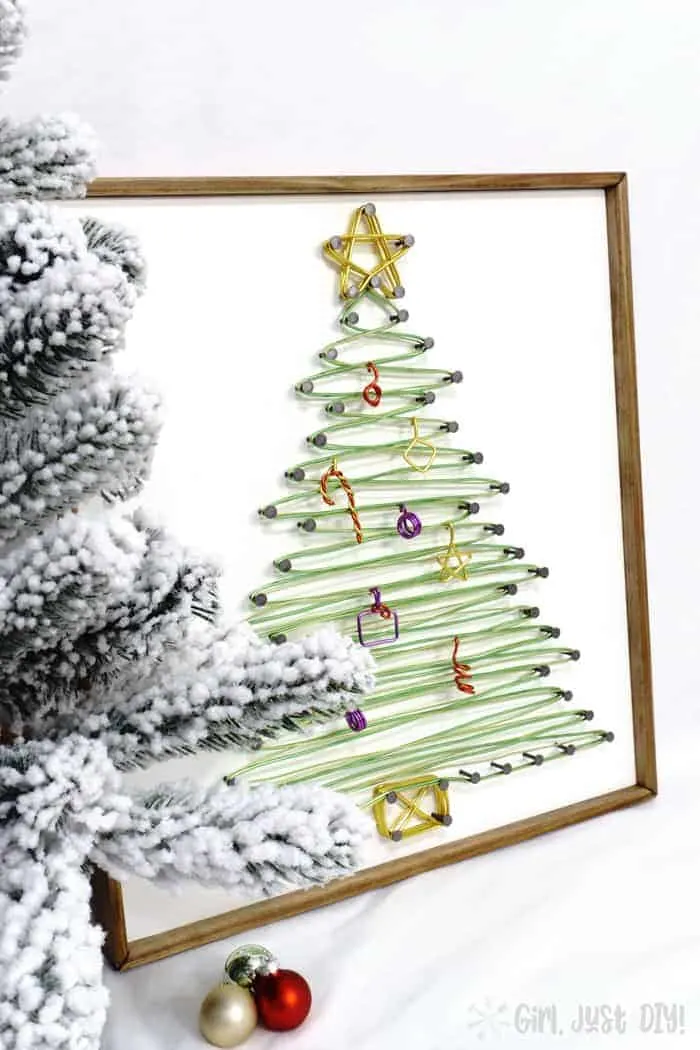
PIN IT FOR LATER!!
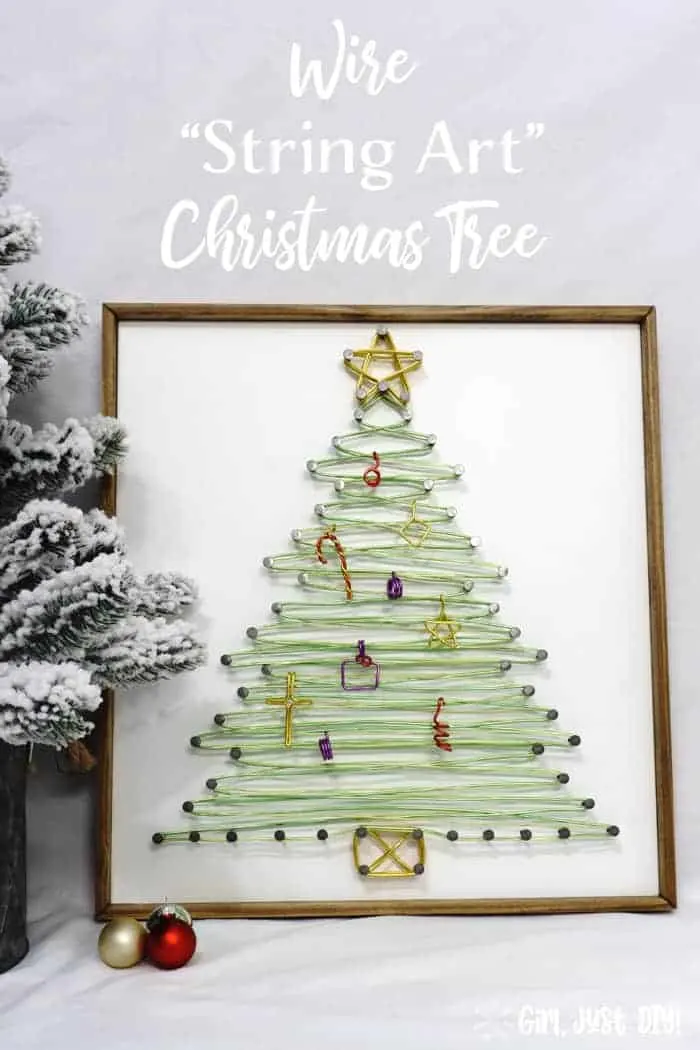
Now it’s time to check out all the other lovely projects that were created by my blog hop cohorts. Go on over and give them some love.


Lori Jo
Wednesday 5th of December 2018
Very unique and fun, love it! :)
Lori Jo - 50 With Flair
Julie Briones
Tuesday 4th of December 2018
Such a neat idea! I would never have thought of using wire instead of string! Quite creative, Toni! Pinned!
Brooke
Wednesday 21st of November 2018
I love your spin on string art! What a great idea!!
Toni | Girl Just DIY
Wednesday 21st of November 2018
Thank you Brooke, I've wanted to do a string art project for a while and was inspired by My Kitchen My Craft's twist on her project that she shared in Week 1. https://www.girljustdiy.com/sparkly-christmas-wreaths/
Jessica Lehman
Wednesday 21st of November 2018
Such a unique idea! I would have never thought to use wire instead of string!
Toni | Girl Just DIY
Wednesday 21st of November 2018
Thanks Jessica, you can't do the art with the strings that cross all over the place because you quickly run out of room on the nail. I love how simple this one is but still has depth.
Patti Mapes
Wednesday 21st of November 2018
Love the use of wire instead of string!
Toni | Girl Just DIY
Wednesday 21st of November 2018
Thanks Patti!