
Boob Light Makeover - DIY Ceiling Light Update
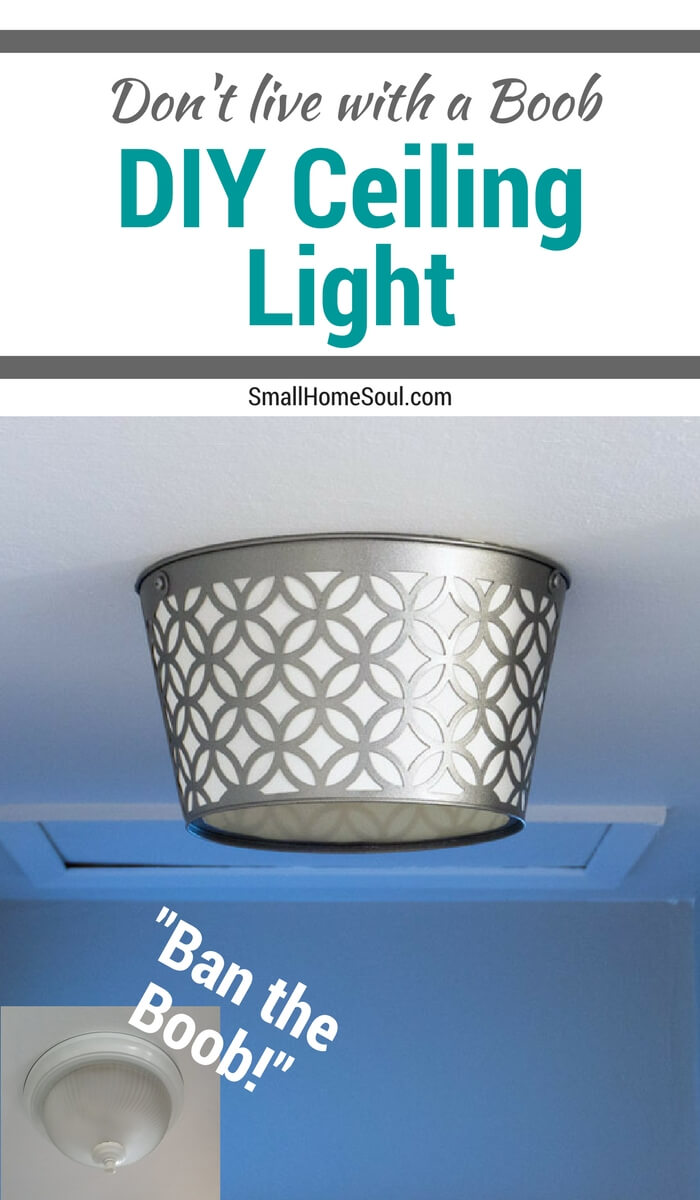
Have you ever lived with something because you didn't know how to make it different? Or you hated it but haven't yet found the time to do something about it? That's how it's been with our hallway light. It's time for a DIY Boob Light Makeover.
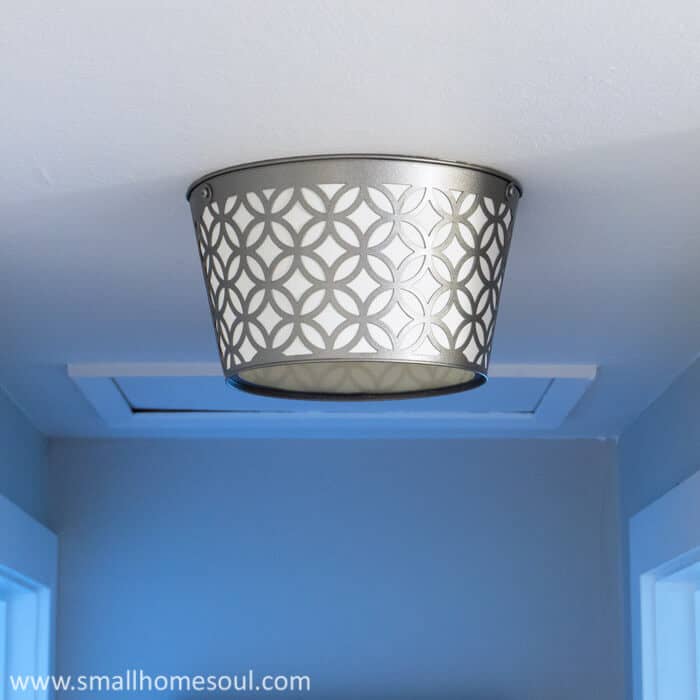
Our hallway light was one of those things I hated. It was old and it looked it, plus it wasn't my style at all. I'd never heard the term "boob light" or ceiling boob 😀 until a few years ago.
They do resemble a body part, so it makes perfect sense. Now I can't see them any other way. Our boob light came with the house we bought 20+ years ago, so it was definitely time for a change.
I've wanted to do a ceiling light makeover on the hallway light for as long as we've lived here. It just kept getting pushed off by more important projects.
I never had the budget to spend on the type of light I really wanted. Plus, the hall closet door opens right underneath; finding a stylish light that fit the requirements was going to be hard.
Here is our so unimpressive boob light, rusty spots and all.
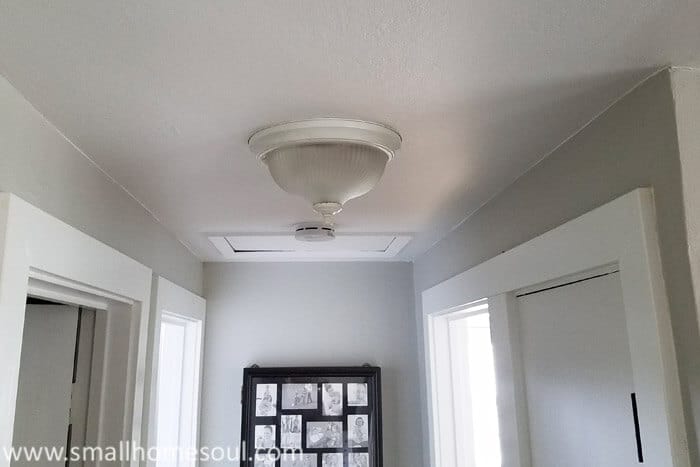
I bet some of you are in the same dilemma, no money, can't find what you want, won't fit your space, etc, etc. Am I right? I know I'm not alone so I hope this DIY inspires you to find a solution to your boob light problem.
This page contains links to products, if you purchase something after clicking on a link I may earn a small commission (at no cost to you). If you do make a purchase, thank you!
You can read about affiliate links here.
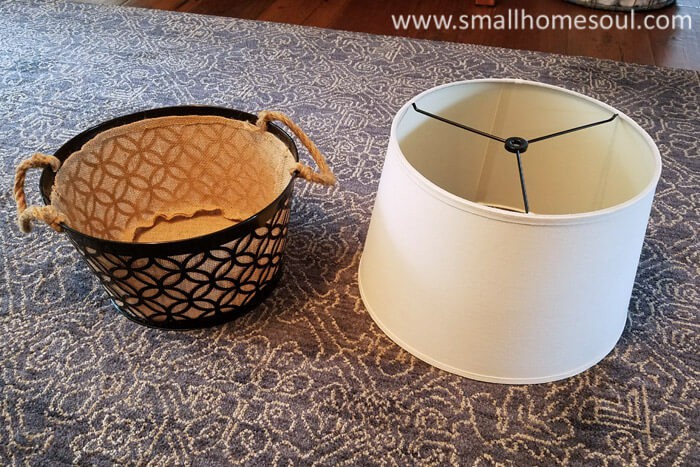
Last year I bought a cute burlap lined basket for $5 in a Facebook group that I thought might work perfect for a light. Here's my first DIY Hanging Light that I made from a wire basket, so I knew it was totally doable.
If I chose a different route I still got a nice basket for cheap. Strolling through Habitat for Humanity ReStore a month or so later I bought a lampshade for $4 that I thought might work on it's own.
Using the lampshade would be the easiest route, and it would work ok. But, there'd be nothing stylish about a plain drum shade stuck to the ceiling.
Then I had the bright idea to combine the two into one awesome DIY ceiling light.
Boob Light Makeover Supplies
- Basket that will fit over your existing boob light base
- Cheap drum shade a little larger than your basket Or Lamp Shade Liner
- Rotary Tool - I have an older model of this one
- Safety Glasses - Eye Protection - Ear Protection
- Cordless Drill with Metal Drill Bit
- Scissors
- Gloves - I love this brand/style
- Silver Foil Tape
- Box Knife
- Spray Paint, this metallic is my favorite
- Fast drying glue but not super glue
- #10 ½" Sheet Metal Screws
In order to use your basket as a stylish replacement for a boob light you'll need to remove the bottom. Not all of it, but most of it, and you'll want it to be as smooth a cut as possible.
A Rotary Tool with a cut off disk is perfect for this project.
How to cut the bottom from a metal bottom basket
Step 1: Find the exact center of your metal basket.
To make a basket work as a boob ceiling light cover you'll need to remove the bottom of the basket. This will allow the light to shine down.
Here's how to find the center and get a perfect circle (see example below):
- Measure across and find the center. The center of my basket bottom was 4.5" Draw a line between 4" and 5".
- Spin the basket ¼ turn and repeat bullet #1. The center is where the lines meet.
- Use a nail and hammer to poke a hole on the center mark.
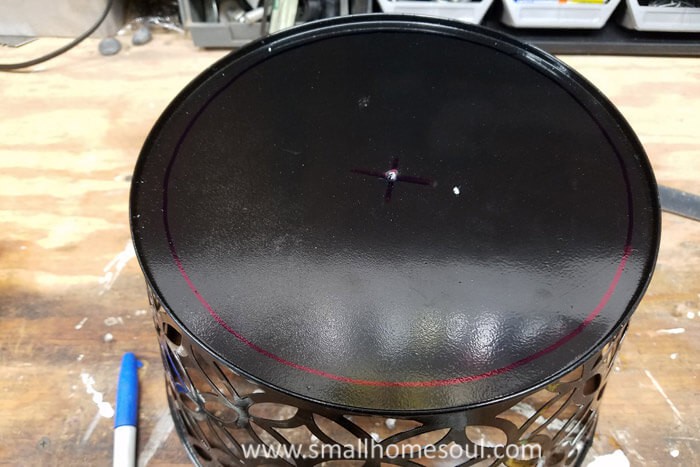
- Trace around the outside of the basket bottom onto a piece of paper.
- Cut out your circle.
- Fold it in half then in half again for a quarter circle
- Fold it two more times until you have a long skinny triangle.
- Place the tip of the folded paper triangle in the center of the hole.
- Mark both sides the paper ½" from the outer edge of the basket.
- Unfold and find the center of the paper circle and poke the nail through the center.
- Line it up with the hole you made in the bottom of the basket.
- Trace around the paper plate with a permanent marker.
- This line is where you'll make your cut.
Step 2: Cutting metal the easy way
Follow all safety instructions that came with your rotary tool . Wear safety glasses, hearing protection, and a dust mask.
- Load the cutting disk into your rotary tool to start cutting the circle. It works best if you use a higher speed, just go slowly until you get the hang of it.
- With the cutting disk moving, slowly lower it onto the marker line and press down until the disc is through the metal.
- Lift the disk up slightly as you move along the line to cut the circle.
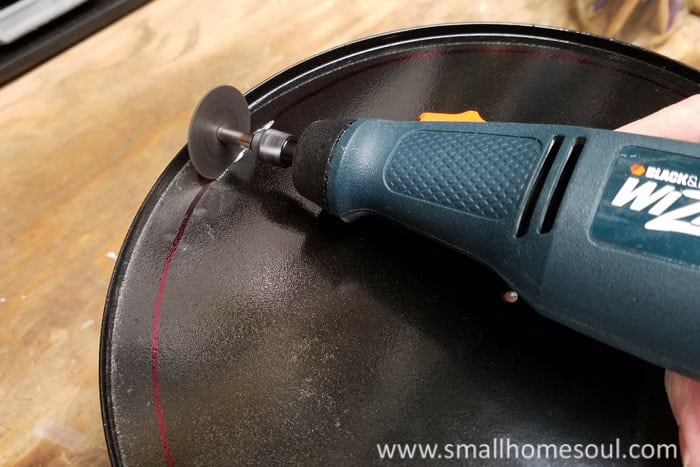
How do you keep metal from shaking as you cut a circle with a rotary tool?
As you get close to the halfway mark skip over about an inch and start a new cut. This will keep the metal from shaking while you cut the rest of the circle. Wearing protective gloves hold the cut out circle while you cut the final 1" section you skipped over previously.
Switch out the head on your rotary tool to smooth the rough edges as needed. The neater your original cut the less smoothing you'll need to do. Give it a thorough cleaning and let it dry.
How to make a liner for a Ceiling Light?
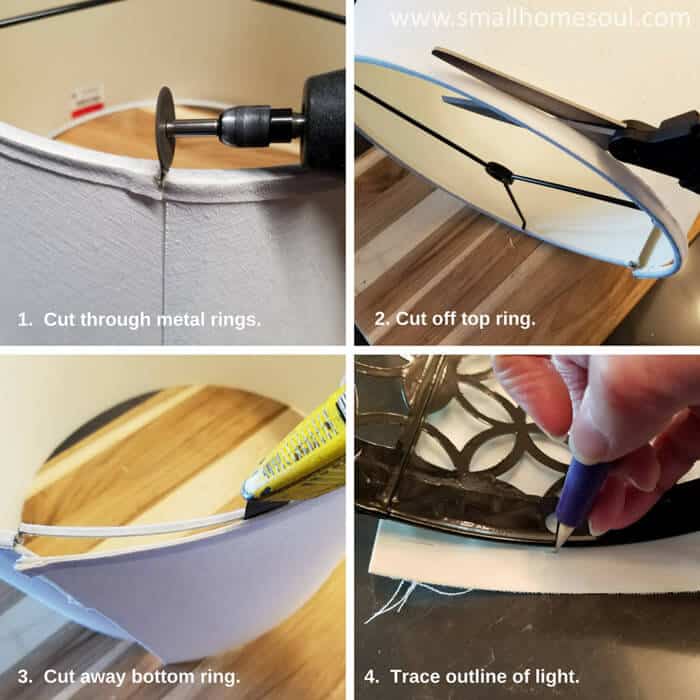
Before we paint we need to make the shade for the inside. If you're working with a new sheet of lamp shade material you can skip the first 3 bullets below.
- Use the rotary tool to cut the metal rim on the top and bottom.
- Using sharp scissors cut off the large rim at the top staying as close to the rim as possible.
- Cut away the thinner bottom rim with an exacto knife.
- Trace the light onto the inside of the shade.
- Find a point of reference and lay the basket light onto the shade at the edge.
- Make a small mark on the top and bottom.
- Carefully roll the shade a bit and make two more marks.
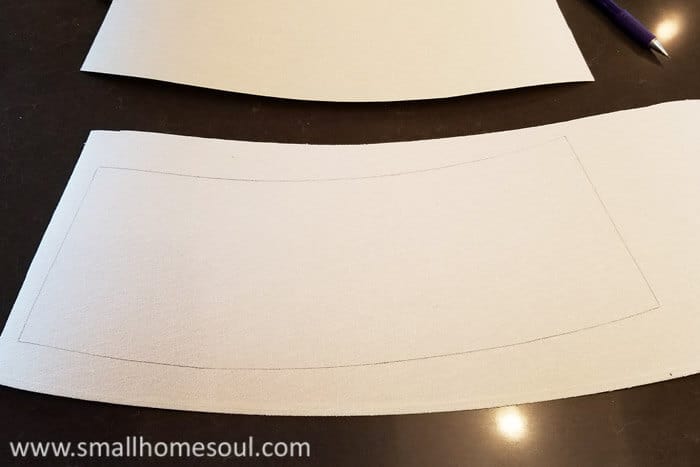
- Keep doing this until you either get all the way around, or halfway. (I had to make mine in two pieces because my lamp shade wasn't big enough.)
- Connect the lines with a pencil and then carefully cut out your outline.
I traced and cut one section then traced it onto the shade material and cut the second.
MORE LIGHT MAKEOVERS
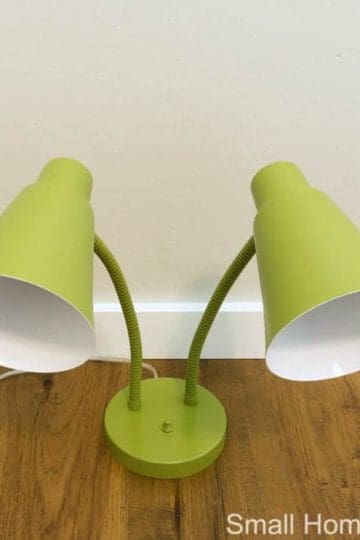
Office Desk Lamp - Brass Lamp Makeover
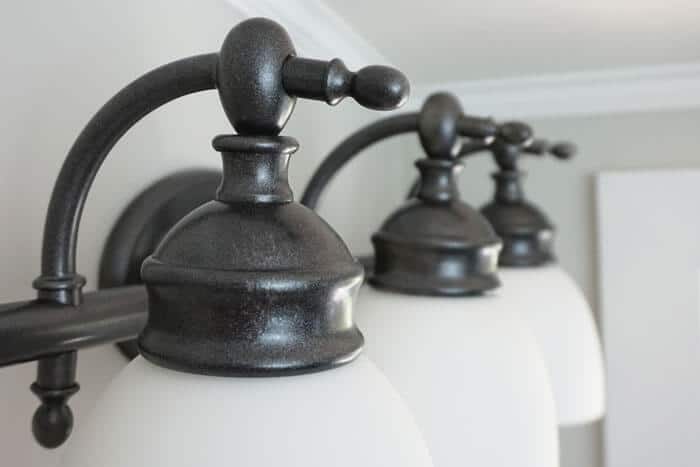
Bathroom Light Makeover
Since I had to cut mine in two sections I made them both a little longer. I inserted them both and marked and trimmed the excess so they both met in the middle of the narrow the side seam.
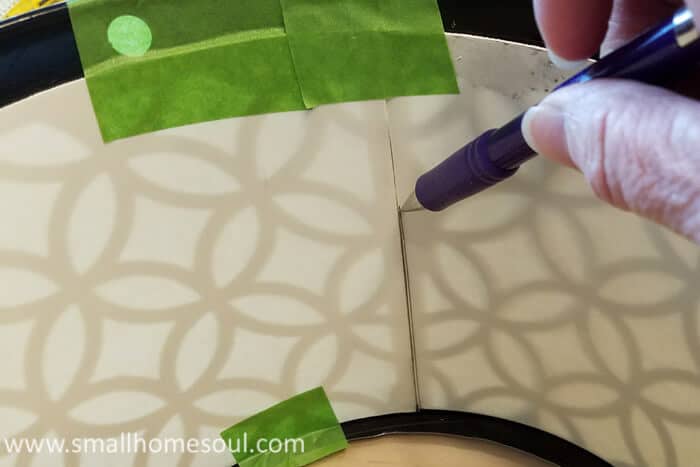
My light had a raised lip so I trimmed roughly ¾" from the top edge (as you can see above it's shorter than my pattern cut).
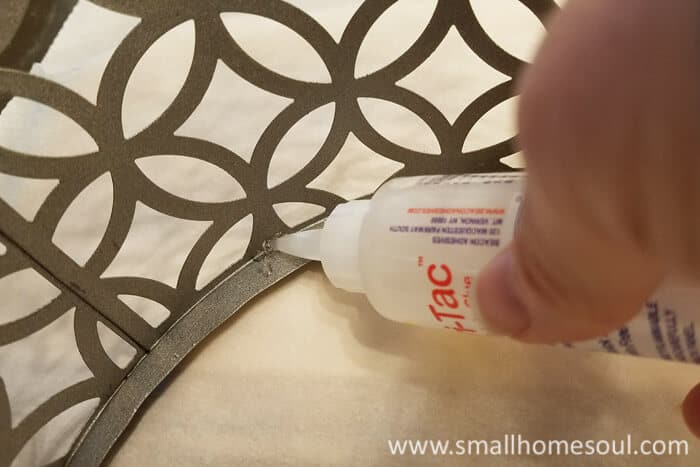
Next paint the light before installing the shade. I painted mine Flat Antique Nickel, because it's sparkly without being overly shiny. After the paint dried I used fast-drying glue around the edges to hold the two sections of shade in the light.
MORE BASKET MAKEOVERS
Plant Stand from Old Basket - Wicker CD Basket Makeover
Installing your Boob Light Replacement
I left the housing of the boob light in place but I needed a secure way to hold my DIY ceiling light in place. The basket had holes from the original handles so I used those as my guide (if your basket doesn't have holes around the top you'll need to drill some).
I held the new ceiling light in place and marked a dot in the center of each of the four holes.
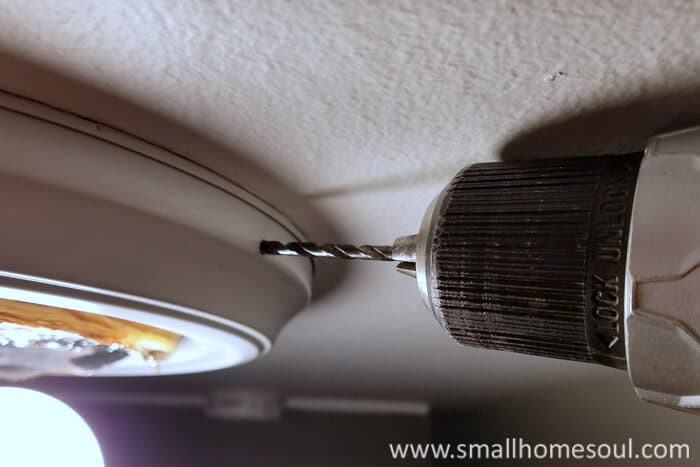
Insert a metal drill bit into your cordless drill and drill a hole that will receive #10 Sheet Metal Screws.
Of course it's best to cut off the power before working around electrical outlets but the ring of the light housing was far enough from the wiring I knew I was safe to drill the shallow hole near the ceiling.
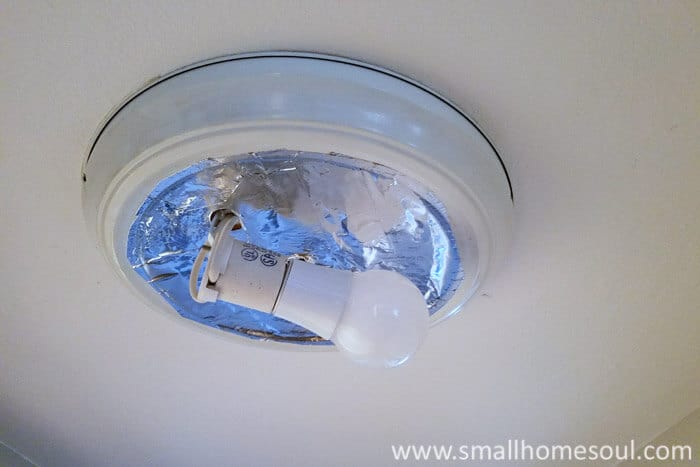
Before I installed the boob light replacement I used some silver foil tape to cover up the ugly base light and secure the insulation. You want to use foil tape and not another type that might be flammable.
LED bulbs don't get as hot but the socket housing still gets hot. Not that anyone is going to walk down my hall and peer up into the light, but I'm sort of a perfectionist, so .....
Slipping the screw first through a washer I used my cordless drill, on slow speed, to secure the new ceiling light to the boob light base. I finished up by dabbing some of the spray paint I'd sprayed on a paper plate onto the screws and washers with a chip brush.
It doesn't have to be perfect because that high up no one will ever see them.
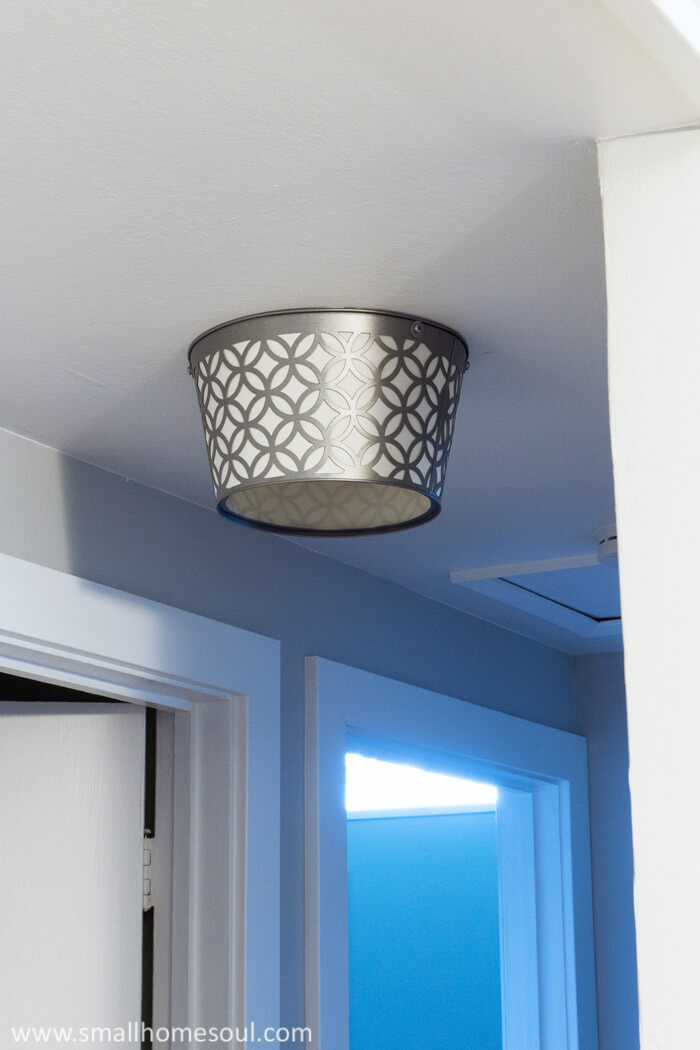
When the light is on it look so much better than the old boob light ever did.
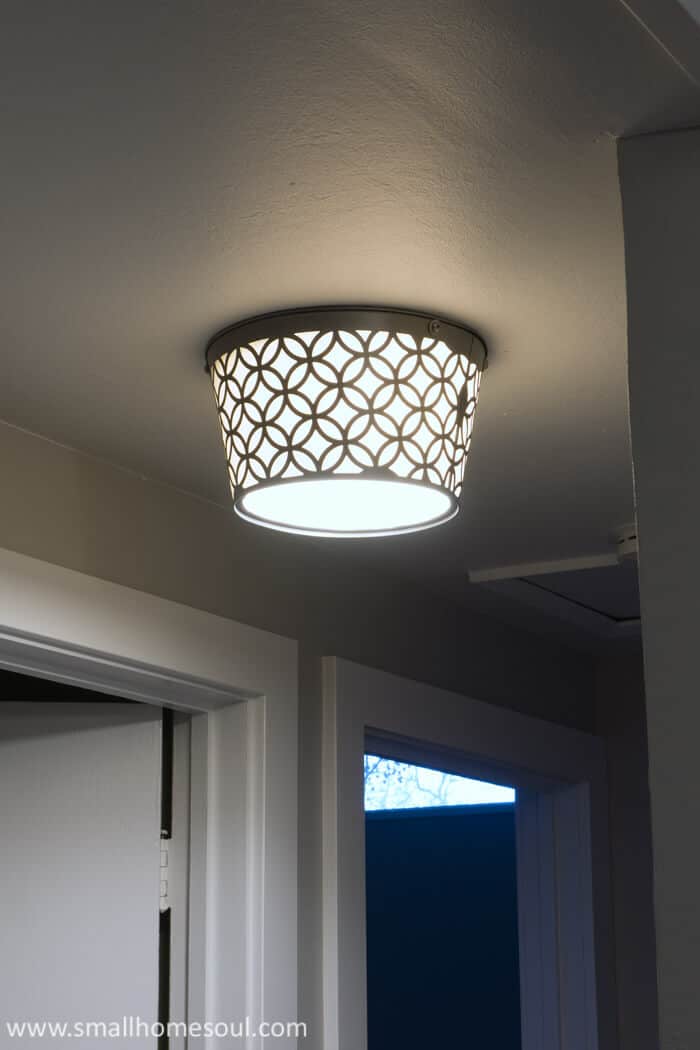
If you don't want to DIY your own boob light replacement I found a few stylish ceiling light options on Amazon that might work for you.
I hope I've inspired you to replace the boobs in your life 😀 ok, just the boob lights because they really have to go!
LOVE IT! PIN IT!


Love your creativity. Adorable. Ignore those nasty comments. Being hurtful to others, in this situation, is rude and immature. Some people enjoy criticizing for no good reason.
Thanks so much! Yes it's sad how cruel some people are. They are just unhappy souls who take pleasure in cutting others down. Too bad, I sort of feel sorry for them.
Sorry but really, that looks stupid. Just replace the e light with something else at a Home Depot for like 30 bucks. It’s not that bad. I suggest doing that.
Your welcome for the feedback
Hey Owen, not everyone can afford to go buy a new light, and my blog is about giving options. So for you to take the time to leave a rudecomment on my blog, you can pound sand.
Have the day you deserve Owen
ps, I’m not one for taking crap comments from anyone laying down, especially from fearless but rude keyboard warriors like yourself.
@Toni, LOVE that response! I’ve been searching for hours looking for something I could do on my own and kept seeing the same ideas regurgitated over and over. Then I found THIS! I thank you for the spark of inspiration. I’m going to be in the lookout for a basket at my dollar store. You know those kinda flexible ones that are plastic? Then I can just cut it simply, paint it and line it like you did to diffuse the light.
Shame on people who just show up to be unkind. We’re in dire times; be kind wherever and wherever you can. Even online.
Thanks for the support and good luck with your own boob light makeover!!
This is such a cool update! I would love to do this to the light over our kitchen table. We are having our kitchen cabinets refaced this week so maybe once we finish up that project! Thanks so much for sharing your cute home!
I just ran across this post - Love your idea - as I am reinventing my dining area boob light - but I'm using a wicker basket I cut the bottom out of (left just a lip to re-add the boob light cover to hold the basket and I believe it will help protect the light bulb. My basket will be dept of 15" so as you mentioned yours hung lower so unless you are right under the light fixture you can't see the actual light fixture against the ceiling. Not sure if I can post a picture on this post, if so I will add. If not I believe most will image how CUTE! it came out.
This is so awesome, I never even thought of updating my boob light, and was just going to buy a new one. What does the bottom look like when you are under looking, or does it not really matter?
Hi Steph, because the basket I used to convert my boob light is a little deeper it hides the bulb nicely from being visible. You can't see it unless you're looking up when standing right under the light. If you were going to use something more shallow you might want to fashion something to cover the bottom, like a round piece of the lampshade velum that could be attached at the bottom. But that might interfere with easily replacing the bulb when the time comes. Good luck with yours, please share a picture with me when your boob light makeover is completed!
What an UGLY result! It looks like a trash can cut in half! Jeez! Fire this person!
Well Jane, I'm only approving your comment because I want everyone to see how ugly you are. You caught me on a bad day and I'm sick of people like you who feel the need to share an insult. If you don't like my stuff great, it's not for everyone. But to spend your energy writing a negative and insulting comment, wow you must have so much free time on your hands and hate in your heart. You never have to return to my blog again. No hard feelings, really. I don't need negative people like you in my life.
Be blessed Jane, I wish you joy, you surely need it.
Wow! She was so mean! People really need to watch Bambi again. Thumper’s mom said it right! “If you can’t say anything nice, don’t say anything!” You keep doing what you like. Not everyone has your vision or any vision. You are showing how to make something from nothing, not saying they have to use your exact materials.
If you don't find a sacrificial lampshade, or don't want to bother with the dismantling, go to Amazon and get the stiff polystyrene that is used for diy lampshades. It's easier!
Hi Anne, I priced the new stuff on Amazon and it was pretty expensive. Since I'd never worked with the stuff before I wanted to start with the cheapest option available first. I have a few lamp shades I'd love to make so buying new will be a must at that time.
Beautiful result. I have a basket exactly like this, so I think I will be stealing your idea.
You really inspired me with your work. I just finished to making this ceiling light. It was very easy and fun for me. It is looking awesome in my room. Thanks and keep sharing.
Thank you Amanda, I'm so glad you like it. I'd love to see a picture of yours, you can email it to me using the email in my About Me page.
This looks amazing. What a great DIY and what a change. Your hallway reminded me of my hallway. Thanks for sharing at #HomeMattersParty
Hi Jenny, thanks I'm so glad you like it. It's such a huge improvement over that old light and it's great that I didn't have to actually change the light fixture.
OMW, we have one of those awful boobs on our passage ceiling too Toni. What were they thinking when they put those on the market? Love how you changed yours. That's such a neat idea and using a pretty metal basket was pure genius
Thank you Michelle, there are so many great options for new lights or updating your lights these days. I think the ceiling lighting designers are finally getting the message with all the pretty lights for sale these days.
What an improvement, this looks fantastic! I have a few of these in my home and would love to upgrade them.
Thanks Sarah, it is so much better now. It's amazing how many options there are for updating them. It was really old and tired but if it was a newer one in an bigger area I really love the starburst around them that I've seen on Pinterest. You have so many budget-friendly options.
Very Clever!! What a difference a simple upgrade can make. Great job Toni.
Thanks Heather, I'm so glad you like it, it did make a huge difference in the hallway appearance.
Great job, Toni! That light looks just like one you'd order on Amazon. You are amazing!!
Thank you Susie, I am so pleased with this update and I think it only cost me about $11 total.
This is a pretty awesome transformation. GREAT tutorial Toni.
Yay, I'm so happy you think so Denise!!
Wow! I’m super impressed with your DIY skills right now. Seriously.♥️
Lisa, you just make my weekend 😀