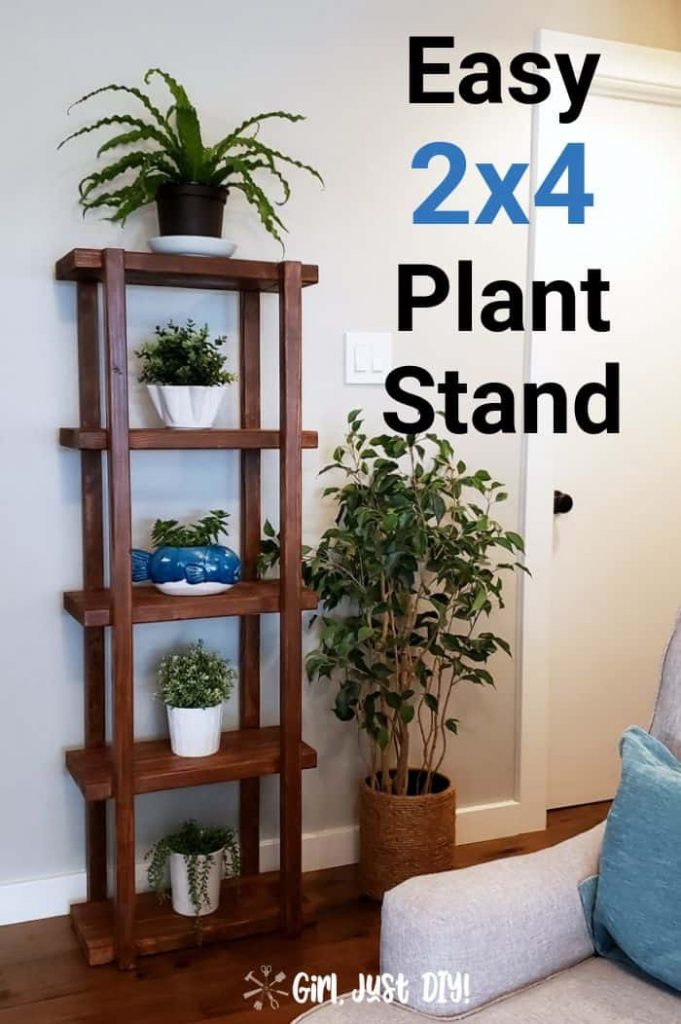
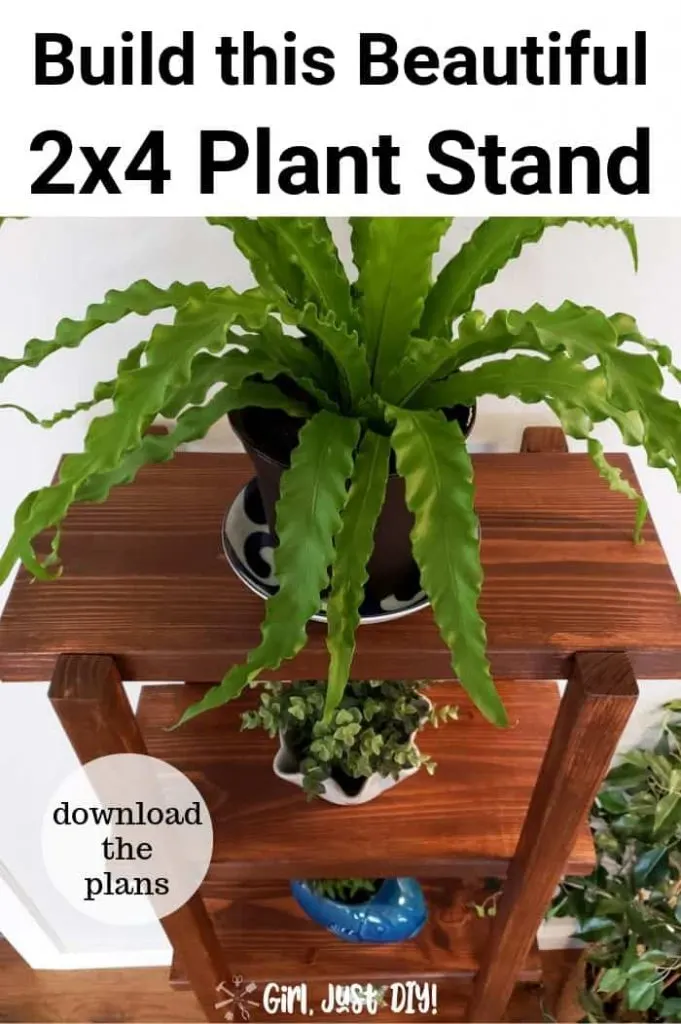
Oh do I have a treat for you today! I’m so excited to share this project, I can’t even stand it! I’m going to show you how to build a DIY 2×4 Plant Stand using common construction materials, but with a beautiful result.

This project has been sponsored by Kreg Tools and I appreciate the opportunity to partner with them once again. The last time I collaborated with them it was on a Rolling Printer Cart that is a must-have in any home office.
Some of my blogging friends and I run a Facebook Group for ladies who love DIY & Woodworking. We decided it was time for a little challenge to really bring the group together.
No prizes or anything, just a friendly little challenge to get some people building who have been wanting to give it a try. And using inexpensive lumber like 2×4’s and other common construction lumber makes it less intimidating and less expensive. Especially if you’ve never built anything.
DIY 2×4 Plant Stand Supplies
- 2×2 and 2×10 Boards (cut according to plans)
- Miter Saw
- Circular Saw
- Electric Sander
- Wood Glue
- Pocket Hole Jig
- Pocket Hole Screws
- 24″ Clamps
- Carpenter’s Square
- Tape Measure
- Wood Stain or Paint
- Foam Brush and Clean Rags
2×4 Project Challenge Details
The challenge was simple, make something out of 2x4s. It’s that simple. We also decided to make a Blog Hop with our projects and you can find all the projects linked at the bottom of this post.
For my project you’ll find a link to the plans below that includes all the measurements for each step. I’ll run you through the tutorial in this post showing you how to build this DIY 2×4 Plant Stand step by step.
DIY 2×4 Plant Stand Tutorial
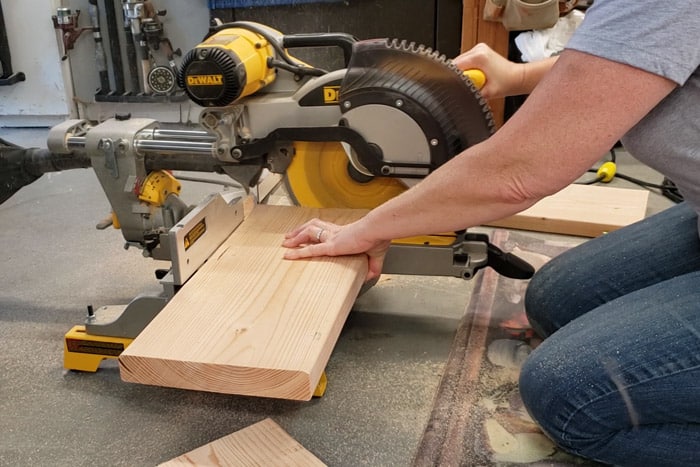
Step 1: Cut the boards.
Cut your leg boards and the shelf boards to size based on the plans. The shelf boards were cut a little longer than called for from a longer, much heavier board using a circular saw. Then they were trimmed to exact length on the miter saw.

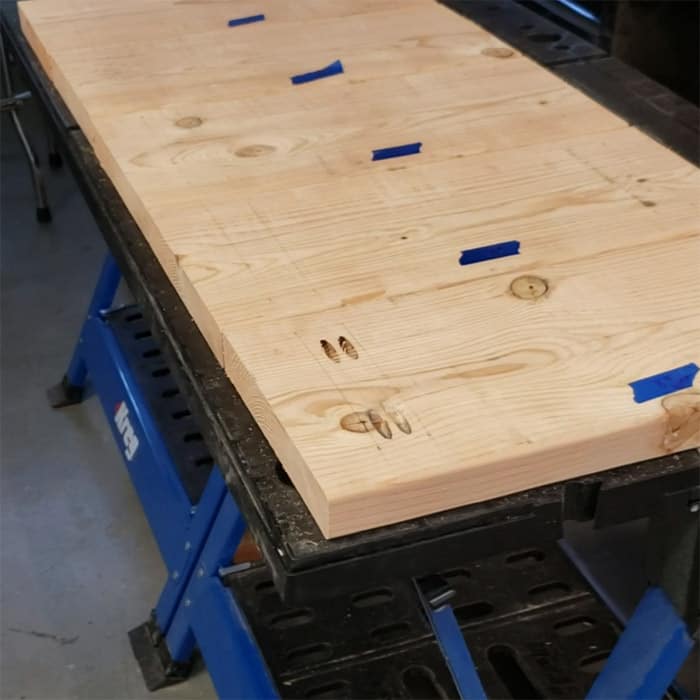
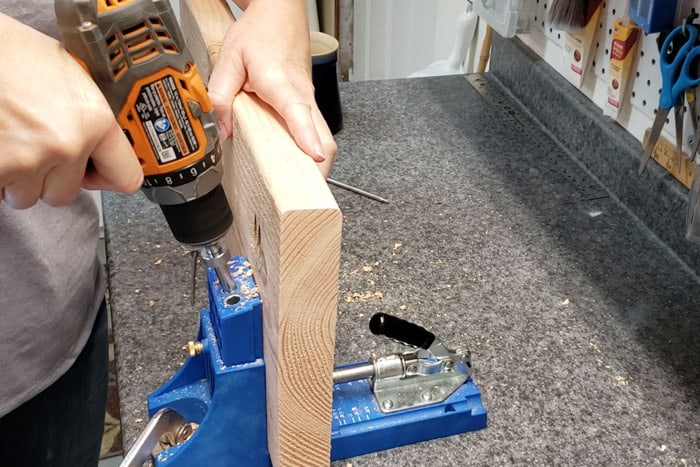
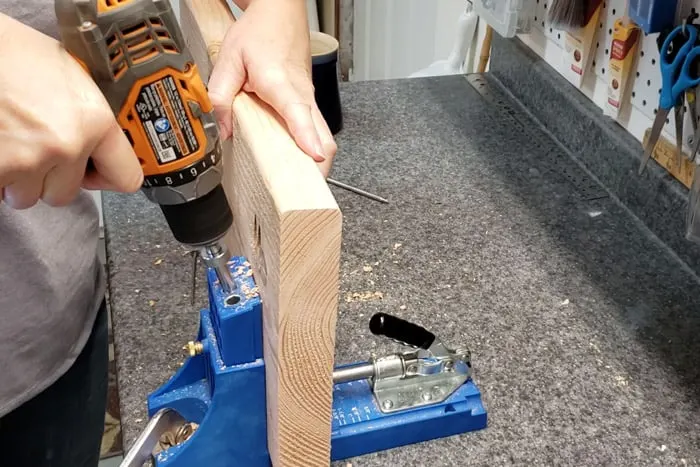
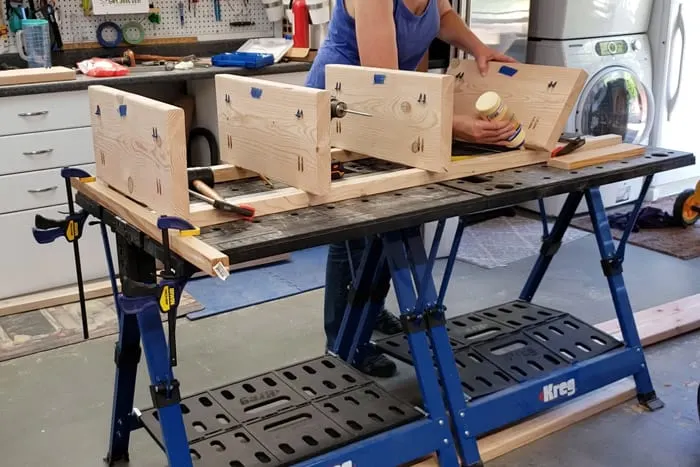
Step 2: Make your Pocket Holes.
Before you start assembling you need to set the placement for the pocket holes. The plans will give you the perfect measurements pencil lines where the shelves will attach to the legs. This is where you’ll make your pocket holes.

MORE WOODWORKING PROJECTS
Chevron Storage Cabinet – 8×10 Shed
Modern End Table – Wood Coat Rack with Shelf
The blue tape in the picture above indicates which side of the shelf I want on the front. And you can see the pocket holes drilled perfectly inside the pencil lines.
Place the shelf in the pocket hole jig and ensure the two pocket holes line up between the pencil lines.
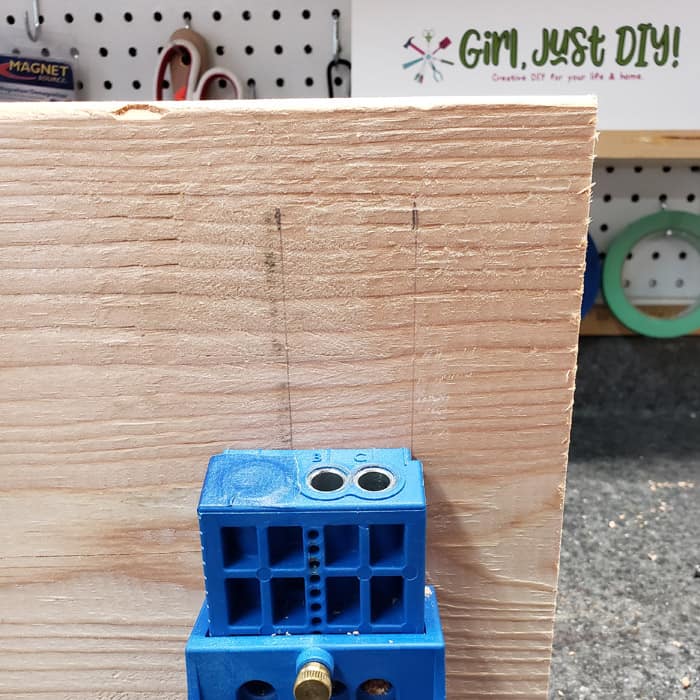

Set up your pocket hole drill bit and jig to the proper depth for your material and drill your holes.
Once all the shelves have their pocket holes I recommend partially inserting the pocket hole screws. Go as far as you can without letting the screw stick out of the side of the shelf. Back it out a bit if necessary.
This is going to help when you attache the second set of legs. And you might also want to use a right-angle drill attachment to make attaching the second set of legs so much easier.
Assembling your 2×4 Plant Stand
Step 3: Sand all the boards
Construction grade lumber is pretty rough so you’ll want to use your electric sander to get a smooth finish. Start with 60 Grit paper and work up a few levels to at least 220 Grit paper.
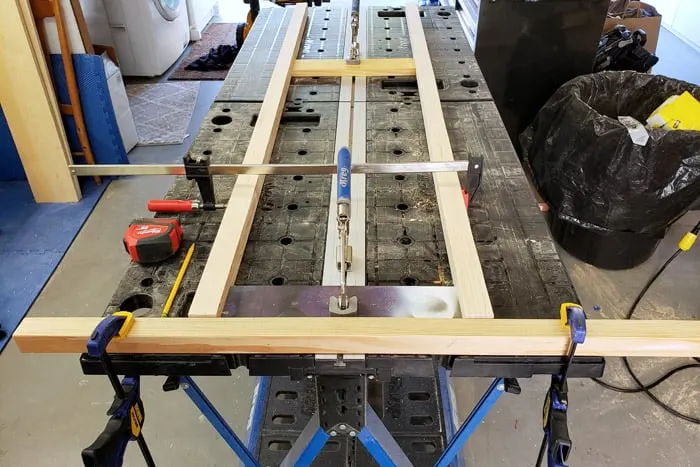
Step 4: Ensure Proper Leg Alignment
When building something tall and narrow you need to make sure that your legs are perfectly aligned. It’s best to work on a flat surface if possible. The Kreg Mobile Project Center is a game changer for our garage. They work like sawhorses, a workbench, and so much more I haven’t even discovered yet.
To get your legs aligned properly use clamps and a piece of scrap 2×4 to the edge of your work table. Then line up the legs around a spacer piece and use a carpenter’s square and more clamps to keep them aligned.

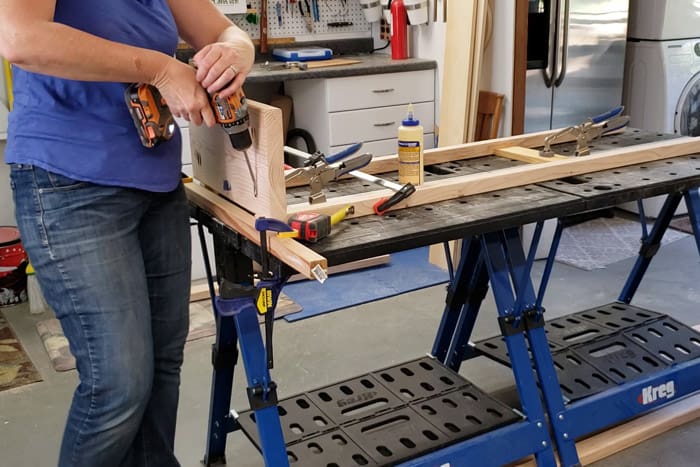
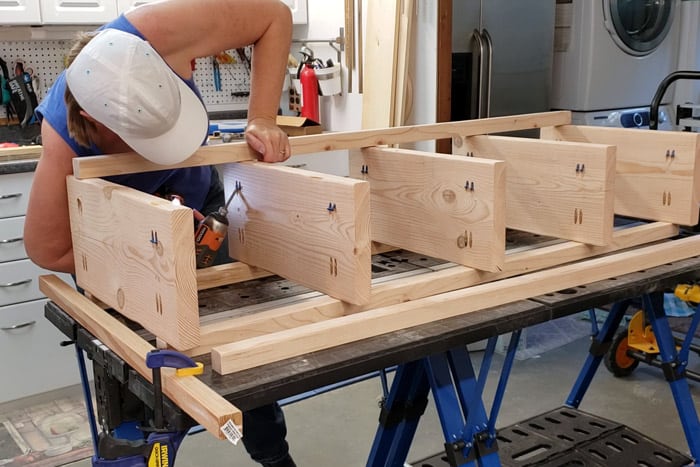
Step 5: Attach the shelves to the legs.
With the legs aligned it’s time to start attaching the shelves. Start at the bottom and line up the bottom of the shelf with the bottom of the legs. Measure for the proper overhang on each side, add a little wood glue and attach with the pocket hole screws.

Measure up the proper distance on each leg from bottom shelf and make a light pencil mark. Follow the same steps for the overhang and wood glue and attach shelves 2, 3, & 4. Wipe off any excess wood glue as you go.

When you’re ready to attach the top shelf line up the top of the shelf to the top of the legs. It should be the same distance from the shelf below it but it’s ok if it’s slightly off. It’s more important that the top be flush.
Step 6: Attaching the front legs.
Working on one leg at a time add a little wood glue to the front edge of the shelf where the pocket holes are. Line up the bottom edge of the leg to the bottom edge of the shelf and attach with the wood screws after you verified you have the correct distance from the shelf edge.
Continue up the attaching the leg to each shelf.

Repeat on the other side with the last leg.
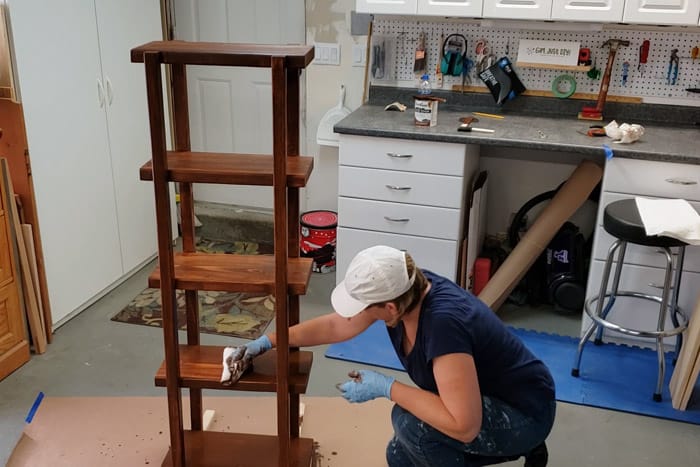
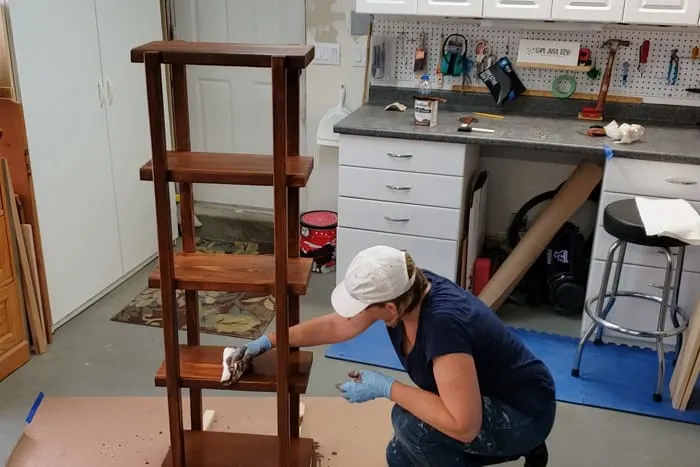
Step 7: Finishing your 2×4 Plant Stand
It’s time to put a beautiful finish on your 2×4 plant shelf. You can use paint or a simple clear coat, or stain like I did. If you’re making yours for outdoors and you use redwood then you don’t really need anything.
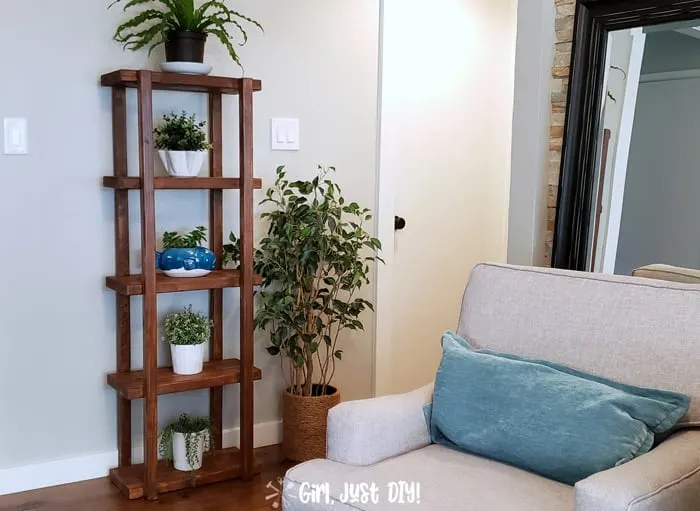
And, it’s done! I couldn’t wait to get this beautiful thing into the house. That wall between the kitchen and bathroom had been empty since we installed our wood floors 4 years ago. I didn’t know what to do, I thought about a gallery wall but once I put the plant stand and the ficus in that cute Rope Planter Basket next to it, just to take pictures, I knew this is where it needed to live.

DIY 2×4 Plant Stand Build Plans
Here’s the link to the plans. Get them and Pin this project so you can come back follow along with the the tutorial as you build your own 2×4 Plant Stand shelf.


MORE 2×4 PROJECTS
33 Amazing 2×4 Projects to Build – Modern 2×4 Bench
Giant Jenga Yard Game – 2×4 Outdoor Side Table
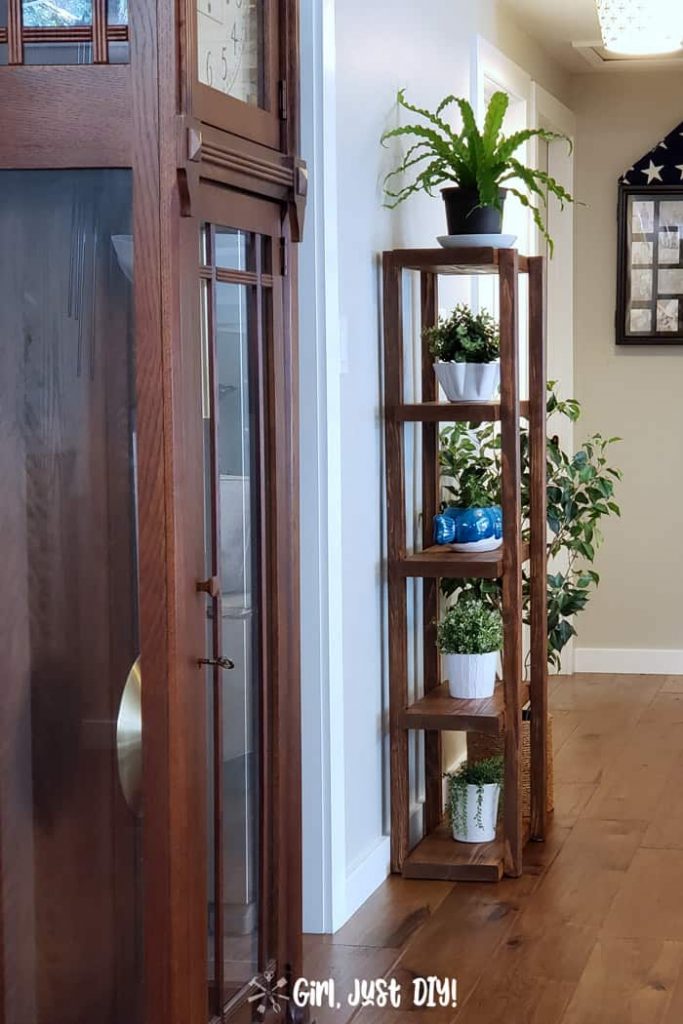
Sorry, I’m going to overshare pictures because I love so much how this turned out. It’s like that space was just waiting all these years for me to build something special.

And check out this cute Two-Tone Fish Planter. I got mine at Pier1 in AZ when I visited my sister. It’s the perfect pop of color on the wooden plant stand.


LOVE IT!! PIN IT!!

Even more 2×4 goodness…..
2×4 Project Challenge Blog Hop
If you’d like to join the facebook group keep reading and I’ll tell you how to make that happen. But first, check out all these other fabulous and inspiring projects created by my talented friends.
A 2×4 Challenge is when you build something using only construction lumber such as 2×2, 2×4, 2×6, etc etc. It’s a great way for beginners to start building, and it’s very budget friendly too. The term “2×4” has come to identify any project made with construction lumber.
The term 2×4 is used kind of loosely in woodworking circles these days, basically anything built from construction material is a 2×4 project.
If you want to make my project entirely of 2x4s you can always join 3 together together for the shelves and rip some down for the legs.
You’re going to love each of these amazing projects!
By Brittany Goldwyn – DIY Step Stool for Toddlers
Anika’s DIY Life – DIY Table Saw Stand With Folding Outfeed Table
Girl, Just DIY! – DIY 2×4 Plant Stand
The Handyman’s Daughter – DIY Outdoor Coffee Table
Hazel and Gold Designs – DIY Wooden Welcome Sign
If you’d like to join our Facebook Group click here to apply. Don’t forget to leave us some comments and tell us what you love best about working with 2x4s.
Jackie
Monday 17th of January 2022
What an amazing transformation! This plant shelf turned out so beautiful. I am setting a goal to do a couple home improvement projects this year. I think we are going to start out with some kitchen cabinet painting. Thanks again for sharing your beautiful ideas! You are so inspiring!
Kathleen
Friday 23rd of July 2021
Great project! I’m getting ready to put this together, and I realize that only one screw will fit in the 2x2, it’s not wide enough for 2. Any tips?
Toni
Monday 1st of November 2021
Sorry for the late reply Kathleen. I used pocket holes with a pocket hole jig when building my plant stand and I was able to get 2 screws into each 2x2. I'm sure I included pictures in my post about spacing and placement of the pocket holes on the 2x12.
Mike
Thursday 8th of October 2020
Love the color your stain!! What is the Brand and color?
Toni
Thursday 8th of October 2020
Hi Mike, it's Varathane Wood Stain and the shade is called Early Americana. Sorry about that, I thought I'd included that in the post details. I'll get that added soon in case others are interested.
Wookie
Saturday 7th of September 2019
Wow! I love…LOVE this its pretty cool. This is a really good idea for this gift.
Pamela
Friday 6th of September 2019
This looks awesome! Doesn't take up a lot of room, but makes a big impact.